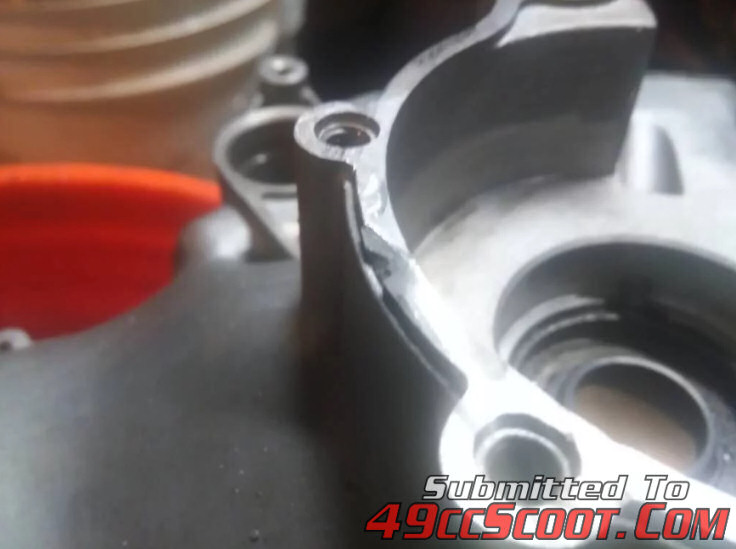
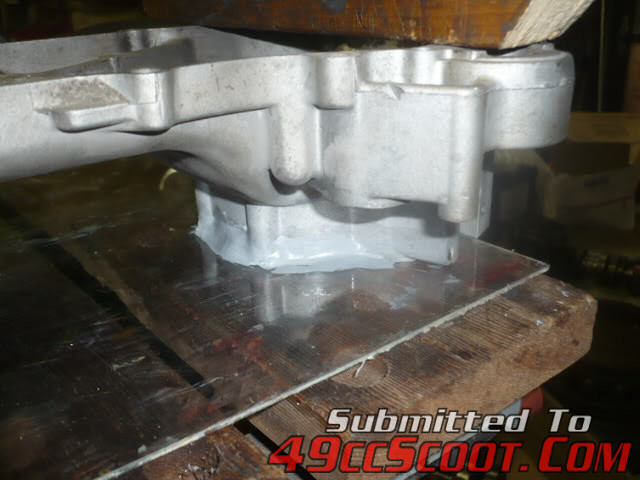
Truing A Surface With Glass & Surface Repair
Aug 26, 2010 20:54:19 GMT -5
wolfbat3 and niz76 like this
Post by 90GTVert on Aug 26, 2010 20:54:19 GMT -5
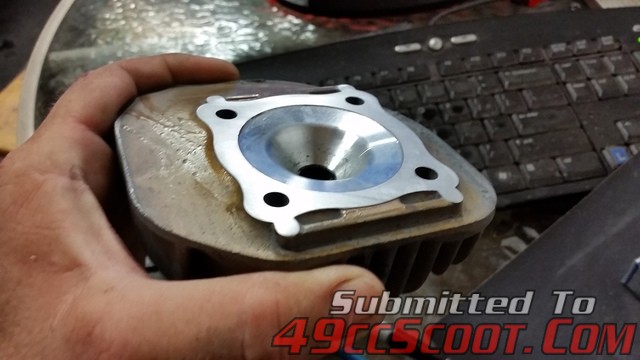
I needed to true a cylinder head so it would not leak after removing material to get tighter aquish clearances. Truing is simply creating a very flat surface without high and low spots. This is commonly done my a machine shop with a mill. Milling can produce extremely true surfaces, more accurately than the method I'm about to detal, but it is also more expensive and most of us don't have machine shops at our disposal or we don't want to wait for the turn around time to take our projects to a machinist. 190mech suggested using a sheet of glass and sandpaper to do this at home. He gave me some advice and I looked around online for other experiences with glass for metal working, so I gave it a shot and like the results.
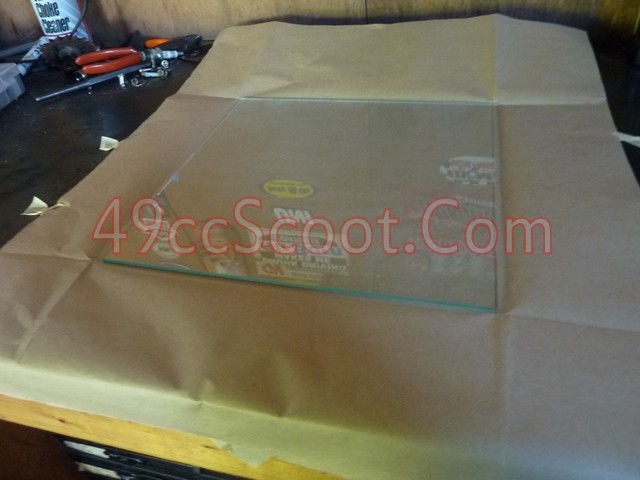
A sheet of glass is used because glass is very true. Pretty much everything I've read says you should use thick panes of glass, usually stating 3/8" - 1/2" thickness. Glass that thick is more expensive, and thin glass can work just fine for most projects. Just place the thin glass on a hard, flat, surface. Be reasonable gentle with it, but it's not all that delicate for these purposes on a good flat surface. I picked up a 1' x 1' square of "double thickness" (maybe 3/16") glass for a little over $1 at a local hardware store, and placed it flat on my workbench. UPDATED TIP : I currently use an old digital bathroom scale with a glass top that has been much more durable than the thinner sheets of glass.
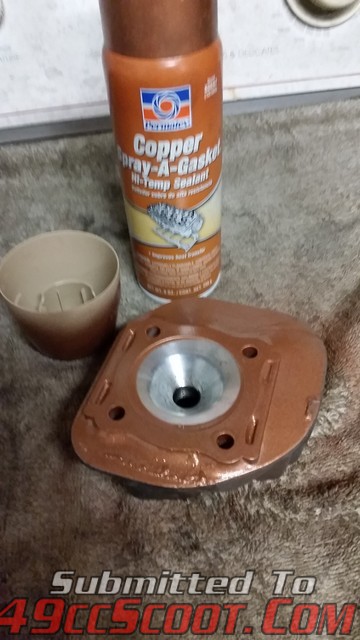
I cleaned the cylinder head's mating surface (what I would be sanding) of all the gunk left over from sealing it with a copper spray before going any farther.
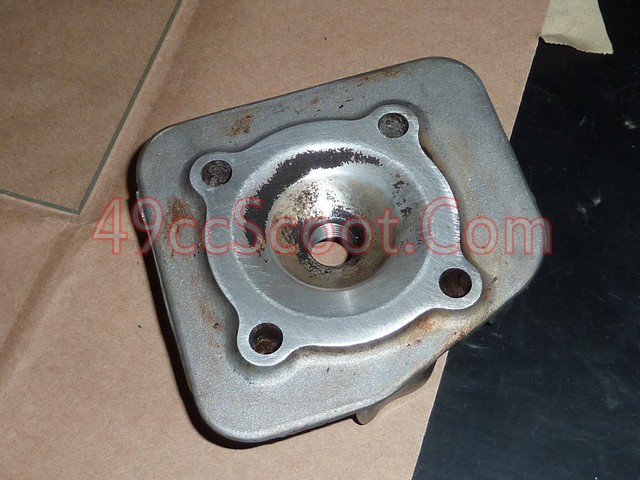
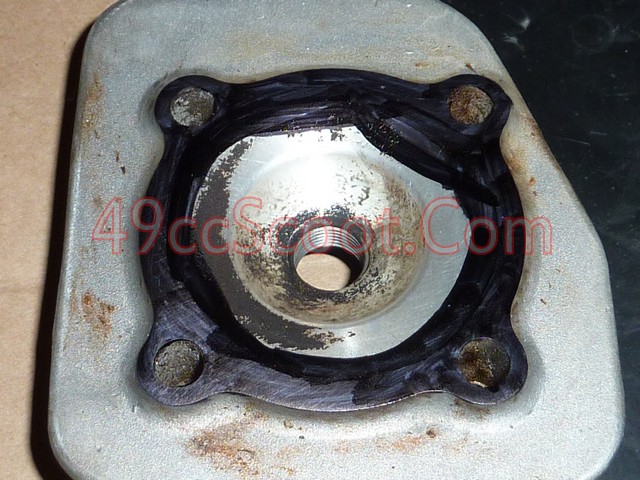
Then I used a marker to coat the entire area that I would be sanding. The marker will act as a "guide coat" to show low spots in the surface as you work.
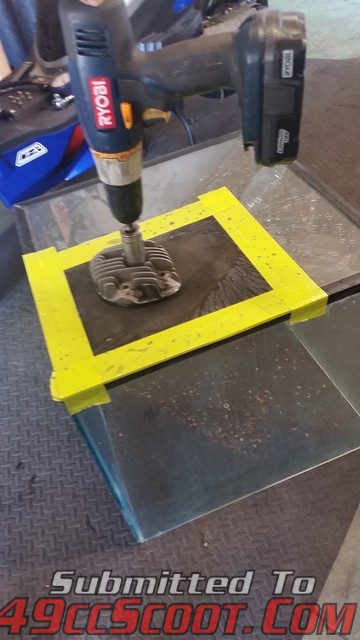
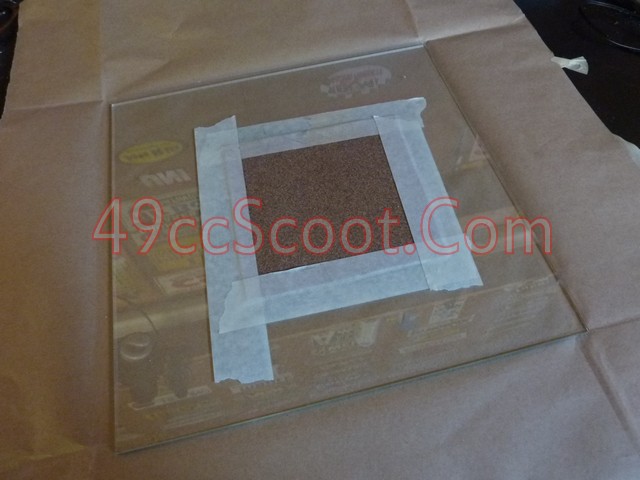
Now I cut a piece of sanpaper larger than the part I was working with, and taped it to the glass using masking tape. You'll want to tape this down well and make sure there isn't much slack or play in the sanpaper. I started out with 80 grit sandpaper.
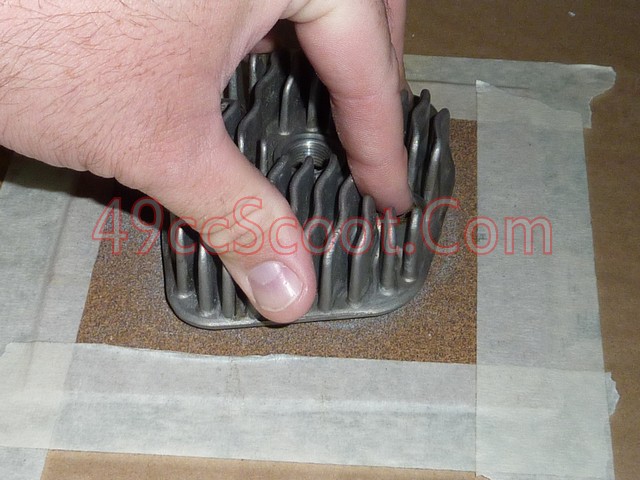
Applying even pressure (not too much), I worked the cylinder head back and forth across the sandpaper. I like to sand in a 90 degree crosshatch type of pattern.
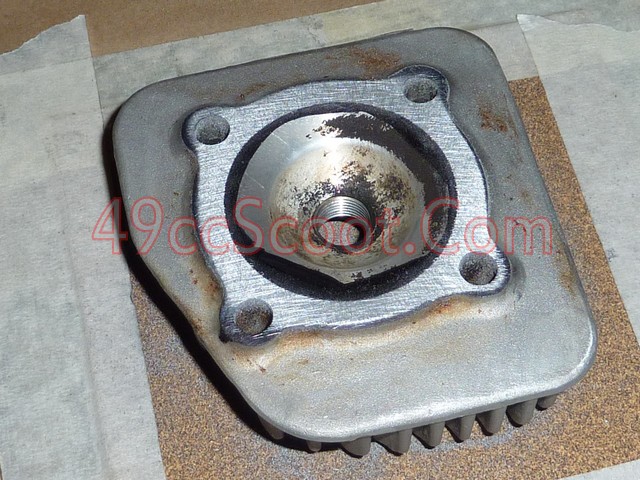
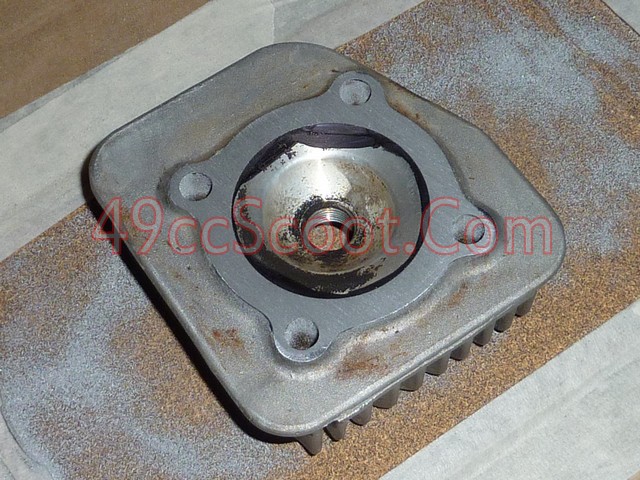
Check the surface that you are working on, and the marker should reveal the low spots. You'll need to sand until those areas are no longer covered in marker. You can see in this photo, that I had low spots around the stud holes and on the outer edges of the cylinder head's mating surface.
You will notice that dust and sandpaper particles accumulate pretty quickly. Use a soft bristled brush or broom to keep your sandpaper clean. Replace the sandpaper if it becomes to worn to be effective.
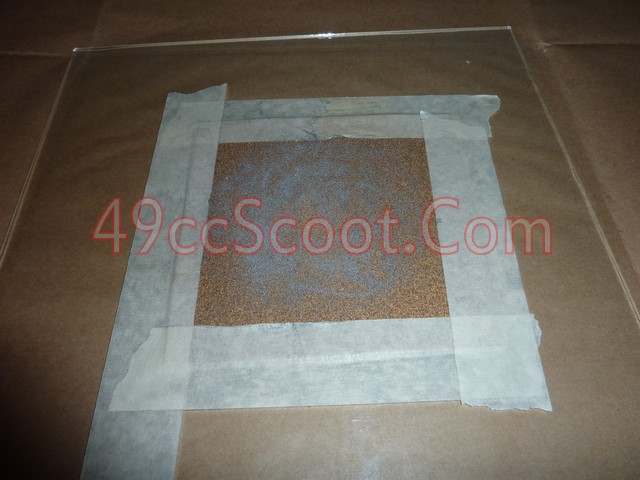
Eventually your low spots will be sanded away, or rather your high spots will be sanded away. You can see in this photo that the low spots are much less than before after a little more work.
Once the head was evened out, I moved on to finer grits of sandpaper to create the surface I desired. My sandpaper grits went from 80 to 120 to 230 to 320 and finally to 400.
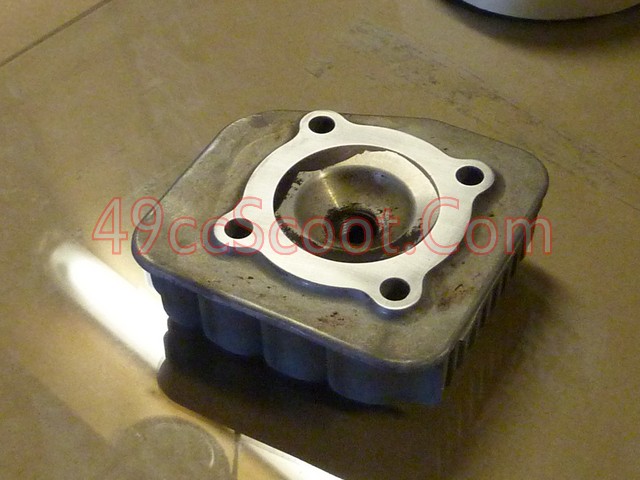
You should notice that edges are very sharp, which you usually notice when you get something machined on a mill but not usually when you block sand or use other methods at home. For that reason, this can also be a great way to sharpen chisels and blades.
A sheet of glass is used because glass is very true. Pretty much everything I've read says you should use thick panes of glass, usually stating 3/8" - 1/2" thickness. Glass that thick is more expensive, and thin glass can work just fine for most projects. Just place the thin glass on a hard, flat, surface. Be reasonable gentle with it, but it's not all that delicate for these purposes on a good flat surface. I picked up a 1' x 1' square of "double thickness" (maybe 3/16") glass for a little over $1 at a local hardware store, and placed it flat on my workbench. UPDATED TIP : I currently use an old digital bathroom scale with a glass top that has been much more durable than the thinner sheets of glass.

I cleaned the cylinder head's mating surface (what I would be sanding) of all the gunk left over from sealing it with a copper spray before going any farther.

Then I used a marker to coat the entire area that I would be sanding. The marker will act as a "guide coat" to show low spots in the surface as you work.

Now I cut a piece of sanpaper larger than the part I was working with, and taped it to the glass using masking tape. You'll want to tape this down well and make sure there isn't much slack or play in the sanpaper. I started out with 80 grit sandpaper.

Applying even pressure (not too much), I worked the cylinder head back and forth across the sandpaper. I like to sand in a 90 degree crosshatch type of pattern.

Check the surface that you are working on, and the marker should reveal the low spots. You'll need to sand until those areas are no longer covered in marker. You can see in this photo, that I had low spots around the stud holes and on the outer edges of the cylinder head's mating surface.

You will notice that dust and sandpaper particles accumulate pretty quickly. Use a soft bristled brush or broom to keep your sandpaper clean. Replace the sandpaper if it becomes to worn to be effective.

Eventually your low spots will be sanded away, or rather your high spots will be sanded away.
 You can see in this photo that the low spots are much less than before after a little more work.
Once the head was evened out, I moved on to finer grits of sandpaper to create the surface I desired. My sandpaper grits went from 80 to 120 to 230 to 320 and finally to 400.

You should notice that edges are very sharp, which you usually notice when you get something machined on a mill but not usually when you block sand or use other methods at home. For that reason, this can also be a great way to sharpen chisels and blades.


