InstallationProbably the toughest part of installation is deciding where you want everything. The speakers could mount to the handlebars, to mirror stems, to body panels, or whatever you can come up with. Just keep them somewhere they won't obstruct your view, secure, and aimed at you. Make sure you have room to maneuver your hands around all components. The amp could go under the seat, in a glove box, or basically anywhere else that it is safe from moisture. The amp doesn't seem to get extremely hot, just warm and fine to touch from my experience so far, I would suggest not keeping it in a very small enclosed space so it can remain cool, and of course away from anything flammable. You should also take cable lengths into consideration when choosing mounting locations. This probably won't be a big issue on most scoots, but it never hurts to be sure before you start working.
I purchased handlebar mounts for the speakers from the same seller that I got the system from, but they are for 1 1/8" handlebars. Most scooters use 7/8" bars.
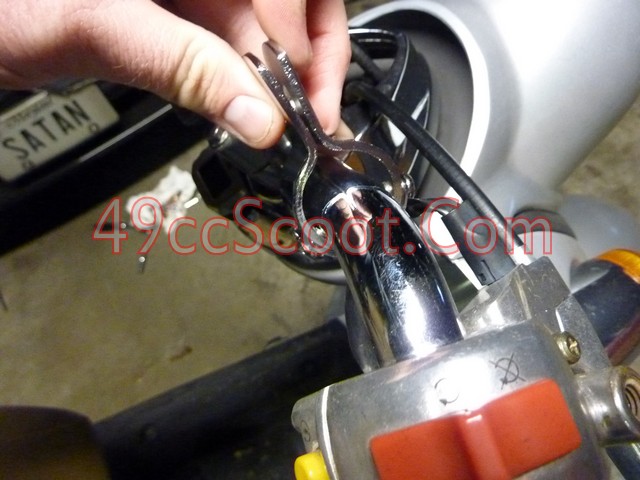
I tried using the supplied brackets, but I just couldn't come up with any way to mount he speakers exactly where I wanted them.
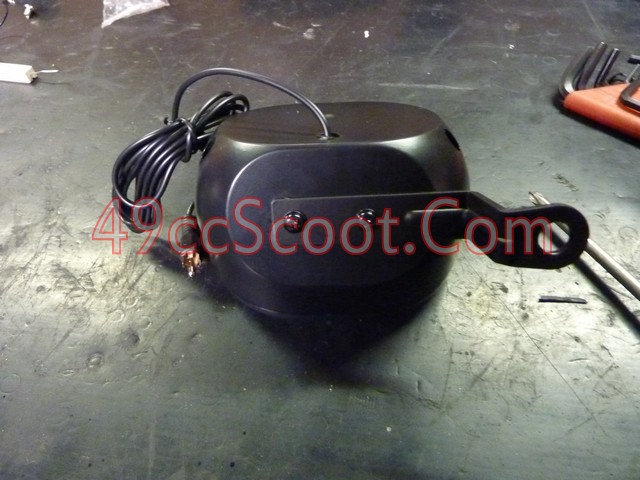
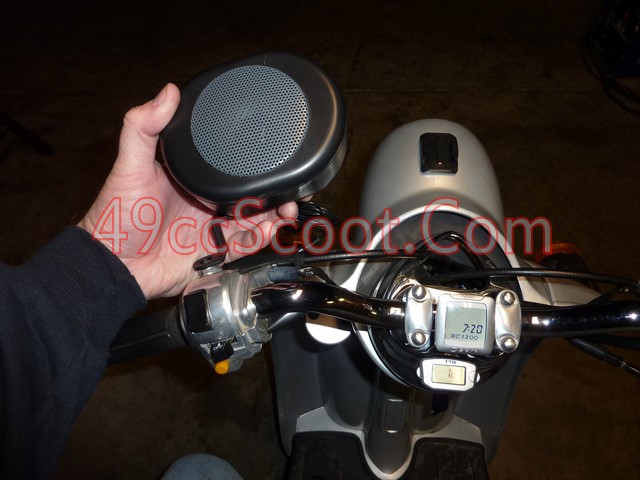
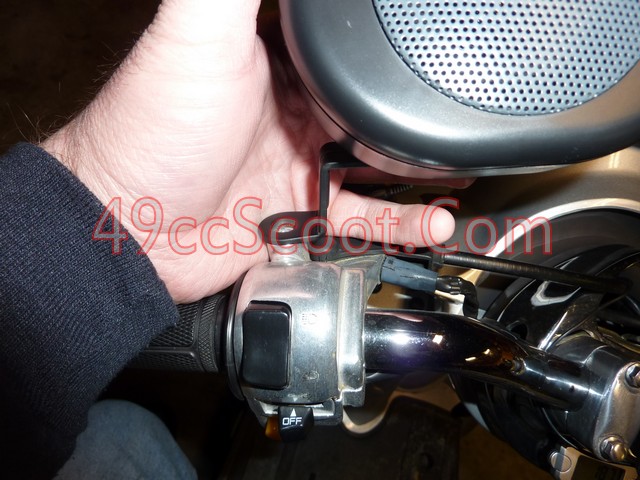
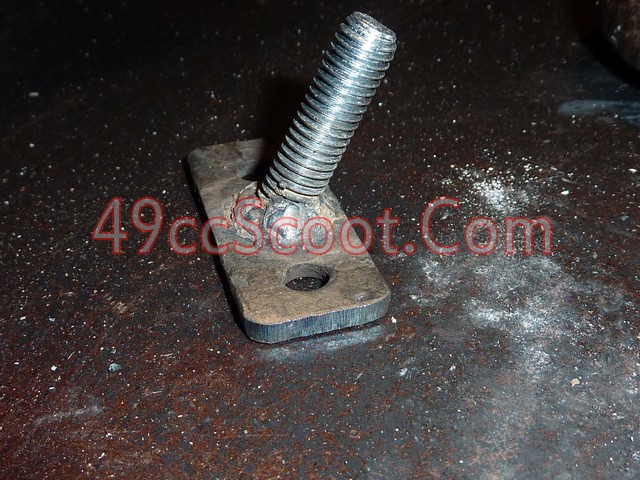
I decided to make my own mounts for the speakers. I started out by finding a bolt that would fit where my stock mirrors used to be (8mm).
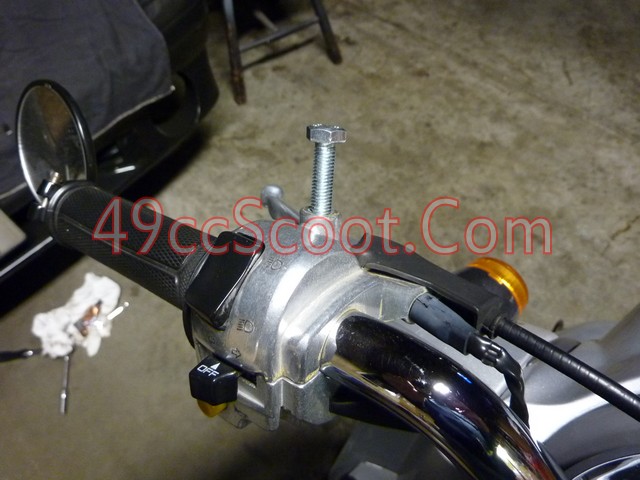
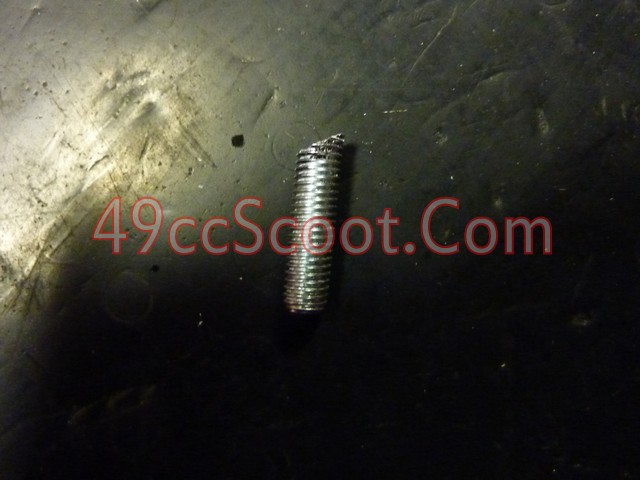
I sawed the head of the bolt off at an angle that would allow the speakers to be mounted at the angle I desired.
Then I cut off the section of the supplied bracket that mounts to the speaker and rounded off the edges.
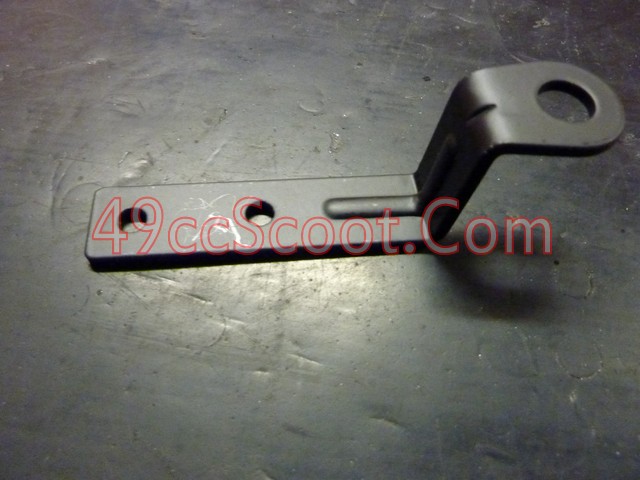
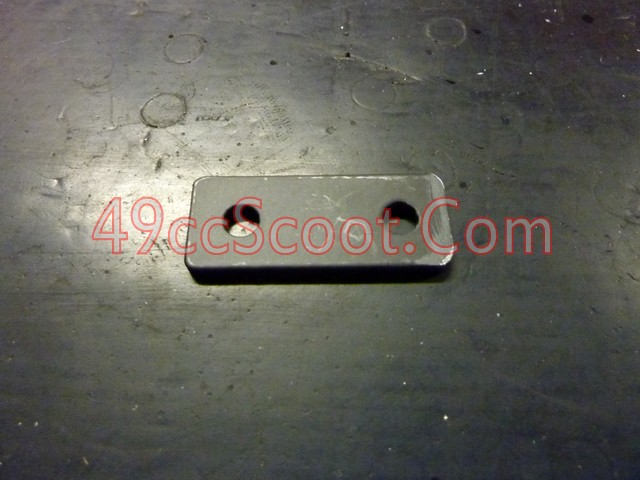
I welded the mounting plate to the cut-off bolt.
Then I used the supplied screws to mount the speaker. I added a bit of blue threadlocker to each screw for peace of mind.
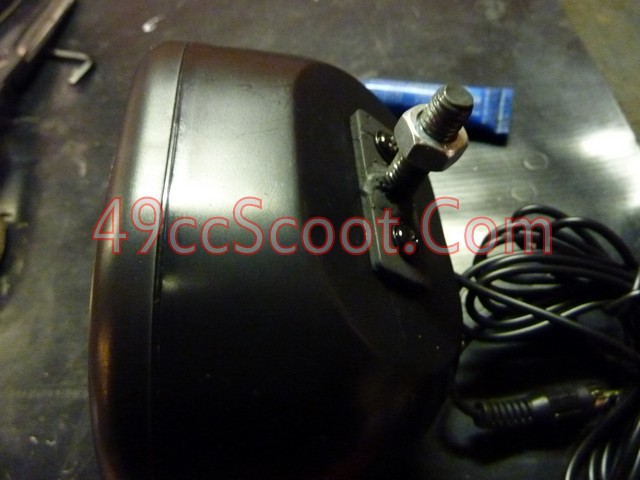
I screwed a nut onto the threaded section of my new mount. This allows the mount to be tightened into position. Then I installed the speaker and mount as shown.
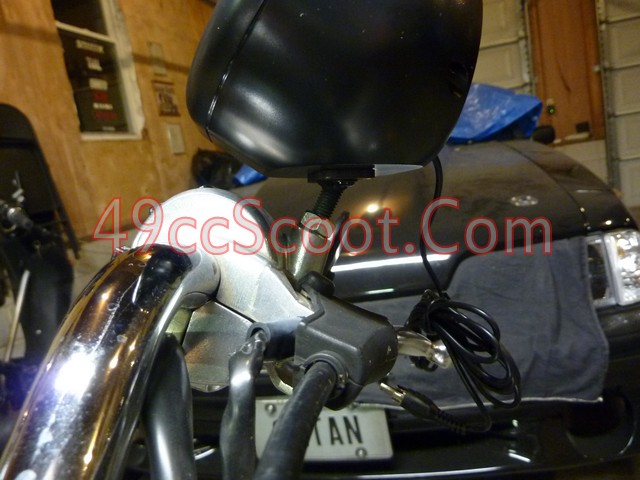
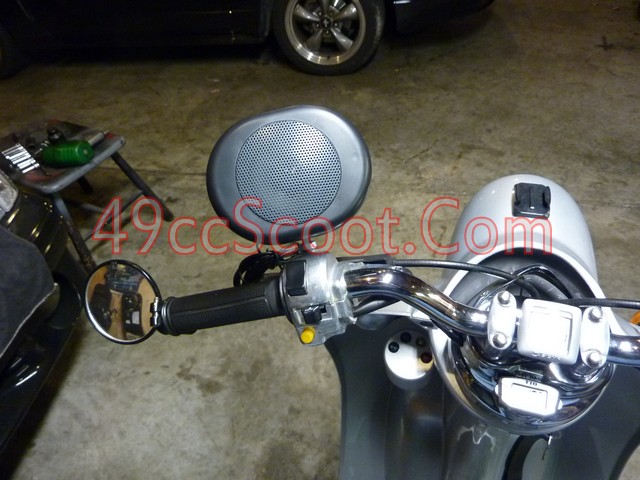
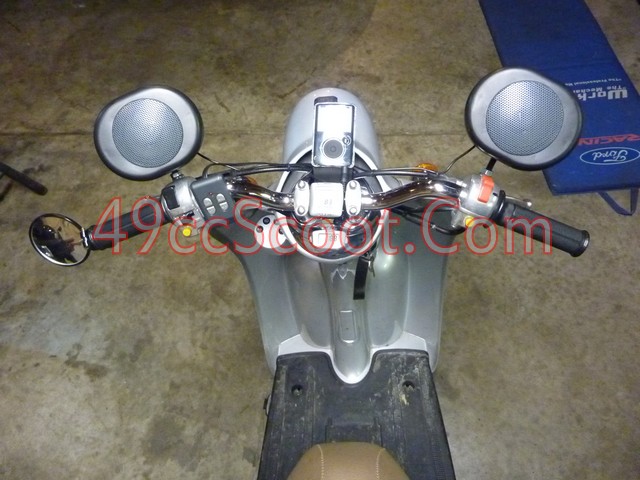
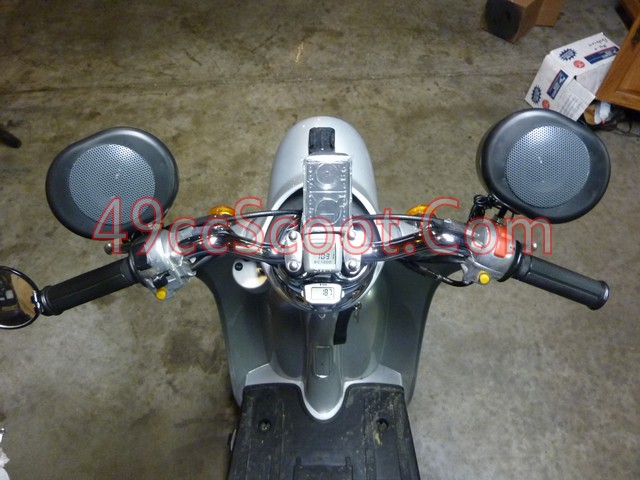
After repeating this for the other side, I've got stereo speakers. ;D Notice the right side speaker is mounted just slightly higher, because I wanted additional clearance near the throttle.
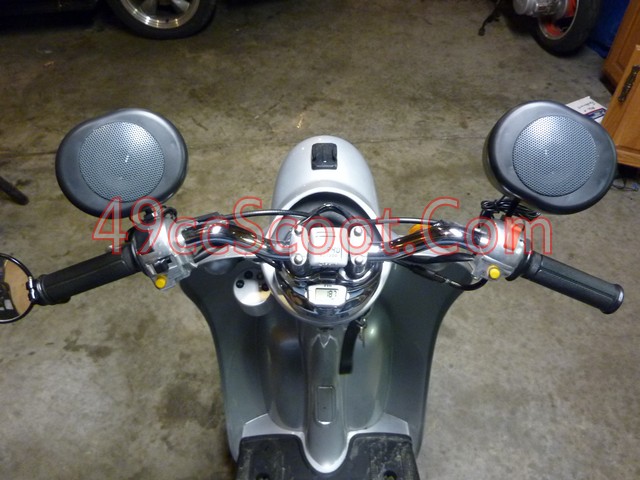
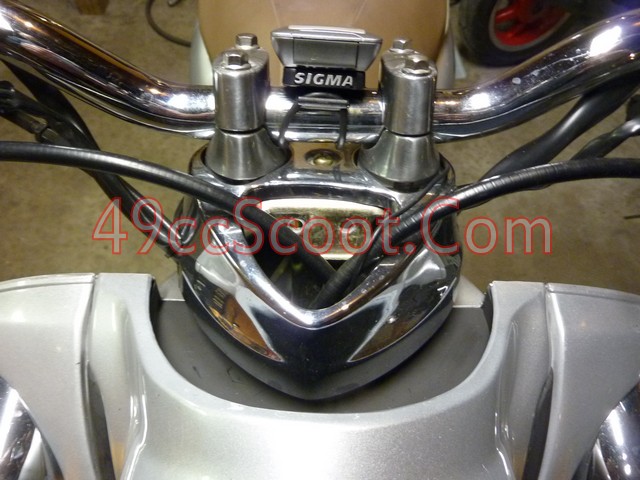
I decided to make a mount for my MP3 player next. I decided to keep it straight in front of me. The mounting holes that used to be for the tiny stock windshield and gauges will work as a mount for an MP3 player bracket.
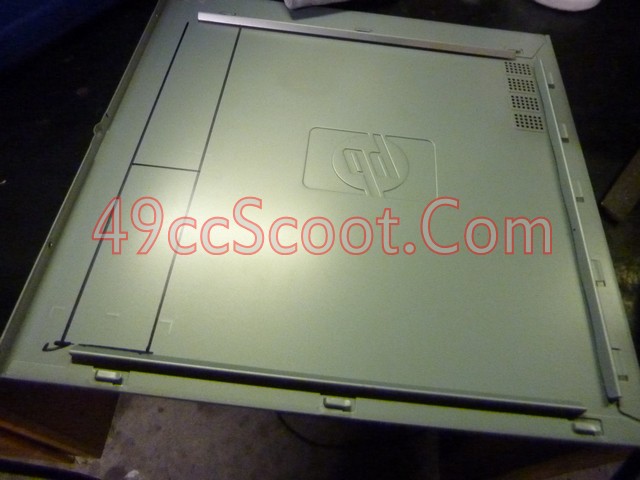
I cut my soon-to-be bracket out of an old computer case cover.
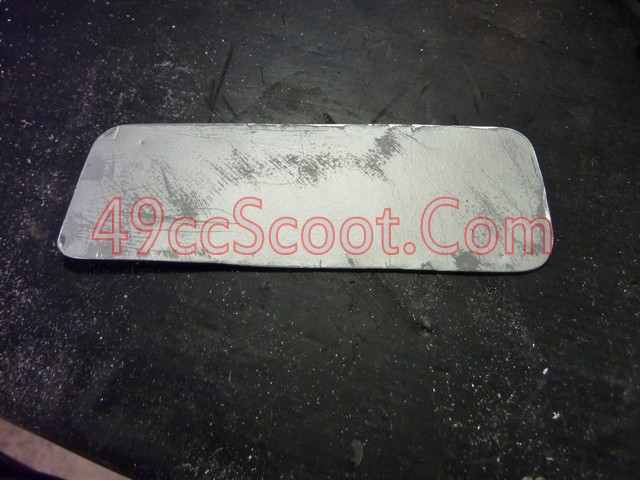
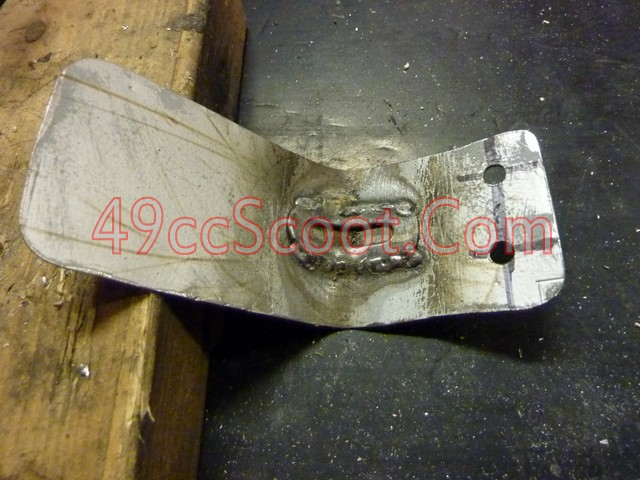
I drilled holes to match up with the mounting location I chose and bent it into position in a vise. It was a bit flimsy, so I bent another piece of steel to support the bend in the bracket, and welded it into place.
After painting the bracket, I mounted it to the scooter and used heavy duty velcro to attach an MP3 player case. This way I can remove the whole case or just take the MP3 player out of the case. You definitely don't want to leave an expensive MP3 player sitting out in the open if you leave the scooter unattended.
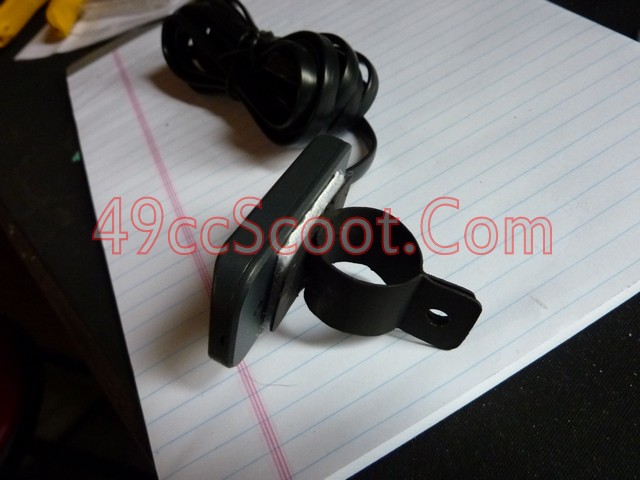
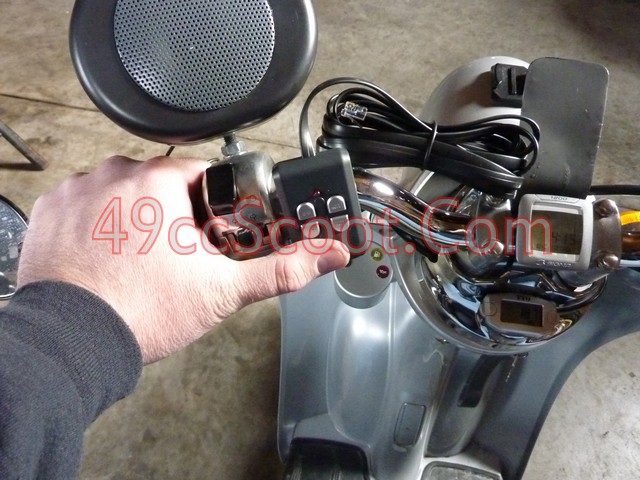
I wanted to finish up all the accessories that would be on the handlebars, so I moved on to mounting the remote next. I wanted to keep the remote where it could be used without taking my hands off of the grips. I accomplished this by making my own clamp-on brackets. Again, I used the old PC case for material. I started by cutting a strip and bending it around the bars, leaving tabs on each end. I drilled a hole through both tabs so they could be secured with a nut and bolt. Then I welded a piece of steel on slightly smaller than the remote so it could be mounted. I used heavy duty velcro again to mount the remote to the clamp. I left the clearance just slightly large when I made the clamp so I could fit a thin strip of rubber between the clamp and the bar.
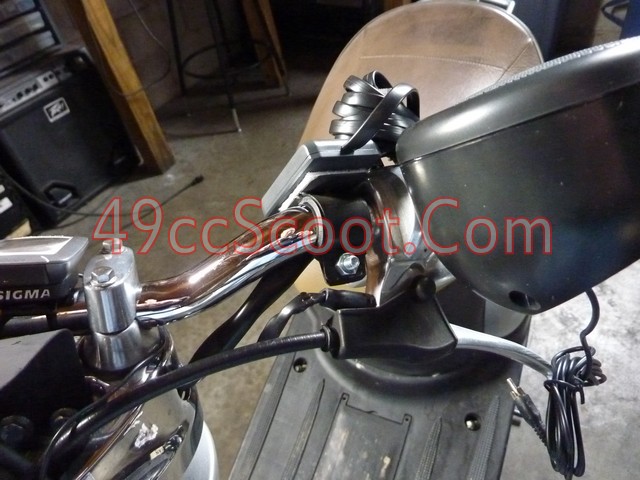
You can see that this put the remote exactly where I need it for easy access.
Now I needed to move on to amplifier installation. I needed to remove the battery and panels to run wires later, but even if you don't you should disconnect the battery.
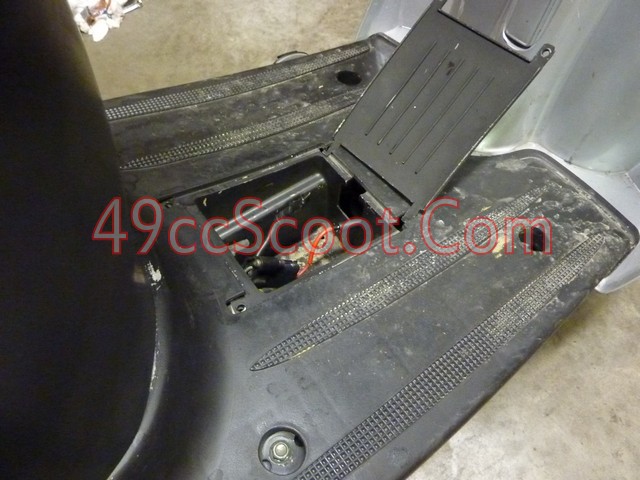
Remove any panels that will be in your way for wire routing.
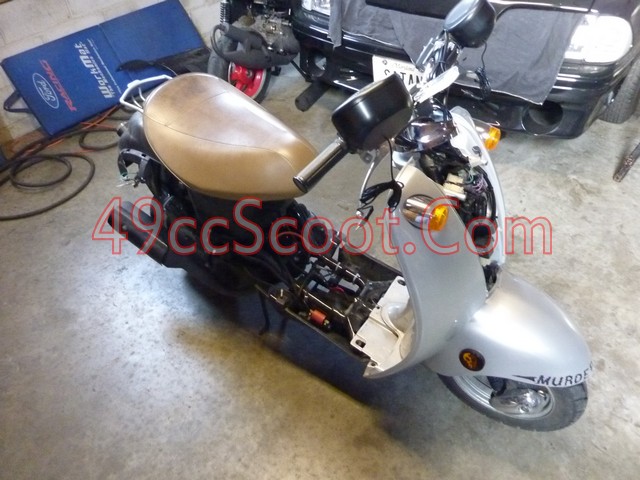
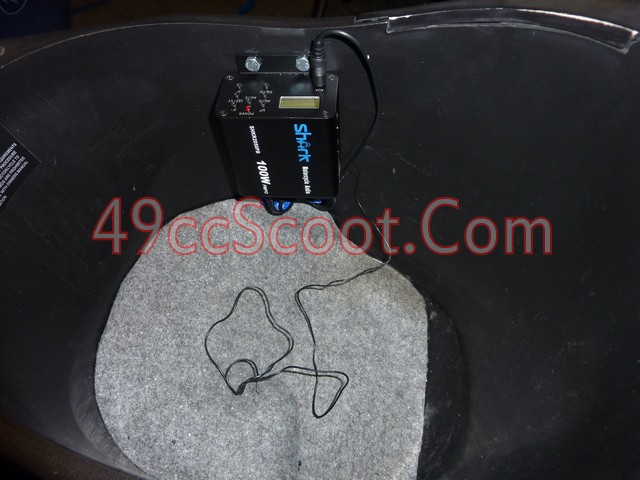
I decided to mount the amplifier under the seat.
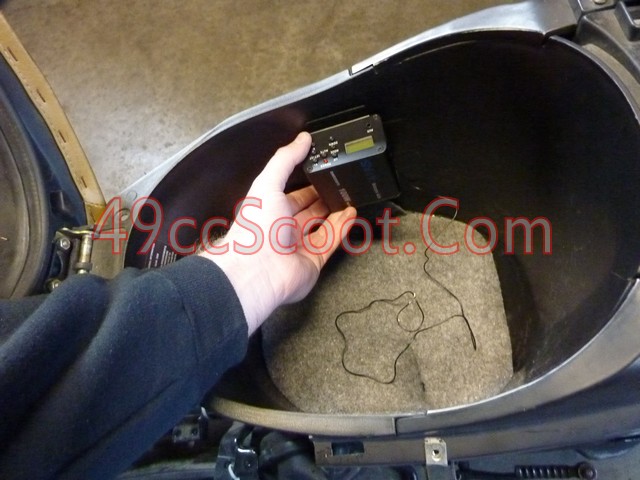
With the panels off, I could see that I had plenty of room for bolts and wires on the outside of the seat bucket.
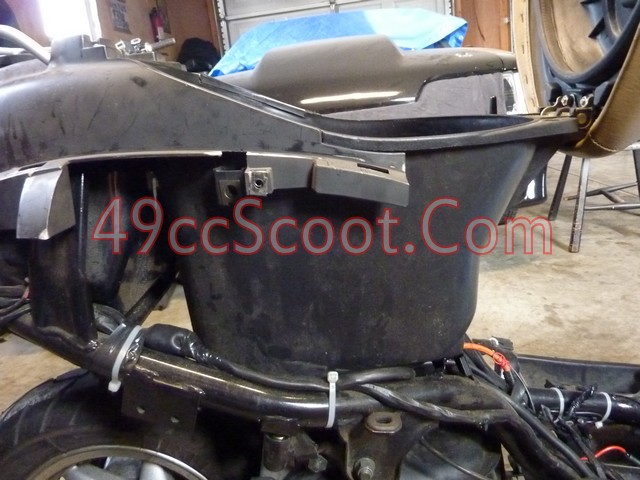
When considering mounting location, consider clearance to the seat and watch out for anything (such as the seal) that protrudes down into the seat bucket when closed. remember to leave clearance on both ends of the amp for wiring.
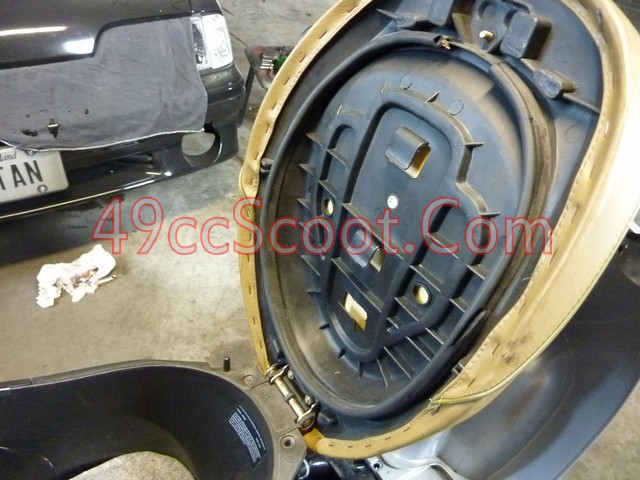
Initially, I just drilled holes and mounted the amp with nuts and bolts. Before mounting though, I drilled a hole for wires to pass through and installed a grommet.
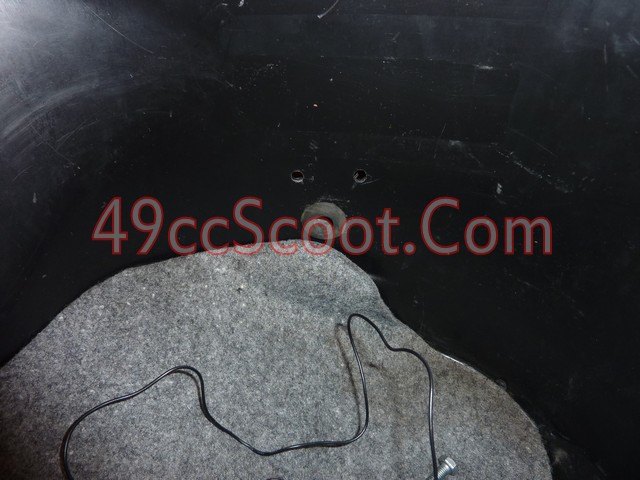
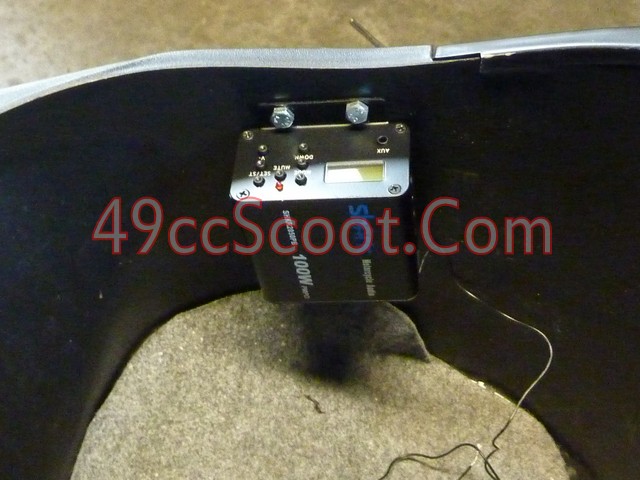
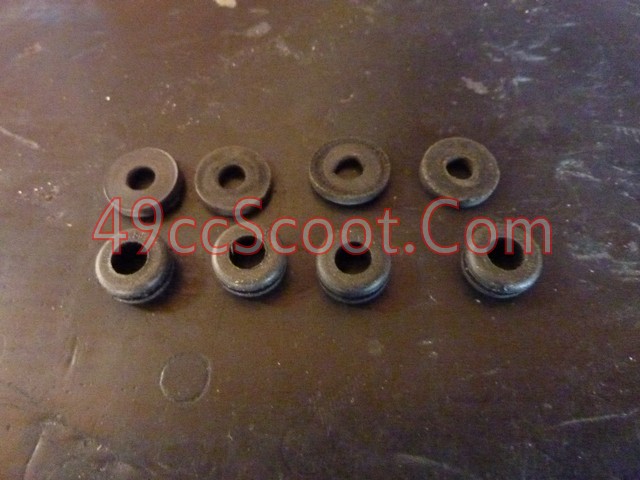
After some issues that I believe may be vibration related on my first test ride, I went back and used grommets and rubber washers to try and cushion the amp and dampen vibrations a bit. It seems that these mounts have put a stop to my issues with the unit switching modes on it's own.
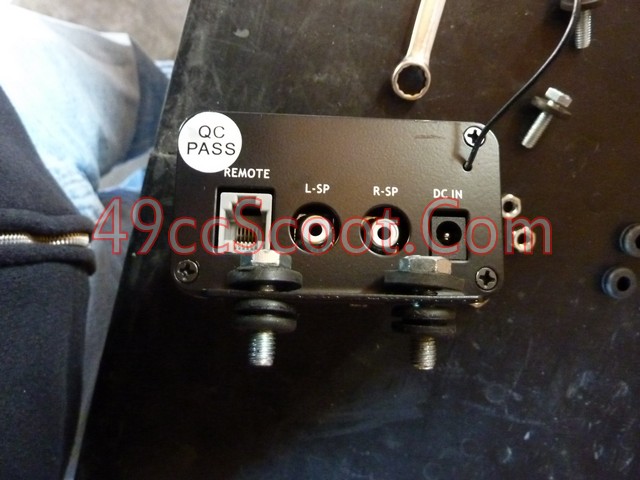
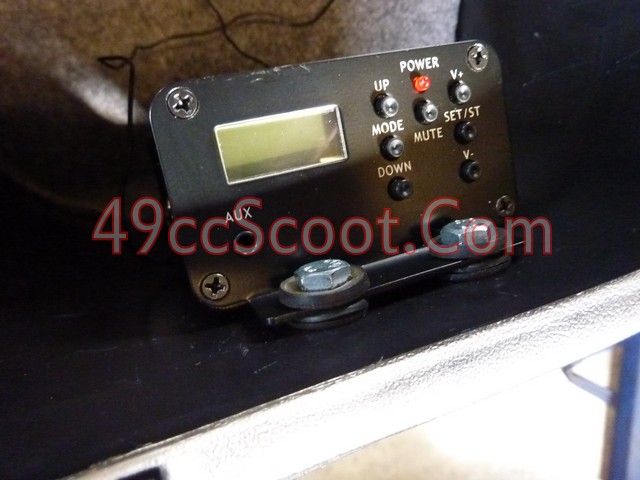
With all of the major components installed, I moved on to wiring. You can see a wiring diagram in the user's manual I posted near the beginning of this article.
I started by labeling the left and right speakers. This way I know which is which after they are ran together. If you don't do this, you could of course use trial and error. You have a 50/50 shot of getting it right on the first try.
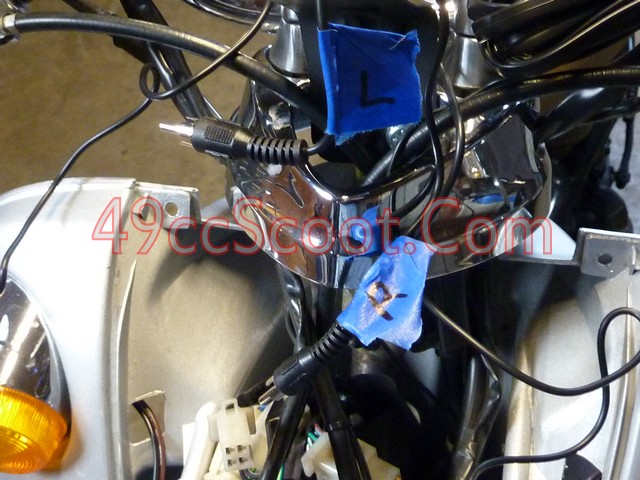
I used plenty of zip ties to secure the wires together and out of the way. Make sure you do not run near moving parts or anything that could damage the wiring.
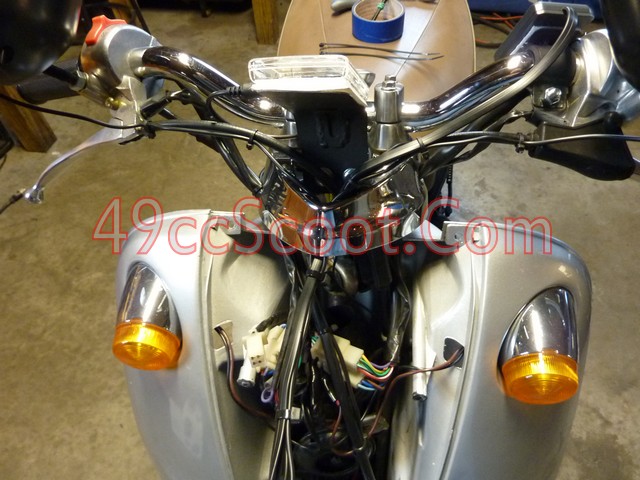
You can see that I had excess wiring that needed to be bundled up and secured.
Once you get all of the other wiring straight, you need a place for your antenna wire. I eventually cut it off, because I had very bad radio reception and my MP3 player also includes an FM tuner.
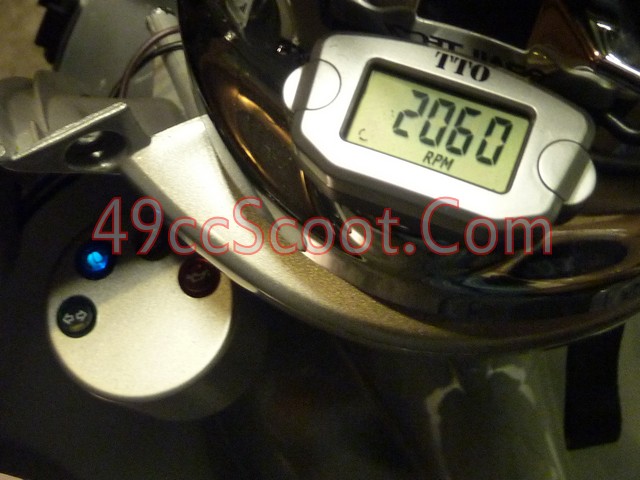
Before I started putting panels back into place, I adjusted my idle while I could reach the carburetor easily. I usually leave it a bit low, so I adjusted it up to the point that the headlight wasn't pulsing and dimming at idle, which as right around 2000-2100RPM for me. If you choose to do this, don't set the idle so high that the rear tire spins. I'm not sure if it will make any difference, but I like the idea of keeping the charging system working well when stopped.
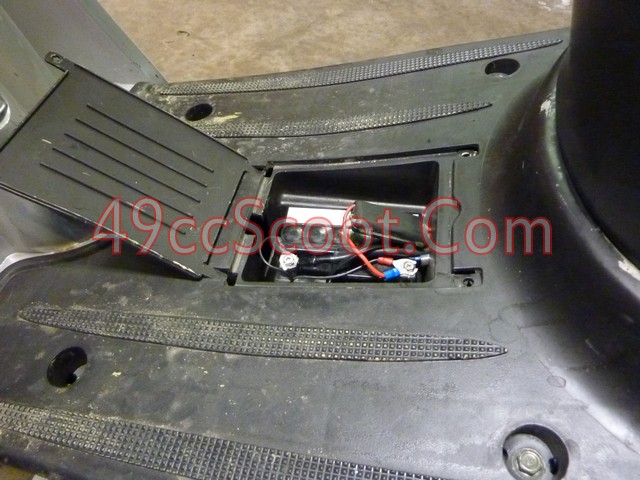
Then I put all of the panels back on and re-installed the battery, along with the power wires for the amp.
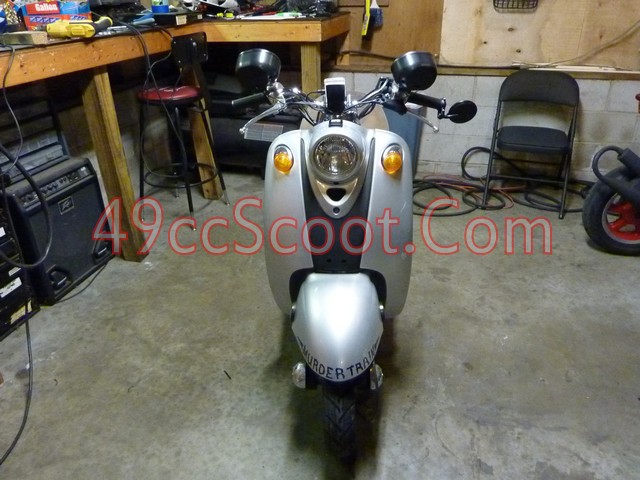
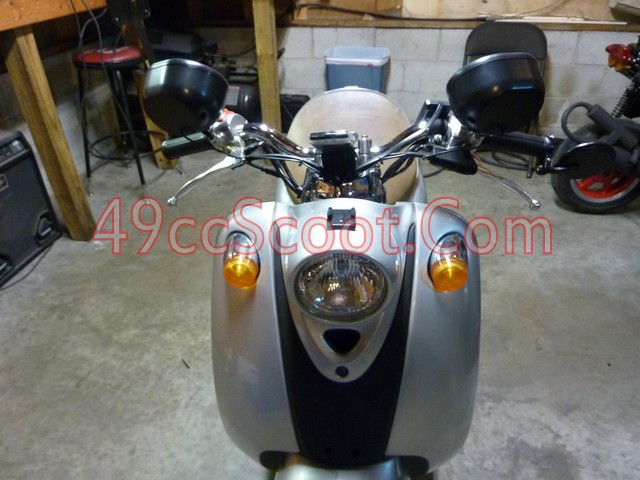
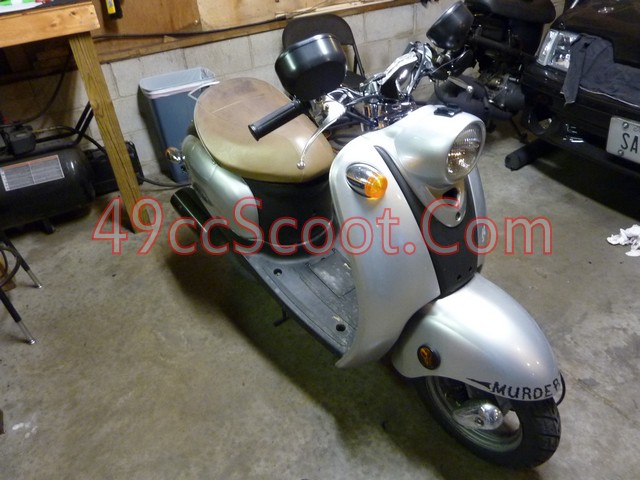
Here are pics of the completed setup.
