Cold Weather Riding Help : Gear & Info To Keep You Warm
Dec 30, 2013 14:56:57 GMT -5
wolfbat3, Cincikid, and 1 more like this
Post by 90GTVert on Dec 30, 2013 14:56:57 GMT -5
 Cold Weather Riding Help
Gear And Info To Keep You Warm
Anyone that has ridden in cold temps is probably aware that standard riding gear just won't cut it. Your cool weather gear may work for a quick trip in the neighborhood, but if you plan to ride for extended time/distance when it's really cold you'll need to gear up to stay warm. If you aren't warm, you aren't safe. I'm not just talking about the obvious things like frozen extremities that ache or go numb. Some studies have shown that as the body's core temperature drops, reaction and movement times increase. I can tell you from personal experience that my ability to react and maneuver suffers noticeably over time in frigid temps and it is not a pleasant feeling. Threats presented by distracted drivers, animals or objects in the roadway, and so on are dangerous enough when we're on top of our game. All of these things, and of course comfort, are excellent reasons to put some effort into staying warm on your scooter.
Clothing
The first thing we always hear about is dressing in layers. This means not only using multiple layers of clothing, but using layers of clothing that serve different purposes. The three types of layers are wicking, insulating, and shell. This is not to say that you can only use 3 total layers, but those are the basic purposes that layers should serve.
Wicking : A wicking layer is the base that draws moisture away from your skin and out into other layers of clothing/air. Evaporating moisture has a cooling effect, so you don't want sweat hanging around on your skin. The wicking layer should be form fitting, snug against your skin, so that it can draw moisture directly away from you instead of allowing it to react with air as loose clothing would. Wicking isn't only about the fit of the garment, but also the material. 100% cotton garments are not a good option here, as they are more absorbent and slower drying so they keep moisture near you. Polyester and polyester blends or wool are better choices for base layers because they do a better job of transferring moisture and dry more quickly.
I find that when I gear up properly for the conditions, especially since I ride a lot at night without the sun's heat, I am not likely to sweat much. I don't spend a lot of money on fancy base layers. I wear long johns/thermal underwear that you can find for $15-20 for a whole set or $7-10 for an individual top or bottom. They're largely made of cotton with 25-30% polyester, but they work well for me. In very cold weather or for long rides I often wear two pairs to create a thick base layer. If you are more active or more likely to sweat it may be worth spending a little more on specialty base layers.
Insulating : (Also called the thermal or mid layer.) This is what we most often think of for warmth. The insulating layer keeps your body heat in. Shirts, sweaters, flannels, jackets, are all part of this layer. The options are almost endless here. A flannel button up shirt is one of my favorite things to add in the thermal layer. I can take it on or off pretty easily, as opposed to a pull over, and it doesn't take up a lot of space under the seat. Within 2 minutes I can add or remove it to fine tune my layering. It doesn't have to be a flannel, but I highly suggest finding a similar garment to aid in regulating your temp. If you'll be riding through varying conditions consider a couple of items that can be easily swapped on or off and stored as needed.
Shell : (Also known as the windbreaking or isolation layer.) This is the outermost layer that aims to separate you and the rest of your clothing from the elements, like you're in a shell. We've all seen the wind chill factors that weather forecasters like to throw around on cold days. Imagine those factors when you're riding at sustained speeds of 30, 40, or 50MPH. In fact, you don't have to imagine them. CLICK HERE for a link to a wind chill chart from the National Weather Service. A quick look at that illustrates the importance of keeping the wind out. Shell layers should be wind and waterproof. Leather and textile jackets may do an acceptable job, but rain gear is an excellent choice for an outer shell.
One take on a shell layer that is useful for cold weather commuting is to use a very thick outer layer and forgo most of the rest. This take is not as effective as the "proper" layers, but it makes the transition from comfortable riding to comfortable working, school, etc... much quicker. Dickies insulated coveralls range from about $50-100. Carhartt overalls get great reviews, but average prices seem to be about double that of the Dickies gear. Ski gear is another great option for a thick outer shell. You can get ski pants, jackets, and coveralls with a wide range of price points. While these types of thick shells work pretty well on their own over regular clothes, they are excellent when paired with wicking and thermal layers underneath.
Tip : Avoid starting out cold. Store your riding gear inside where it's warm or put it in the dryer for a few minutes just before you get dressed to ride. *Always check the tags to verify that it is safe to dry each garment before putting them in the dryer.* |
Head And Neck
I recommend a full face motorcycle helmet for year-round riding, but I strongly suggest a full face helmet for cold weather. Look for a helmet with good venting, preferably adjustable, around the nose/mouth especially. Helmets with a nose piece that helps to keep your breath away from the face shield are desirable for cold riding. These features help reduce or eliminate fogging of the visor. If you can keep the visor clear when closed it goes a long way to keeping your head and face warm. Different makes and models of helmets have different opening and closing characteristics. I find that a helmet which allows me to barely crack the face shield open lets me defrost the shield if necessary without letting in lots of air and freezing my whole face. If you opt to skip the full face helmet, a 3/4 helmet with a large face shield would be the next best thing.
Tip : It is best to try on helmets before buying. Proper fit is important for comfort and safety. You'll find that not only size, but also brand matters for fit. Even if you buy online to get a lower price I suggest trying to find the helmet you're interested in locally to see how it fits before making a purchase. CLICK HERE for info on fit and more details about motorcycle helmets from the Motorcycle Safety Foundation. |
If you find that your head or face are still cold, adding a balaclava or ski mask under the helmet should help. An added benefit of those items is that they may also cover your neck. If your head and face are comfortable but your neck is cold you can use a scarf or neck warmer. There are neck warmers that look like a turtleneck with most of the shirt cut away, leaving just enough material around it to tuck into your shirt or jacket to better seal in warmth.
Hands And Feet
Hands and feet, especially fingers and toes, are the toughest parts to keep warm. The extremities suffer from less blood circulation in frigid temps. Blood vessels in extremities are constricted when it's cold to help keep your core and vital organs warmer by reducing heat loss through the extremities. Maintaining core temps should assist to some degree in prolonging comfort in fingers and toes. I read one message board participant's post which claimed that the use of a heated vest allowed him to wear summer gloves for winter riding. I have never used a heated vest, but there have been occasions where my body was hot and perspiring on a frosty ride and yet my fingers were numb or in pain while wrapped in thick winter riding gloves and liners. Perhaps it's poor circulation on my part, but I don't believe the affect to be anywhere near as defined as the aforementioned poster stated. Consider this scenario. You are standing in a room that is heated to 100°F and you place your hands in a freezer or a bucket of ice water. Are your hands going to remain toasty warm because your core and everything aside from your hands is warm? I certainly encourage you to keep your core warm, but you will still require gear for your hands and feet for cold weather riding. They can be treated with layers as described earlier (wicking, insulating, shell).
For the feet you can get moisture wicking socks as the base layer. Wool socks are a good thermal layer. You can also find thermal socks made of synthetic blends or perhaps double up on regular socks. The shell layer will most likely be your shoes or boots. Leather work boots are a relatively cheap option for riding boots. Purpose built riding boots are available and they may offer better protection in an accident, but they can be expensive. Choose a pair of boots without steel toes. Once the steel toes get cold they will chill your toes. If you can't get used to boots and insist on shoes look for something waterproof and with thick material. Breathable athletic shoes will not serve you well for winter riding. You can also get shoe covers that are meant to seal block wind and water. If you like to keep your feet on the ground at times for slick conditions I'm not sure that many shoe covers will have a long life.
Tip : Don't wear socks or layers of socks so thick that your feet are squeezed. The pressure reduces circulation and can make your feet feel colder. If purchasing shoes or boots for cold riding, try them on with the socks you'll wear when riding if possible. |
Hands again use the 3 layering principals. Glove liners can be used for a base layer. Winter riding gloves should have insulation and an outer shell for wind/waterproofing. The problematic bit of keeping hands warm is that we operate the throttle, brakes, lights, horn, and so on with them. Thick gloves with lots of insulation hamper mobility as well as our ability to feel the controls without needing to look away from the road. This makes other methods of keeping the hands warm, which will be discussed later in the article, quite beneficial. Riding mittens are available that position all of the fingers together inside instead of separate like gloves. This allows the four fingers to share warmth and I would think reducing the surface area of the shell exposed to the elements helps as well. Not everyone is comfortable operating the controls in mittens, particularly riders accustomed to using only a couple of fingers to apply the brakes. Whether you choose gloves or mittens, longer gauntlets aid in keeping the wrists warm and sealing air out of your jacket.
Accessories And Alternatives
Comfort and safety in extreme cold or extend cold riding may require more than the conventional layering techniques described above. You can only add so many layers before limiting mobility. If you are dressed to the max and still cold, it's time to consider these options. You can also use the tools below to reduce your gear in milder temps and wear thinner clothing.
Heated Clothing And Gear
All sorts of heated clothing and accessories are available. Heated grips, gloves, vests, jackets, liners, insoles, mats/pads... pretty much anything you would want heated is for sale somewhere. I'm primarily referring to electrically heated items, but there are chemical and gel heating options. The chemical and gel heated garments are most commonly gloves with a pouch at the back of the hand. A single-use chemical hand warmer or a gel pack can be inserted. Chemical hand warmers make use of a chemical reaction that produces heat. Manufacturers quote times anywhere from 30 minutes to multiple hours. Gel packs are usually heated in a microwave prior to use and are quoted at times of minutes to a few hours that they can supply heat. Reviews I've read of gel packs are usually on the low end at around 30 minutes. Chemical warmers get better reviews for longevity, but their price will add up if you ride regularly since they're one-time use. I question the ability of either chemical or gel packs to provide sufficient heat for comfortable riding, but it may be worth picking up a few hand warmer packs and seeing how they work in your pockets or between layers. They should never be placed directly against the skin and if you start feeling uncomfortably hot pull over and remove them or relocate them farther from your skin.
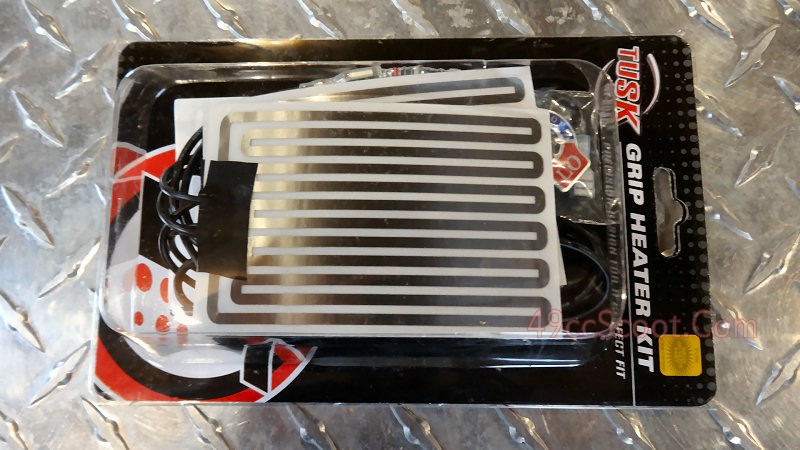
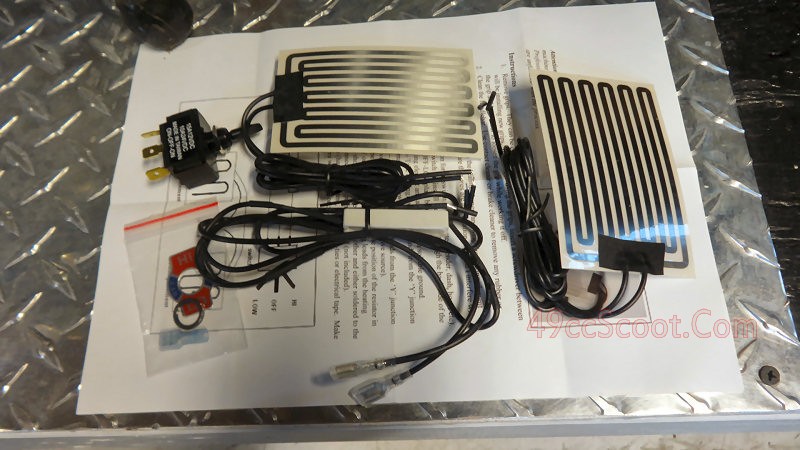
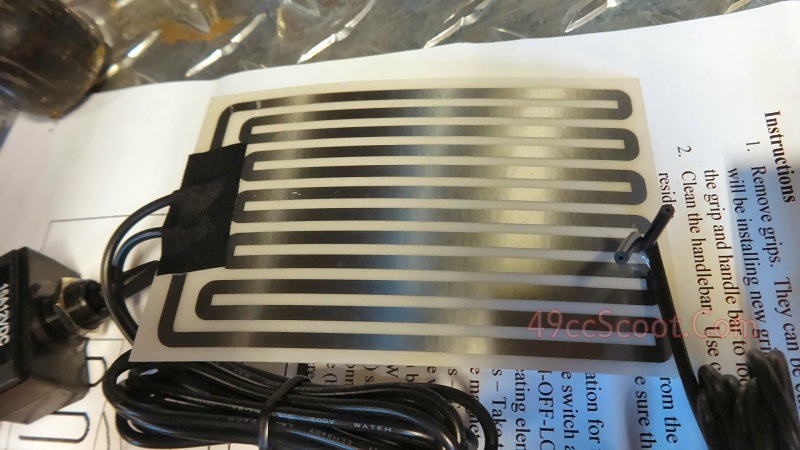
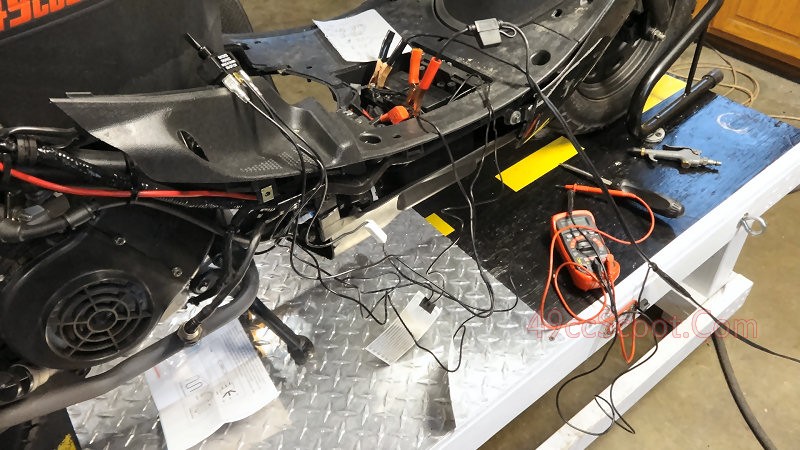
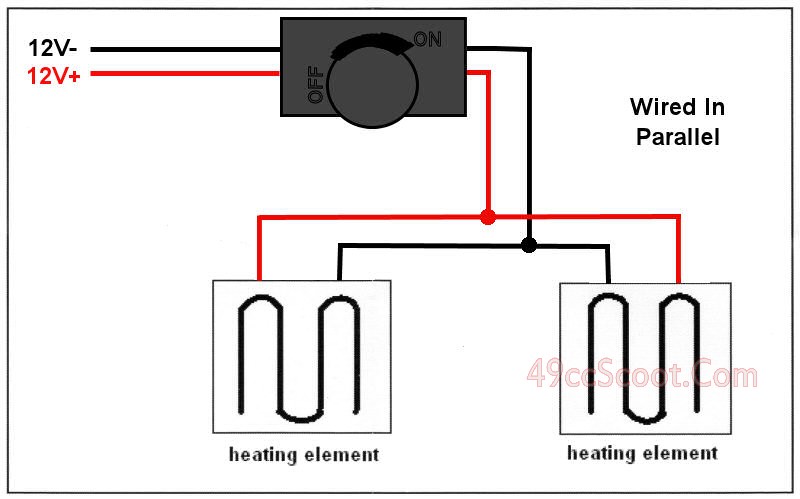
Electrically heated accessories use resistive elements to convert electrical energy into thermal energy. Electric heating elements can usually exceed the temperatures that gel and chemical heaters produce. I have measured grip heater elements at over 250°F, though actual temp coming through the grips isn't as high. They also give off heat or as long as you need it, provided you are able to supply enough power. Some clothing uses batteries or battery packs. These are limited by the amount of energy stored in the batteries. Creating a substantial amount of heat for very long requires a lot of energy. If you could get enough data from the manufacturer you could calculate approximately how long the items would work, but all manufacturers don't offer up enough information. An easier way to evaluate what works and for how long is to search for reviews on the exact item you are considering. Amazon and google searches are good places to start looking for reviews.
Tip : Invest in a rechargeable solution if your gear uses standard (AA, C, etc...) batteries and you plan to use it often. |
Other gear is meant to connect to your scooter's electrical system. Heating duration and intensity in this case will depend on your scooter's battery and charging system. The average 50-150cc scooter won't support multiple heated accessories and charge the battery or even maintain it. Some single items consume more power than the charging system can supply. If you use more current than the charging system can supply, then the battery will be drained over time. The charging systems on my 1E40QMB (Chinese 49cc two-stroke) and 1P39QMB (Chinese 49cc four-stroke) scooters have been able to support up to about 1 to 1.5 amps of current, roughly 10-20 watts, while maintaining their batteries. Beyond there the battery charge suffers. The actual numbers will vary depending on your scooter, what else it's powering, and how you ride. If you have an 11 pole stator and run LED turn signals and brake/tail lights with no other accessories you'll have more energy for heaters. A 6 pole stator on a scooter with incandescent bulbs and a stereo on the other hand wouldn't have much or anything to spare without draining the battery. The charging system produces less power at idle and low RPM than it does at cruise RPM so stop and go riding will be tougher on the battery than open road cruising.
If you will be using a battery charger/maintainer after each ride a little drain may be of little to no concern. If you will be parking out in the cold and expecting the electric starter to work later you need to pay close attention to your battery and charging system. Chilly temps are already rough on batteries and degrade their performance. A battery that's been drained by heating gear then left in the cold will have little chance of supplying sufficient power for the electric starter later. Even once it's started you won't be able to use full power on the heating accessories with a weak battery. Consider installing a voltmeter on your scooter. You can find models that plug into a cigarette lighter/12V receptacle or that are wired to the battery to display voltage. If you see 13V or above at the battery, it should be maintaining or charging. If it creeps much below 13V your battery is being drained. If your heated gear is adjustable you can use these numbers to help you keep the battery up. For example if you are seeing 12V on high, consider switching to low or if the system is totally adjustable by a dial, dial it back a bit until you see 13V+. You'll have to decide how much battery power you're willing to sacrifice for warmth and vice versa for your needs.
Tip : Turn your heated accessories off or down for a little while before you reach your destination to let the battery regain some of it's charge before parking if you can handle the cold without them briefly. |
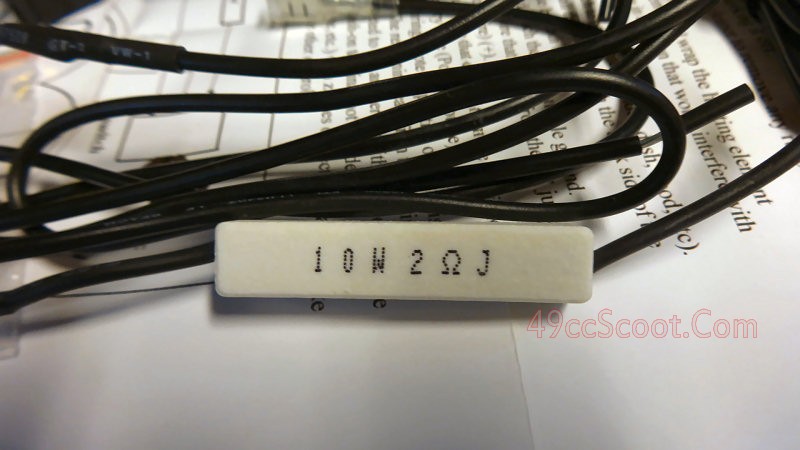
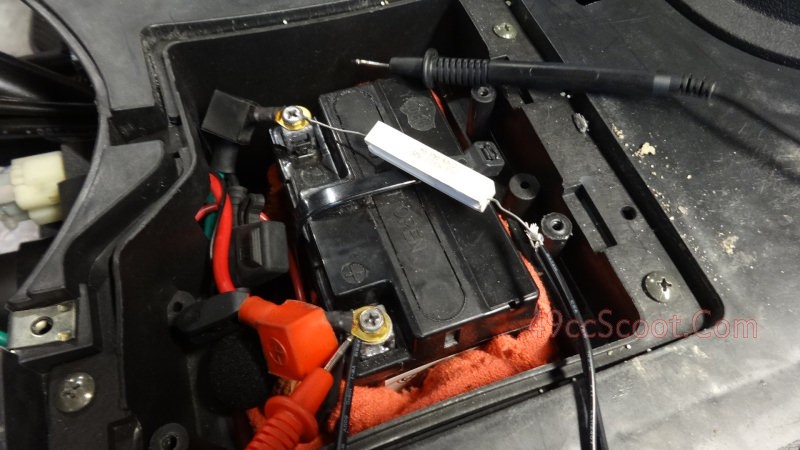
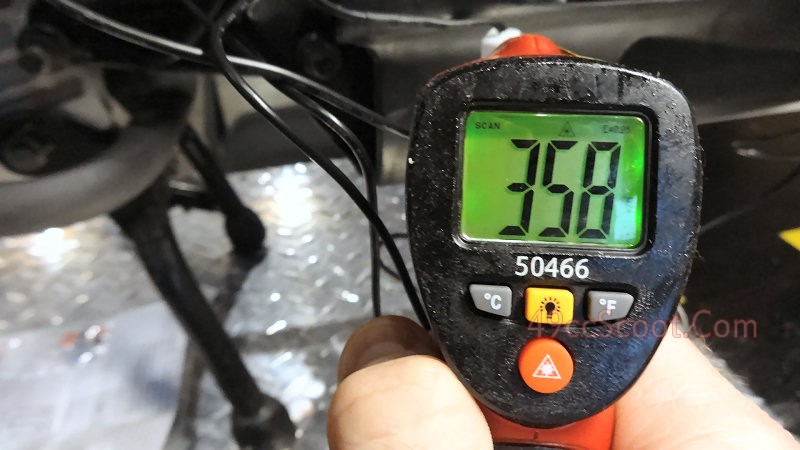
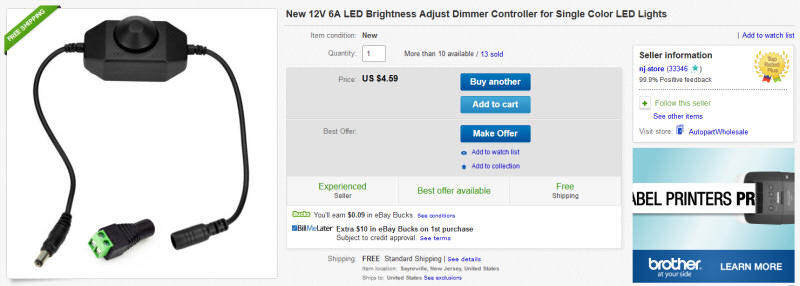
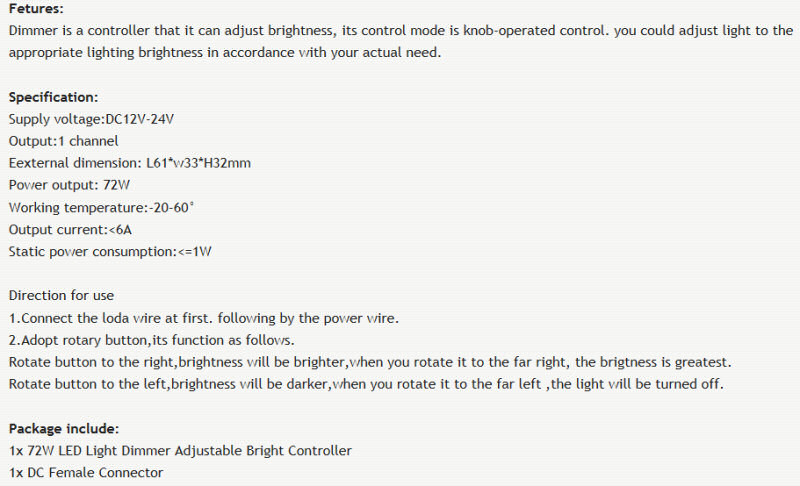
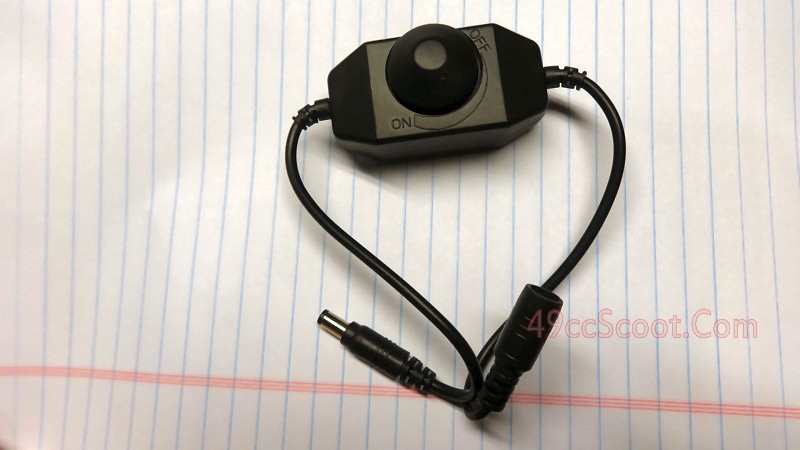
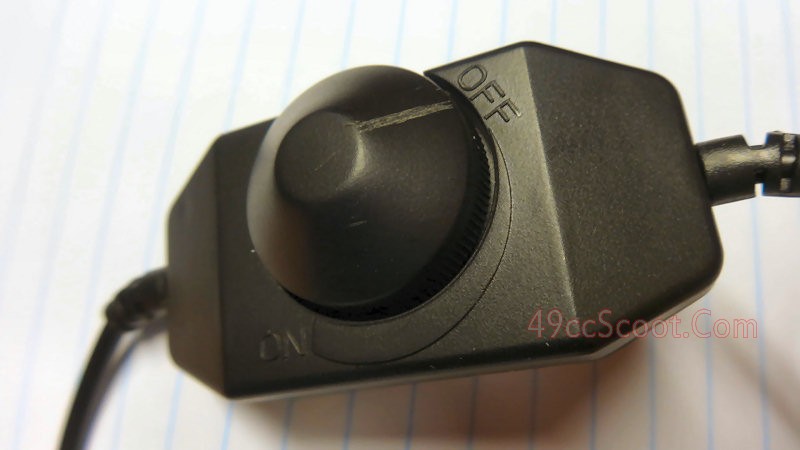
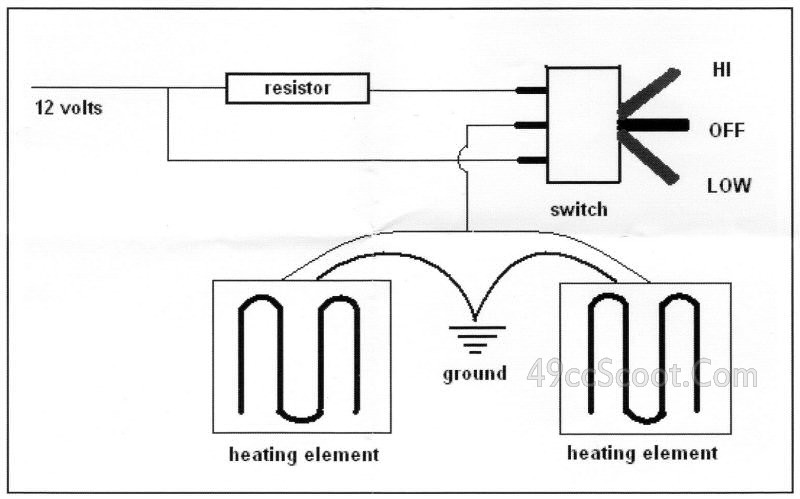
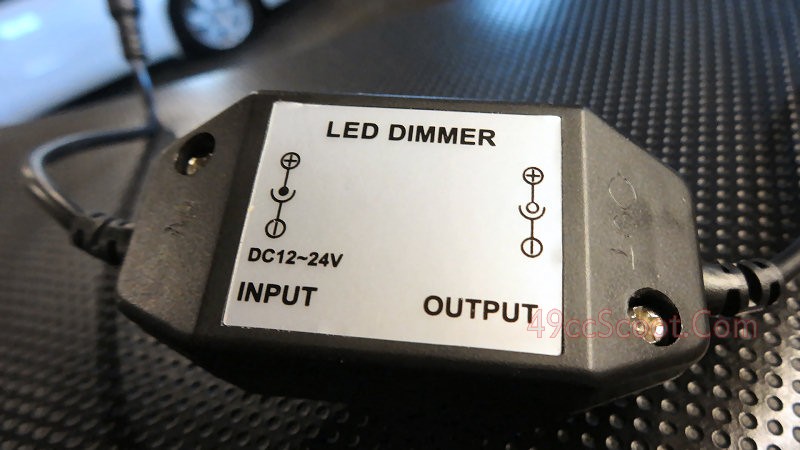
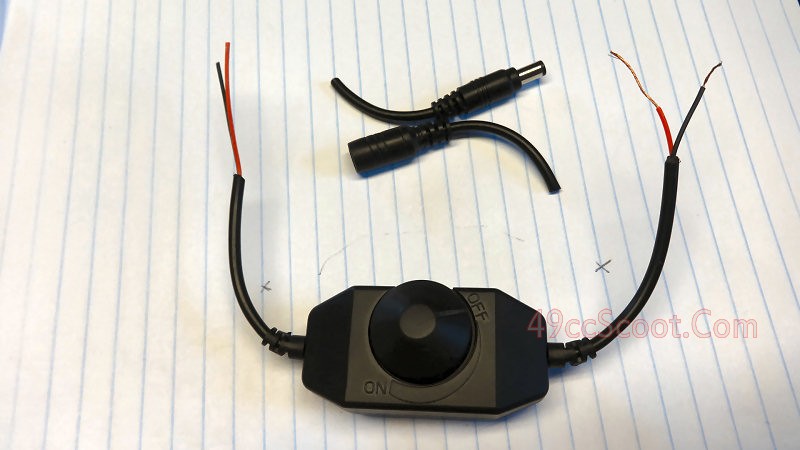
Whether you are using battery pack or scooter powered electric gear, look for items that use pulse width modulation instead of resistors to regulate heat. Using resistors or variable resistors to alter heat output has a couple of negative side effects. The resistor will use a little power and make the system less energy efficient. A resistor could get very hot, depending upon the exact setup. I measured a resistor in a set of grip heaters at over 350°F, which is potentially dangerous to have bundled with wires and near plastics. Pulse width modulators basically turn the power on and off to the heating elements rapidly. Typically you'll have a dial for the heating control with a PWM. At max the signal is allowed through without being switched off, to provide 100% power (100% duty cycle). At halfway on the dial, assuming it's linear, power is on and off for the same amount of time (50% duty cycle). In the 0 or off position, power should always be off to provide no heat (0% duty cycle). This rapid switching uses much less energy and produces less unwanted heat in the controller compared to resistive regulation.
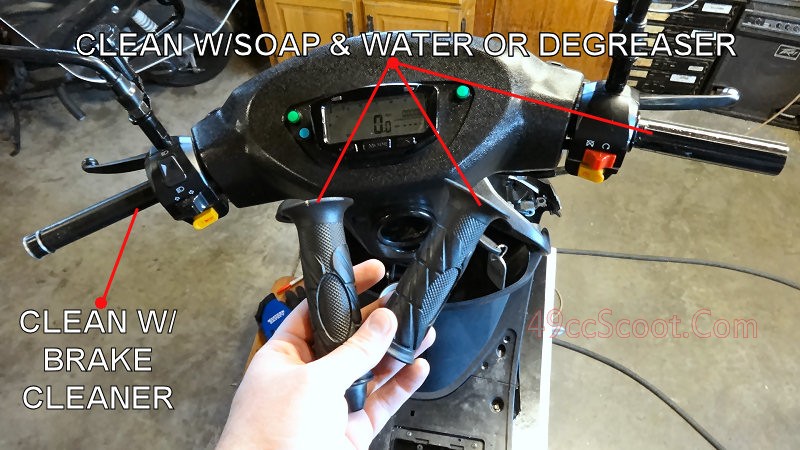
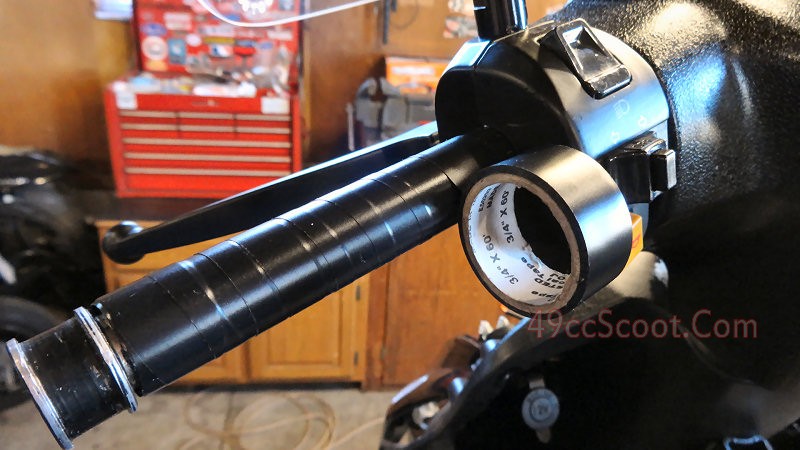
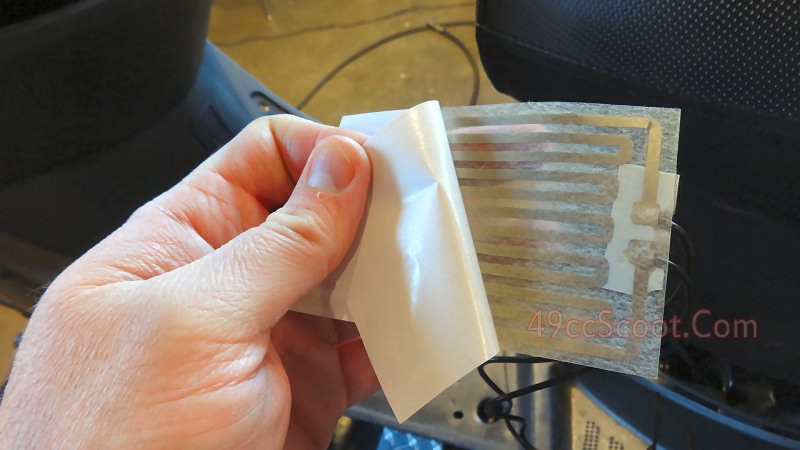
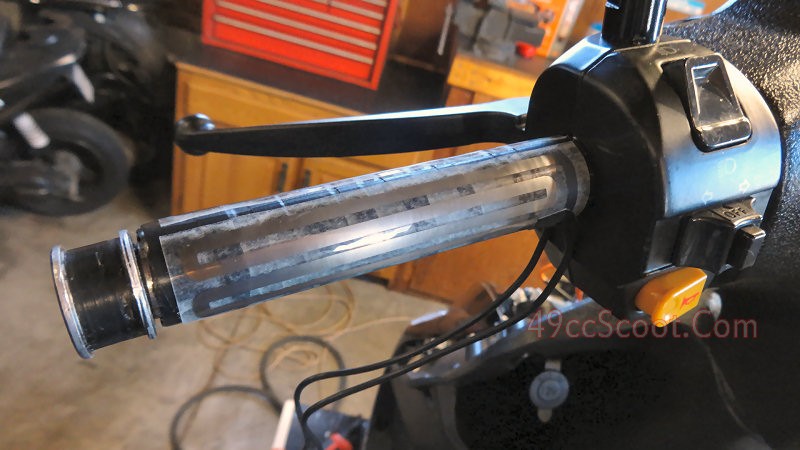
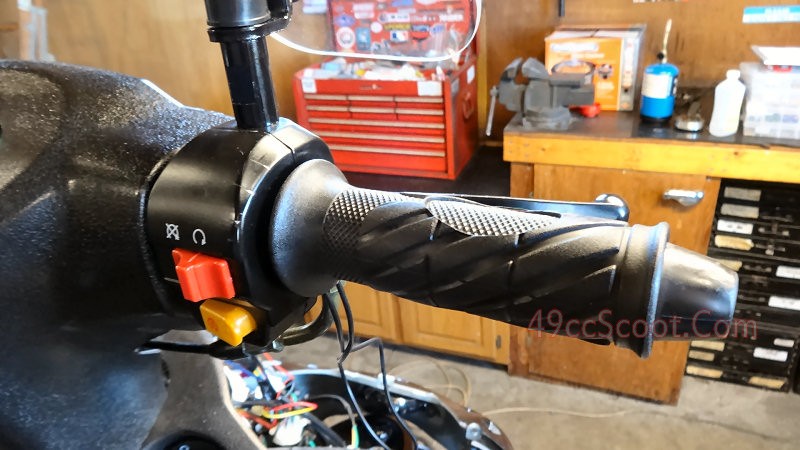
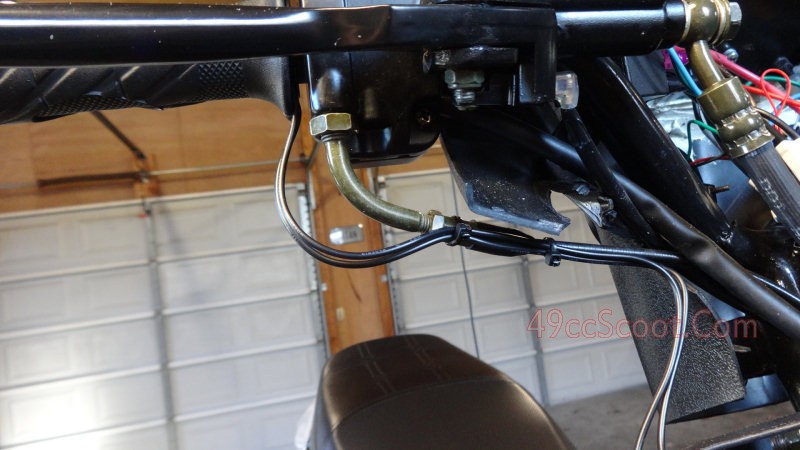
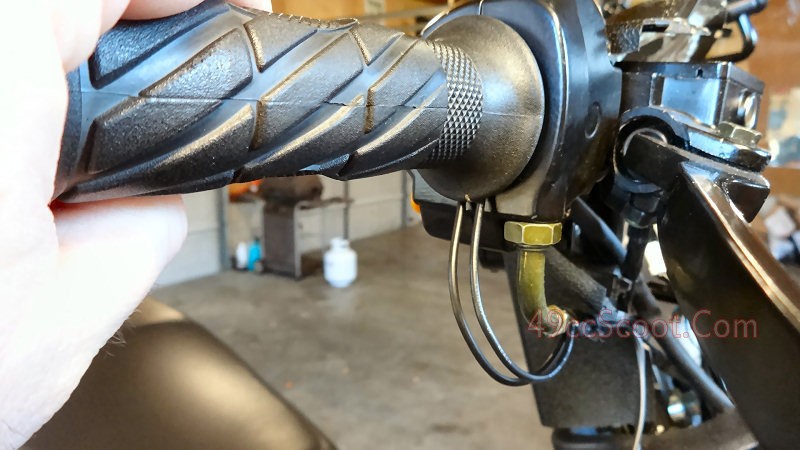
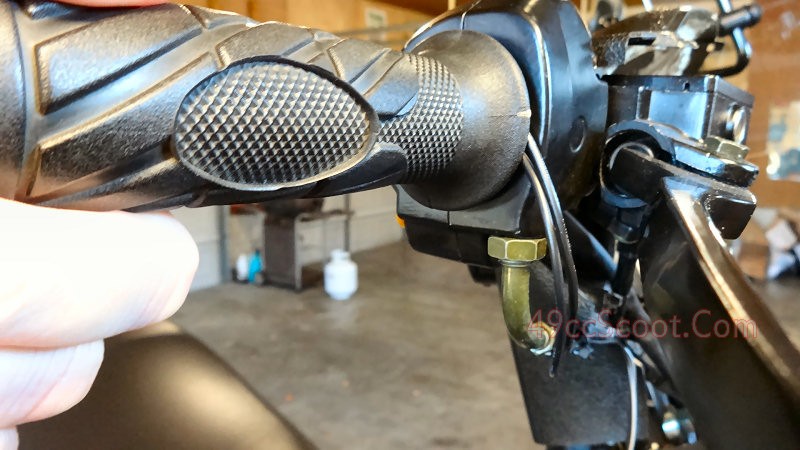
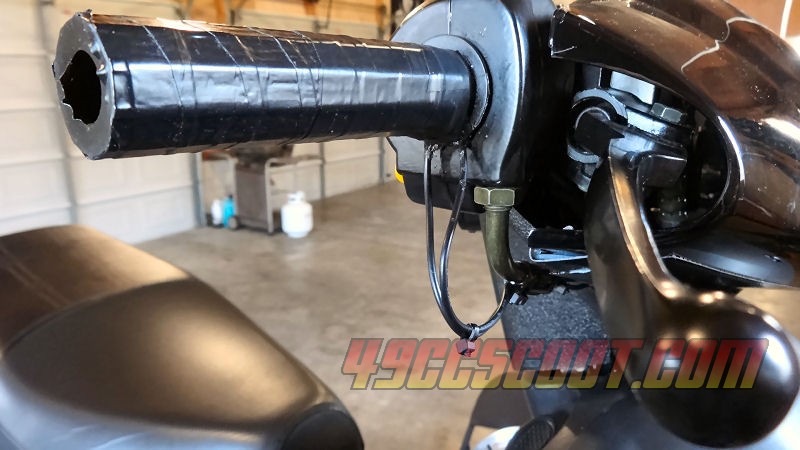
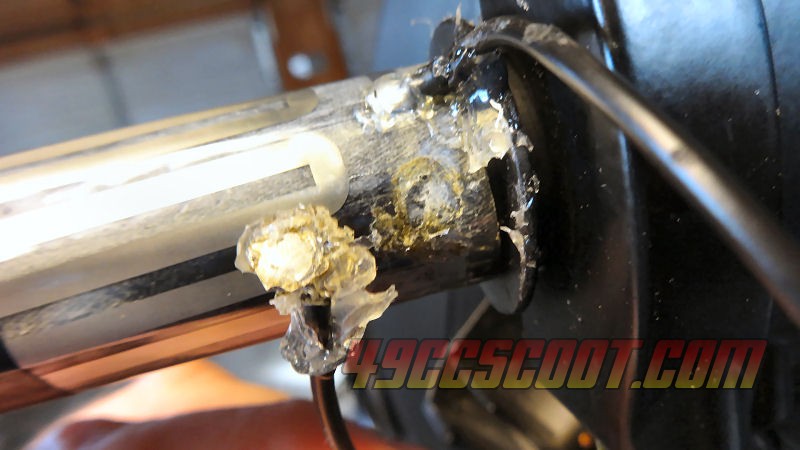
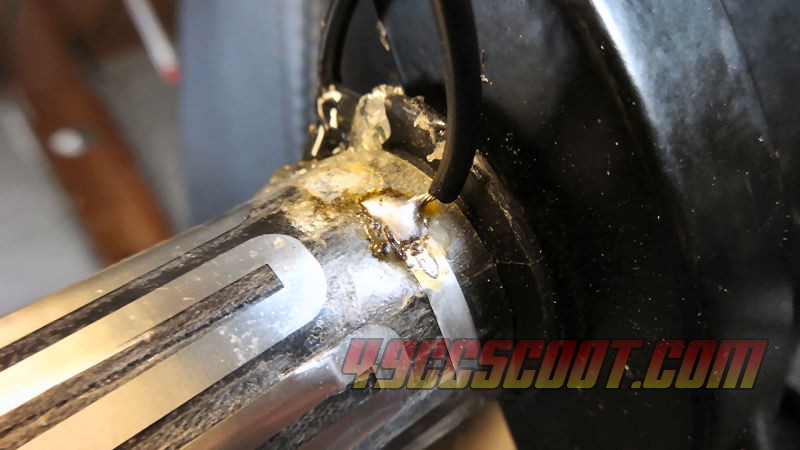
Due to these power limitations, you will need to decide which areas are in the most need of electric heating. Most often it's easier to stack up layers on the body and limbs so the feet and hands are the best candidates for heating. The feet don't have to do much when operating a scooter, so preserving mobility in the hands with electric heat is priority number one in my opinion. I find it much easier to maneuver my scooter when I can feel my fingers and move them somewhat freely. Heated grips or grip heaters and heated gloves, mittens, and liners are all available. Grip heaters (placed under existing grips) and heated grips (replacement grips with built-in heating elements) warm up your palms and the insides of your fingers. Gloves, liners, and mittens usually heat the back of your hand. Some heat the fingers and others do not. I would suggest choosing gloves, liners, or mittens that do heat your fingers. Some choose to combine grip heating and glove heating to keep the whole hand warm. It sounds like a winning plan, until you consider power limitations. Consider starting with the option that fits your needs the best and then adding the other later if needed.
Tip : Shop around and do your research when choosing heated accessories. They are not all created equal and there is a big price spread when shopping for heated gear. Make sure you know what you're getting. For example, some electric clothing and accessories include no heat control or power supply and may require it to be purchased separately. |
Check out the grip heater installation later in this article for more information about heated gear installation, modification, and power consumption. CLICK HERE
Windshield

A windshield is an excellent way to block a lot of cold air from hitting your torso and head. There are even some windshields shaped to shield your hands as well. I suggest choosing a windshield that is tall and wide enough to cover the majority of your exposed area above the handlebars while in your normal riding position. A smaller windshield will force you to lean down to keep the air off of you. The cold is bad enough without needing to ride in uncomfortable positions. I've heard riders report small windshields at bad angles that make matters worse by directing all of the air into their face. I find that with a large shield, approximately 2'x2', I am able to leave my visor open even in sub-freezing temps if I choose too without being uncomfortable. This is nice if you're a heavy breather that has trouble with visors and/or glasses fogging up no matter what tricks you've tried.
As long as I've been a member of scooter forums I've seen discussion regarding changes in speed and fuel economy. Some say they go slower, some say they go faster, mileage goes up, mileage goes down. I thought I had a pretty good idea of what would happen, but I tried a windshield for myself and took notes of the results. I kept everything as constant as I could, with the windshield being the major variable. The windshield I used was a Slipstreamer Scoot 50 ( Parts For Scooters Part#172-88 ). It had a little more frontal area than I did, but the windshield is a more aerodynamic shape than I am. I found that cruise speed, sitting up in my regular riding position, remained the same. Fuel economy was also essentially the same. The only times the windshield had a negative effect on performance were max speed and max acceleration. I usually tucked down to reduce wind resistance and speed up for those, but tucking down accomplishes very little when you've got a windshield in front of you anyway. If you ride in a standard upright position you'll probably never notice these things or at least it will be worth the losses in speed for the gains in warmth.
Windshields do take some getting used to if you've never rode with one before. One thing I had trouble with is the outline of the shield. I had difficulty with my eyes fixating on the edges for some reason when I first used a shield and it made turning feel strange to me. Windy weather takes some getting used to as well. Suddenly the scooter and every sound it makes gets louder without the wind noise. That's not necessarily a bad thing. Some people grow to love windshields and leave them on year-round. I see them as a very useful tool for cold weather riding, but I'll be glad to remove it when spring and summer come around again. If you have to brave the elements all winter long, it's not a waste of money in my opinion if you only use it seasonally.
Check out more windshield tips and info later in this article. CLICK HERE
Handguards and Mitts

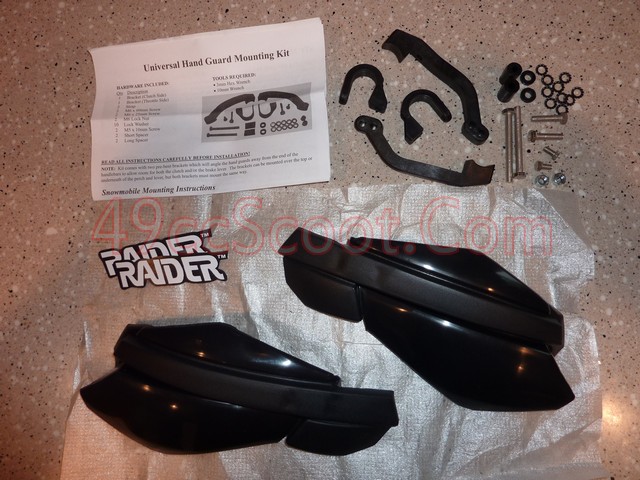
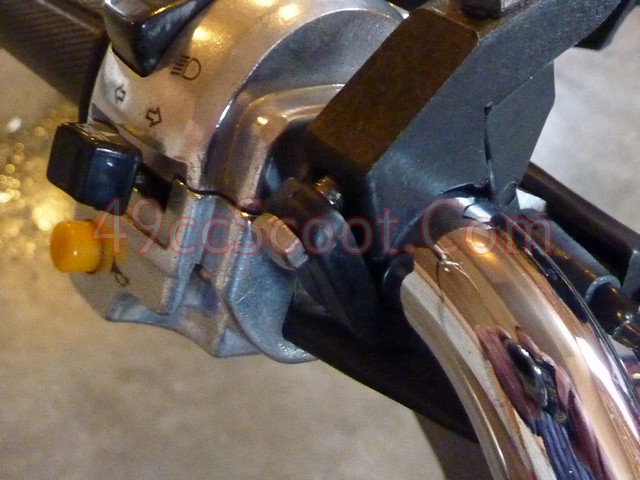
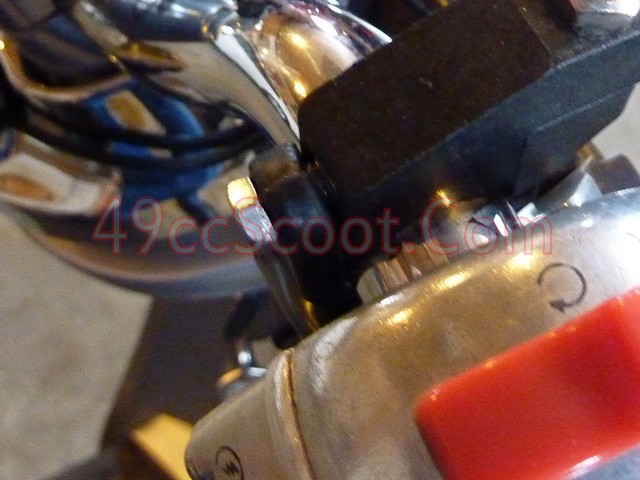
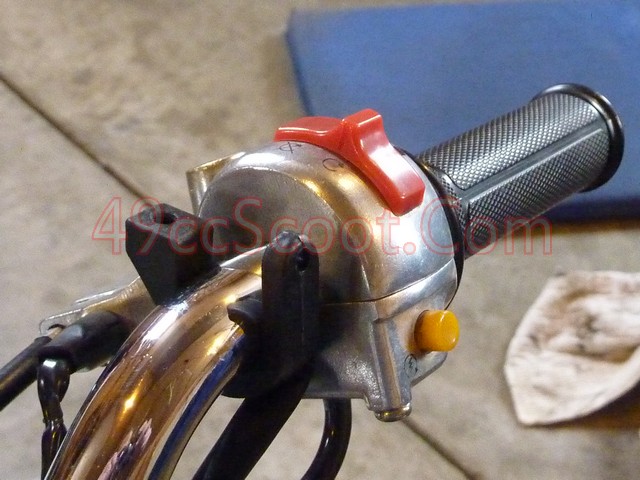
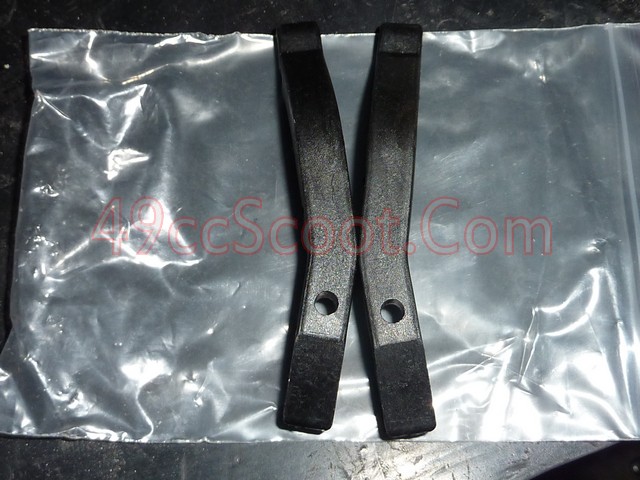
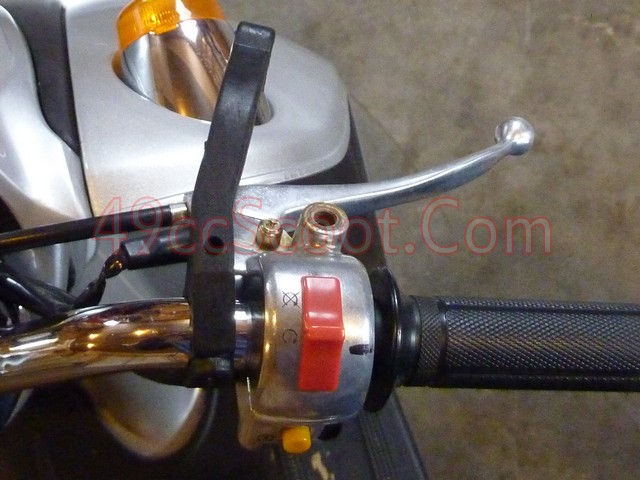
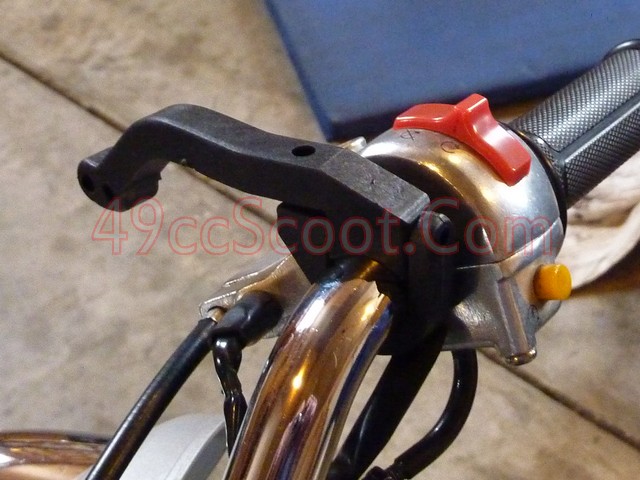
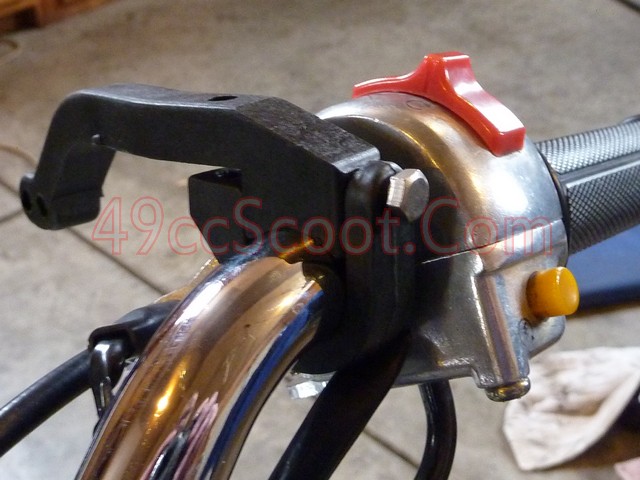
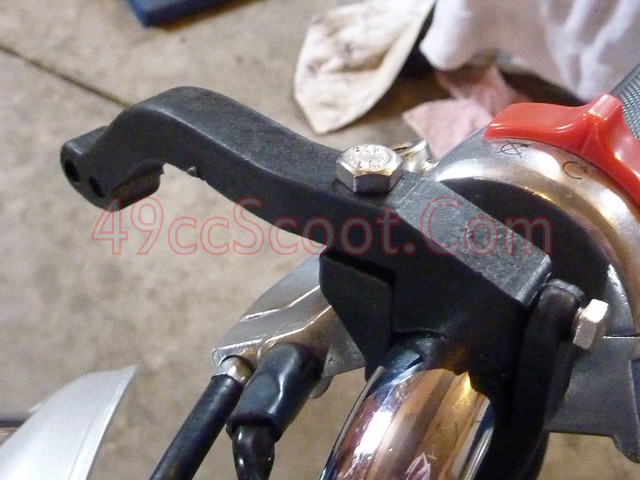
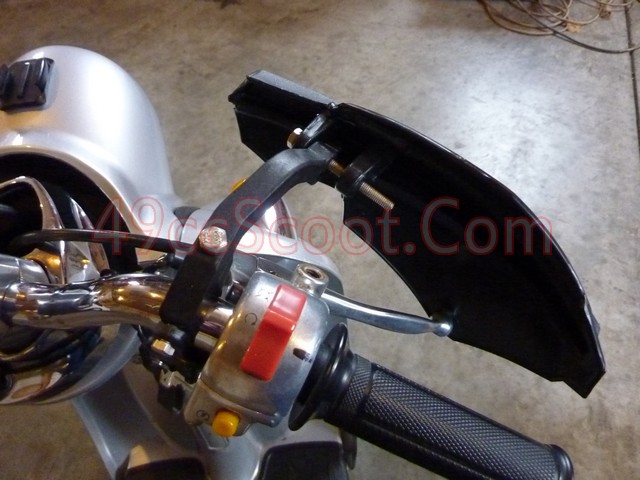
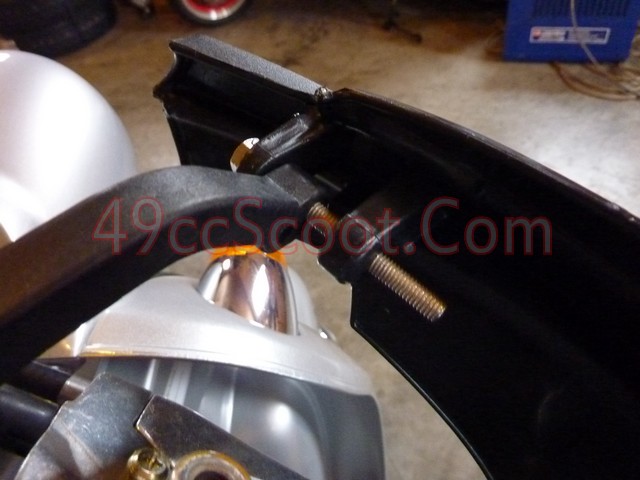
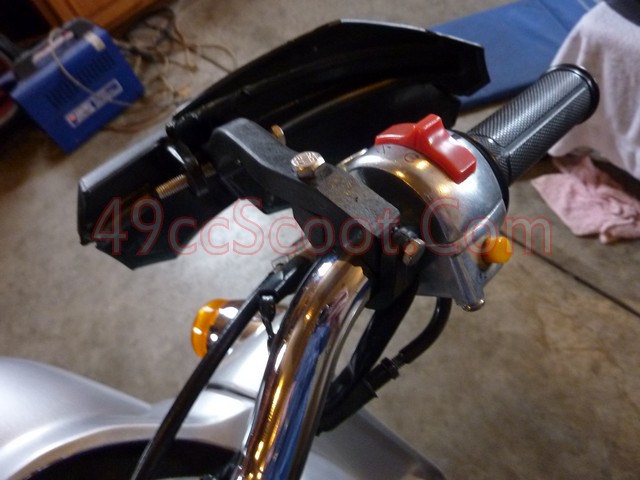
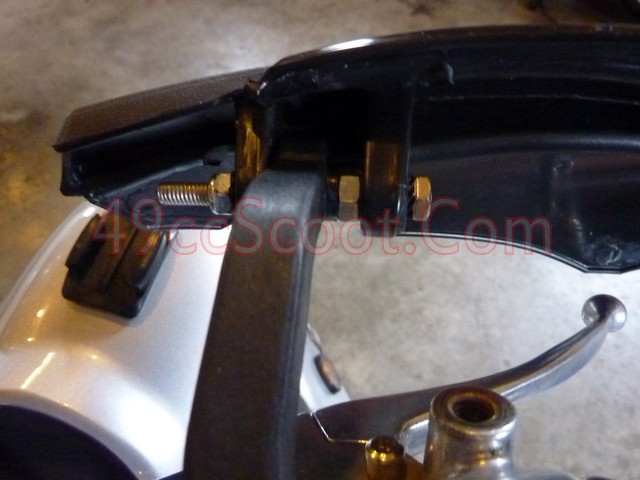
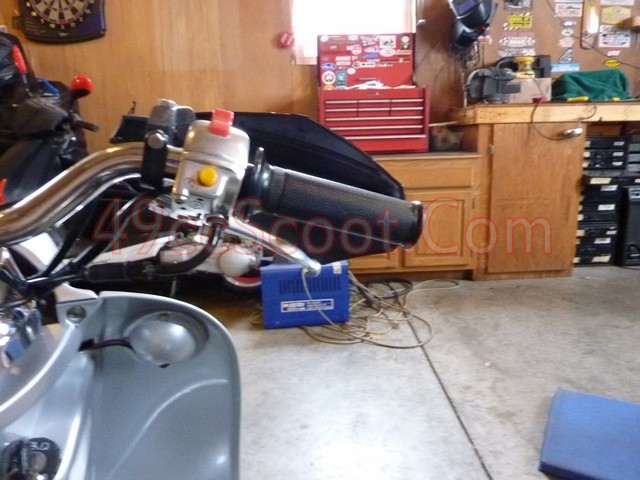
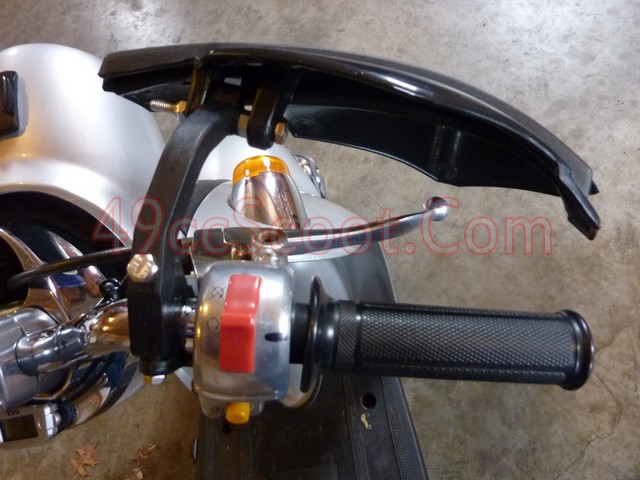
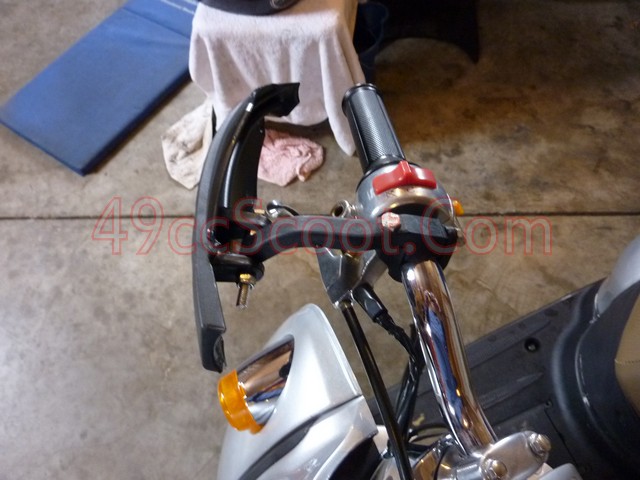
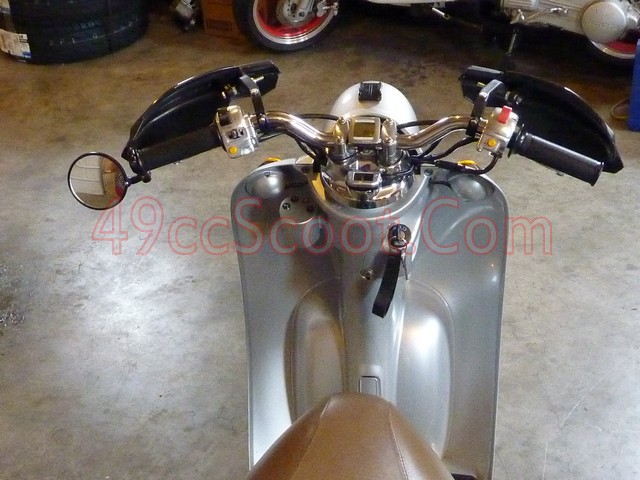
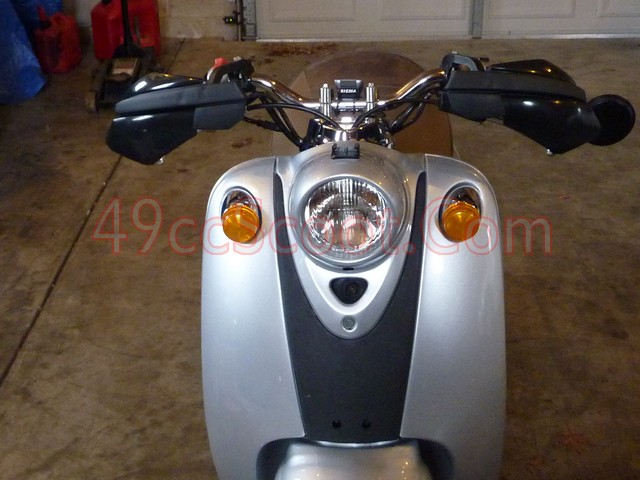
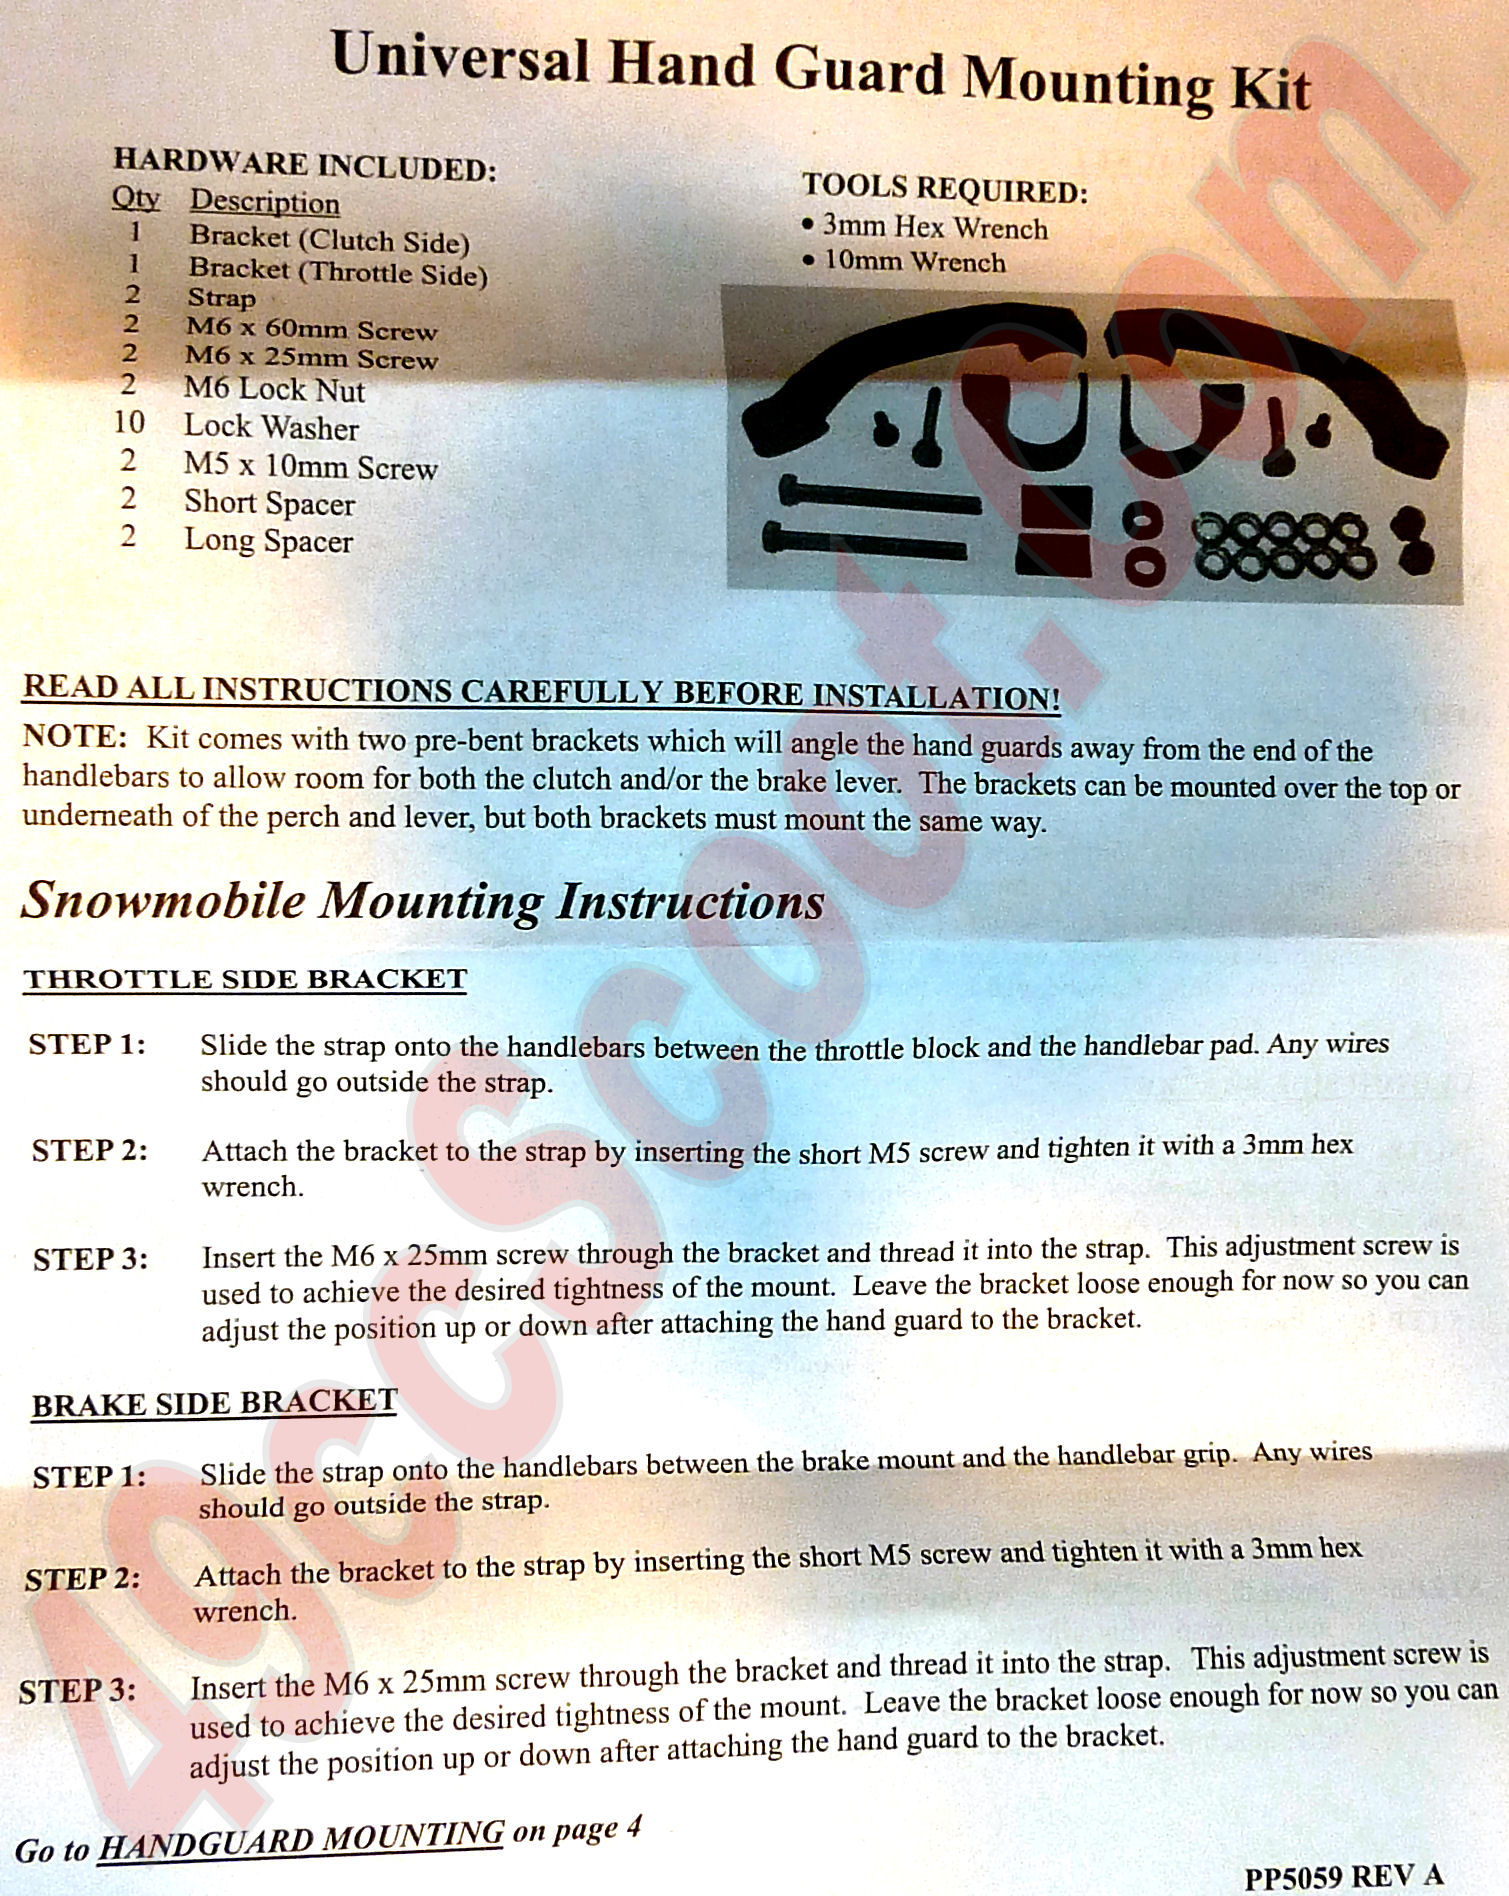
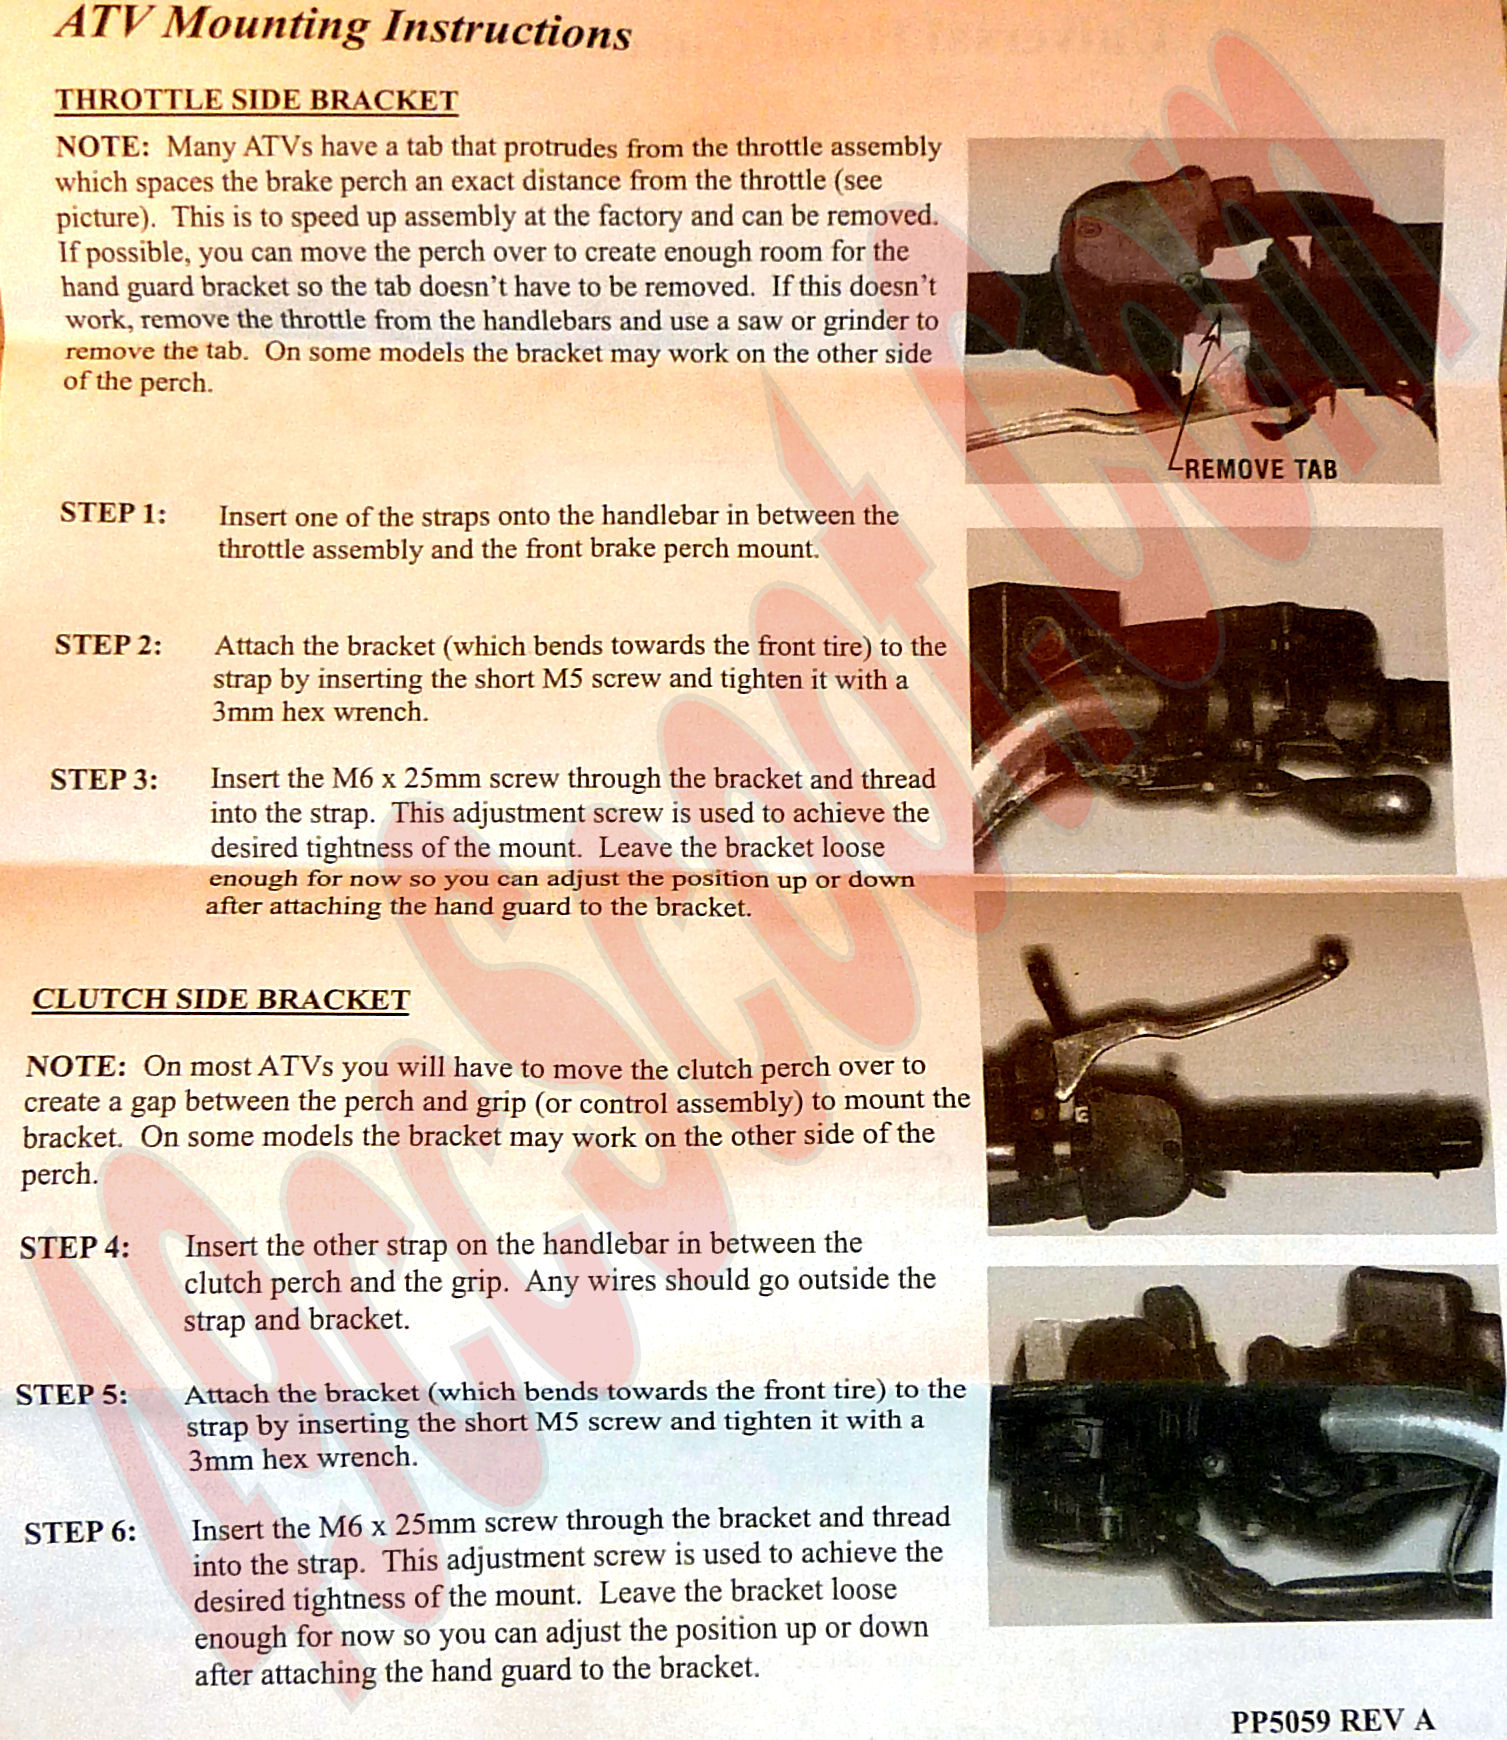
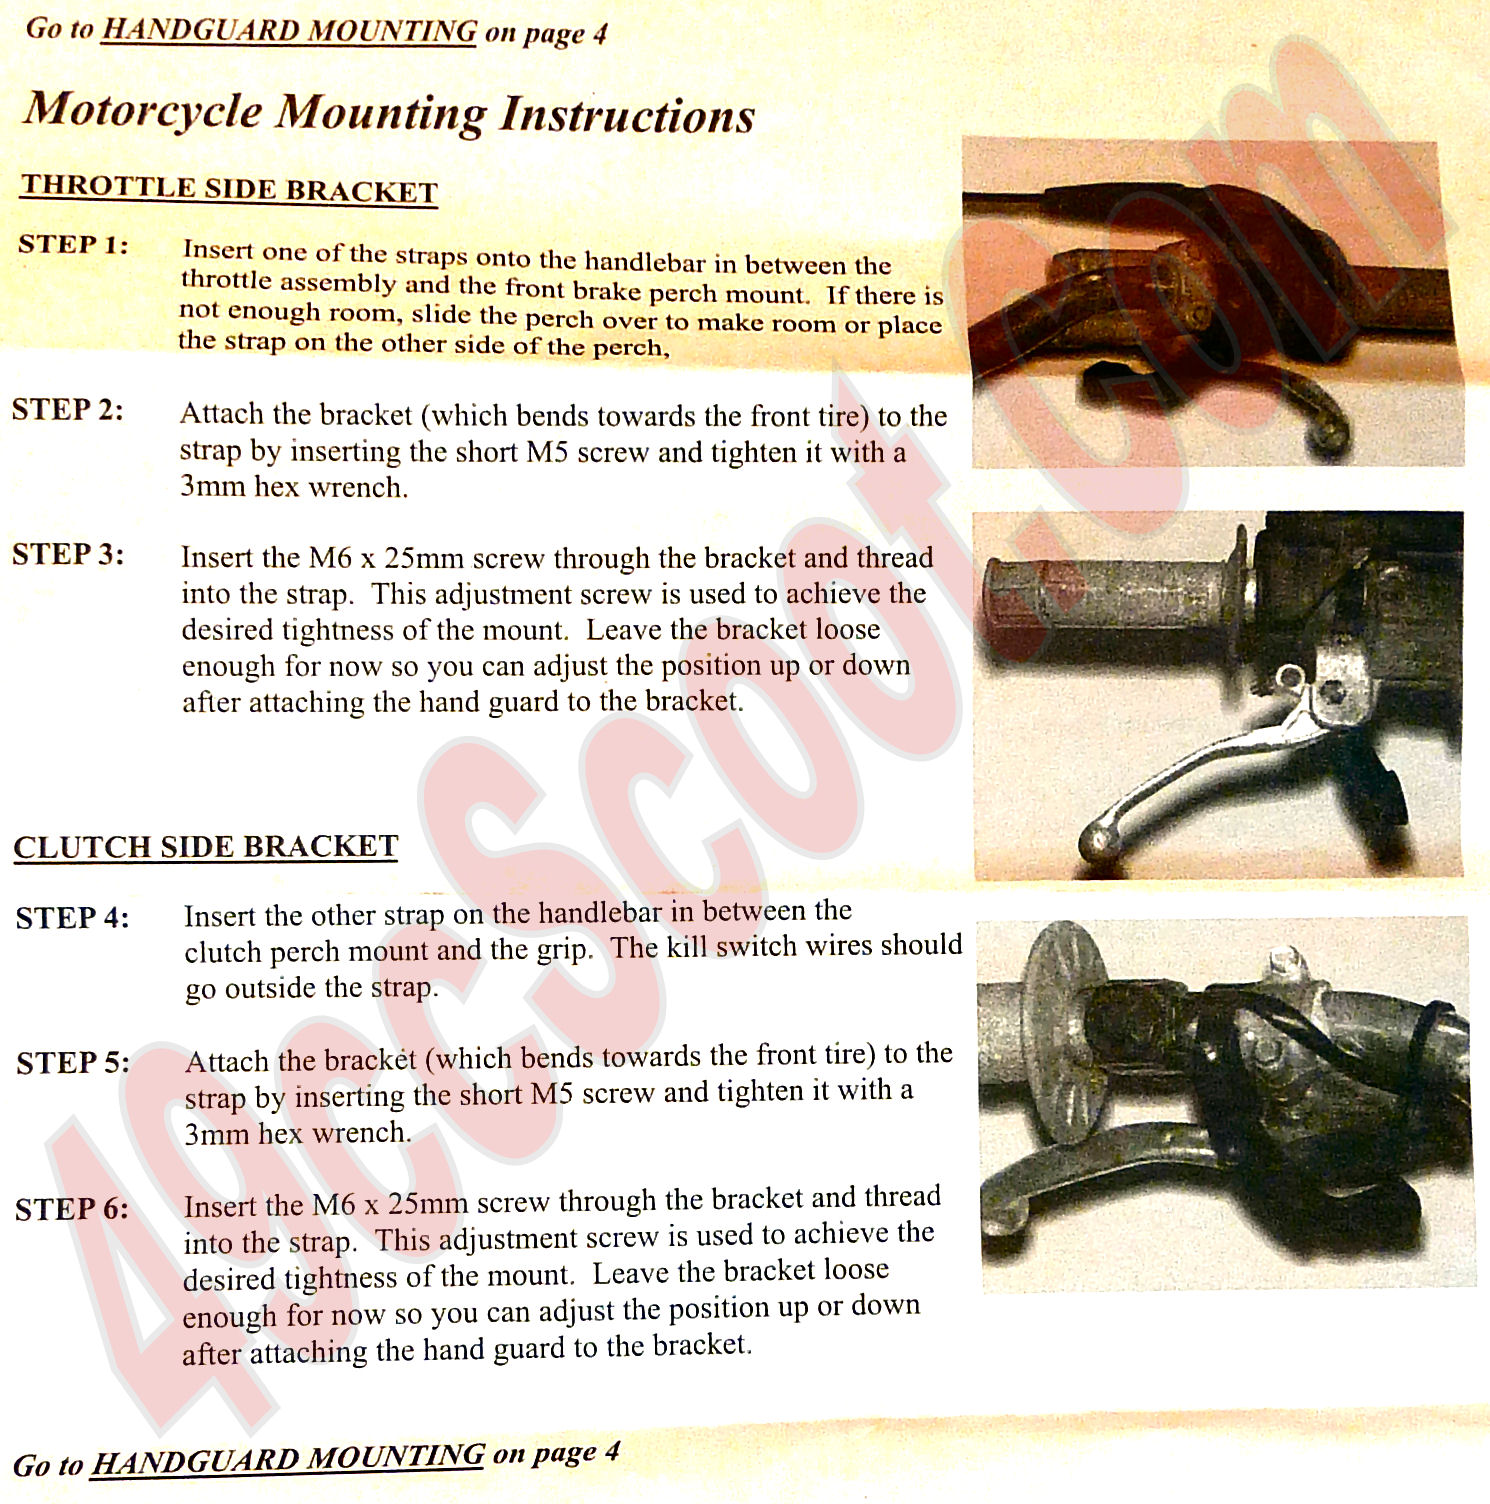
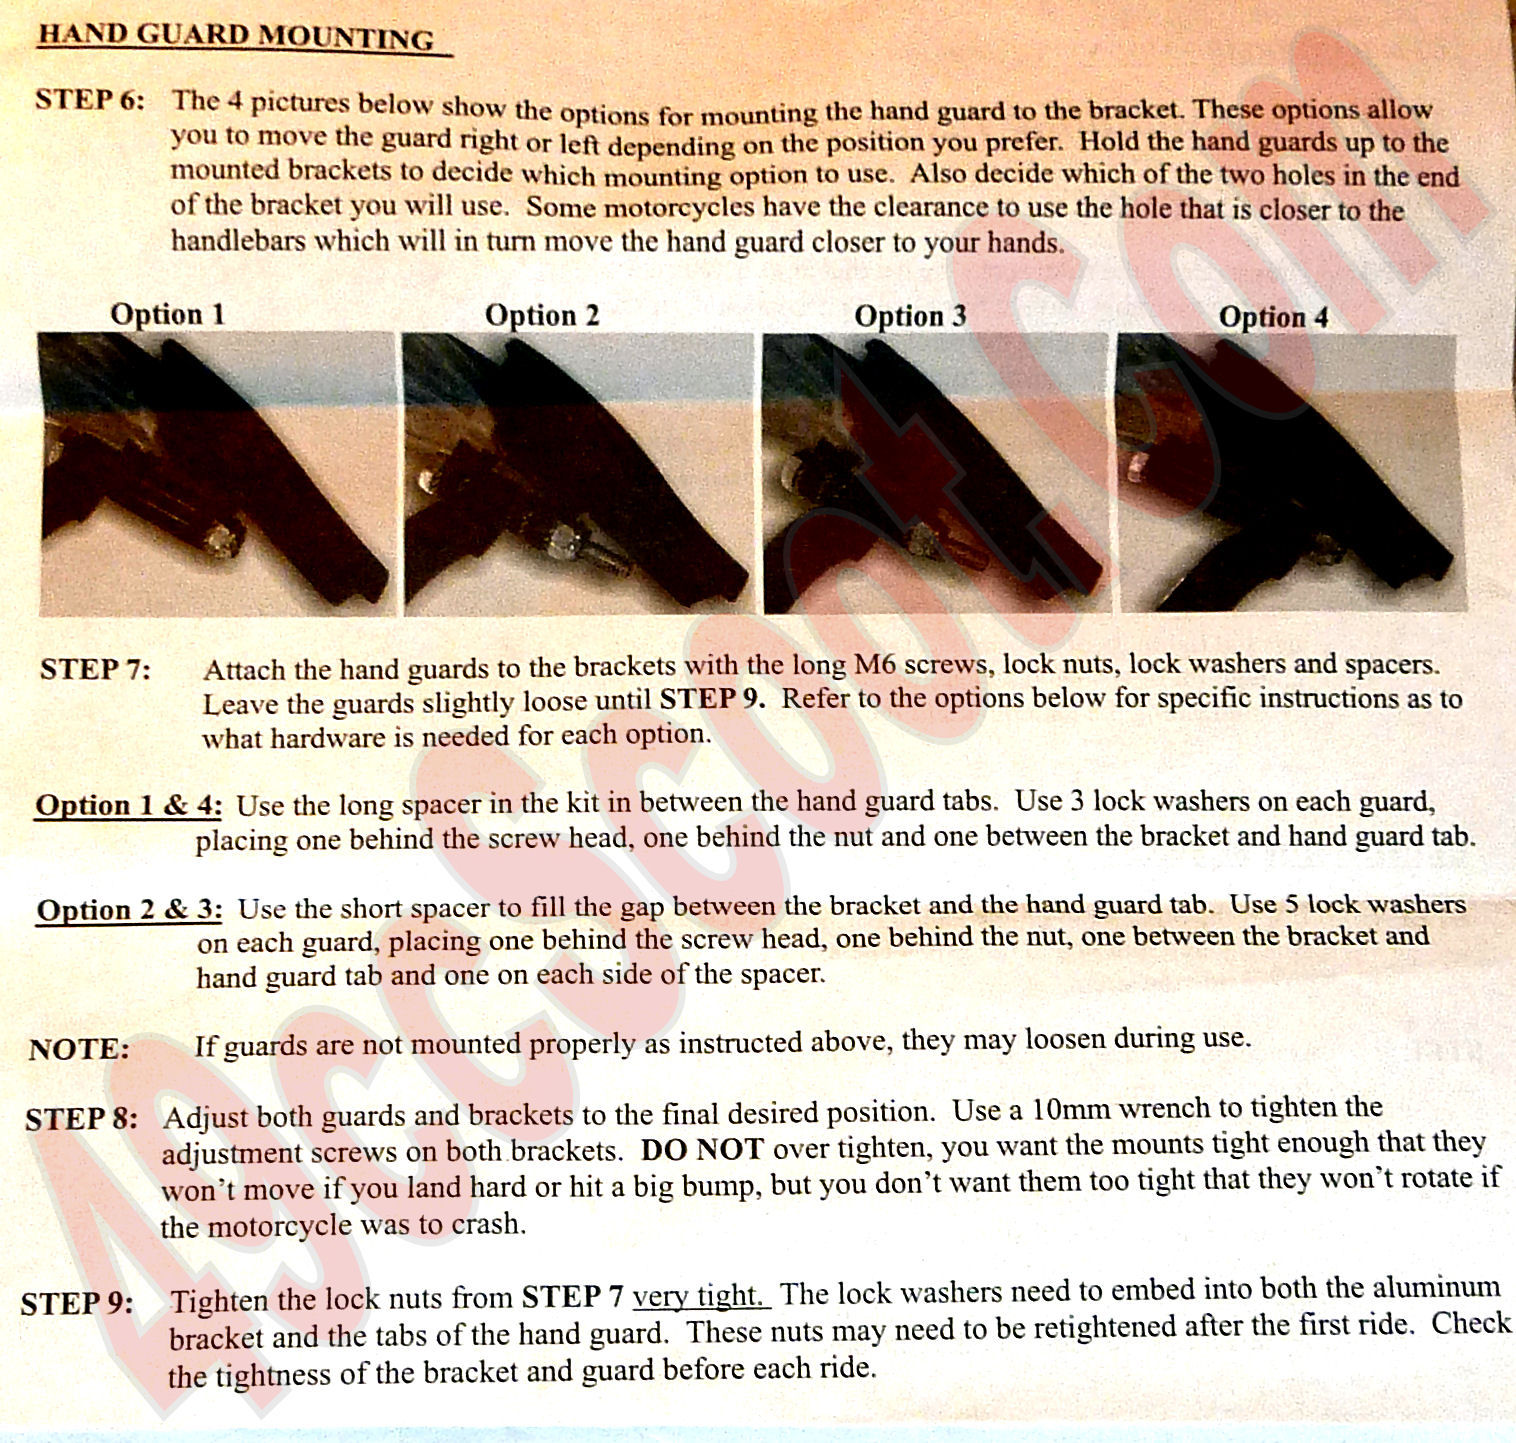
Handguards are basically windshields for your hands. They mount just in front of the grips and levers as you could probably guess. You can find them fairly cheap and they come in handlebar mount or mirror mount so you can attach them to about any scooter or bike. If you go this route, choose solid handguards rather than vented brushguards that will let some air pass through. Also look for the larger ones. Some are small and don't block enough air to be effective. I tried a set of handguards and found them to be better than nothing, but they didn't do a lot for me. Mine were on the small side though and I liked them mounted farther forward so I had more room for my hands to move, both of which allowed more air to hit my gloves.
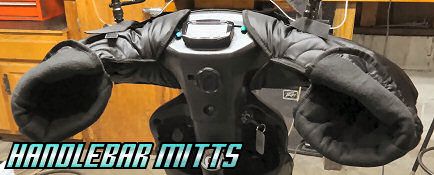
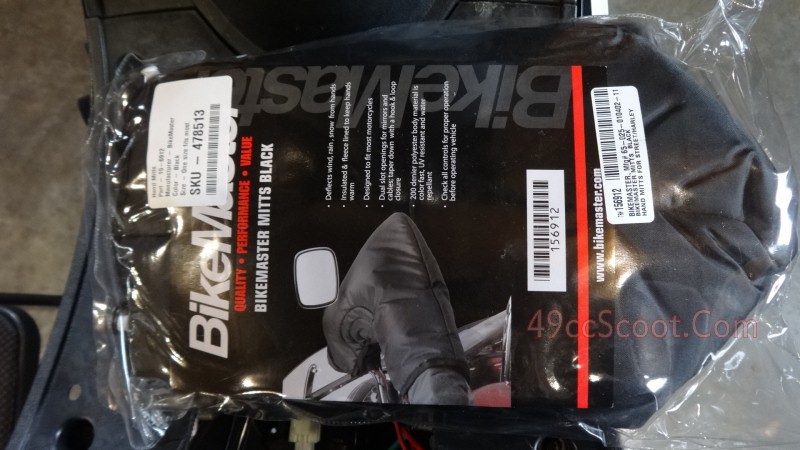
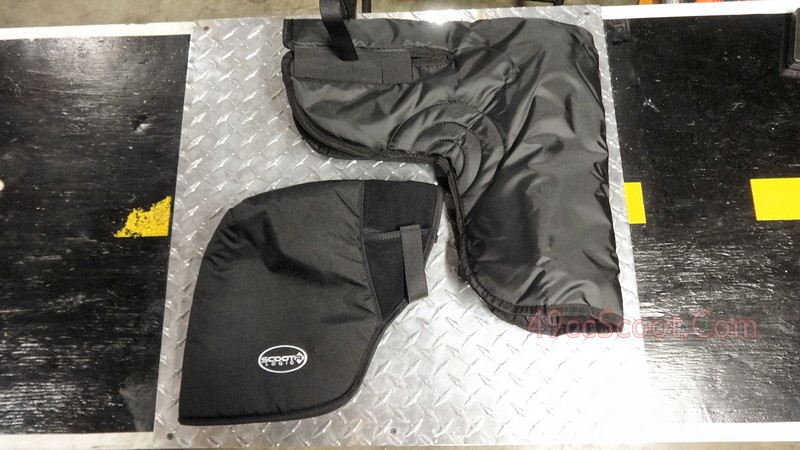
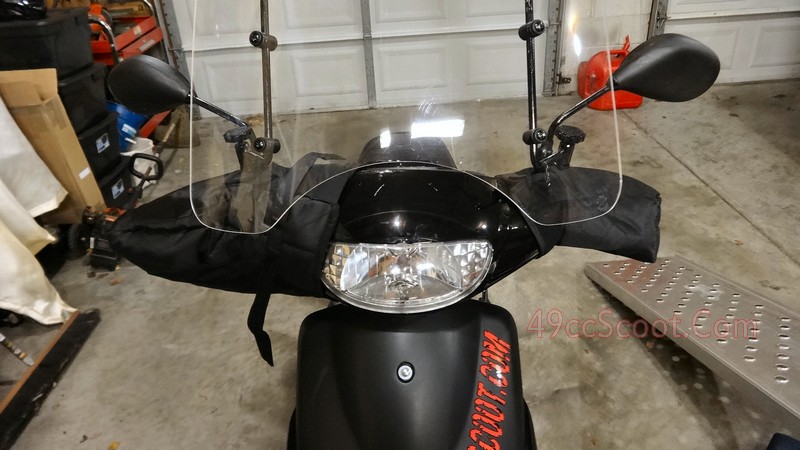
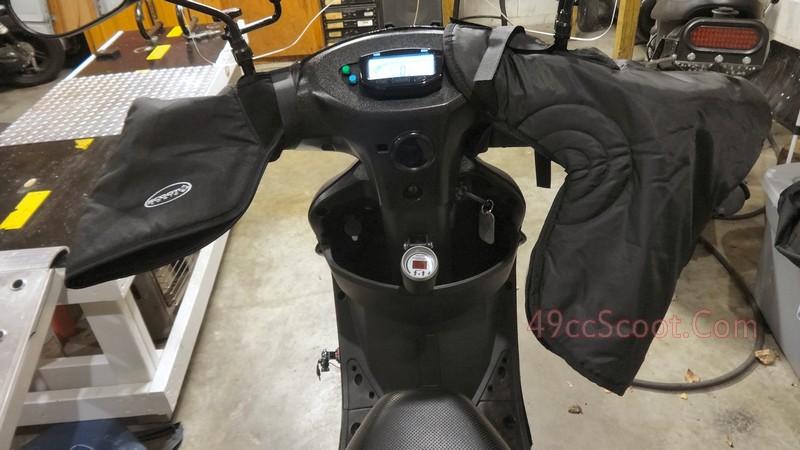
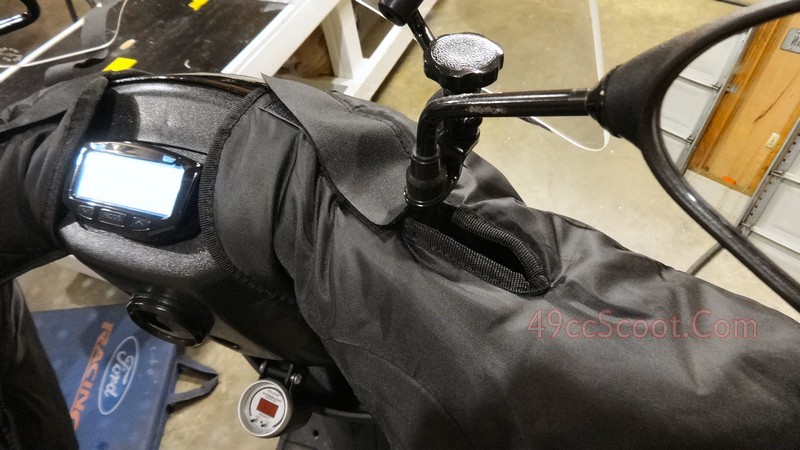
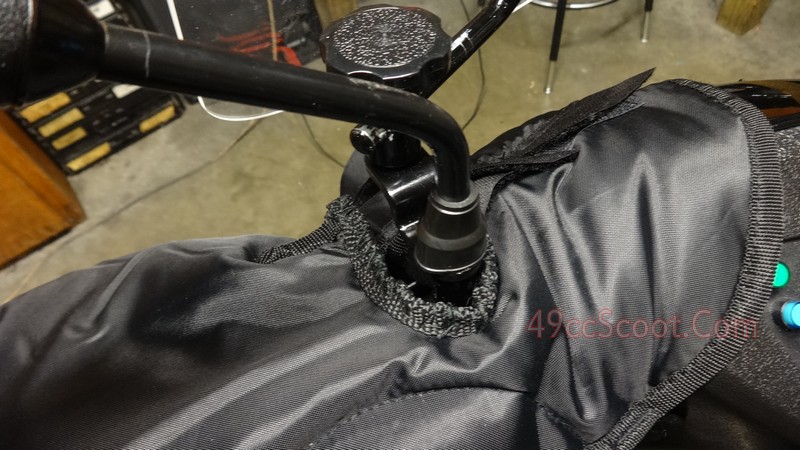
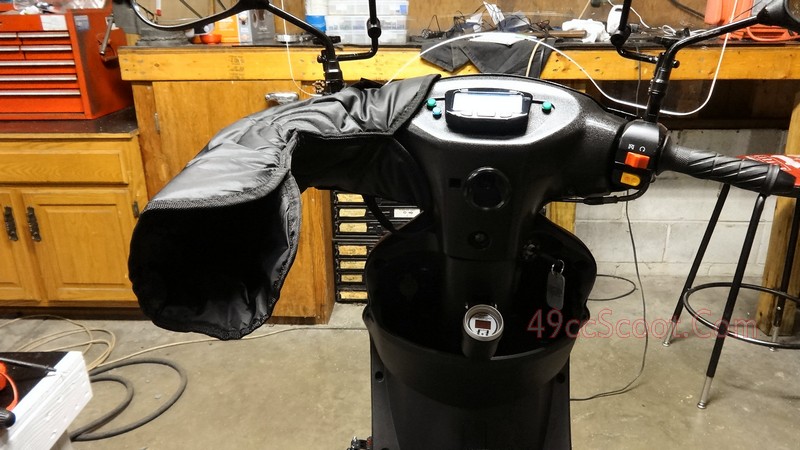
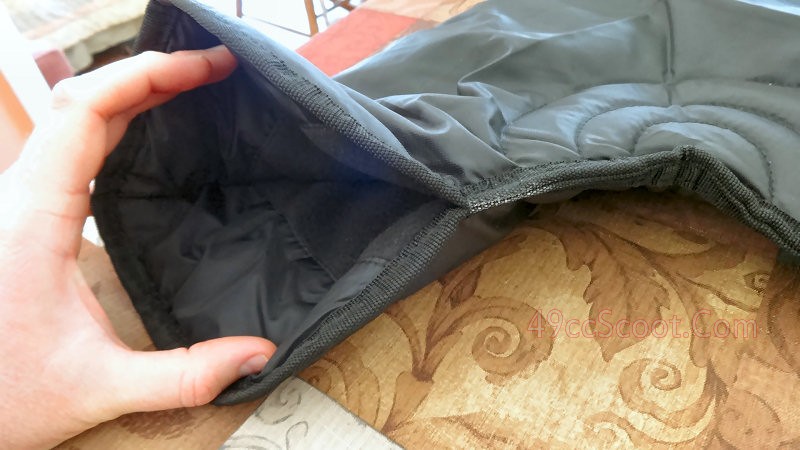
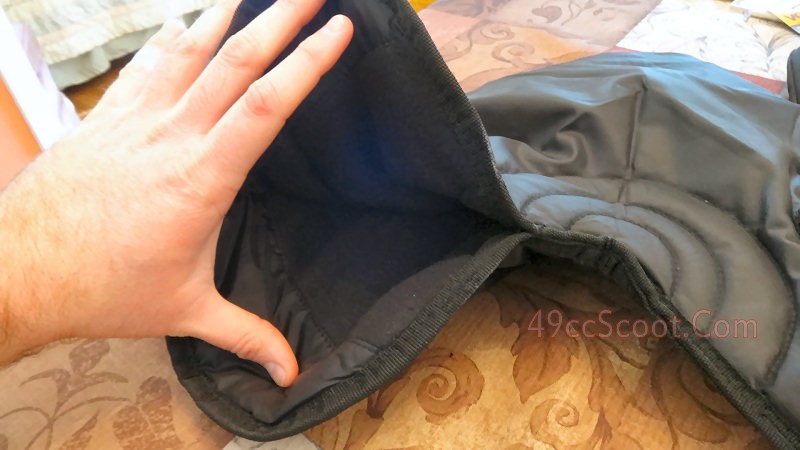
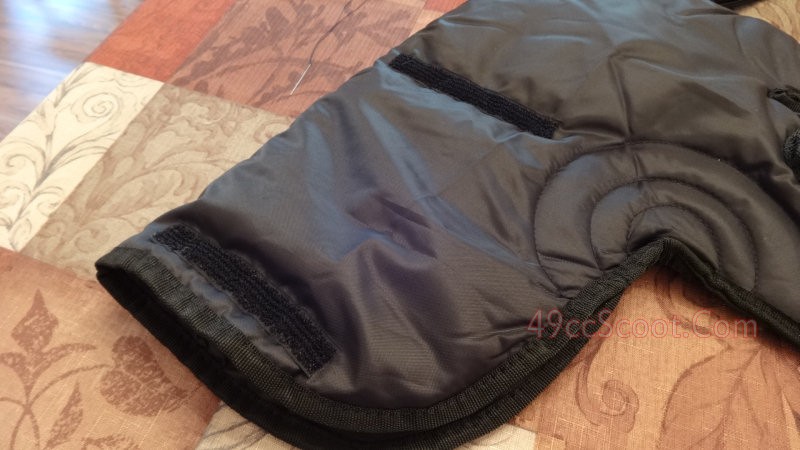
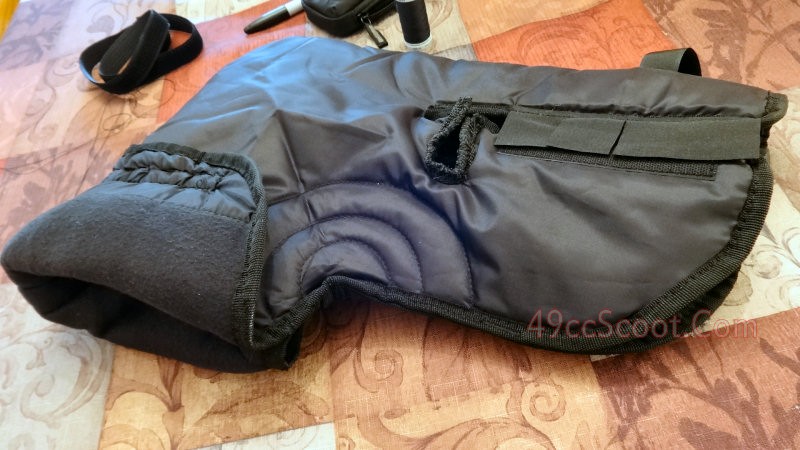
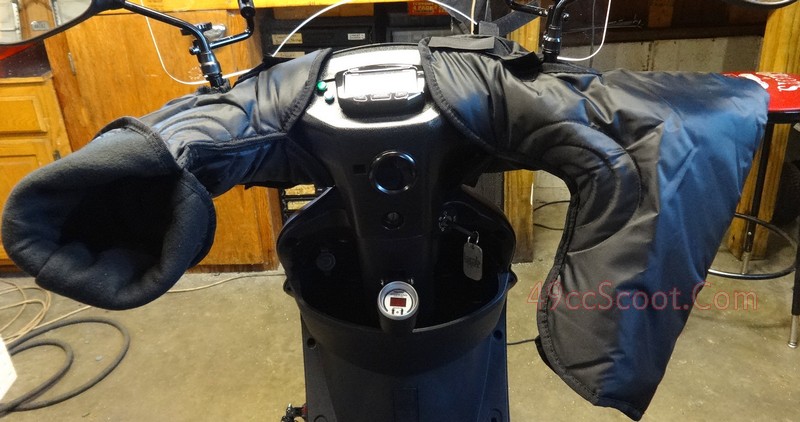
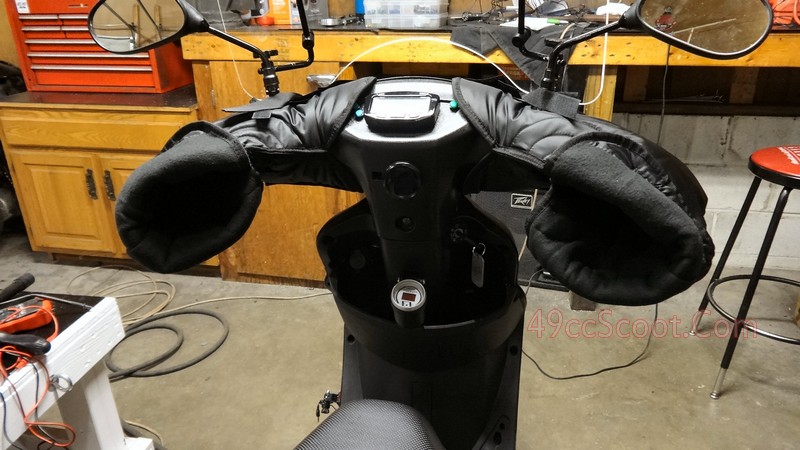
Handlebar mitts (also called hippo hands, bar muffs, and scooter mitts) wrap around each side of the scooter's controls. They're a mitten or glove for your hands and the controls. Mitts shield you from airflow and create a little warmer environment for your hands. I found that I could wear thinner gloves than normal when using mitts on mild nights. On colder nights I still needed thick gloves and possibly other solutions, but the mitts provided a noticeable difference. Mitts serve their purpose of keeping hands warm well, but they can have a major drawback... mobility. Some mitts aren't very roomy inside and that can make it difficult to use certain controls, especially with thick gloves on. Anytime you want to move your hands you have to remove them from the mitts and then re-insert them. Removal is easy. Getting your hands back in without looking can be cumbersome and staring at the handlebars instead of the road is a safety hazard. I move around a lot and I stopped using my mitts because I had too many close calls related to them. I've seen homemade mitts before with frames to keep them open. That may be a good option if you can build your own. Read more reviews than just mine if you think mitts may be for you. Some riders love them. I just can't get past the mobility issues, though I enjoyed the warmth.
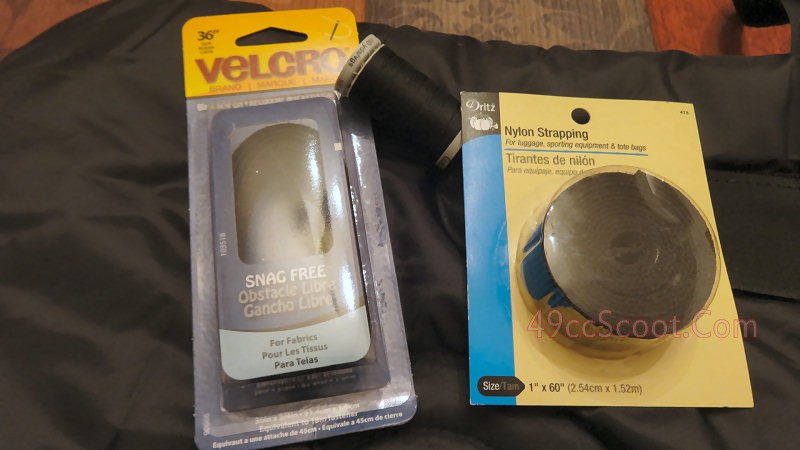
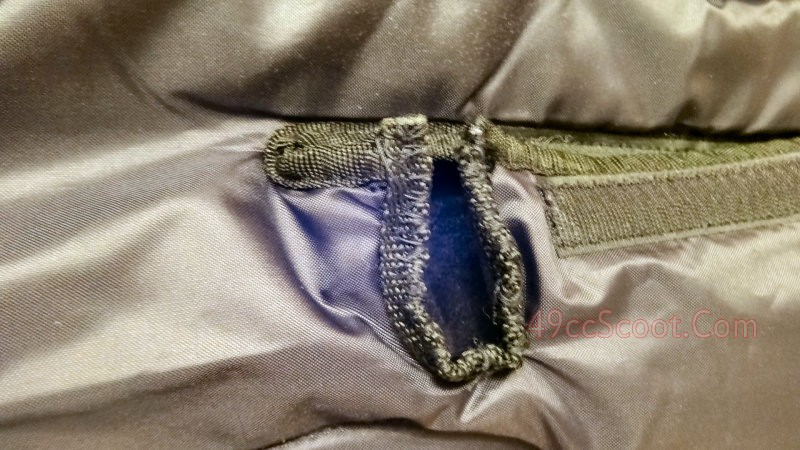
Check out more details about the mitts I owned and how I modified one pair later in this thread by CLICKING HERE.
Aprons
I've heard these go by many names. Lap blanket, scooter skirt, scooter apron, leg apron, and more. Whatever you wish to call them, they're covers made to shield your legs and lower body from the elements. CLICK HERE to view examples. Some attach to the scooter and I believe some attach to the rider. They're usually a windproof fabric, leather, or vinyl outer layer and those intended for winter use rather than just rain protection are insulated. Aside from keeping the wind out and keeping you dry, they may allow a bit of heat from the engine to aid in warming your lower body. When using an apron, verify that it is secure and properly sized so it cannot find it's way into any moving parts before riding.
Putting It All Together
Now that you know the basic ways to create and preserve warmth it's up to you to choose your best options. Obviously if your hands are aching and everything else is okay, you should look into gloves, liners, heated gloves or grips, handguards, and so on. You also need to consider your mobility requirements and what you're comfortable with. If you can't function in heavy gear, you may need to look to heated gear or scooter mounted items like a windshield and heated grips. If you ride more than one scooter or bike it may be easier and more affordable to use heated or non-heated clothing versus windshields, handguards, grips, or anything else that is mounted to your two-wheeler and not easily transferable. If your electrical system is lacking or bogged down by other accessories or if you aren't able to keep your battery charged for any reason you should look into things that don't draw power from the scooter like additional layers, battery heated clothing, and windshields. Luckily there are a lot of choices so you can take your needs and preferences into consideration when choosing gear.
Scroll down or CLICK HERE to see some setups that 49ccScoot members use.
Remember that just because you are prepared for the cold, that doesn't mean you are ready to brave snow and ice. Please evaluate the current and future weather conditions when you consider riding/commuting in the winter. Ice should be avoided at all costs. Avoid snow if possible as well, but if you wish to brave the snow I strongly advise seeing what it's like in an empty parking lot before you decide to head out into traffic. Sometimes the risks of riding far outweigh the rewards so please use your best judgement and ride safe. Stay warm and keep scrolling down for some additional information. Thanks for reading!
Scroll down or use these links to navigate :
Member Submitted Gear Setups
Tusk Heated Grips :Installation And Observations
Windshield Experiences And Tips
My Experiences With Handlebar Mitts
Handguard Installation


