|
|
Post by niz76 on Jul 31, 2016 19:21:48 GMT -5
Gonna be heavy as hell but can't wait to see the final result. If we all listened to "common sense advise" we'd never get to experience cool stuff like this! ;P
|
|
|
|
Post by ryan_ott on Jul 31, 2016 19:34:02 GMT -5
You can use cheap paint brushes to smooth it out. Dollar store stuff nothing special. Make sure you maintain access to the servicing items and battery. Looks good! I can smell the resin in the air.
|
|
|
|
Post by arkie on Aug 1, 2016 2:46:56 GMT -5
Not too shabby!
|
|
|
|
Post by kensnaps on Aug 19, 2016 11:21:31 GMT -5
Ok, I think I'm done with the fiberglass. I'm now using expanding spray foam to fill in gaps and cutting it back to get the final shapes I want to see. When I'm happy, I'll use a light coat of Bondo to seal it all in. I think I'm going to add on to the outermost heat shield of the exhaust pipe to make a "storage container" to help hide the exhaust. It's the one thing that ruins the illusion and is really bothering me right now. When I get to the Bondo stage, I'll also remove the seat cover and make the new cover out of some fabric that will match my costume and the final paint scheme. I'm going to skip the front wings/pipes and footrests for now. I'm starting to feel a little bit of time crunch and can easily add them in later if I have time, or in phase one of Mark II. Happier note, the fiberglass cover for the seat latch is looking good. A piece of velcro will hold it in place and allow access when I need it. The pictures below are from this morning before I started trimming. I'll have some more pictures tomorrow when I start the bondo. 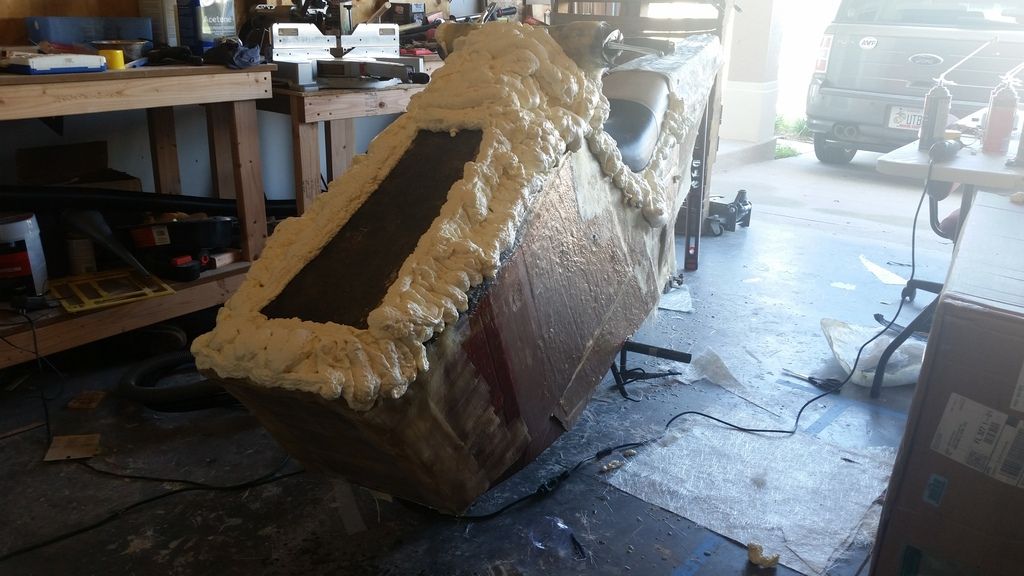 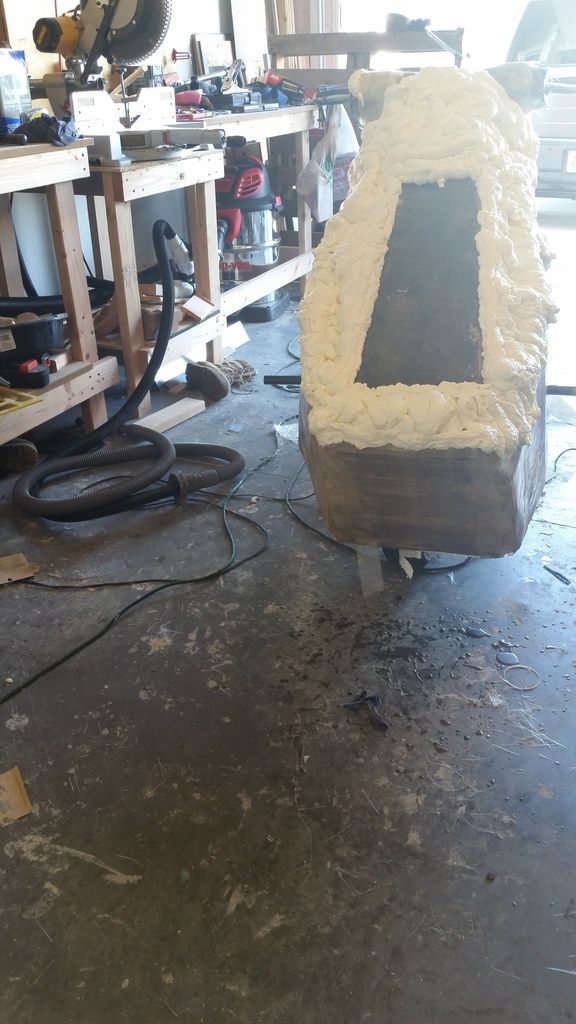 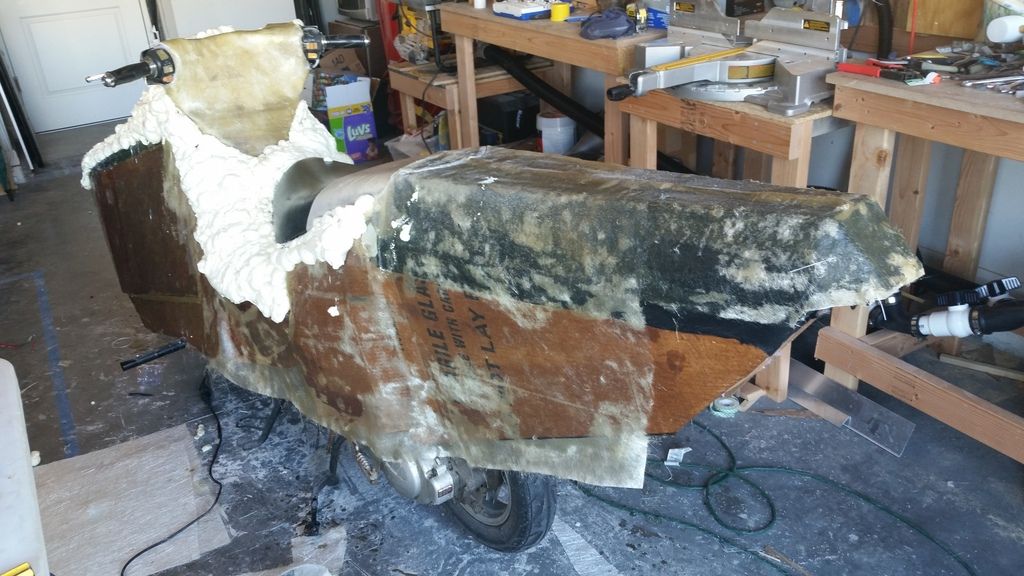 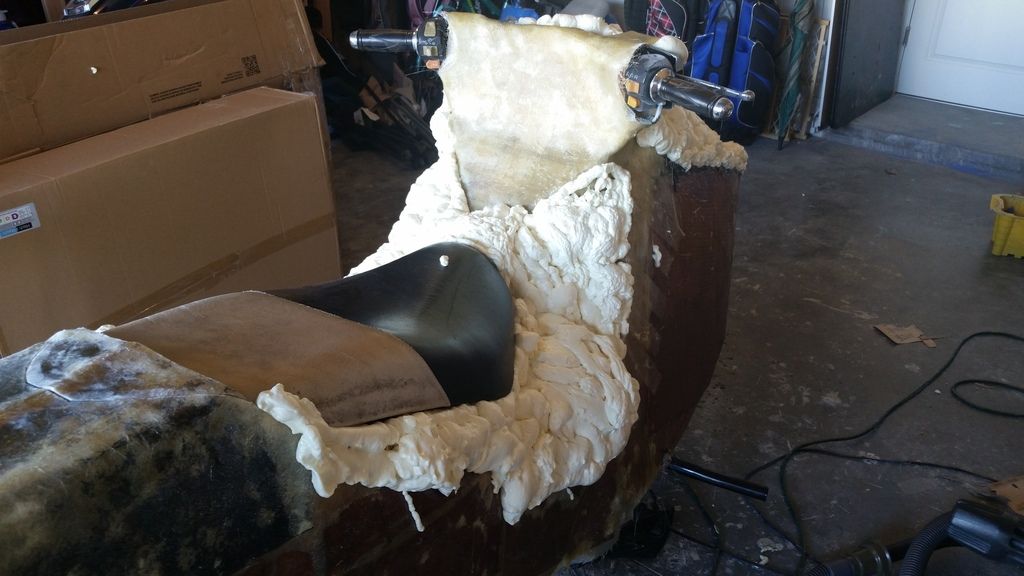 |
|
|
|
Post by spaz12 on Aug 19, 2016 15:23:30 GMT -5
That's pretty impressive, but how are you going to steer it?
|
|
Moat
Scoot Member
 
Posts: 88
|
Post by Moat on Aug 19, 2016 16:58:46 GMT -5
Using The Force?
|
|
|
|
Post by kensnaps on Aug 19, 2016 18:25:56 GMT -5
That's pretty impressive, but how are you going to steer it? After I finish the body work, I'm going to cut the handlebars free and cut the body into three sections so the hood, tail and midsection all can be removed for transport and maintenance. |
|
|
|
Post by spaz12 on Aug 19, 2016 18:27:02 GMT -5
Gotcha
|
|
|
|
Post by kensnaps on Aug 23, 2016 13:49:21 GMT -5
Spoiler alert: photo dump incoming. . . (hurry up photobucket!) So, when we last left off I had added some expanding spray foam to go bigger than the shape I wanted. I then cut the foam down using a variety of methods and achieved very nearly exactly the final shape I was hoping for. Alas, expanding spray foam is still foam and needed to be hardened. I'm sure there are a plethora of options, but I chose body filler. The first coat of body filler took about 3/4 of a gallon and only covered the areas covered in foam. Then I sanded the entire bike with 60 grit sandpaper to smooth it all out. Then I added the second coat of body filler; another gallon and the rest of the first gallon. Lots more sanding with the 60 grit, then a second pass with 120. That really made the whole thing look nice, if I do say so myself. I couldn't resist, so I built a makeshift paint booth and put on the first coat of filler-primer. I'll need some more cans for the second coat; I only had three on hand and the three cans barely made it all the way around. I'll probably get six more cans to ensure full coverage and take back any I don't use. With that, I think photobucket has finished uploading the photos, so here you go. Fist the cleanup of the foam and the first layer of bondo. 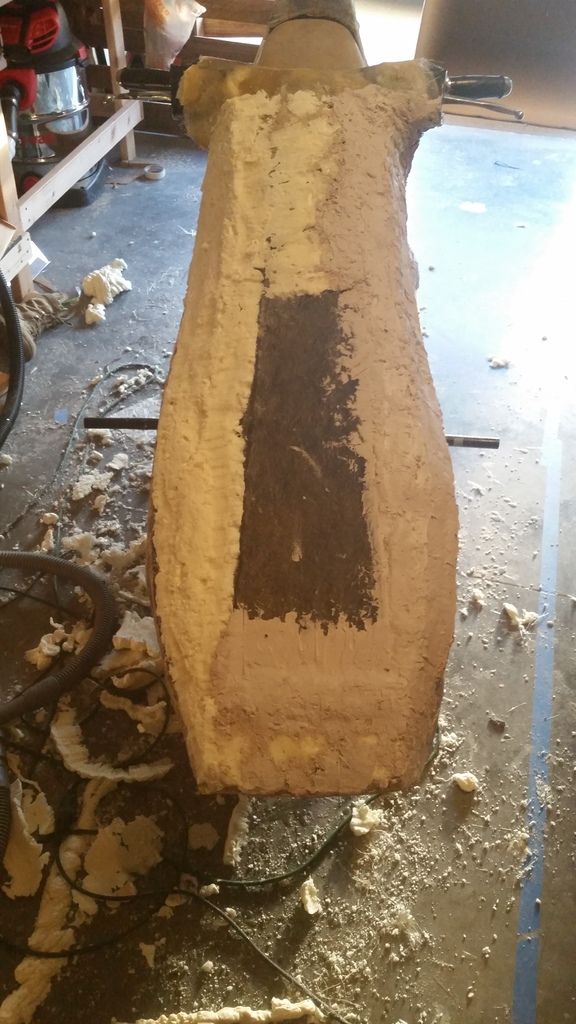 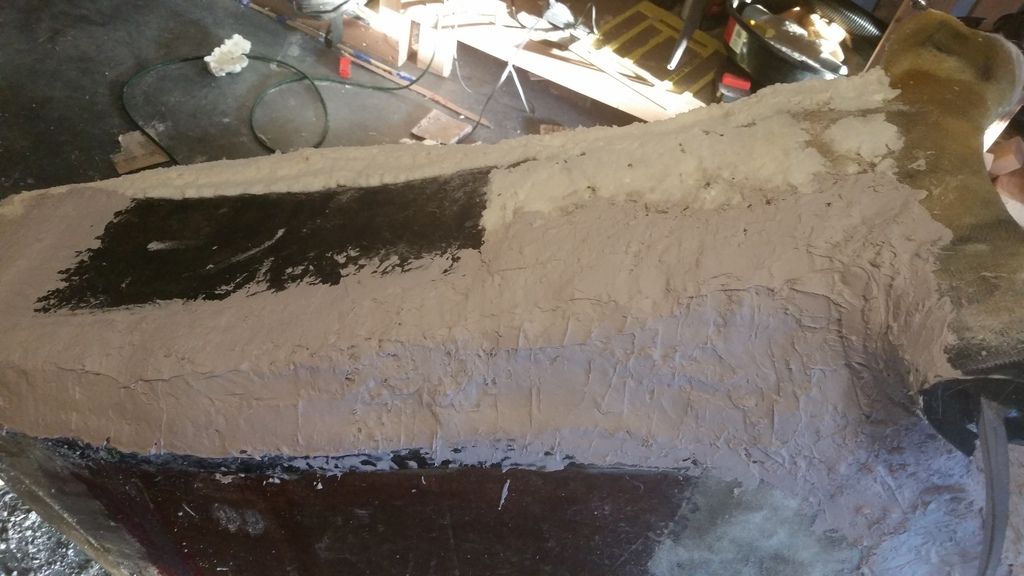 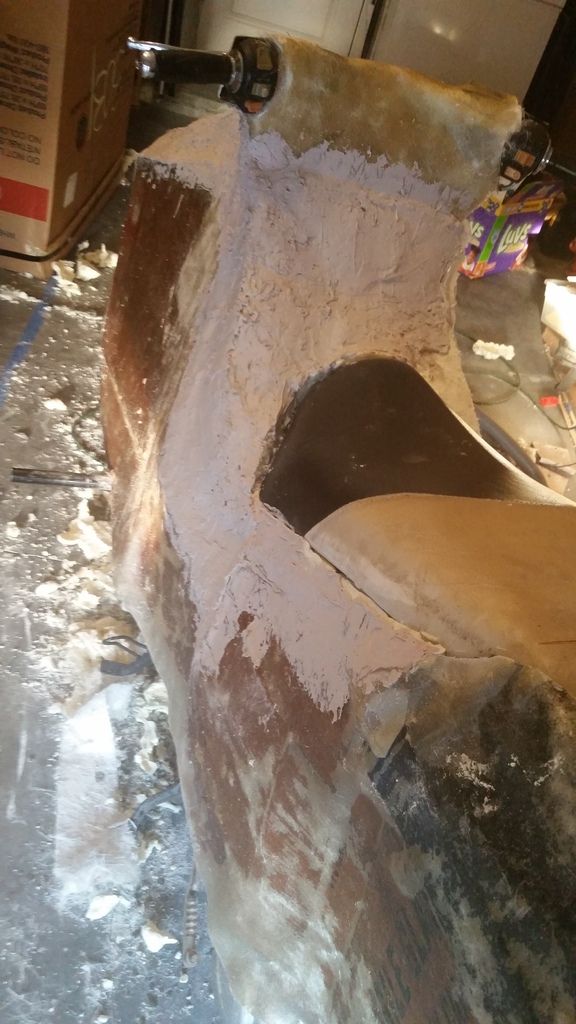 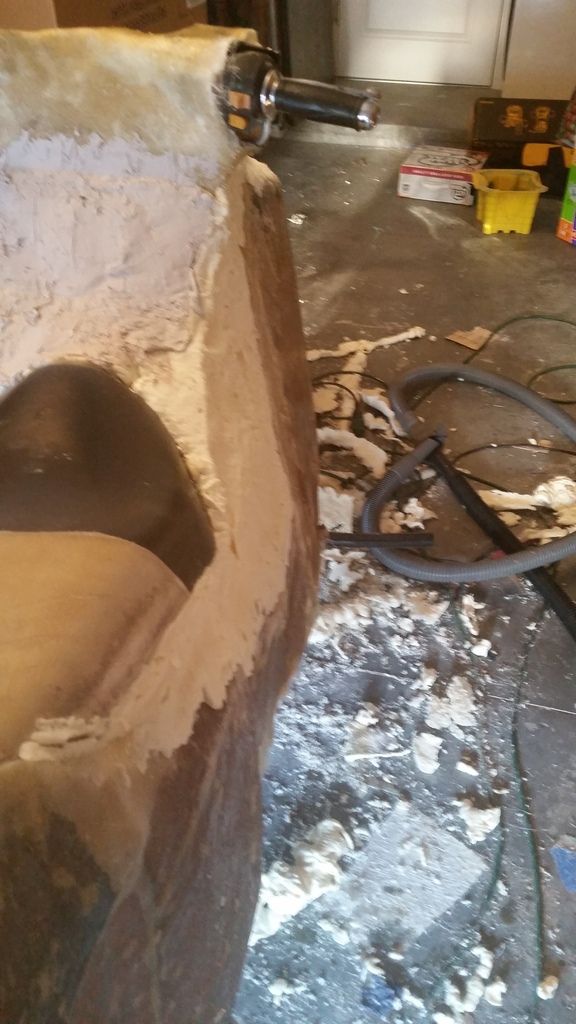 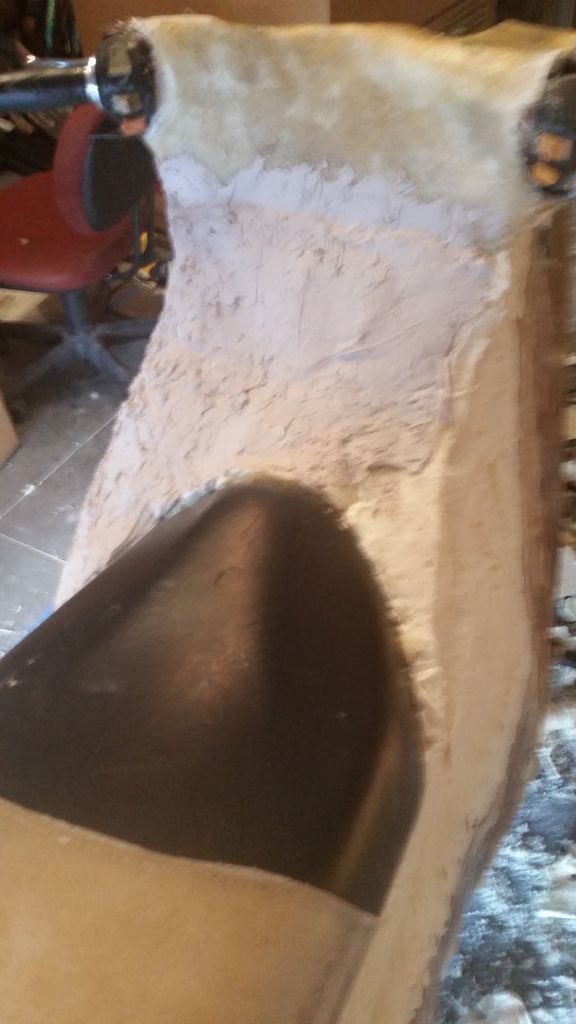 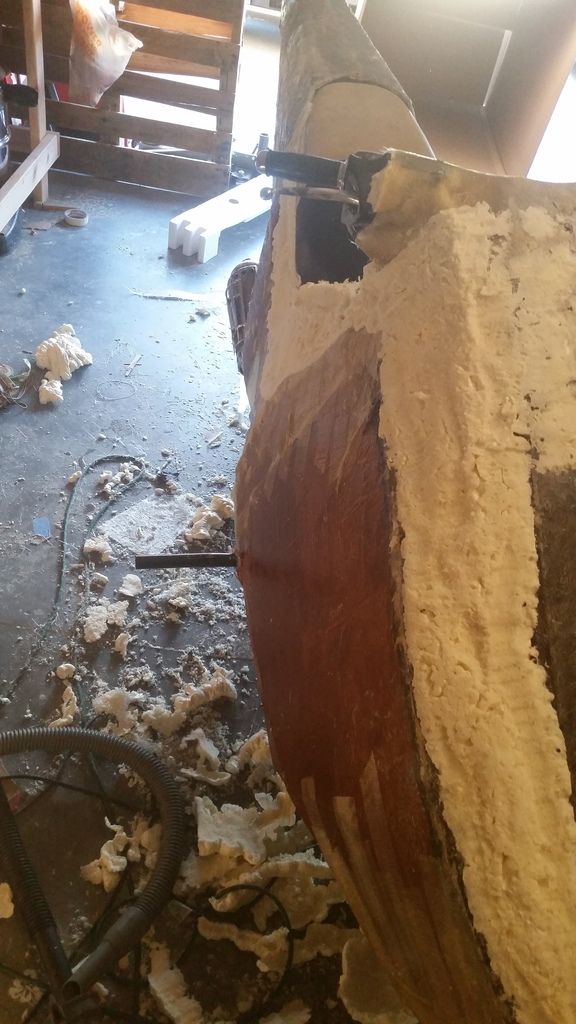 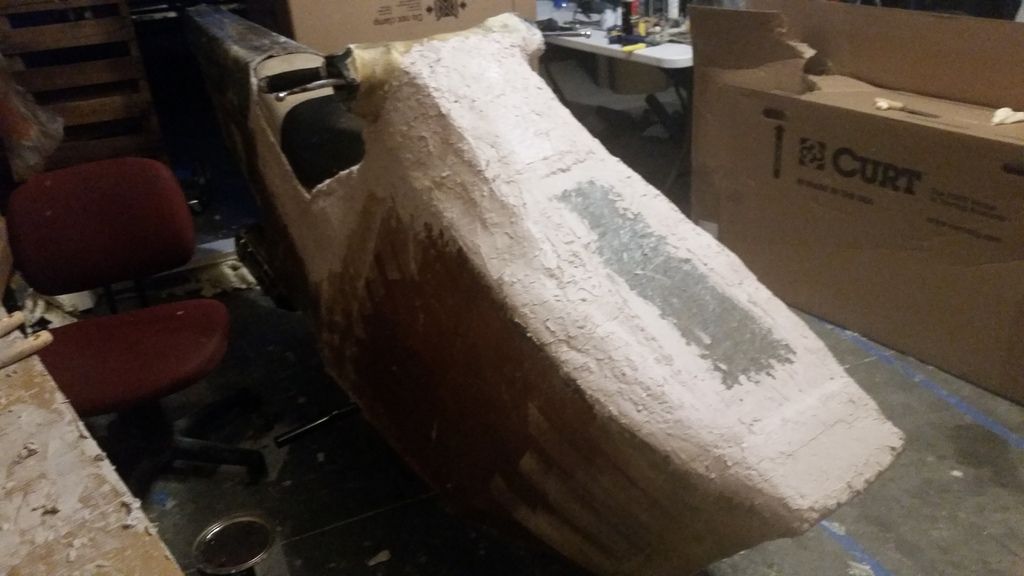 Then, the conclusion of the sanding of the second layer of bondo. 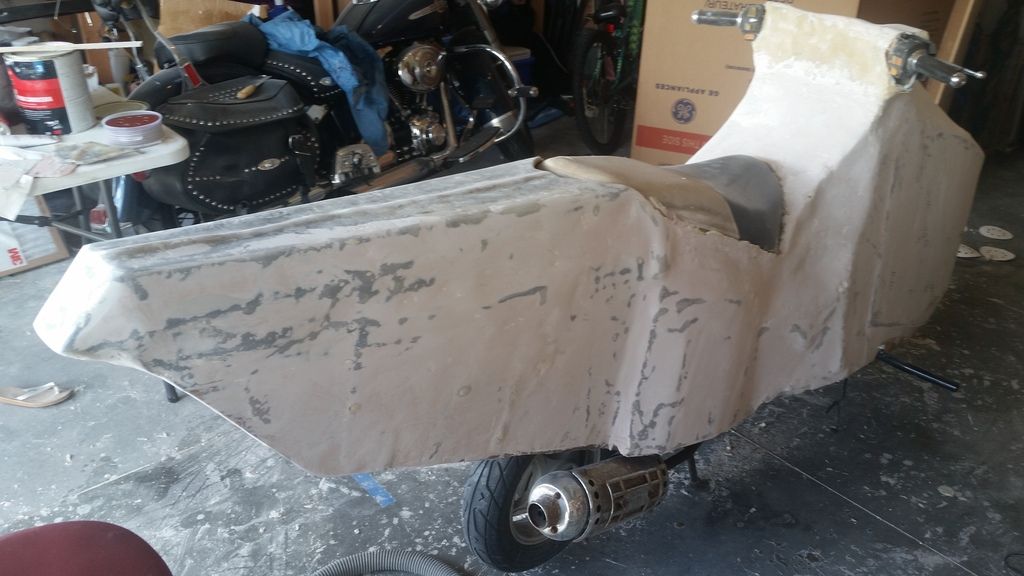 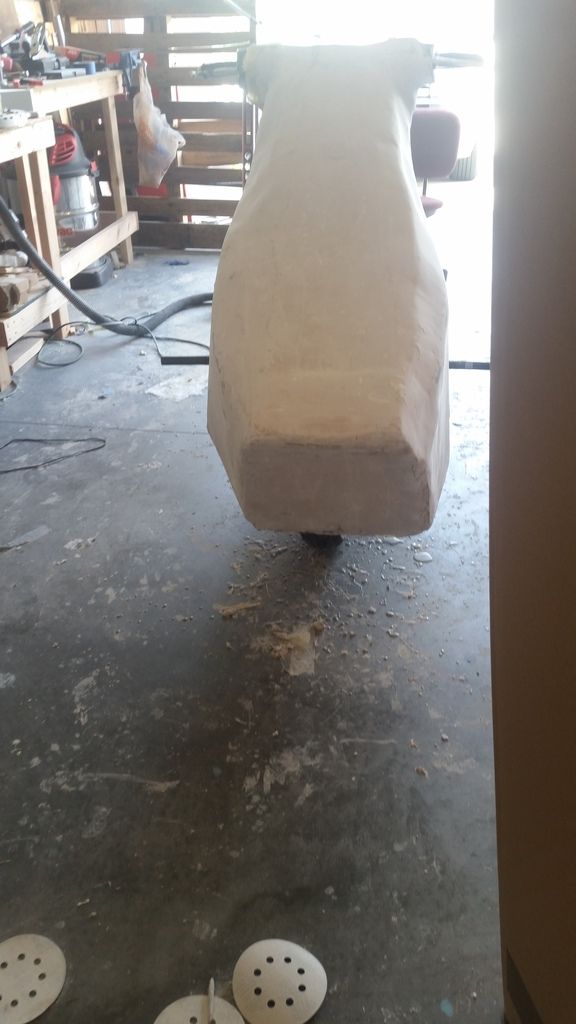 What's in the box? 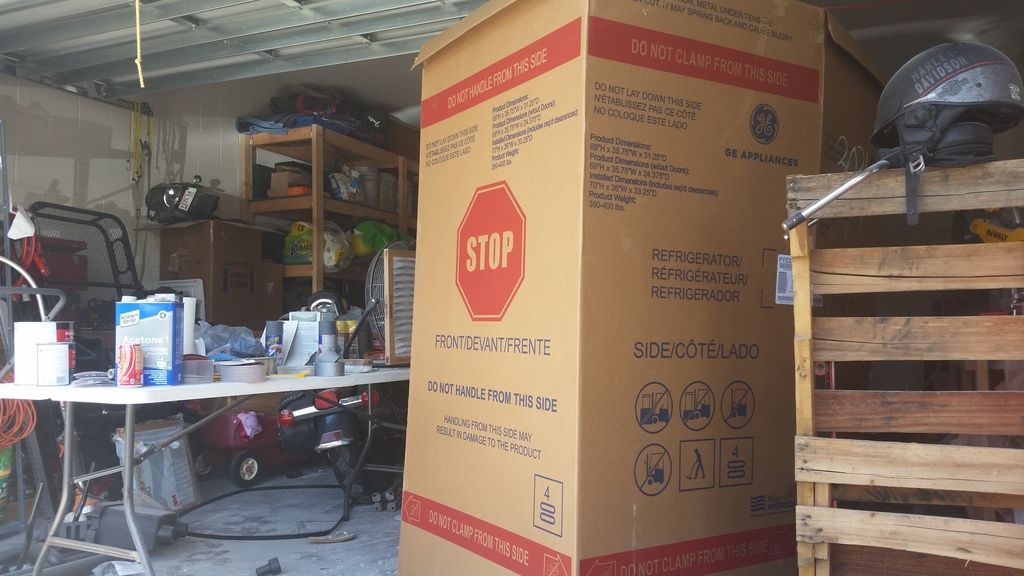 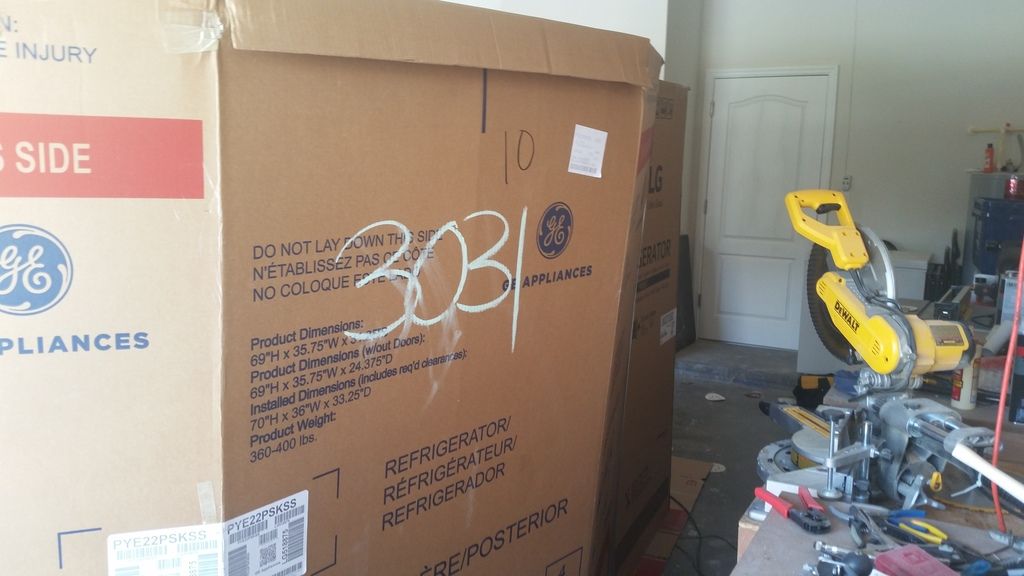 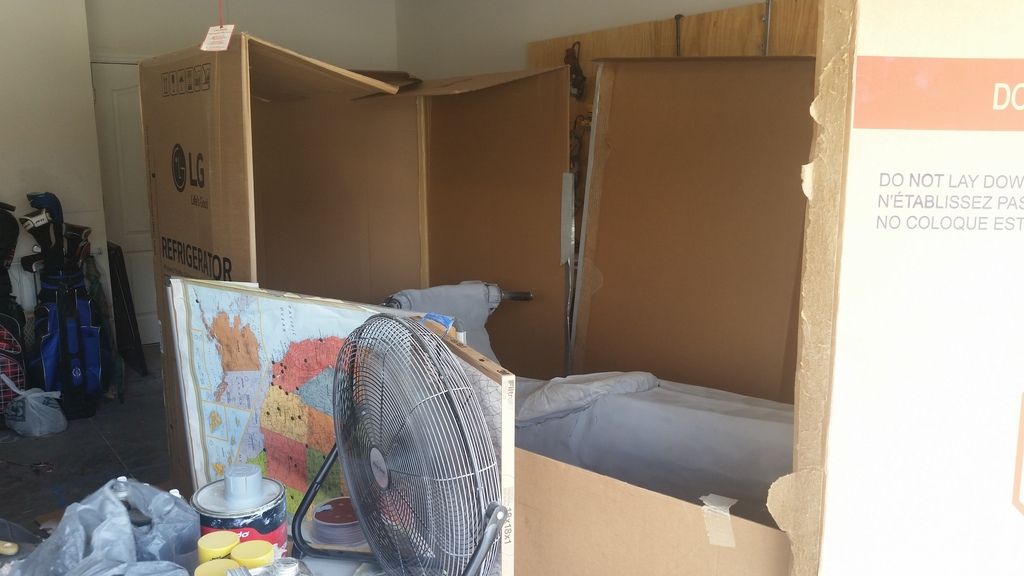 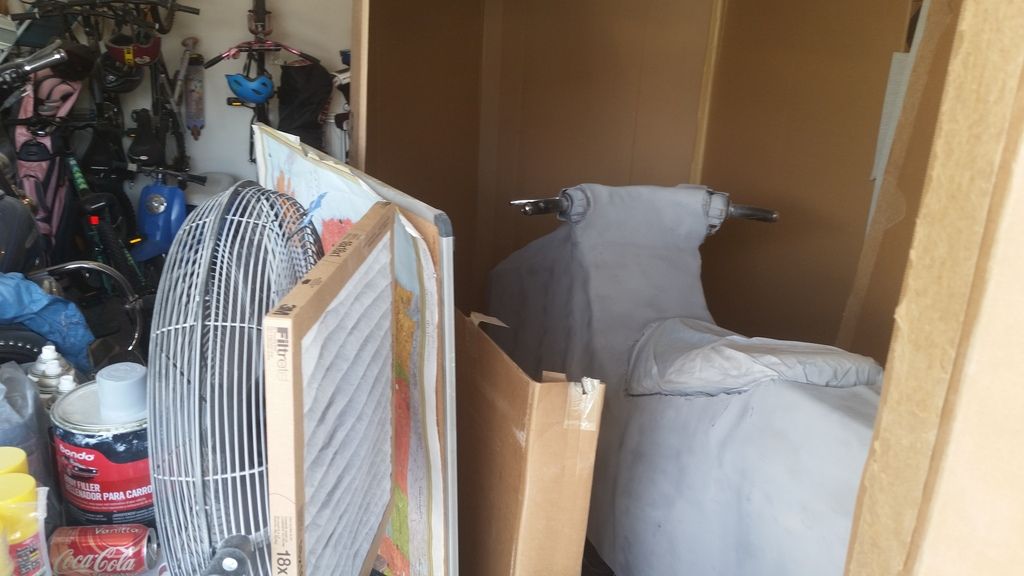 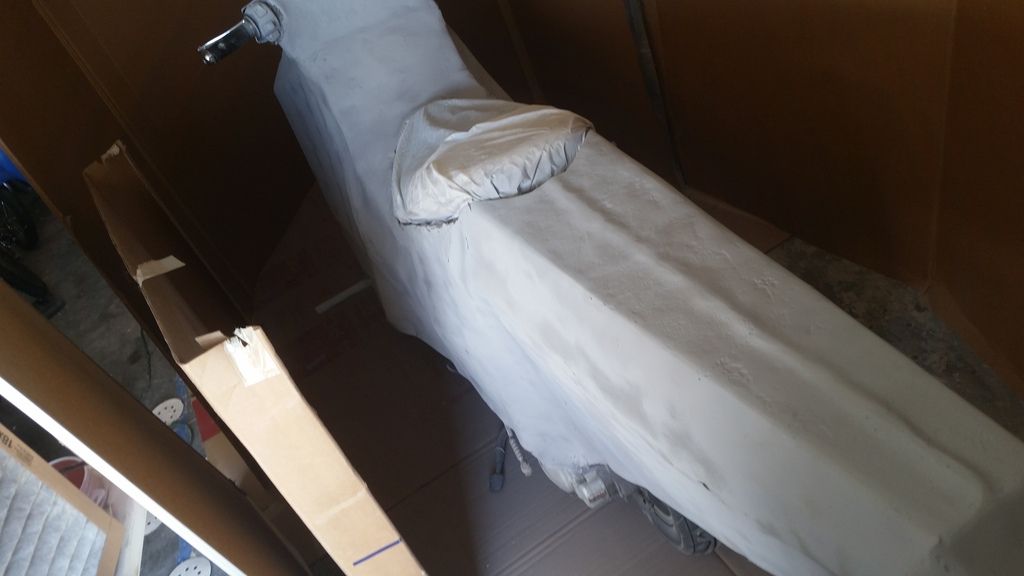 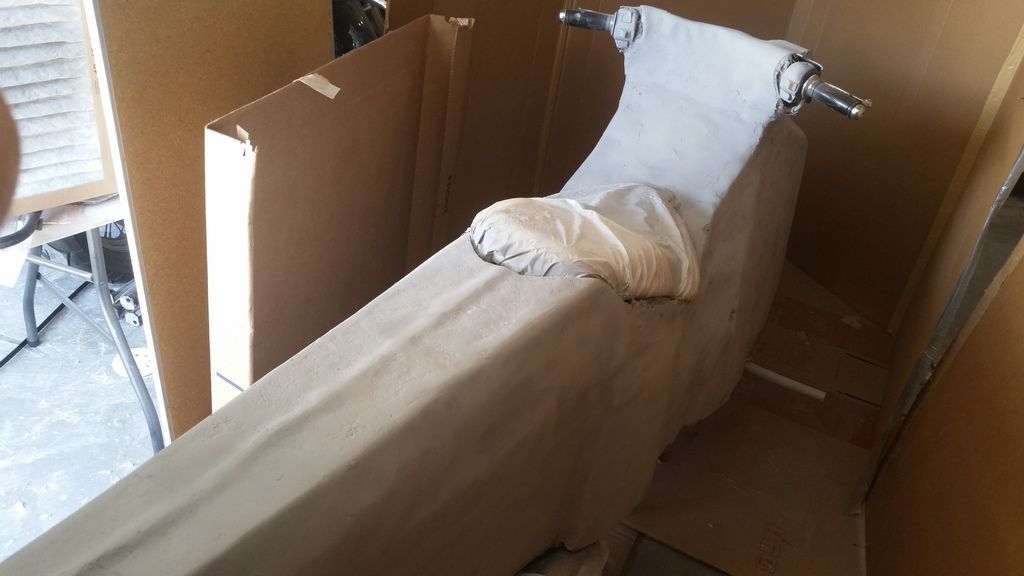 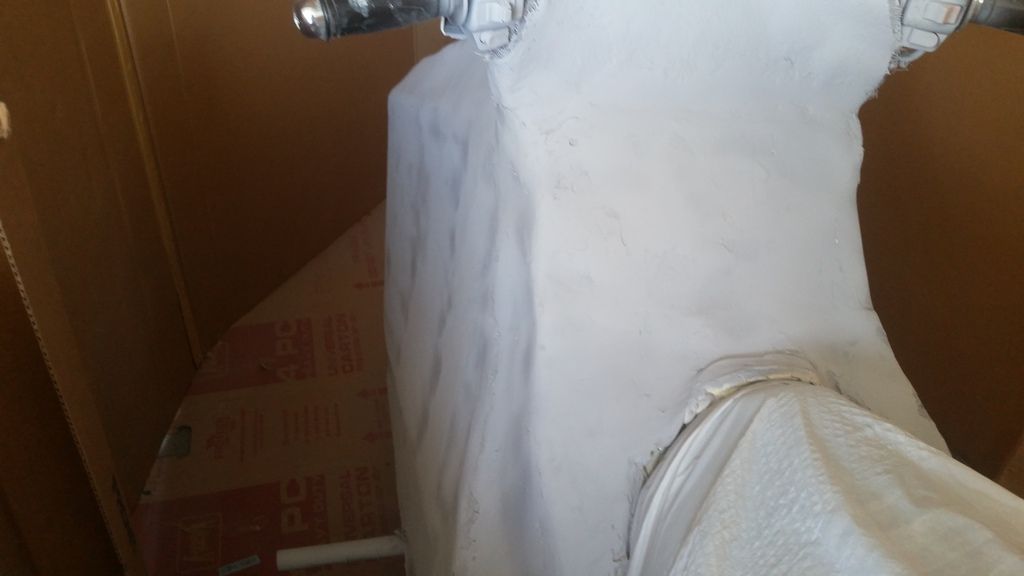 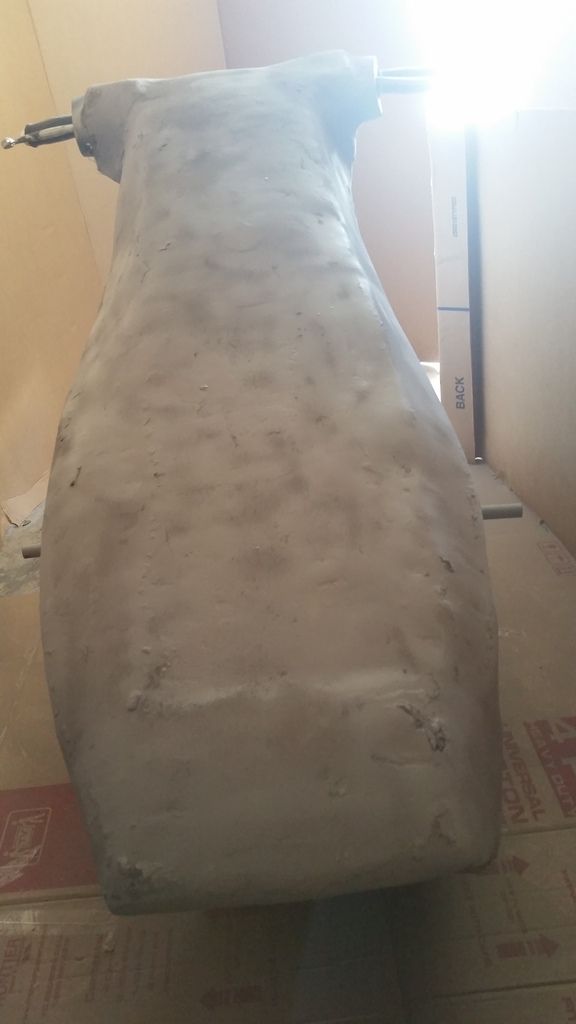 The next step is to sand lightly with 220ish and then I'll apply the second coat of primer. After another bout of sanding, I'm going to cut free the handlebars and separate the three previously mentioned body parts. I'll have to make sure the contact points are reinforced then I can reassemble the body and paint!! Sounds so simple and easy; I can almost taste the conclusion of phase 1. Hopefully I can be painting this weekend. . . |
|
|
|
Post by kensnaps on Aug 29, 2016 12:26:15 GMT -5
|
|
|
|
Post by 190mech on Aug 29, 2016 17:33:21 GMT -5
Darn nice work there!Oughta be cool in a StarWars exhibition!!!!  |
|
|
|
Post by kensnaps on Sept 7, 2016 13:03:55 GMT -5
*beep beep*
|
|
|
|
Post by spaz12 on Sept 7, 2016 13:16:13 GMT -5
That came out pretty cool. Good job.
|
|
|
|
Post by 90GTVert on Sept 7, 2016 15:12:10 GMT -5
Very cool to see you out there enjoying it!
|
|
|
|
Post by ryan_ott on Sept 7, 2016 19:01:26 GMT -5
Turned out great, seems to function well. I'd say mission completed!
|
|