|
|
Post by Raizer on Jun 19, 2018 10:23:46 GMT -5
That's going to be a laugh to ride with the YX160 in there! My modded 140 is fun in what I suspect is a heavier frame. Also found something interesting while looking into the engine. A CDI labeled as EZ start that does 10 degrees of advance up to 500RPM, then kicks up to 20 degrees to 2000RPM, and finally up to 38 degrees the rest of the way. tboltusa.com/store/trc-ez-start-high-performance-cdi-p-9745.htmlCould potentially be an option for 139QMB and GY6 engines. The pinout is nearly identical. Each has 1 open spot and 1 ground, at least for the most common AC GY6 type CDI. Looks like if the ground and open locations were swapped, this woudl plug in to many scoots. From the ones I've checked, it seems like around 25 degrees of advance is about where the GY6 stuff often stops. Could mean this gives more power. Could mean this results in a lot of spark knock. I may get one for the SSR and see what it does on the TaoTao someday. I'm running an EZ start CDI in my Honda, it's OORacing branded but looks to be the same set up. Made a huge improvement over the standard pit bike CDI. The switchable rev limiter is fun to play with too. |
|
|
|
Post by 90GTVert on Feb 15, 2019 19:28:01 GMT -5
I've done a little work that's kinda related to this bike, so I thought I'd post a little update while I was thinking of it. I bought 2 adjustable rear shocks when treatland had a sale with roughly 20% off. As soon as I sat on this moped, it was obvious that new rear shocks would be a must. These were pretty cheap and the right color. 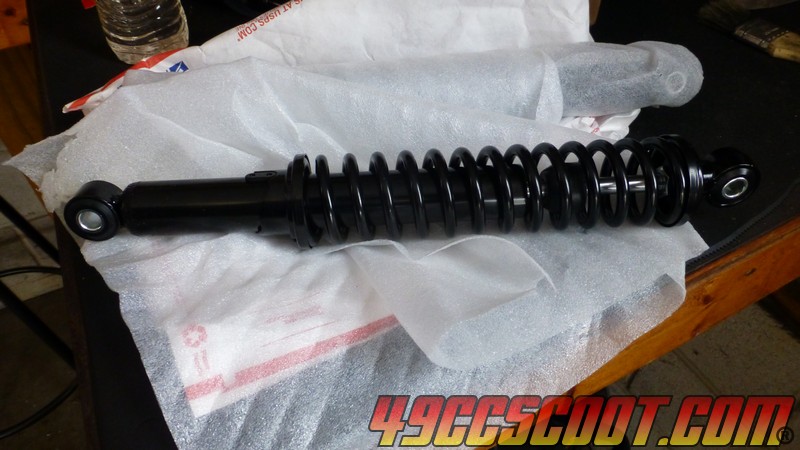 About 2 weeks ago a friend was in the garage BSing and asked if I'd have any use for a tach. His old boss sold the business that he worked at and some of his random stuff was left behind that he wasn't worried about taking with him. I figured it was probably some old Sunpro automotive tach with crappy wiring or something, but he had it in his truck so I took a look. Turns out it's a Trail Tech Vapor kit new in the box. He said if I want it I can have it. They needed to clean the place out and he saw that it said motorcycle on it and thought of me. Sweet! Doesn't have the sensors I'll need, but it'll still save me a chunk of cash because I was definitely going to swap to a new gauge setup. 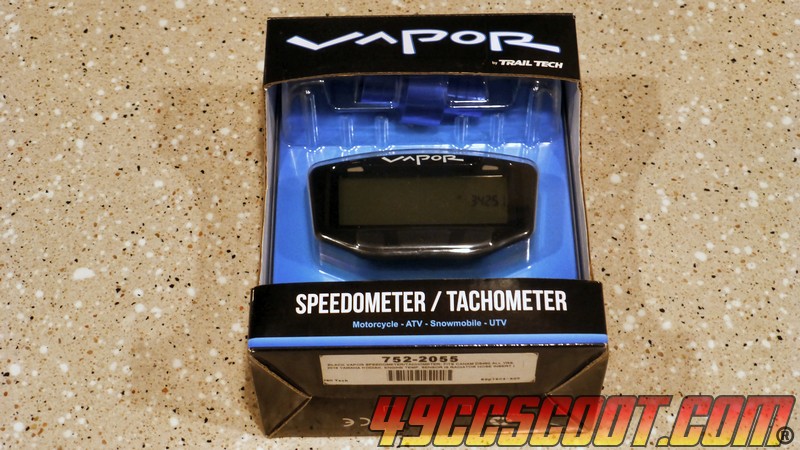 Otherwise, the SSR is just sitting in the corner. Initially I wanted to get it together and ready for spring this year. However, at that time I didn't know I would hit a deer on another scooter and have to fix that scoot and pay medical bills and have to buy new gear. I'd like to get this going, but I really don't know when anything will happen with it. Could be this year, could be next year.  I've been working on a video for quite a while now and I needed a 4T engine to demonstrate something with. I really didn't want to take the TaoTao's engine apart, so I decided to take the pitbike engine out of my old cateye. It's an 88cc and I once thought it would be the replacement engine for the SSR, but since I bought the 160cc it will be a spare. The cateye is going to the scrapyard, so this will be the last time it's seen. I know I wouldn't ride it anymore. It's been years with just a wheel ripped apart from WOT shifts and I've never even been motivated enough to fix that. Just not into parking lot only stuff anymore. I thought about giving it away locally, but it's a death trap. 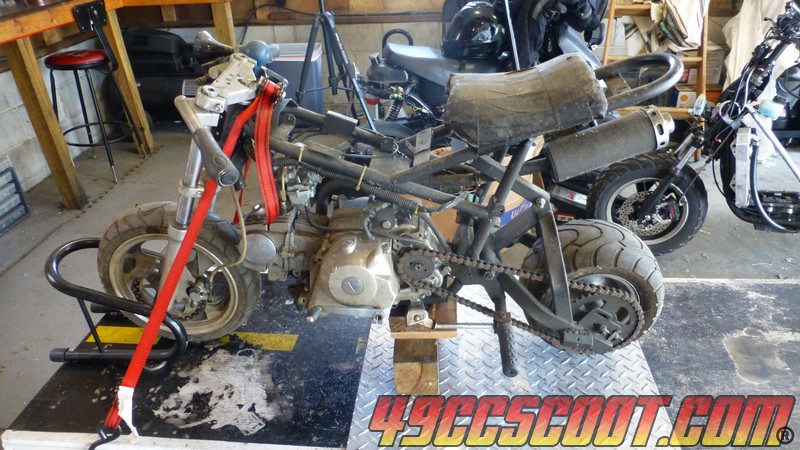 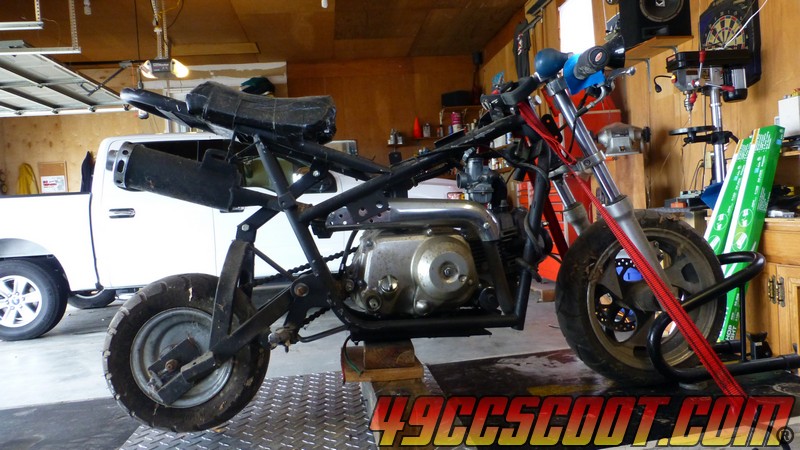 Once the engine was out, I could get a good look at the engine swap mounts. Wow. These were literally my first welding job. I wanted to swap from the tiny piston port 2T single speed to a shifter 4T so badly that I got a friend to let me use his cheap welder and mask and I gave it a shot with not more than a few sentences worth of advice from him (and he couldn't weld worth a darn either). Talk about birdsh*^ welds. It's kinda scary knowing this thing has been together this way for 15 years and has been on one wheel at 50MPH. 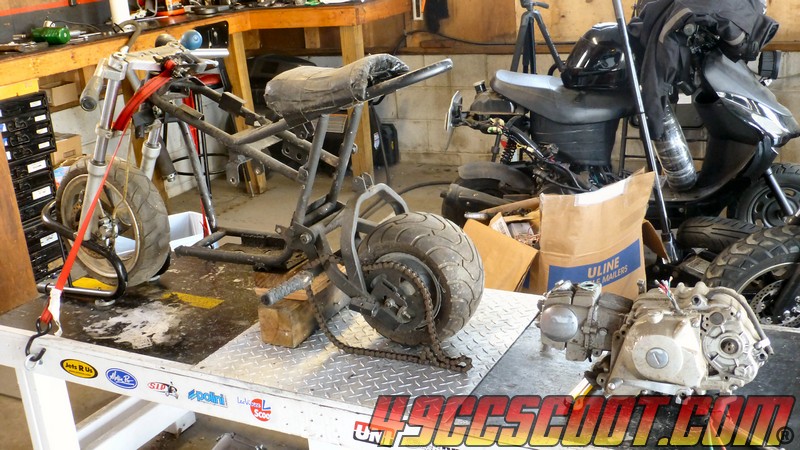 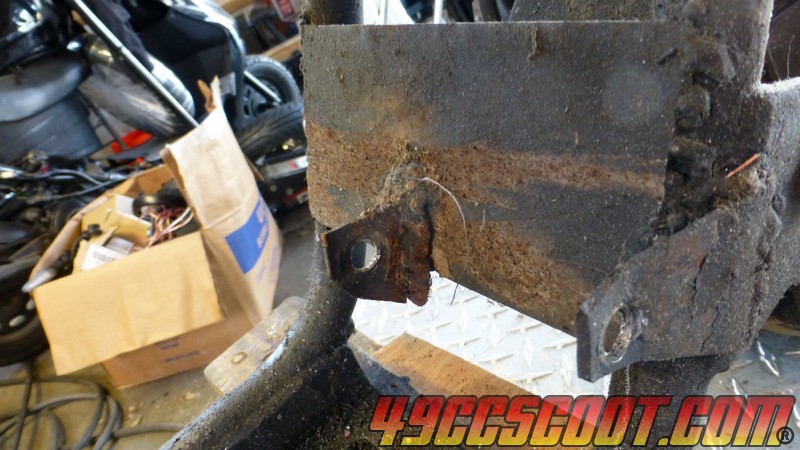 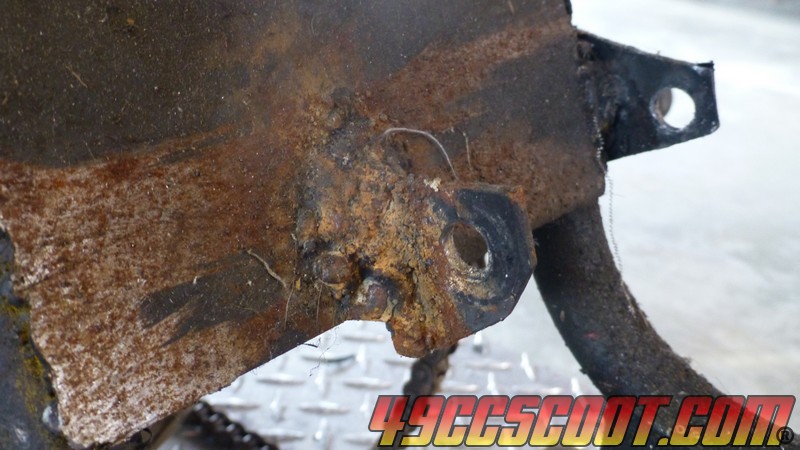 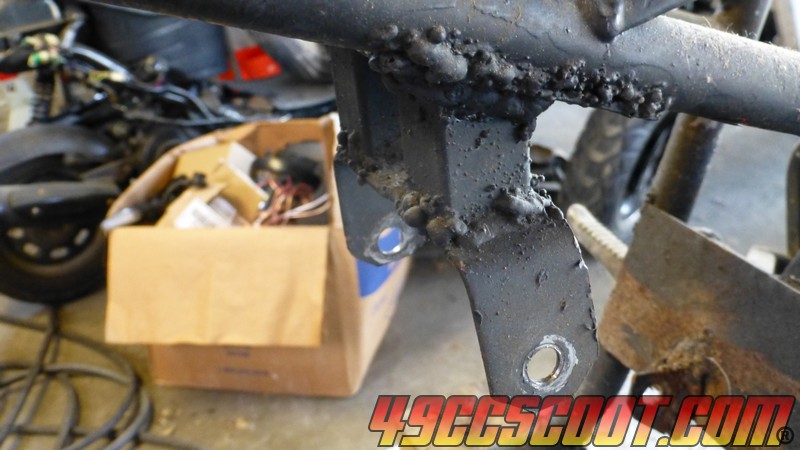 RIP Cateye. 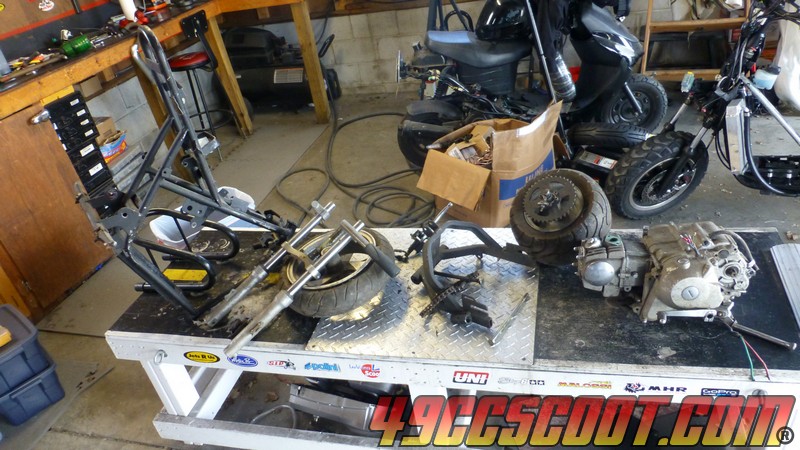 The engine was a mess, so I cleaned it up enough that I could work on it without getting dirt everywhere. 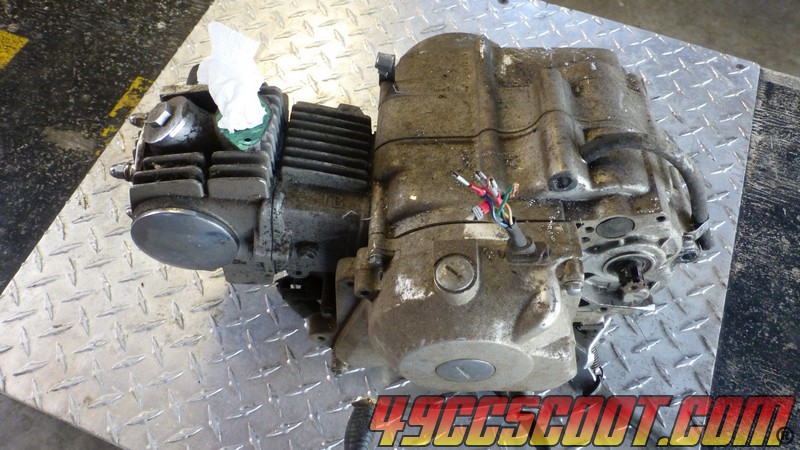 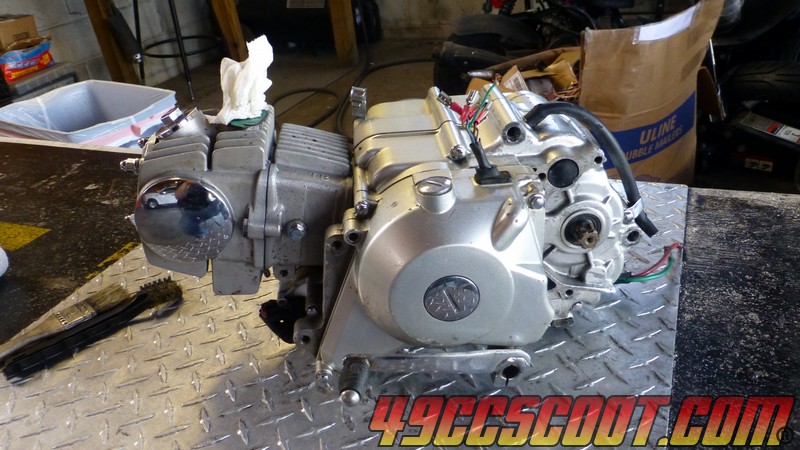 I needed to get a degree wheel on it, so I pulled the stator cover off. All of the other pitbike engines that friends and I had used flywheels like our scoots, where the flywheel is the outermost part. This one has the stator mounted to the cover and the flywheel inverted relative to what I work with most. They say that the stator on the 160cc isn't good and should be swapped with a stator with more poles from a different engine. I thought this was gonna be the ticket, but I don't know if the 160 uses this style or not yet.  I didn't have a puller for this flywheel, so I used a 2 jaw puller, heat, and a rubber mallet to get it off. Then I measured the threads (27.75mm diameter x 1.0 pitch) and ordered a puller with internal threads in case I need it in the future. Then I made this. 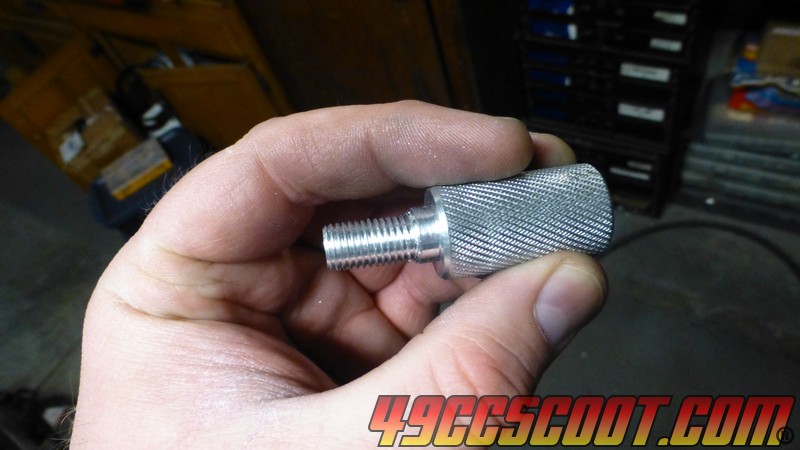 But what is that? Well, the degree wheel was an issue. Because of the shift shaft, there was no room to use my 12" degree wheel. I have degree wheels on CDs, but I like to use larger wheels for better accuracy and ease of reading. That piece is an adapter that screws onto the crank's M10x1.25 threads and then has it's own M10x1.25 threads (so I can just use the flywheel nut) after an area that matches the ID of the adapter that came with the degree wheel so it sits very snug. Once installed, the degree wheel sits far enough out to clear the shaft.  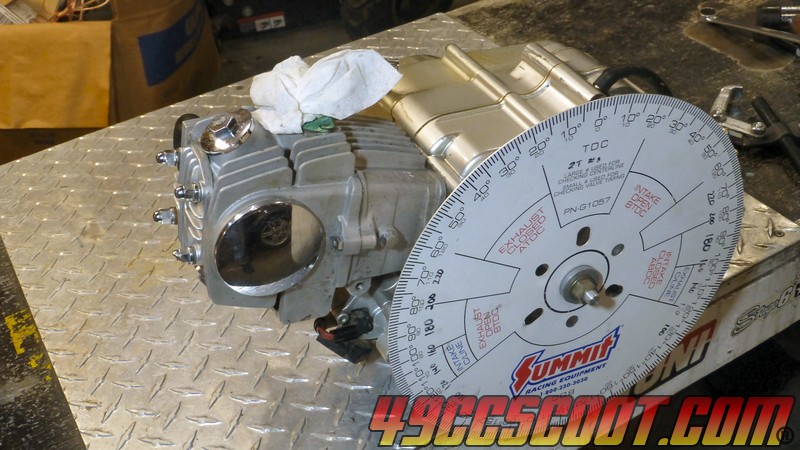 Prob won't see any more updates about this for a while. |
|
|
|
Post by Raizer on Feb 17, 2019 6:10:16 GMT -5
That style stator/flywheel is only on the electric start engines.
From what I've seen the 160 comes with 3 options, the standard yellow and white lighting and charge wires.
2 yellow wires for full wave output
And no charging or lighting outputs at all.
My 140 uses the same standard yellow and white set up, works fine for my set up.
There is a tiny light weight flywheel set up for them too.
|
|
|
|
Post by 90GTVert on Apr 9, 2020 18:44:53 GMT -5
I finally dug it out of the corner. Stuck at home. Gotta have a 2-wheeled project not requiring any road tests for a long time. Click below for SSR Part 1 : youtu.be/1P09_tuRupo |
|
|
|
Post by 190mech on Apr 9, 2020 19:18:32 GMT -5
COOL!!  |
|
|
|
Post by Kenho21 on Apr 9, 2020 23:59:55 GMT -5
Psyched! This will be interesting!
|
|
|
|
Post by ryan_ott on Apr 10, 2020 1:20:22 GMT -5
Glad to see this one on the table!!
|
|
|
|
Post by 90GTVert on Apr 11, 2020 12:50:59 GMT -5
SSR Project Vid Part 2 : Stripping Off The Junk : youtu.be/3Ix71sQOFbsGas tank is gonna be "fun". Aside from tossing a big tank on the back like T2 or making a cafe racer moped with a motorcycle tank; there's not much room to hold a lot of fuel. The only reason I'm not going straight to a rear tank like T2 is so they don't look quite as much like twins. I've got an idea for something a little over a gallon (stock 0.74gal), but it's probably going to be a lot of work and I'm not sure how it's going to turn out. My brain doesn't even process 4T anymore. I was thinking about a tank design. I kept thinking, "I wonder if oil will be able to mix easily in the whole tank this way". It wasn't till I woke up this morning after some rest that it clicked that I don't need to pre-mix this. |
|
|
|
Post by 90GTVert on Apr 12, 2020 14:35:25 GMT -5
Haven't made it far on the tank idea yet. Trying to do dual 4" x 12.5" tanks. 4" 16ga exhaust pipe with 4" pipe caps for ends. Only have 2 pipe caps here ATM. Will be joined eventually so I don't have to have 2 fillers. 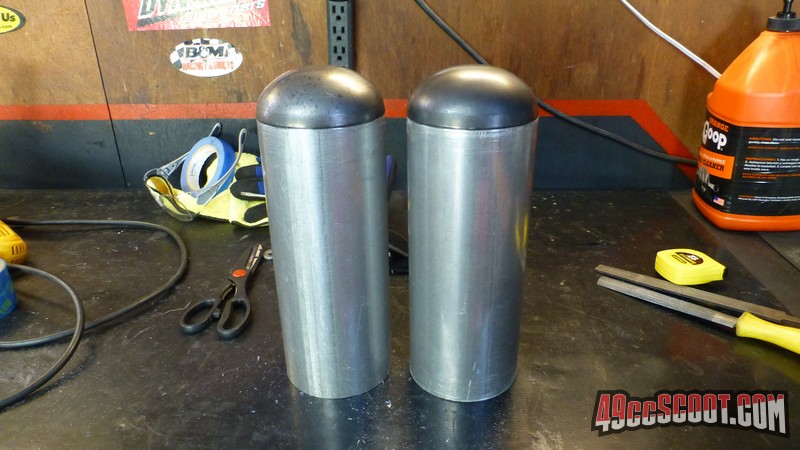 Only got 1 pass and cleanup on 1 cap. It's better than I expected to do, but I'll still have to at least touch up a couple of pinholes and spots where you can see a thin seam. Part of me wants to do a whole 2nd pass, but that could be a bad idea. I've had past experiences where that went well and I've also basically ruined a good thing trying that cause I'm just not a good welder. 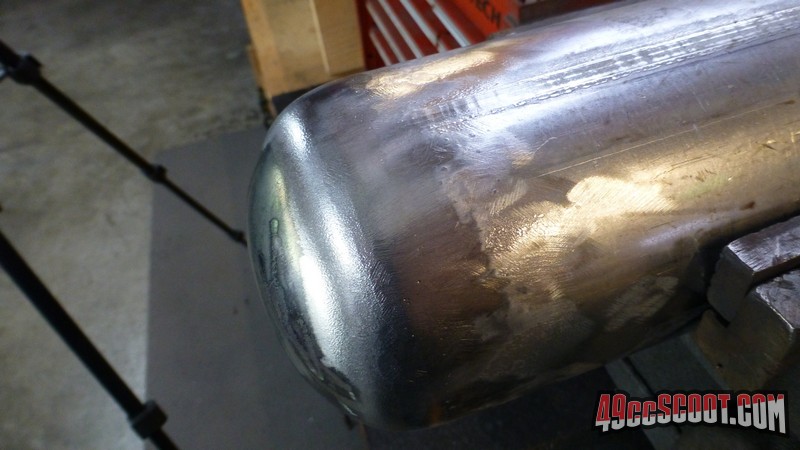 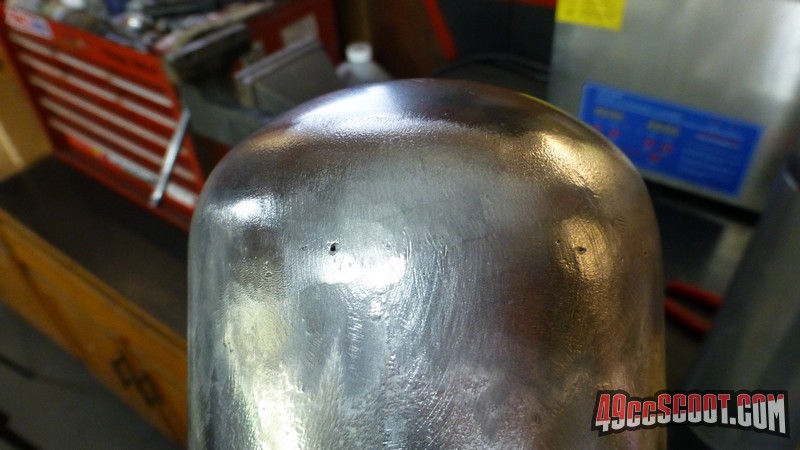 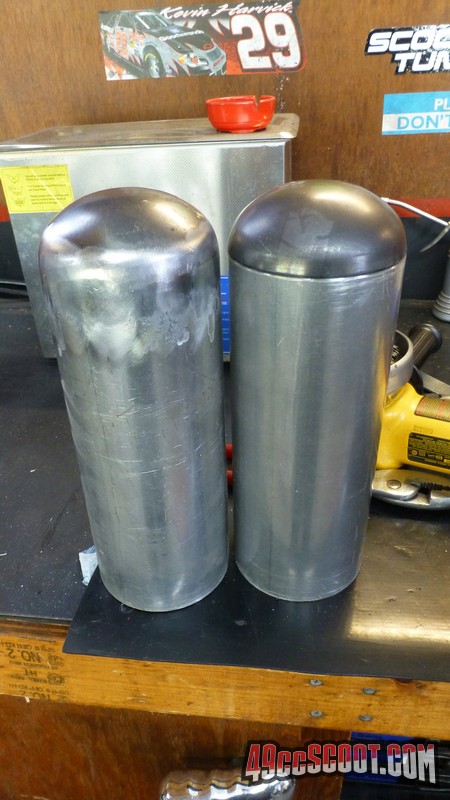 I need to find a filler neck. Looked quickly and they seemed expensive around $40 for just thin stamped steel and a cheap cap. Thought I'd use some black pipe that I have and maybe I could thread it and then make an aluminum cap. Looked at 2.5-2.75" 6061 round and 6" of that would be as much as a whole filler neck kit. I had an idea that maybe I'd add a couple of fins if they fit and paint the dual tanks like aircraft ordnance. Could be kinda cool, but I'm not really sure how laws on that sort of thing work. My first idea was to see if I could get electric blue paint and put NOS stickers on them. I think I'd actually have a better chance of not getting pulled over with fake weapons strapped to the side. May be best to leave them plain. I dunno. |
|
|
|
Post by 90GTVert on Apr 13, 2020 19:00:11 GMT -5
I almost made a fuel filler neck today. Almost.  I got about halfway through the actual cutting of the threads and the lathe jumped out of gear so the carriage just sat still and ground a ring in the middle of the threads before I shut it off. It jumped out of gear when I first started. Literally the first pass. I was barely scratching the surface at that point so I put it back in gear and went on. I thought it was just my error. This thing has 3 little indentations where a lever can sit, but it's not great. I figured I just didn't get the lever in all the way or something. 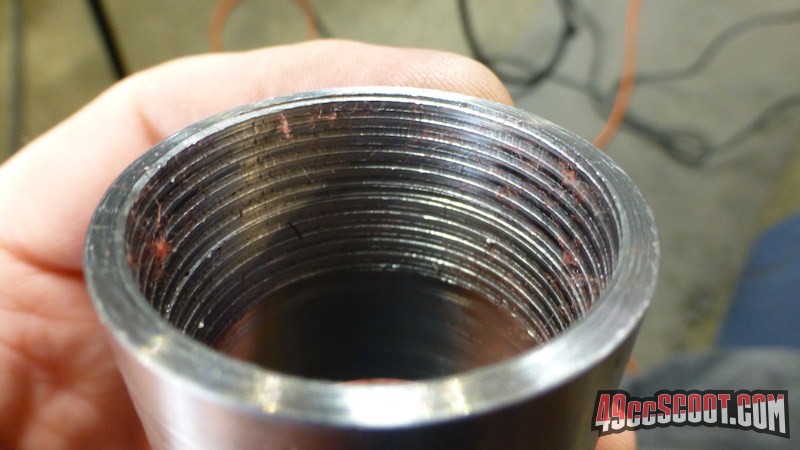 I spent an afternoon+ to make something for the scrap pile. I'm just gonna order a filler neck kit. |
|
|
|
Post by 190mech on Apr 13, 2020 19:44:58 GMT -5
I built a few MX gas tanks in the 70's and used a male pipe nipple welded into the tank and a female cap turned down and knurled with a vent hose in the center,,looked pretty 'trick' and won a few races...Guess thats about as good as it got back then!!  |
|
|
|
Post by jloi on Apr 13, 2020 20:47:19 GMT -5
man, I'm loving this already . thanks. I have as much fun watching as you do, doin.
|
|
|
|
Post by 90GTVert on Apr 14, 2020 19:07:22 GMT -5
I still haven't figured out what I'm doing with the tanks. The drawings are simplified. They'll actually be lying down basically but with an angle so the filler end is higher. 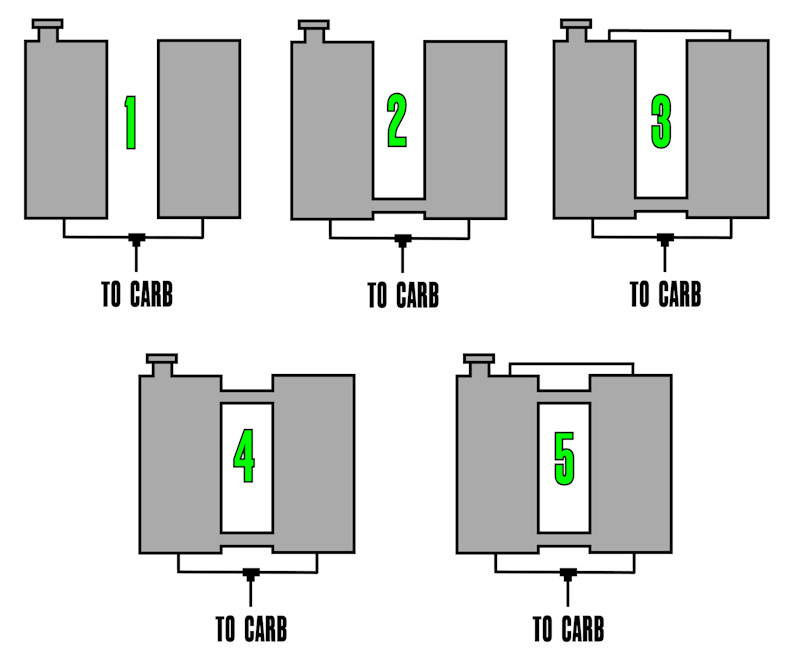 1) I think is too simple to work. 2 tanks. 1 filler. Both with fuel lines T-ed to carb. 2) Steel crossover tube. 3) Linked vents. I don't think 1&2 will work because 1 has a vented cap but 2 may not really be able to utilize it well enough with just bottom crossover. 4) Sort of alternate to 3. Steel tube top crossover. 5) Everything. I'm leaning toward 4, but I don't want to put the tubes on the very ends so maybe they are harder to notice. This seems so much more complicated than a gas tank needs to be, but I like weird things. Still not sure what I think about making the tanks look like bombs. There's some guy on eBay selling fake missiles as step rails. Then there is discussion online about fake machine guns that says it could be considered assault because you could cause fear. You'd have to be kinda dumb to think its real in this case, especially with a filler neck, but does that mean it's OK to do? |
|
|
|
Post by MKDeuce on Apr 14, 2020 20:44:11 GMT -5
Why not run a filler on each tank and put a vent hose on the top and a crossover hose on the bottom with one petcock?
|
|
|
|
Post by oldgeek on Apr 14, 2020 22:21:12 GMT -5
I like #4. You could create a reserve system by putting a cutoff valve between each tank and the T fitting. Along with the bottom crossover tube being a couple inches higher on the right tank than the left tank. The valve on the left tank would be left open as the main fuel and the valve on the right tank is closed normally, then opened when reserve is needed which would be the last couple of inches of fuel left in the right tank. Of course, you are not one to ever run out of gas.  |
|


