Deleted
Deleted Member
Posts: 0
|
Post by Deleted on Nov 14, 2020 20:30:39 GMT -5
At least you will know exactly what your dealing with. No good spending money if it's not going to be 100%. My thoughts exactly. Honestly, I'm likely to tear down the engine that's on the bike as well. When I pulled the oil tank today, contents were a bit chunky 😂. There's some weird business going on in this machine. Will post some pictures once Postimages starts working again. |
|
Deleted
Deleted Member
Posts: 0
|
Post by Deleted on Nov 14, 2020 22:45:32 GMT -5
|
|
|
|
Post by 190mech on Nov 15, 2020 6:02:11 GMT -5
Cool!I like those Chinarelli motors for a build platform,Thats got the big splines,big taper,12mm piston pin,and it looks like it also has the 10.13 to 1 final gearing...
|
|
|
|
Post by aeroxbud on Nov 15, 2020 6:05:51 GMT -5
It's mad has rusty it is. But the gearbox looks new.
|
|
Deleted
Deleted Member
Posts: 0
|
Post by Deleted on Nov 15, 2020 7:29:18 GMT -5
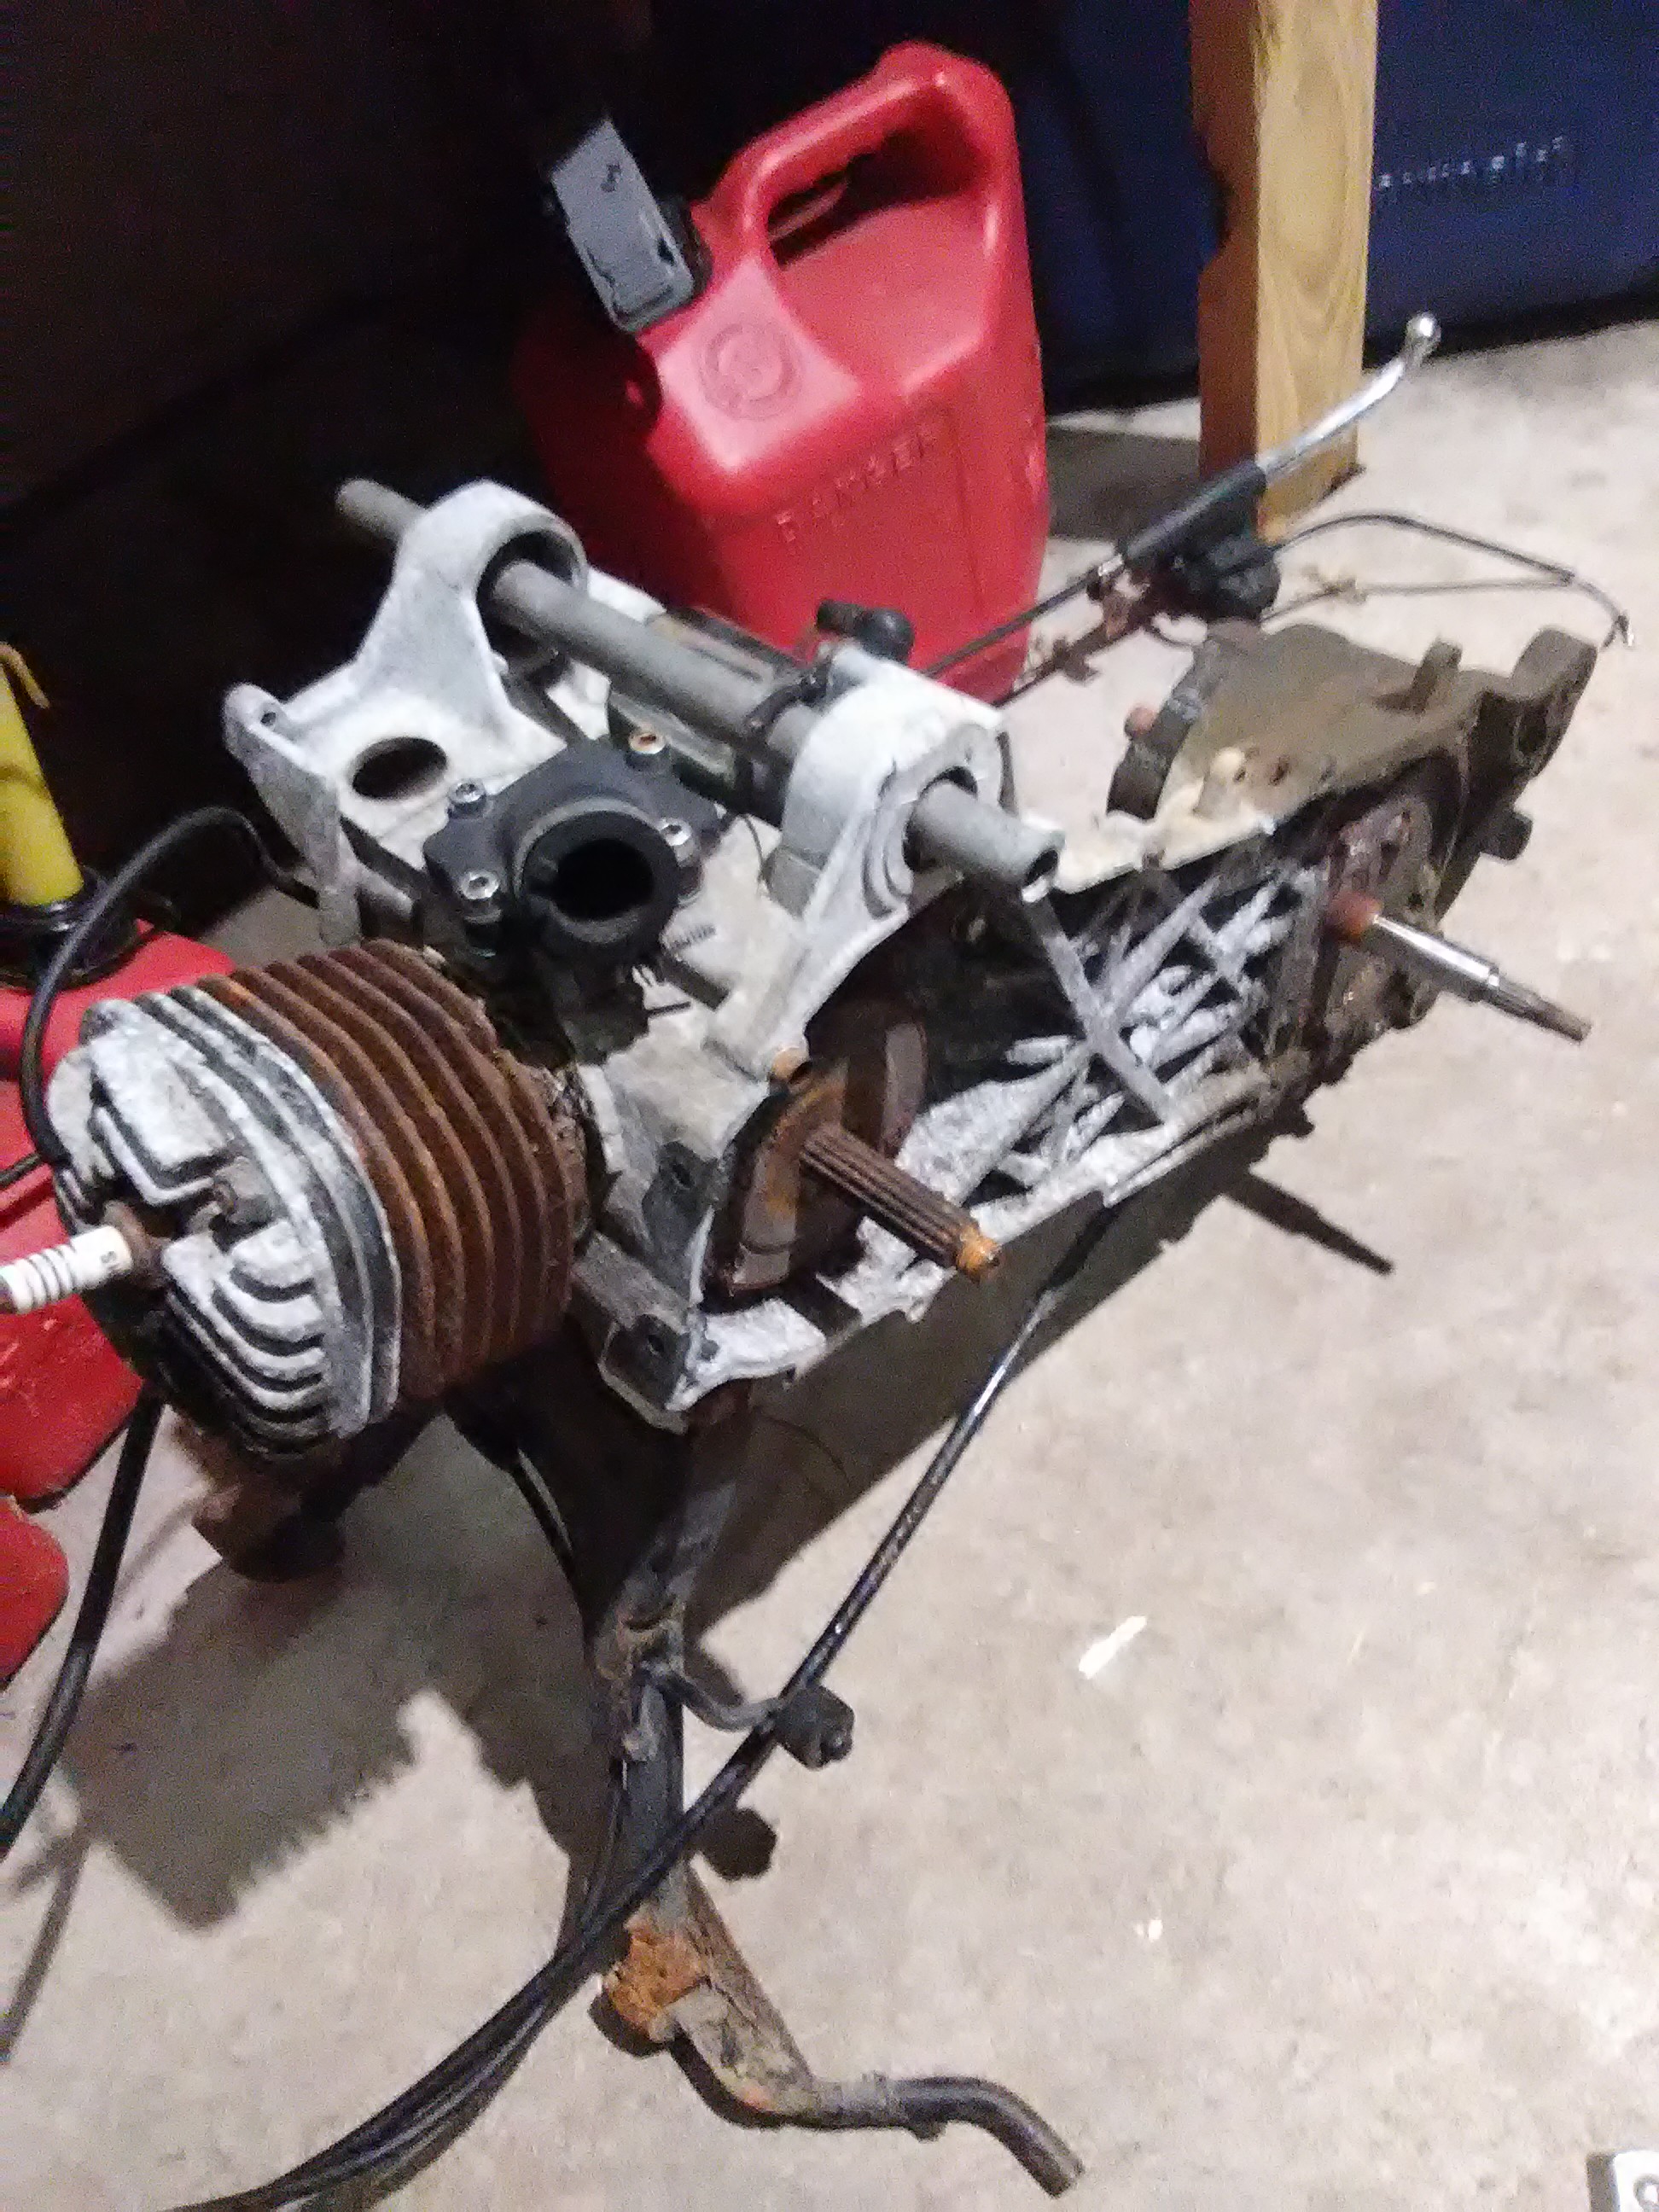
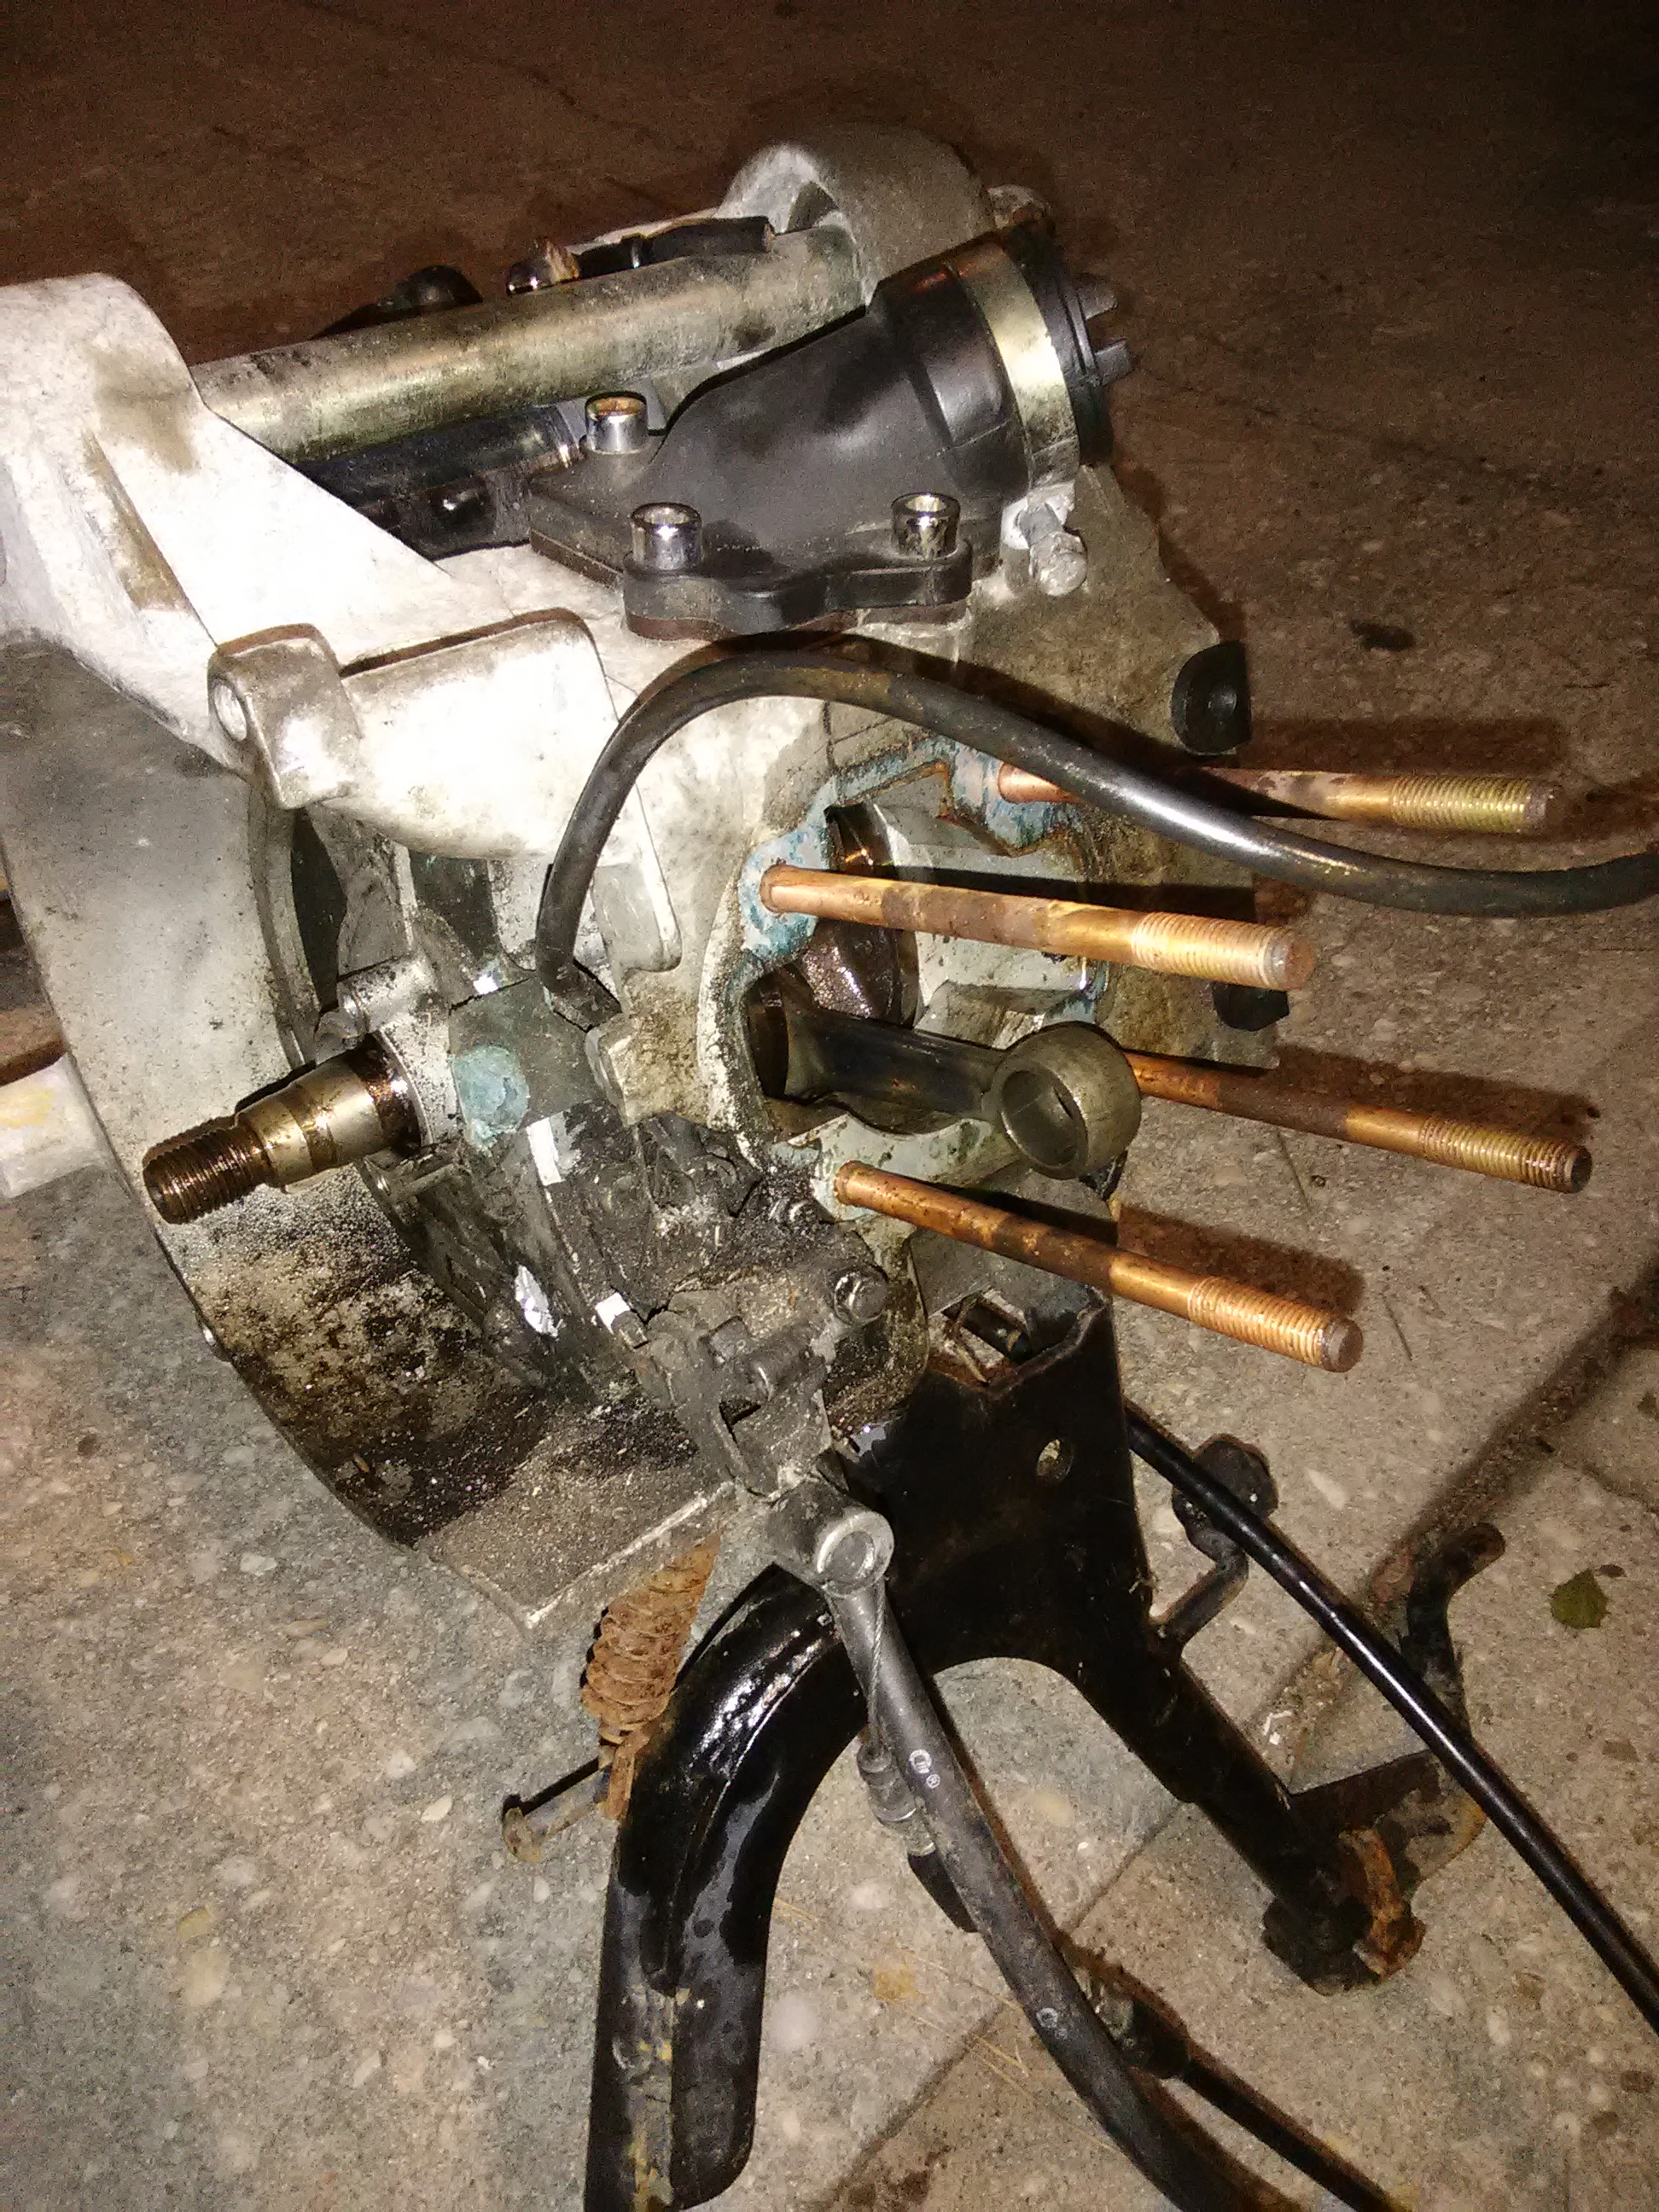
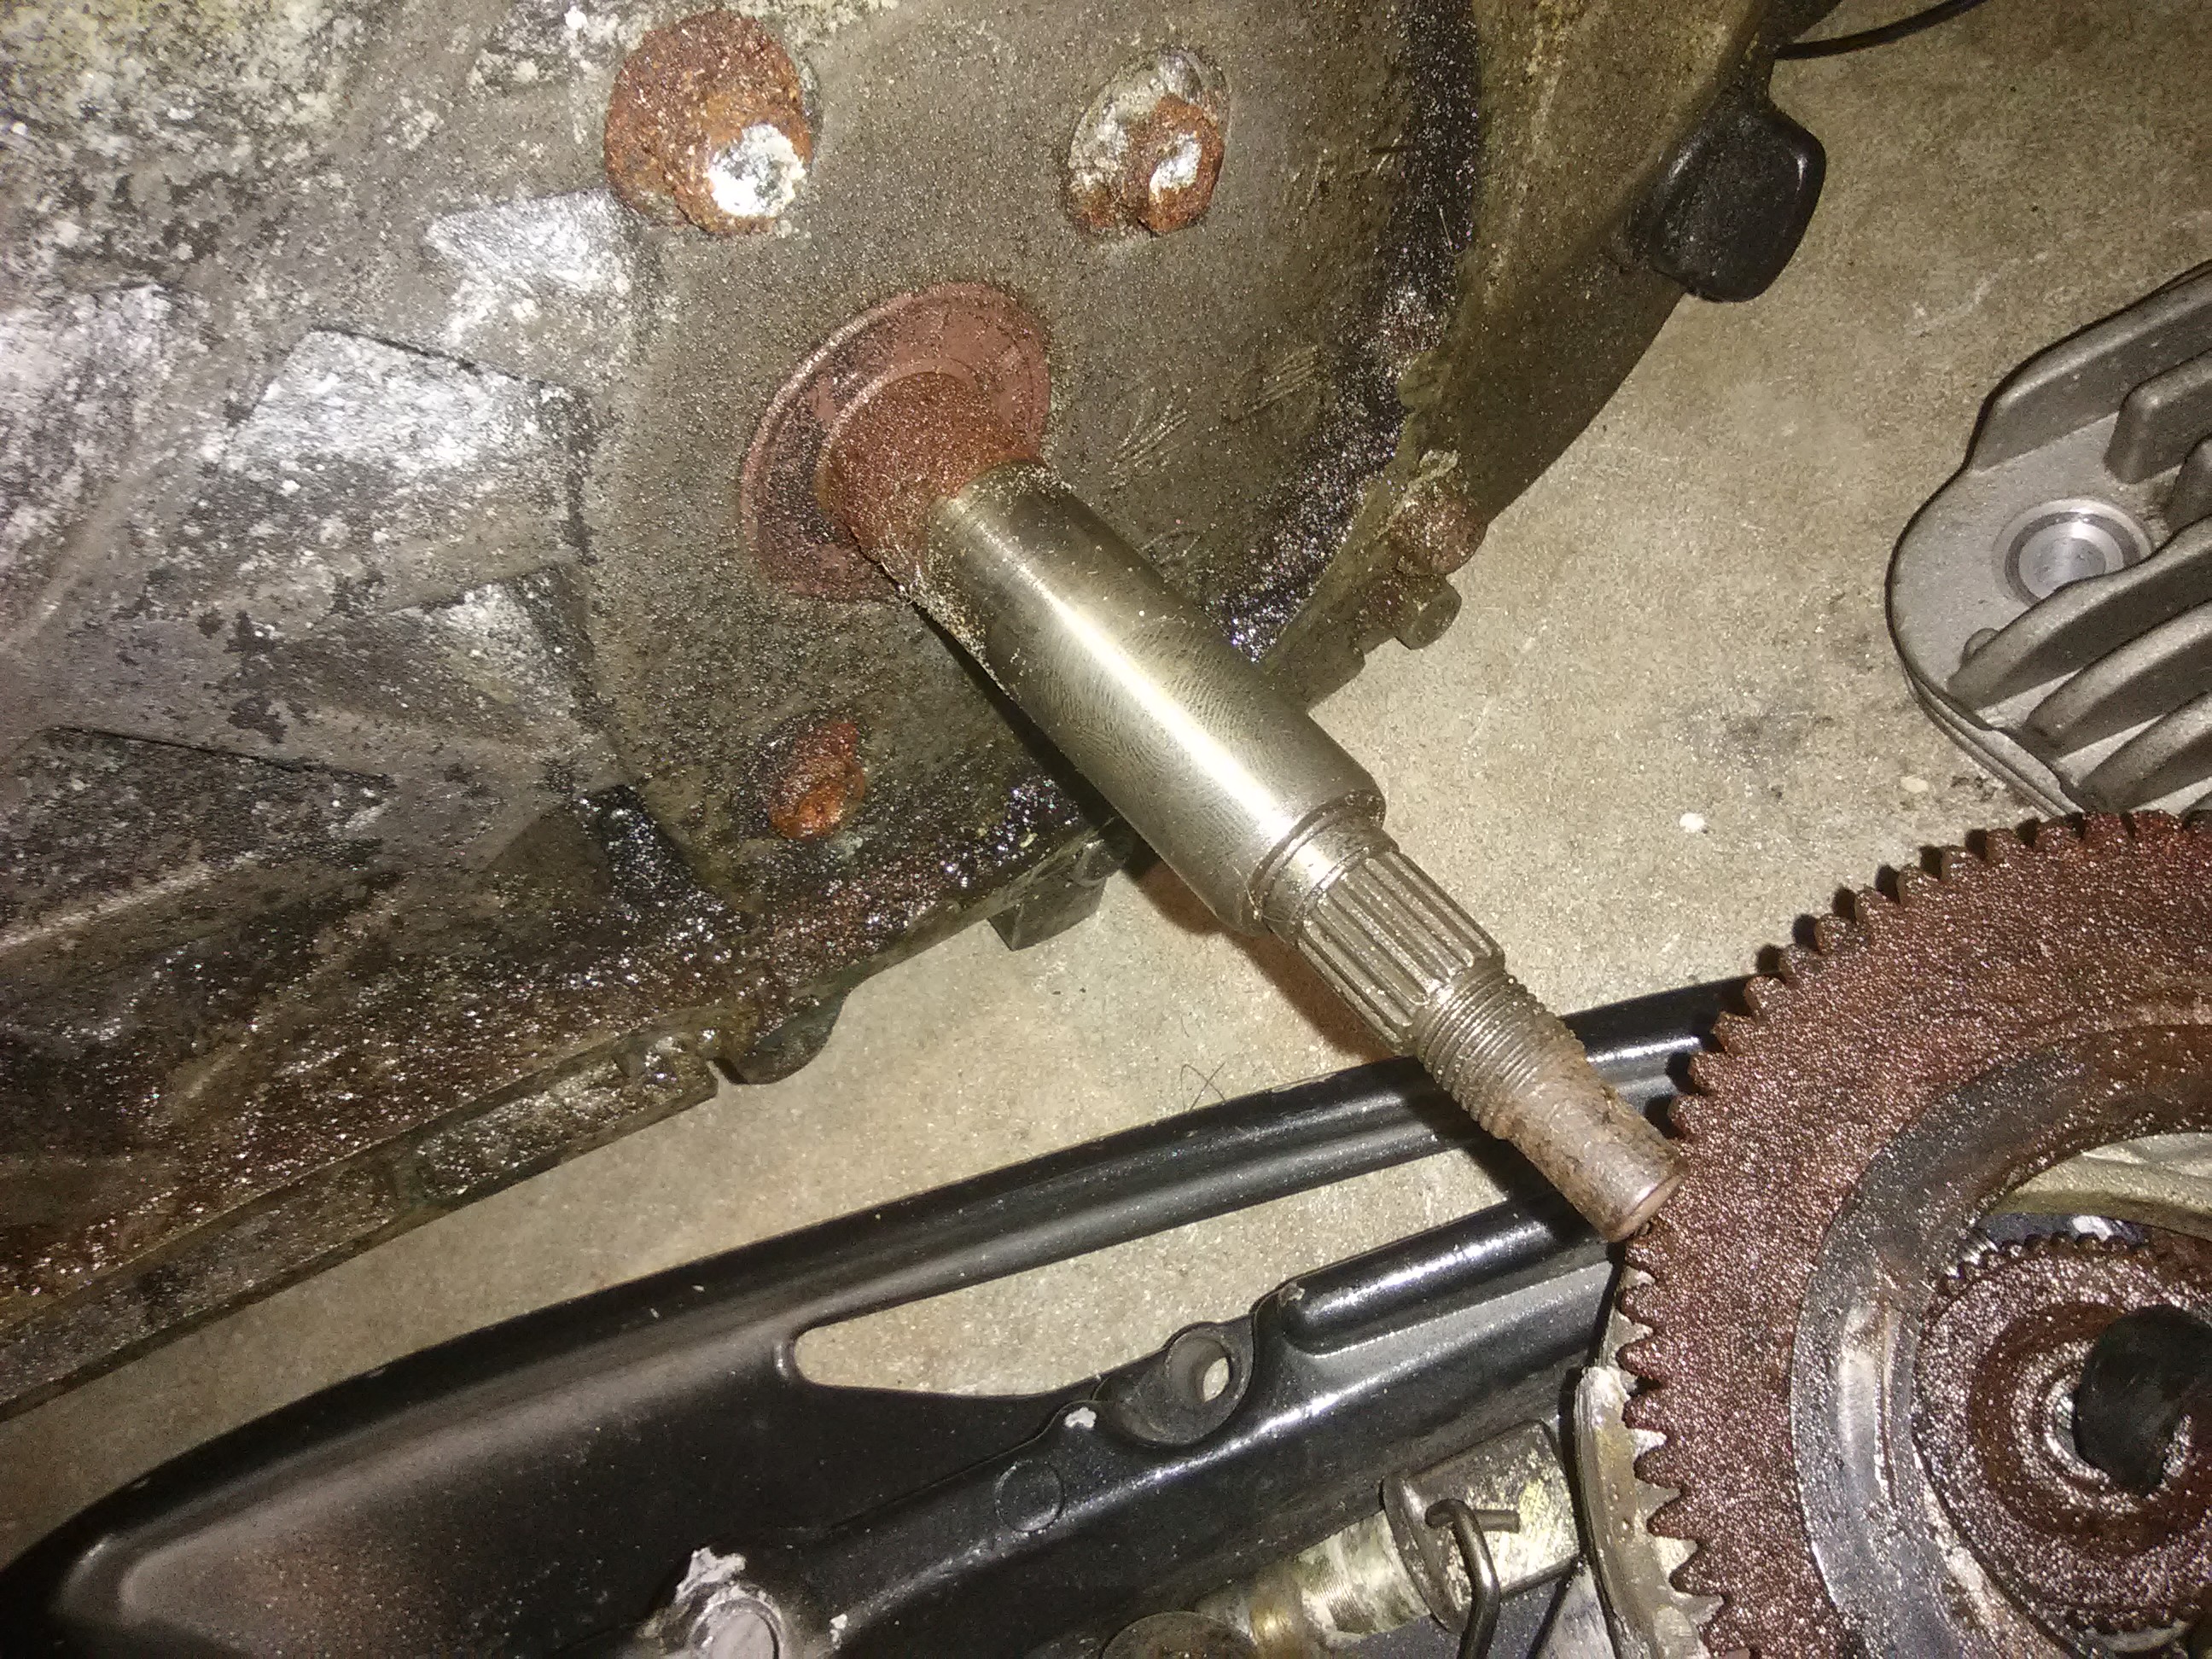
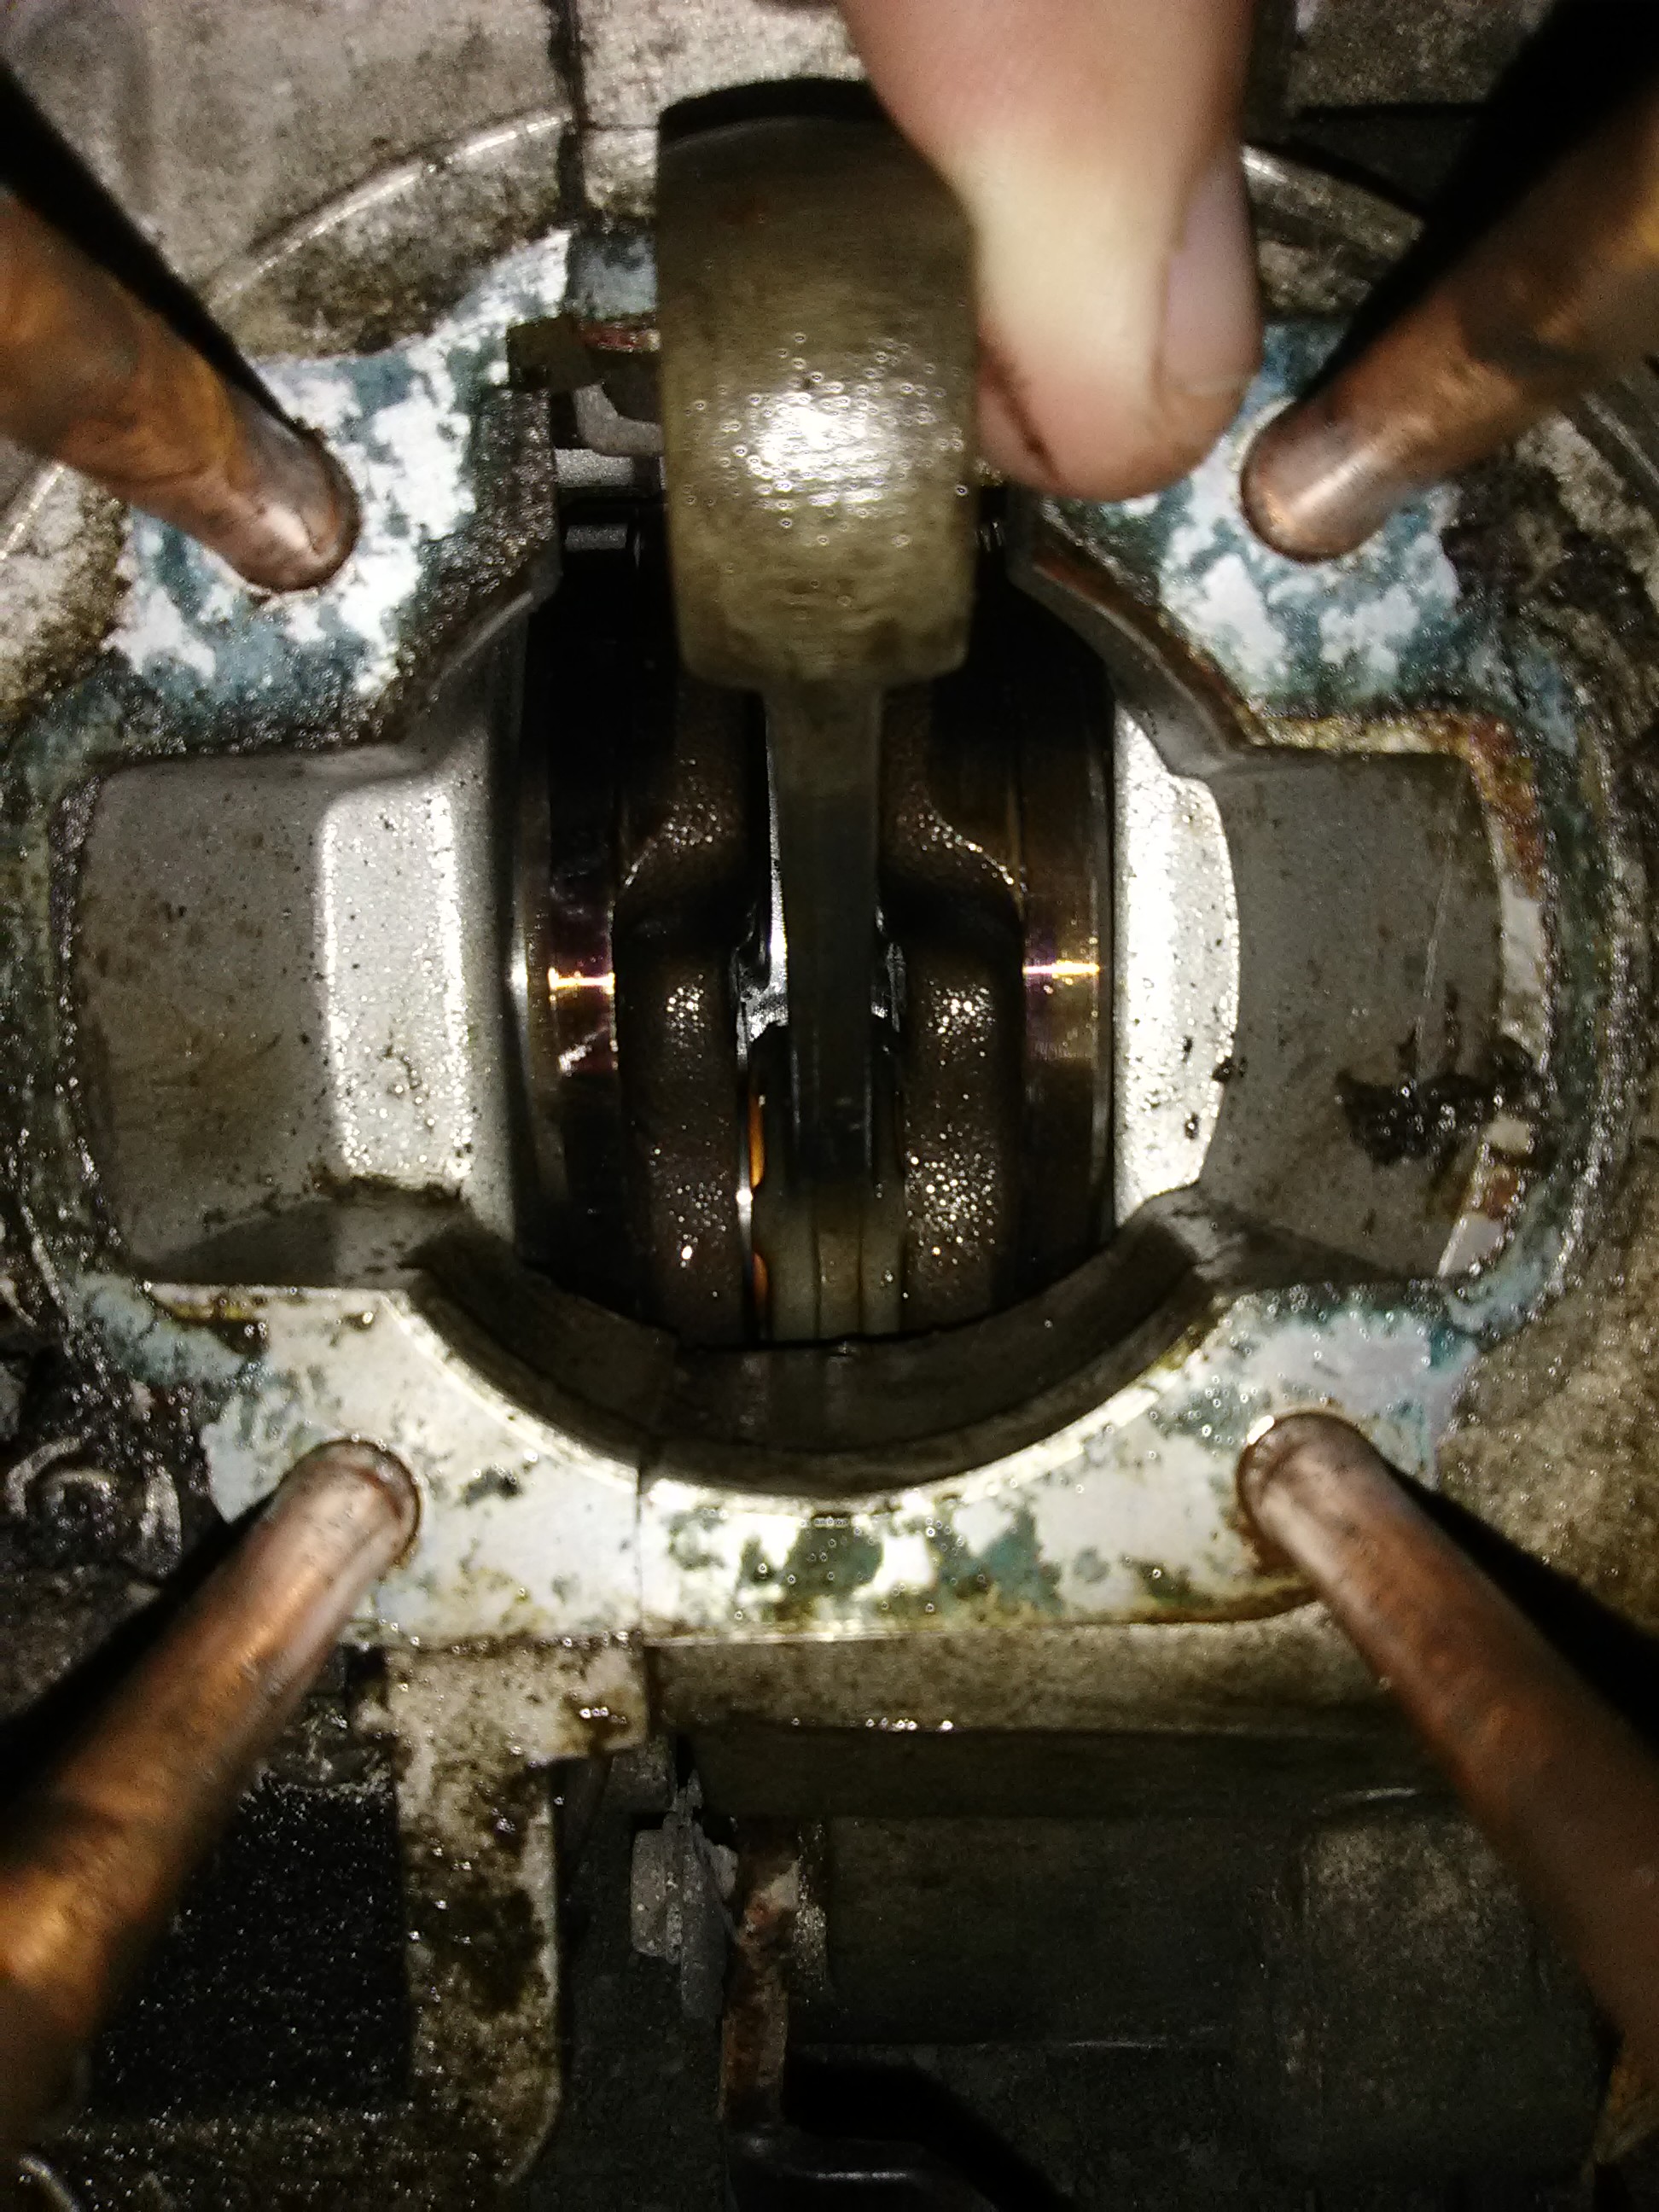
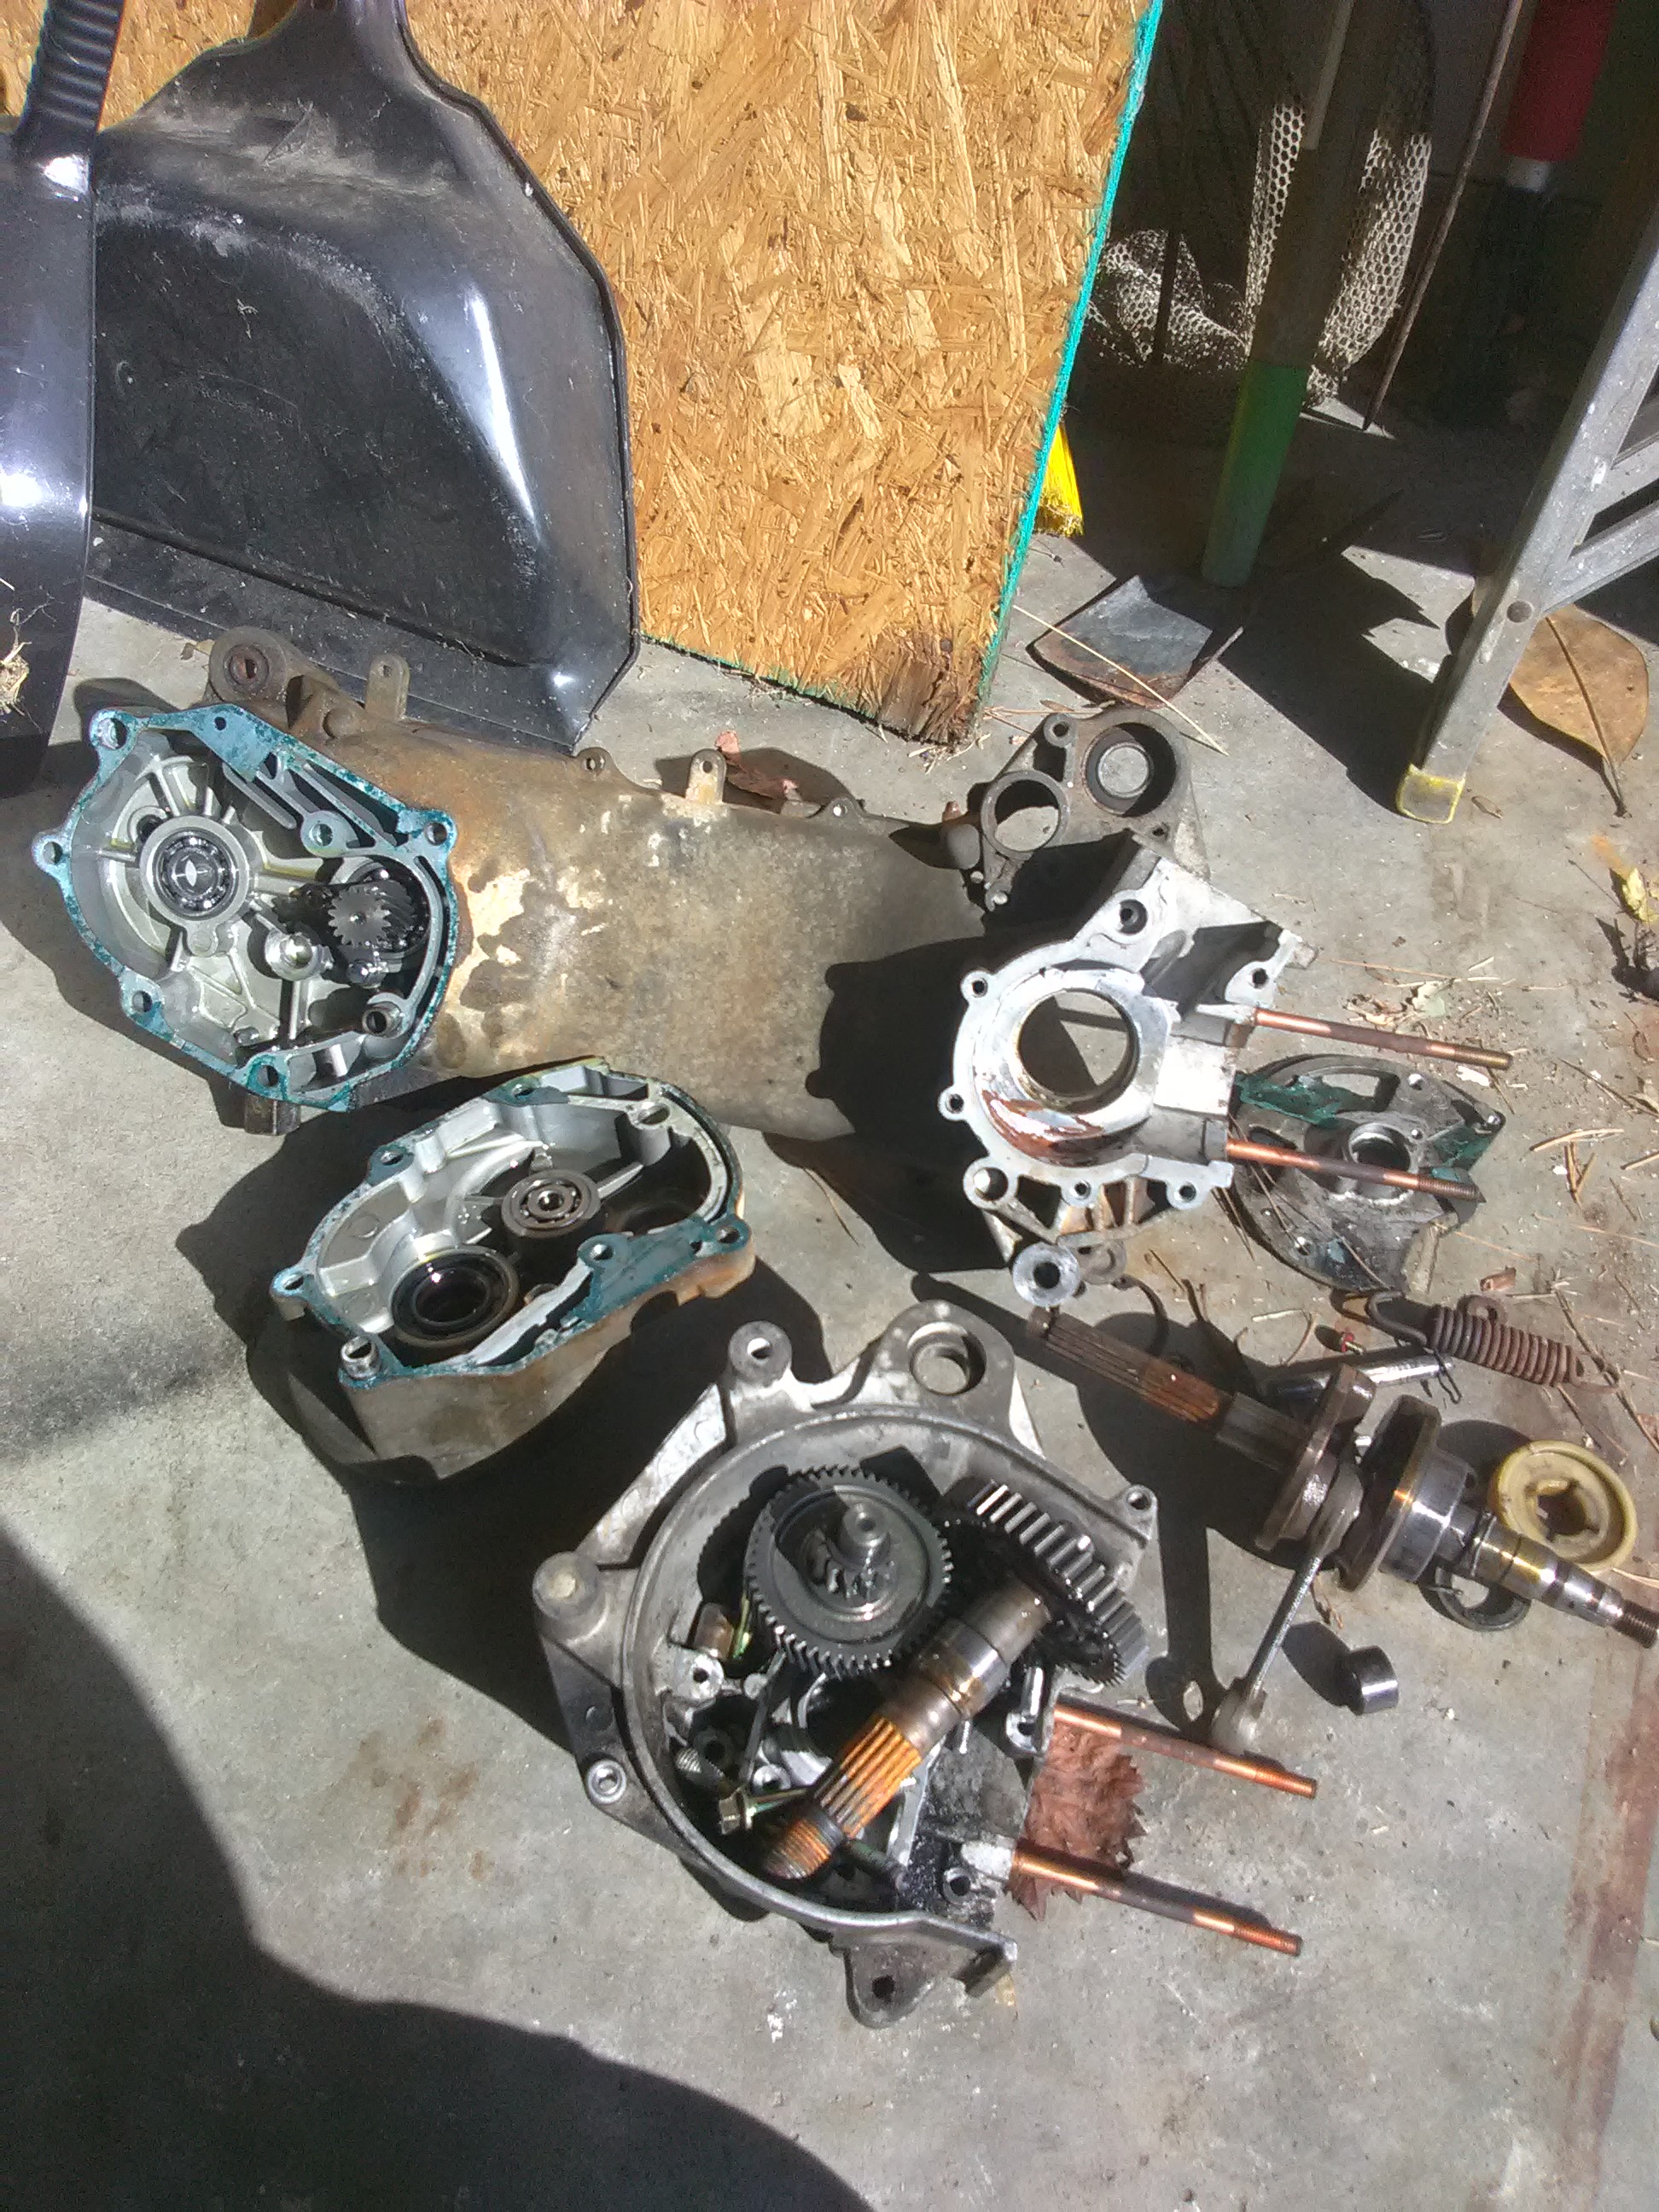
aeroxbud The thing I have to keep reminding myself is that the scoot isn't terribly old, it's just been abused and then neglected. I don't think the previous had this bike very long before they locked up this engine. Today we'll see what they've done to the "good" engine. 190mech huge disapointment on that crank. I was hoping it could be salvaged, but the whole thing is rusted through. It's like water had been sitting in the cylinder, and being close to the coast, the salt just ate it up.
|
|
Deleted
Deleted Member
Posts: 0
|
Post by Deleted on Nov 21, 2020 10:15:56 GMT -5
Alright! Engine parts, bearings and seals ordered! Now, it's on to spaghetti junction. This guy was no master electrician. Once everything laid out, it's pretty easy to see where he spliced. Just gotta re connect, and then figure out which components can be saved and which I gotta replace. 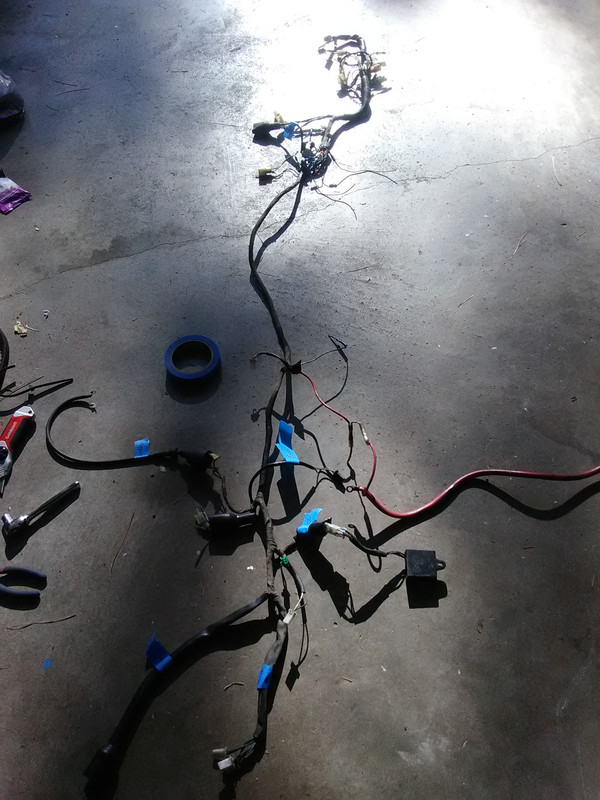 |
|
Deleted
Deleted Member
Posts: 0
|
Post by Deleted on Nov 21, 2020 19:11:46 GMT -5
Okay... I've undone all the spliced and flagged every connection. We have some slight weirdness right around the ignition key switch. It's a 5 wire switch and I've got 4 accounted for. The 2 yellows in the photo are attached to the original red/white and red wires that went to switch. Two others are still connected. My only dilemma is the black wire. It looks like the previous owner just yanked that wire out and then attached it to two other black wires in a splice. It's a little weird but I'll figure it out. I think I just need to hook up a number from the switch to the other black wires and I'm good. That should close everything up. I think.... Pretty sure.... Probably.😂 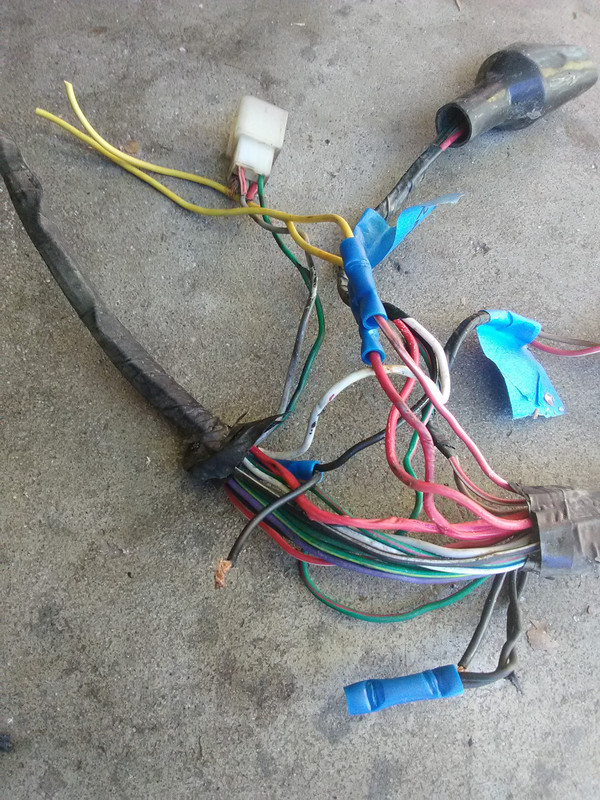 In other news, I managed to get the janky car stereo removed with out destroying the harness. 😂 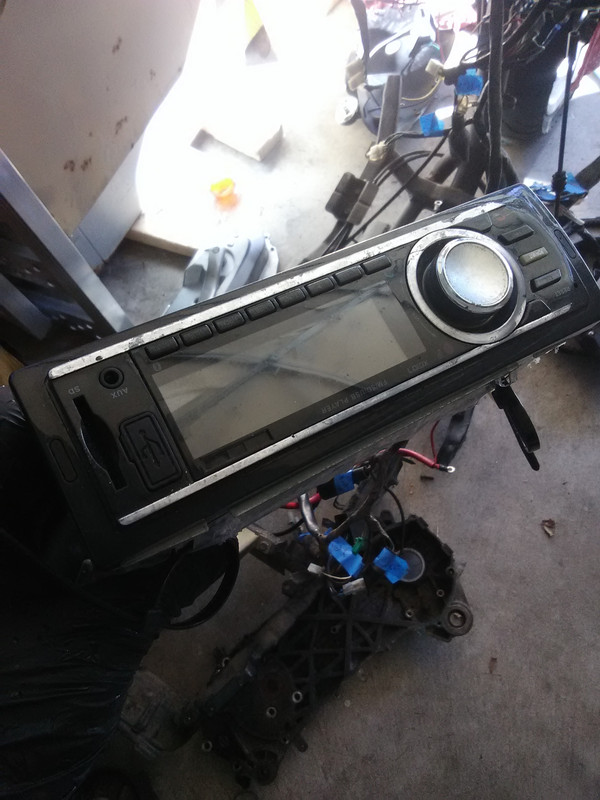 |
|
Deleted
Deleted Member
Posts: 0
|
Post by Deleted on Nov 22, 2020 20:48:08 GMT -5
Well... I spoke too soon. Was sorting out the ignition today. Peeled back a bit of the electrical to tape and was surprised to see it was damp. That led to more peeling and the realization that this wire harness has been holding in a couple years worth of sand and water. Aw man. So this led to further peeling and lo and behold, we've also got some fried wires near the stator connection and at various other places. Not sure if this is due to the moisture or the car stereo, but it looks like I've got a lot further to go. Now the dilemma. Do I stick it out and try to fix this thing, or do I try to hunt down another QJ type harness that I can adapt? 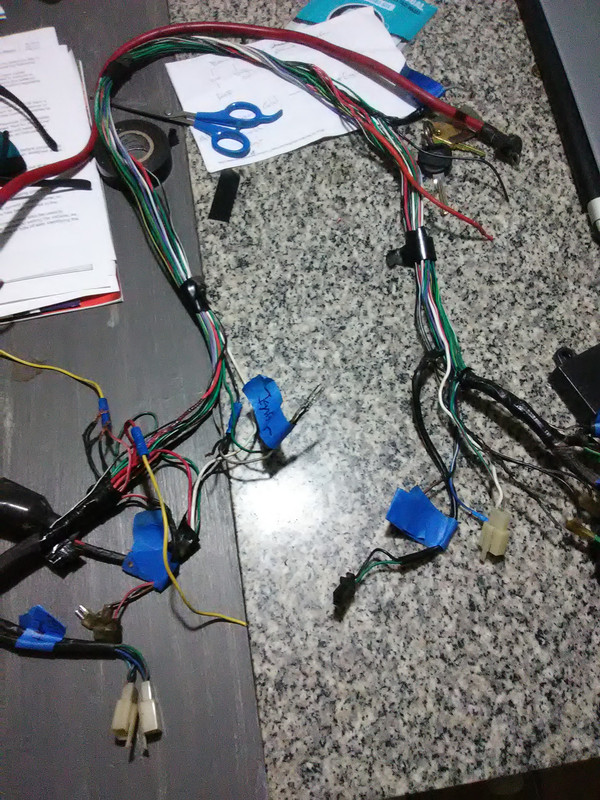 Completely fried...  |
|
|
|
Post by 190mech on Nov 23, 2020 4:42:29 GMT -5
If its only a few wires,I'd just replace them..Have seen lots of fried stator wires over the years,usually from the crimp connection getting loose or corroded...
|
|
|
|
Post by aeroxbud on Nov 23, 2020 5:51:32 GMT -5
Better to find, and fix them now.
|
|
Deleted
Deleted Member
Posts: 0
|
Post by Deleted on Nov 29, 2020 12:21:36 GMT -5
Well, that old wiring harness was a house of horrors. Every time I thought I had it sorted, something new would crop up. Tons of spliced connections and lots of frayed and shorted wires. Just didn't trust it anymore. So, I found a harness off another QJ scooter that matches up more or less, and I'm switching to that one. If only every headache could be solved by 30 bucks. Lol. Got all the connections flagged and am basically ready to start putting the old girl back together. Still waiting on the rest of my parts to arrive, so not much else to do but plan.  |
|
Deleted
Deleted Member
Posts: 0
|
Post by Deleted on Nov 29, 2020 16:12:25 GMT -5
Well, presbyopia has definitely kicked in. Couldn't even see the numbers on the main jet. Like they weren't even there. No magnifier, so I took a photo and zoomed in. Could just barely make out 70. I need a magnifying glass. Lol! 😂😂😂 No clue about the pilot jet, but the 70 seems to line up with what I've read in other threads, so imagine the 17.5 -22 pilot suggestion is pretty close. Figure I should probably get this stuff sorted before I pull this engine back together and test fire it.  |
|
|
|
Post by aeroxbud on Nov 29, 2020 19:23:04 GMT -5
Some jets are so hard to read. Even genuine Dellorto jet sometimes.
That does look like a 70 though.
|
|
Deleted
Deleted Member
Posts: 0
|
Post by Deleted on Jan 2, 2021 19:58:33 GMT -5
Holy Smokes! Finally back at it. My other ride demanded my attention for a while there. The electrical is laid out. Time to get back to my Frankenstein project. Engine halves are cleaned up. Time to sweat in some bearings and get this bad girl back together. 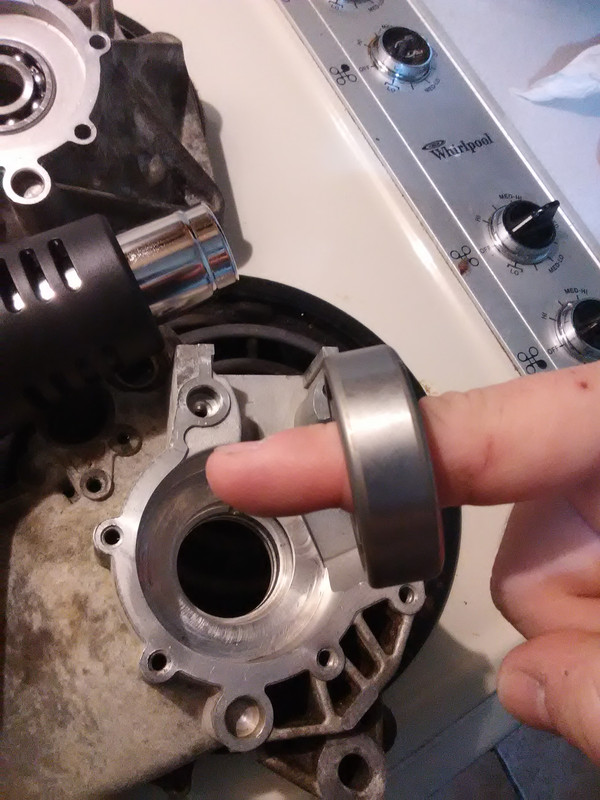 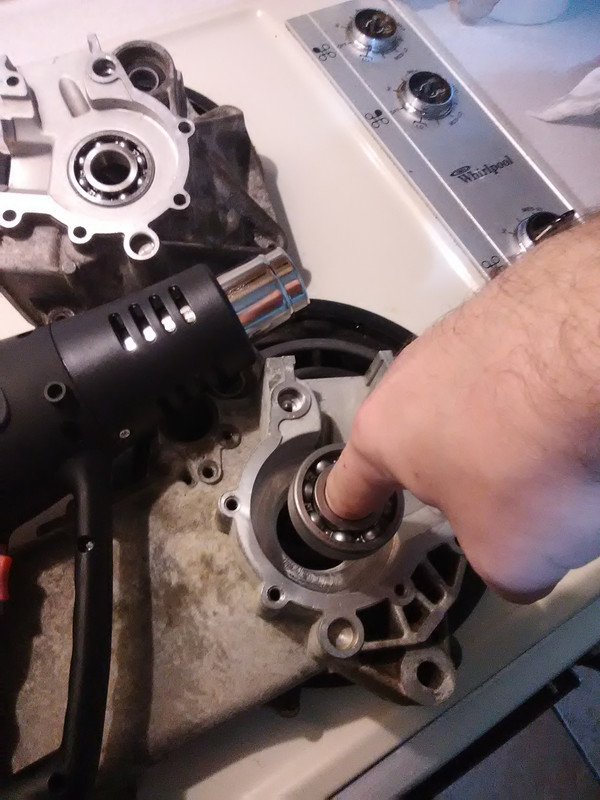 I've tried the oven method and that doesn't really work for me. Too hard to maneuver the case around if needed. I seem to have.much better luck heating with the gun and then poking a frozen bearing into place. |
|
Deleted
Deleted Member
Posts: 0
|
Post by Deleted on Jan 3, 2021 18:57:15 GMT -5
Allllrighty then! Cases are back together and sealed up. I gotta say, there is a noticeable difference in quality control between this Yamati (QJ) motor and the Adly motor that I worked on a couple days ago. I'm not asking or expecting perfection but the lack of straight cuts between case halves on the Yamati is a bit disconcerting. I don't think it's anything that's gonna cause a major issue. Just interesting to see the differences between manufacturers. Anyway, I've got a new 101 Octane crank installed and a Naraku 70cc kit yet to add. Not trying to blow the doors off anything with this first build. Just getting a feel for working with different pieces and parts from different companies. Now I just gotta let the sealant cure for 24, and I can work on the gears, head, and intake tomorrow. 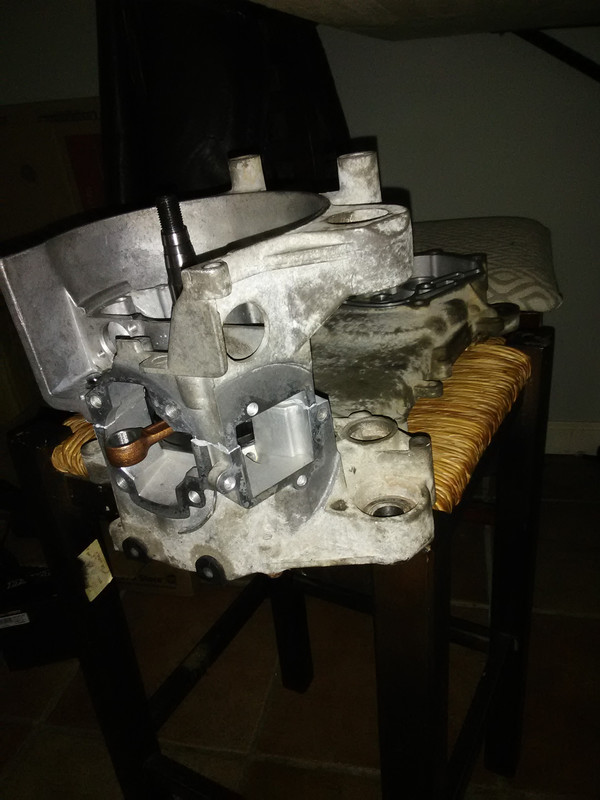 |
|