How To : Engine And Transmission Disassembly
Feb 14, 2010 16:18:06 GMT -5
katastroff, mattyslimz, and 1 more like this
Post by 90GTVert on Feb 14, 2010 16:18:06 GMT -5
Minarelli Engine And Transmission Dissassembly
Please forgive me if this is kind of broken up. I was doing different things and ended up throwing bits and pieces together.
Starting by removing the bolts holding the CVT cover on.

Once removed, I fill the cover up with Simple Green and let it soak to help clean it up.


I remove the nut holding the clutch bell in place with an impact wrench. You could also use an oil filter wrench or strap wrench to hold the clutch bell while you use a ratchet to loosen the nut.

Pull the clutch bell off and spray it out with brake cleaner. Make sure the splines are in good shape and that there is no scoring or damage.

I pull the belt into the rear pulley to give me a little slack and slide the rear pulley and clutch assembly off of the primary drive shaft. Make sure everything moves smoothly and doesn't bind. Be sure all of the clutch springs are intact.


If you want to pull your clutch apart, here is a video I made of that process...
www.youtube.com/watch?v=QR5JSq2VdYU
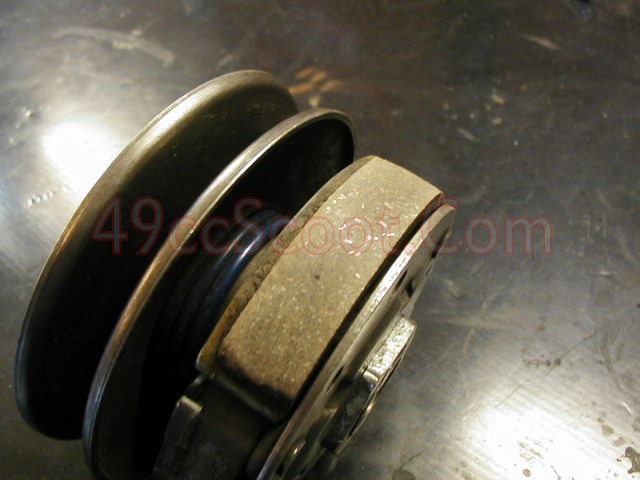
I like to use some emery paper to lightly sand the surface of the clutch shoes. Here's a before and after look.
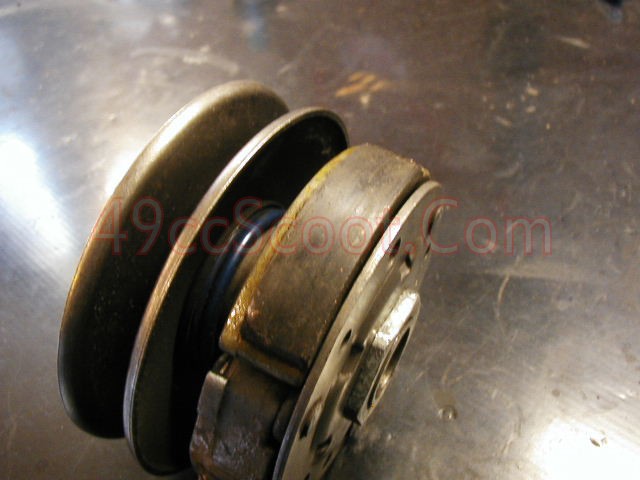
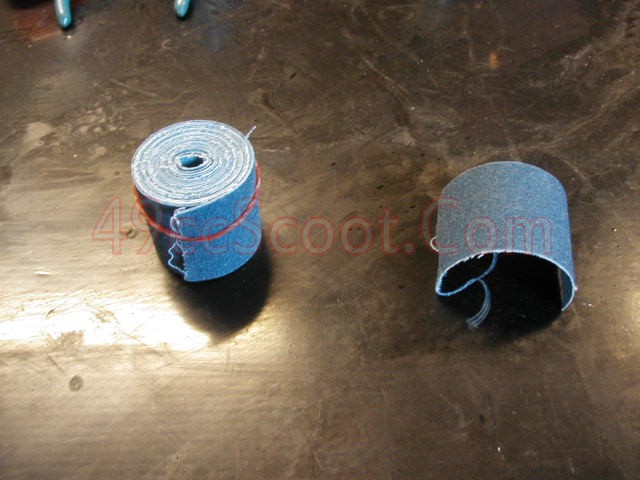
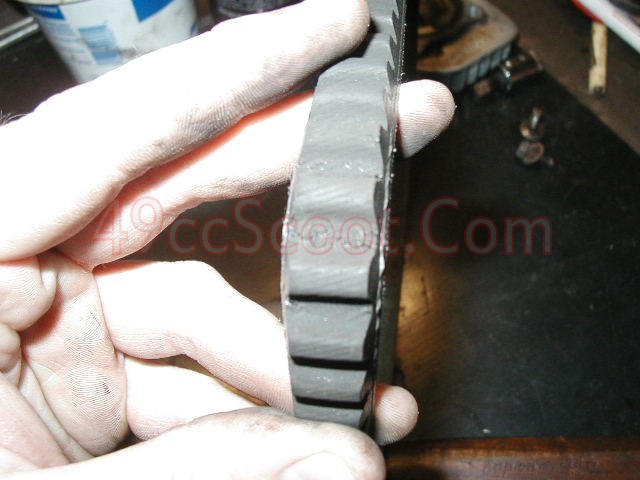
With the clutch assembly removed, the blet can easily be removed.

Inspect your belt for cracking and excessive wear and replace if needed.
Now I remove the variator nut with an impact wrench and then remove the washer and kickstart gear behind it.

Wiggle the variator fan to separate this washer and remove it as well as the fan.

Inspect the belt side of the fan. A you can see mine is discolored from heat and pitted.

Now I pull the variator assembly off, being careful to grab it from behind to keep the rollers and rear plate intact.

Inspect both sides of the variator. The belt side of mine is also discolored and pitted. The rollers weights inside are glazed and need replacement. The Triton uses 15x12mm 4 gram roller weights stock.


Now I remove the starter clutch and inspect it.

My starter clutch has 3 cutouts in it. Each one should have a spring, spring cap, and cylindrical weight in it. I have 3 weights (1 worn flat), 1 spring cap, and one spring.

I remove the 2 screws holding the idle gear in place and remove the idle gear. Inspect the teeth on the idle gear for damage.


Now I can pull the start gear off.

There is a needle bearing inside the starter clutch. I remove that and inspect it and the start gear for damage.

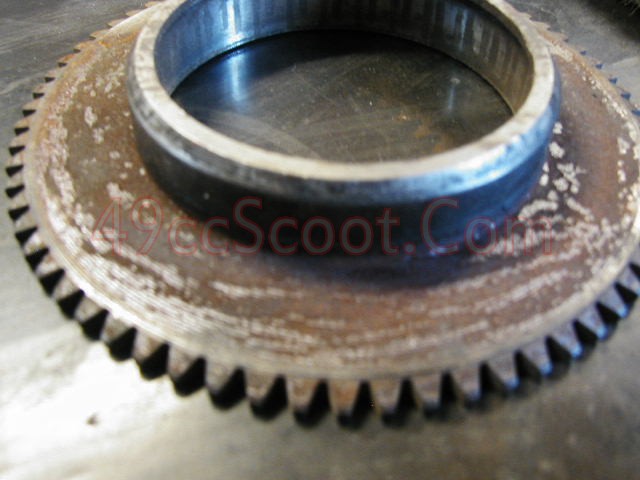
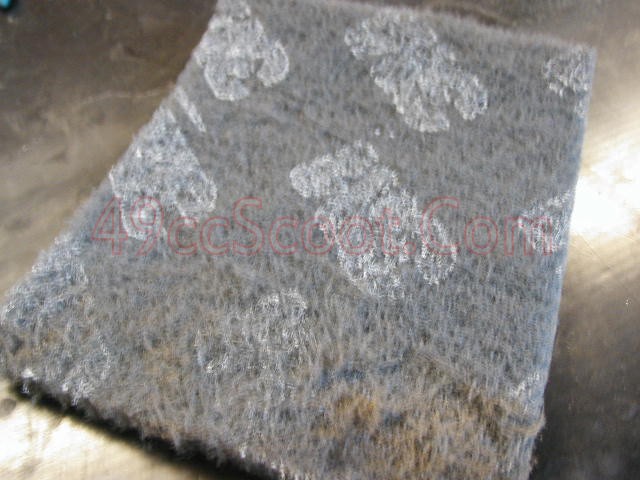
My start gear is pretty rusty, so I knock a little off with a light sanding using a Scotch Brite pad.
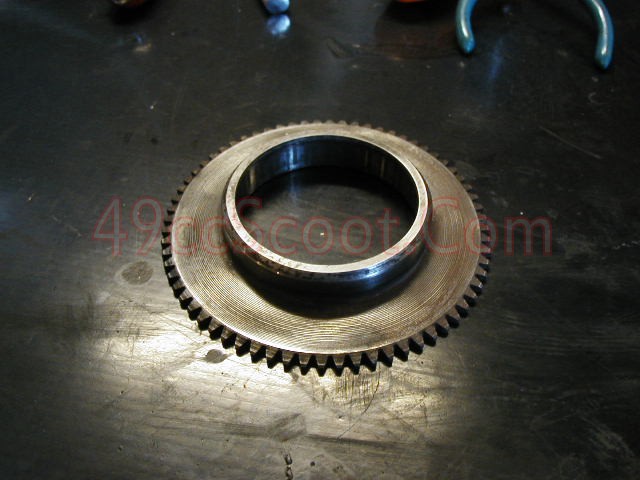
Remove the thrust washer and inspect.

Now I take a look at the splines on the starter to make sure they're in good shape.

Check the crankshaft seal and primary drive shaft seal for signs of damage or leaks. Clean out the CVT case.

Now I drain the CVT cover and make sure the bearing inside spins freely. Finish cleaning with brake cleaner.

I remove the cylinder cover.

Then the spark plug.

Have a look at your plug to see what it tells you. I like to see a kind of caramel/chocolate color.

Remove the cylinder head nuts.

Pull the cylinder head off and inspect it. Carbon buildup isn't terrible, but you can see there has been a leak outside of the cylinder. The light section is from spraying it with carb cleaner to start when my electric start died on me. I was hoping if it caught at all it would fire instantly (trying anything to avoid calling a truck to haul me home). The O-ring in my head is completely deteriorated and crusty. Normally you'd clean the head, I had a spare so I just replaced it and will clean the used head for later.


Now I remove my exhaust starting with the bracket.

Then remove the head pipe.

Somehow I missed doing pics for removing the cylinder and piston. With the cylinder head and exhaust off, the cylinder should slide up off of the studs. Once it is off you will need to remove the circlips from each side of the piston. I use needle nose pliers or a small screwdriver to pop them out. Once the circlips are out the wrist pin needs to be removed. I usually use a small socket to push it out. The piston comes right off when you remove the wrist pin bearing.
Remove the rear wheel.

With the wheel off, check the drum for scoring or damage and clean with brake cleaner.

Now I have a look at the brake shoes. I like to go over them lightly with emory paper as well then clean with brake cleaner.


I removed the 4 5mm allen bolts holding the intake and reed cage on.


The intake usually comes right off, leaving the reed cage stuck to the case. A gentle tap should free it and it can then be pulled out.


Now I move on to the flywheel. I started by removing the nut with an impact wrench.

The flywheel won't just pop off after removing the nut. You should notice fine threads inside the flywheel.
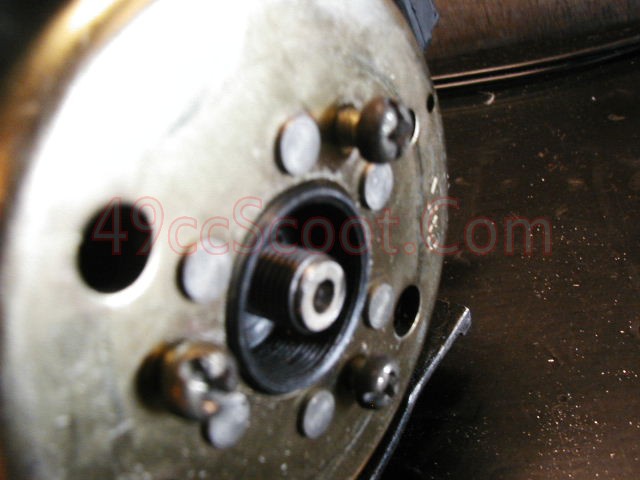
These threads acommodate a flywheel puller. This is a 27mm puller.

I start by separating my puller.

I then screw this section into the flywheel securely. You'll need to screw it in backwards, because the flywheel and puller use left-handed threads.

I then screw the two pieces of the puller together and begin tightening the T bar.
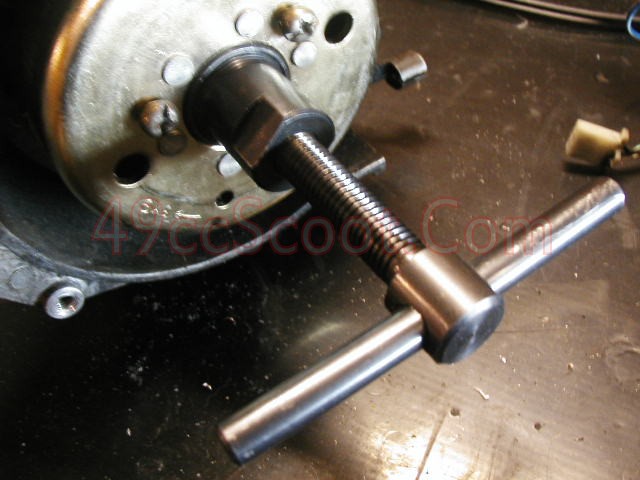
The flywheel should creep off of the crankshaft and eventually pop off.
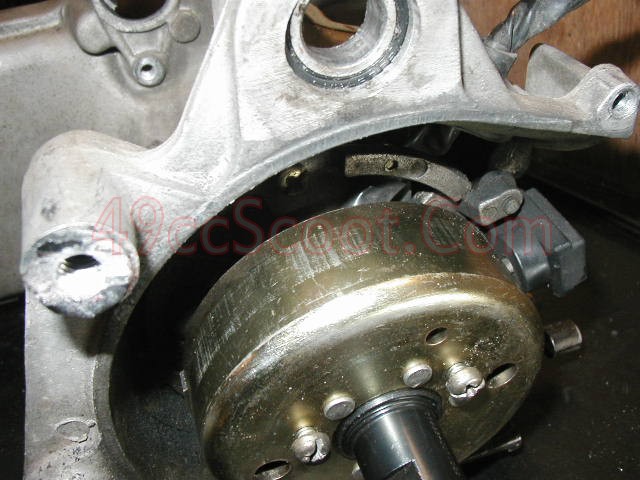

Now you can see the stator and remove the two bolts holding it in place.
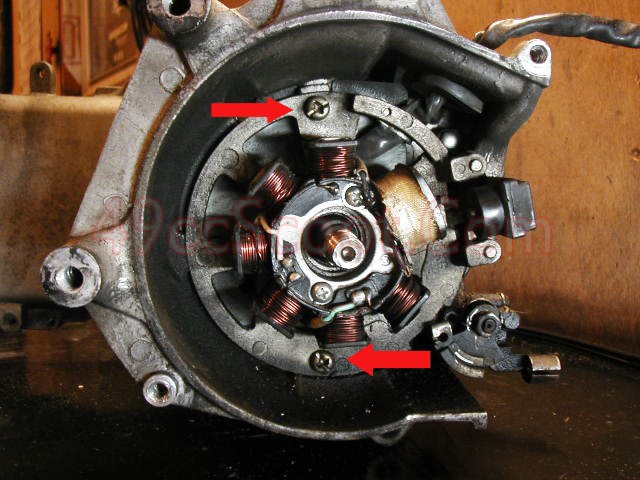

Push the grommet out with a blunt object and then you can pull the stator's wiring free.


Now I removed the circlip and gasket.


Then the oil pump drive gear can be removed, and the pin and circlip behind it.

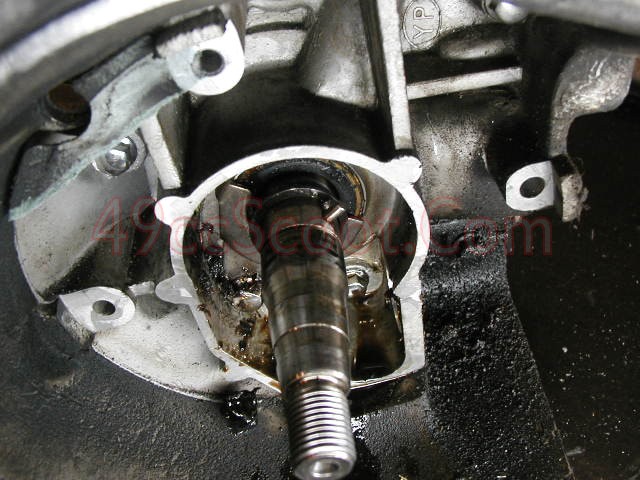
Next I removed the 2 screws holding the oil pump in place. There would normally be another gear here, but I had removed it when I switched to premix.


The oil pump should pull right out now.


Then I removed the bolt and seal holder.


Next I removed the crankcase bolts.


Now I moved over to the other side of the crank and removed the collar and circlip on that side.


I removed the oil seal on the flywheel side by gently prying it loose with a small screwdriver. Be carefeul not to damage the case.


My primary drive gear has some play in it. I haven't seen any specs for allowed play in it, so I'm assuming there is a problem with it or the bearing. You wouldn't actually need to remove the final drive for replacing a crank. If I'm going to check or replace it, now is the time. I start by removing the bolts holding the final drive case on. Of course you should drain the gear oil prior to doing this to avoid a mess. That's described earlier in the thread.

With the bolts removed, I tap the case lightly with a small rubber mallet to begin to separate the two cases. Once it has started to separate, carefully pull the two halves apart making sure you don't drop of misplace any parts inside.

Make note of any washers or spacers that may loose in the case, such as the one in this picture.


Both gears should pull right out of their bearings.


I pulled the seal so I can replace it later and get a look at both sides of the bearing behind it.
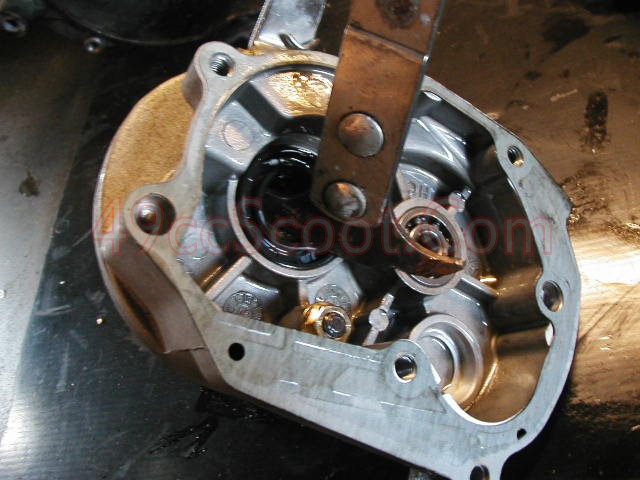

Now I remove the 2 screws holding the primary drive shaft bearing in place.


Then I removed the primary drive shaft and it's bearing by tapping them out with a hammer. I'll be replacing both parts.

I then removed this oil seal.


Make sure you remove any pieces that may be lost, like these dowels.
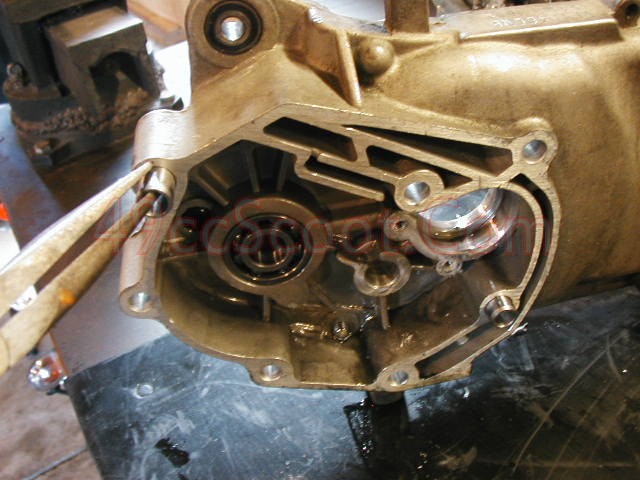
While all of this is out, check the bearings for free movement or any signs of damage. Whenever you remove a bearing, make sure the race it sits in is not damaged.
I started putting my crankcase splitter in place. Always make sure the splitter is parallel to the case and that the crank and splitter are aligned properly.
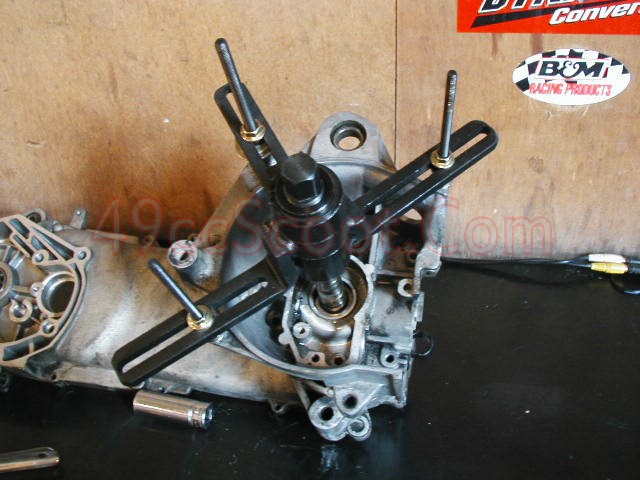
With everything in place, I started turning the crankcase splitter. You can see the case beginning to split, and eventually this side of the case and crank are completely separated.

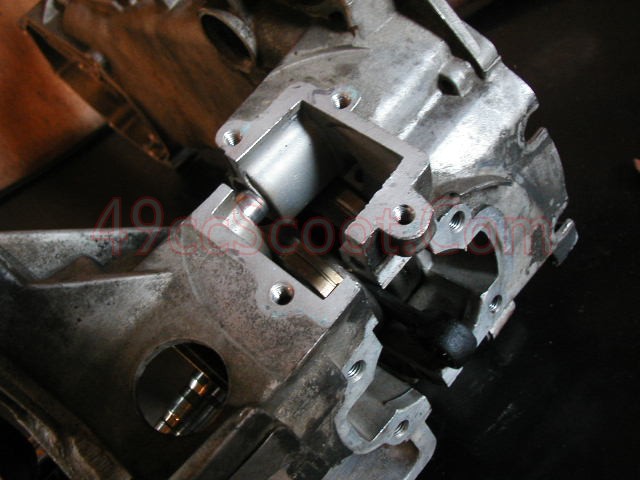
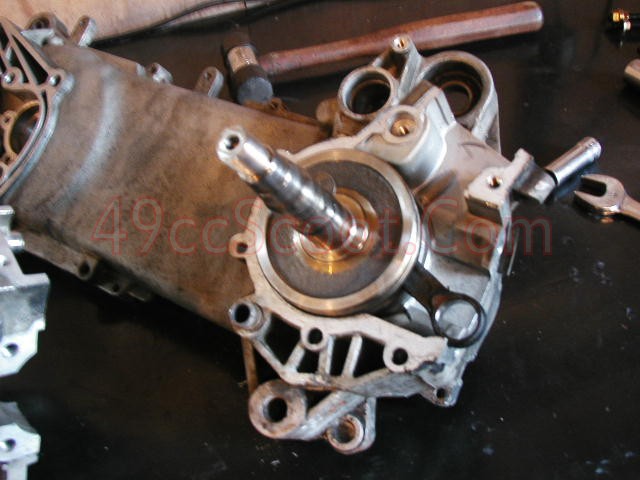

After removing the splitting tool, I tapped out the bearing with a hammer and a socket.


I removed the dow pin to be sure it wouldn't get lost.

I still need to get the crank and bearing out of the other side of the case, so I assembled the splitter to push them out.

Turning the splitter pushes the crank and bearing out easily.
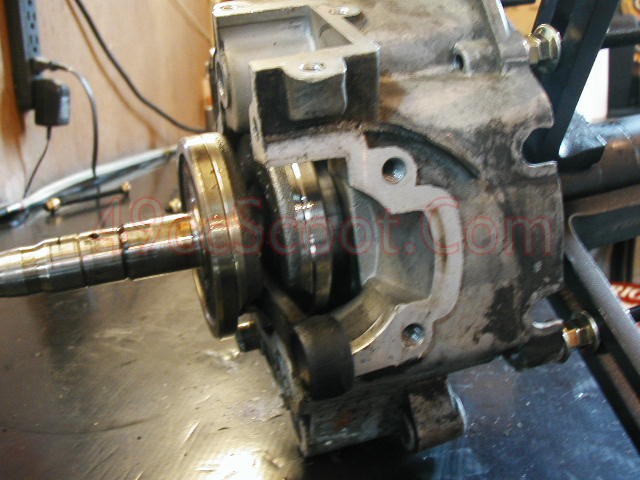

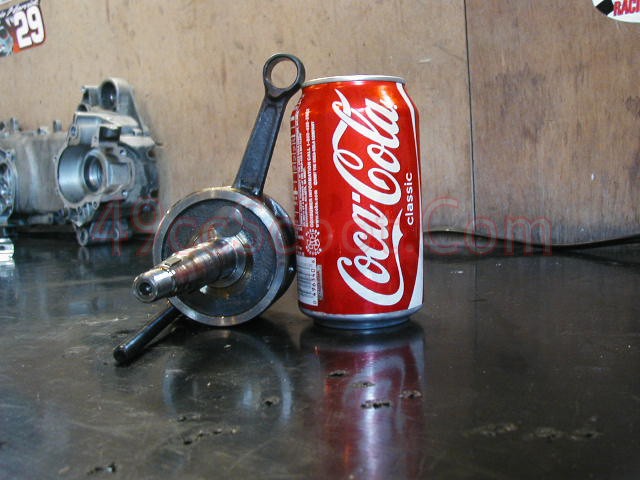
Just to show you how tiny these little crankshafts are (especially if you're more accustomed to V8 cranks)...

I tapped the oil seal out with a large socket.

