|
|
Post by 90GTVert on Apr 3, 2011 17:08:45 GMT -5
No, haven't checked that. I will try and remember to do so. I dunno that I care either way. I thought the Venus was gonna be slow up top when I swapped in deeper gears, but it turned out pretty fun and good to 60. I'll be fine with wheelies, and I'll be fine with higher speeds. lol
|
|
|
|
Post by 90GTVert on Apr 10, 2011 17:18:56 GMT -5
Still haven't checked the gearing. I did get a throttle assembly and cable on for a stock carb and hook up some other odds and ends. I haven't heard from lauderdaleboats or seen a carb show up, so I ordered a stocker to get this going sometime soon I hope. Still need to splice in a connection for the auto-enricher.
|
|
|
|
Post by ltsride on Apr 10, 2011 17:55:07 GMT -5
for the auto choke just run red wire from batt to a on/off switch the to choke. the other wire on the choke jus run to ground, i did this and it works great, on a cold day you can turn it on a few mins before you start the engine and turn it off when you want. when its plugged to the batt like this it is quicker to close when switch is turned on.
|
|
|
|
Post by 190mech on Apr 10, 2011 18:37:38 GMT -5
Cool idea! A MANUAL Auto-choke!!!  |
|
|
|
Post by 90GTVert on Apr 10, 2011 19:12:06 GMT -5
I was gonna wire it in just like stock, but since I'll probably not keep the stock carb long, I do like the idea of having all that wiring removable... and most importantly not having to split my existing harness. Makes sense now that you mention it. Thanks!
|
|
|
|
Post by 90GTVert on Apr 11, 2011 12:32:10 GMT -5
I made up the enricher wiring this morning so it just hooks to the battery. Wired in the only LED light I had around so it's hard to forget to turn it off. 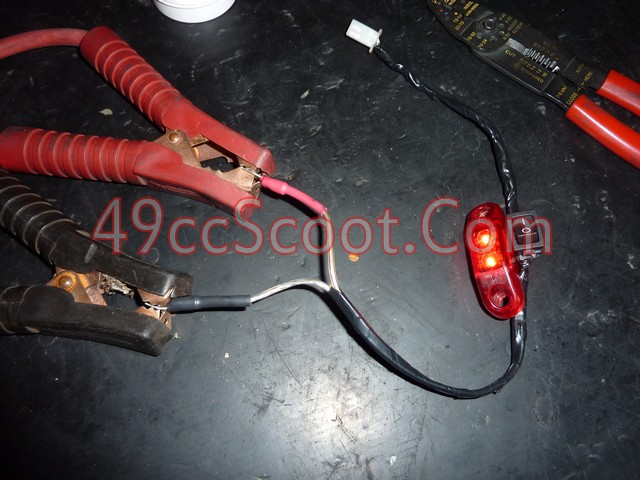 |
|
|
|
Post by ltsride on Apr 11, 2011 14:08:06 GMT -5
cool idea with the LED to let you know it's on/off
|
|
|
|
Post by 90GTVert on Apr 11, 2011 15:17:11 GMT -5
Thanks. Would be even better with a lighted switch, but it was an afterthought.
|
|
|
|
Post by 90GTVert on Apr 15, 2011 18:06:20 GMT -5
Just wanted to note that I'll be moving progress on the stock engine project to it's own thread soon. It is now running. ;D
|
|
|
|
Post by 90GTVert on May 12, 2012 10:42:14 GMT -5
Over a year later, I'm bringing this thread back from the dead. If you've been following Project 90 you already know that T2 was turned into a test platform for it. You may also know that I just wrapped up P90, so T2 can go back to being T2. ;D I was actually going to do one more test for Project 90 for a reliable recommended street setup, which would continue in use on T2. That didn't go so well. First off, I didn't have a stock 52mm cylinder that I thought I had... or rather I have the cylinder, but it's not in the condition I recalled. Even if the cylinder was O.K., I don't have a piston for it... because I ruined the 52mm piston that was in Project 90. I wanted to do a little engine clean up while I had it out, thinking I was doing a new setup for P90. I was all out of cleaner/degreaser so I hit a local store that sells goods salvaged from truck wrecks and stuff they get from wholesale lots... a good place to find cheap stuff. I can usually get some kind of cleaner in a gallon jug for $7-8. That day they had 1/2 gallons of some cleaner and degreaser called Fast Draw 25 Speedex Concentrate. Eh, looked good enough for me so I picked up a gallon of it. 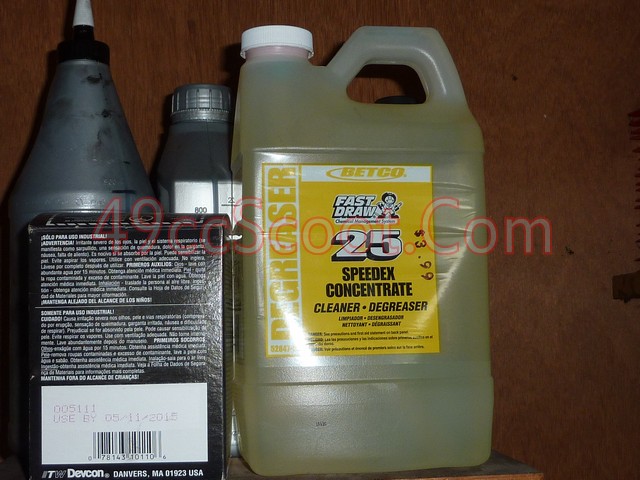 The piston had some carbon built up on it's crown, so I decided to soak it in 2 parts water, 1 part Speedex to try and loosen it up overnight before I started cleaning it manually. It did a great job of getting the carbon off with no scrubbing. 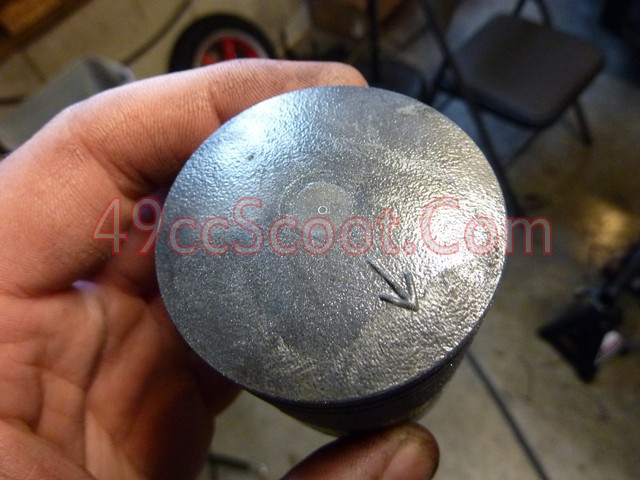 The problem is it had started eating away at any parts of the piston that were scuffed or where the coating was broken at all. So much for that piston. This stuff is a little stronger than Simple Green! lol 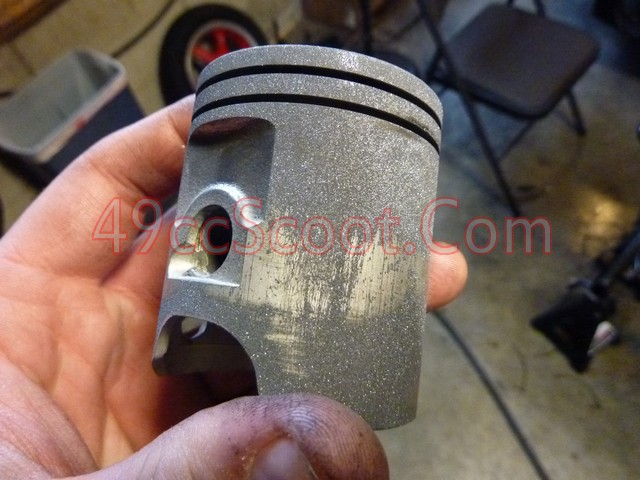 That killed my thoughts of doing one last setup for P90. At the same time I was letting the piston soak, I also decided to spray some partially dilute Speedex on parts of T2 that had a lot of dirt and grease built up. I let that sit overnight as well and some of the paint was missing when I came out. Some of the paint was missing in other spots too from something like 15,000 miles of riding since I last did anything to the frame, so T2 ended up in pieces so I could do a little fixing up. 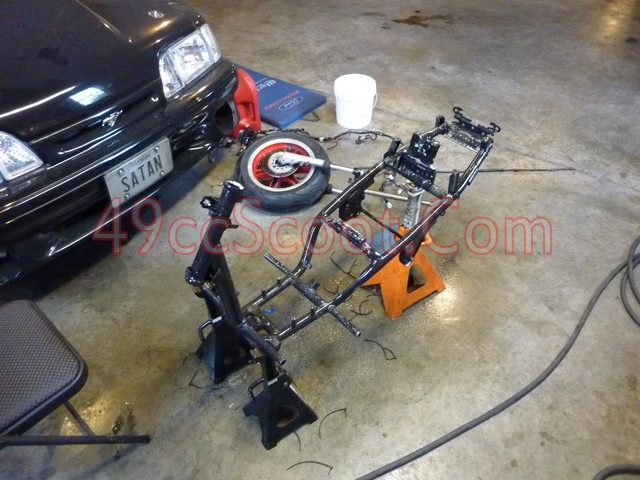 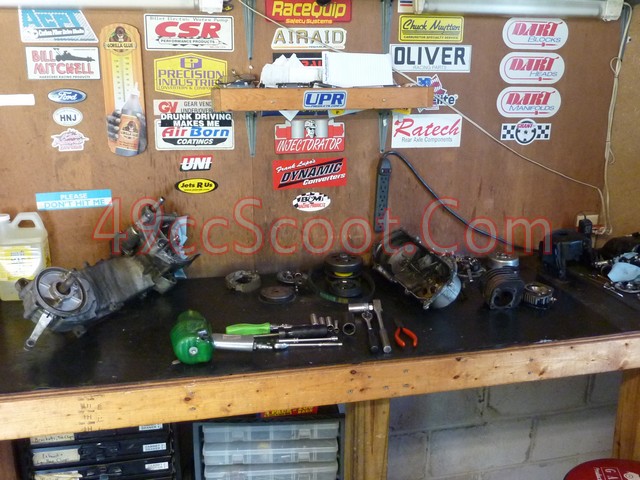 On top of paint and engine issues, there's some other stuff I've been needing to address. For starters, I've gotta replace the tail/brake light that I installed not very long ago. I was very happy with how bright it was. It all but died though from vibration. I took it apart and found that there is a resistor broken inside of it. It looks like the resistor rattled around in there and pretty much sanded everything. Kinda hard for electronics to stand up to that abuse. I'm not sure if the LED assembly really is low quality, or I just happened to get a bad break with the resistor failing. 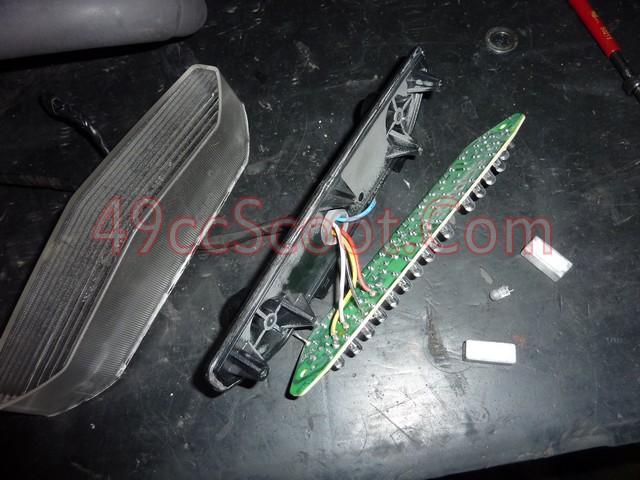 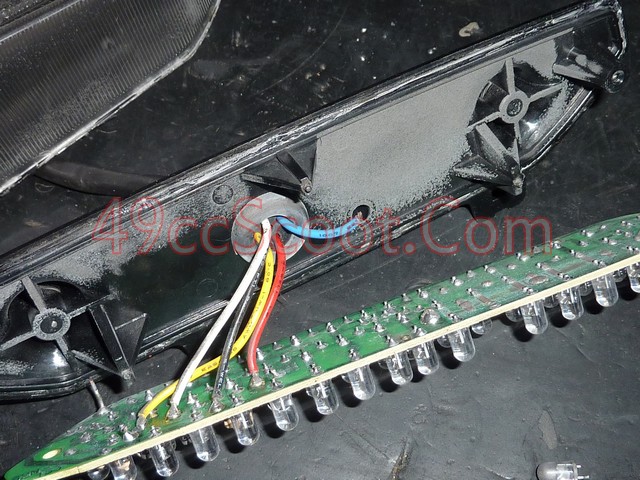 My rear shock has been squeaking and spongy for quite a while. Just doesn't work like it used to. I can't really complain, it's got a lot of miles on it from being used on T1 and T2... I think I bought it in 2007 or 2008. Not to mention it's had to carry me and I'm not light. When I removed it I found that the bushing is shot on top of it seeming to lose strength. I ordered an adjustable 305mm shock that looks pretty much just like this one to replace it. 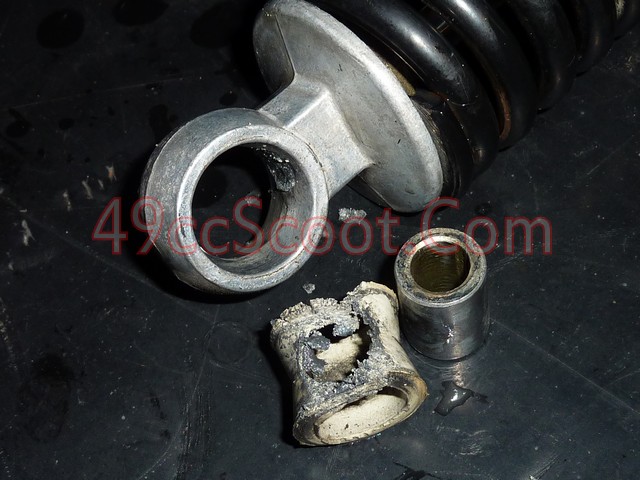 I've also had an issue with the brakes on T2 for quite a while. I've got some new front brake pads on the way to take care of the disc. The rear drum has been sticking. If I come to a complete stop using the rear drum, it sticks and takes a couple of seconds to unlock when I take off. The rear drum and shoes look good. I did sand the shoes with emery cloth and I'll clean the drum before the wheel goes back on. I think the problem is actually the cable though. It's all messed up and worn through in spots. Been that way since I got the scooter and it's only got worse. I ordered a new cable to replace it.  More updates coming soon. I've actually got more to share now, I'm just tired of typing. lol |
|
|
|
Post by 90GTVert on May 13, 2012 7:08:29 GMT -5
My engine was nasty from lots of riding, burnouts, belt dust, etc... 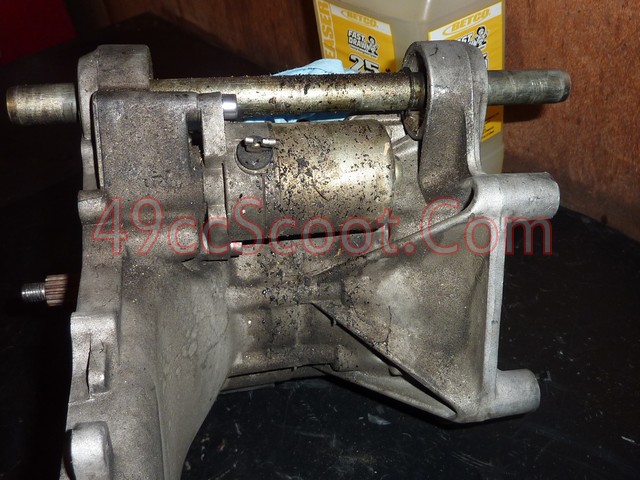 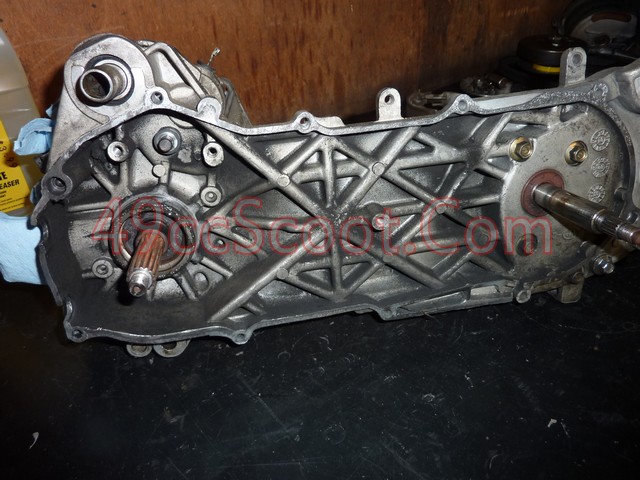 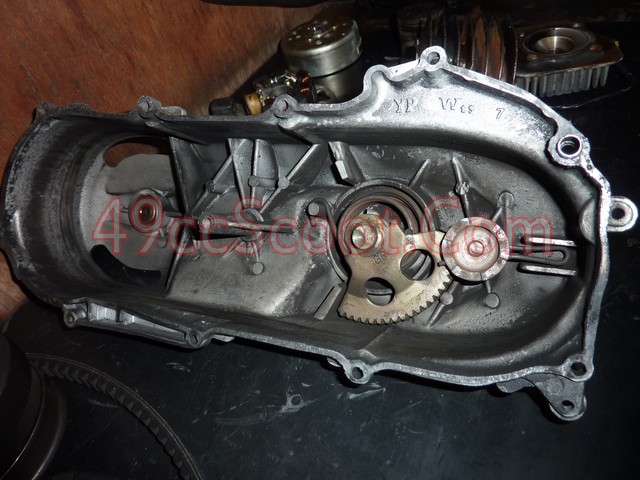 Luckily that Speedex stuff does a great job it you only let it sit for a few minutes. One of the few clearners I've seen where grime really does just run off. 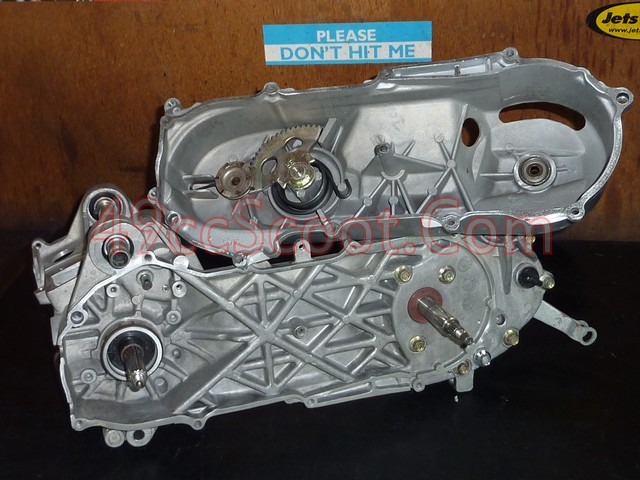 I decided to use the Hoca 54mm big bore kit. I hadn't tried it with a 45mm crank before so I got the degree wheel out. On a 42mm crank with just 1 base gasket it showed 178ex / 124trans durations. With the 45mm crank and 1 gasket it's at 181ex / 129trans. It just clears the ports at BDC, but the piston is slightly above deck. 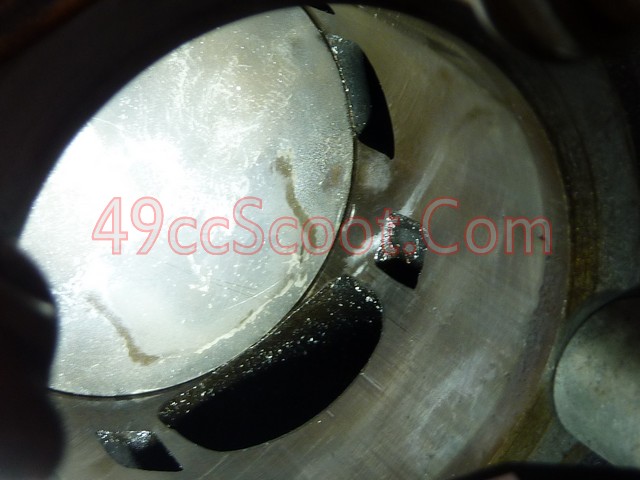 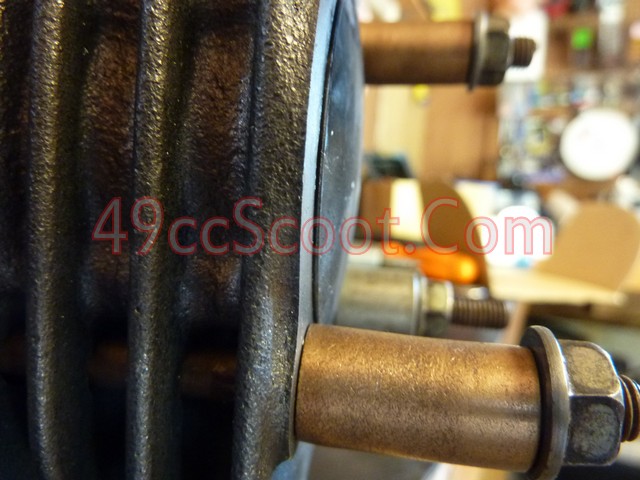 I decided to go with 2 base gaskets. That gave me 182 ex / 132 trans and got the piston to be around 0 deck... well, actually the crown is still above deck but the edges are level at least. I don't wanna go higher on the durations if I don't have to. The Hoca seems to work with a little less duration than single exhaust port cylinders, and I just want a mild street setup. I still need to figure out what it needs to get good squish/compression numbers and I need to tap the head for the CHT probe. For some reason I setup the CVT before the engine is done and pressure tested. :stumped: Normally I wait on the CVT and stator so I can see the seals when I do a pressure test. At any rate, just a stock TD, 1,000 contra w/Malossi Torsion Control, stock clutch w/1500RPM springs, stock bell. The vari is a Hoca with 7.5g sliders. I decided to try out the Hoca drive face I've had hanging on the wall for a while now. I'm usually quite happy with what a stock fixed half will do when modified, but for around $20 it seemed like it's worth a try. 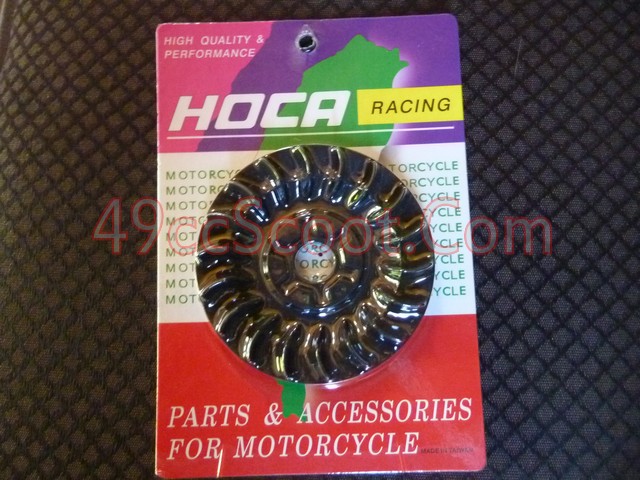 I was kinda disappointed when I opened it up. It's got a recess in the center so it can ride closer to the movable half. That's great for speed, but will make it more sluggish off the start. I already think the Hoca vari comes with a drive boss that's about 1mm or so shorter than it should be. 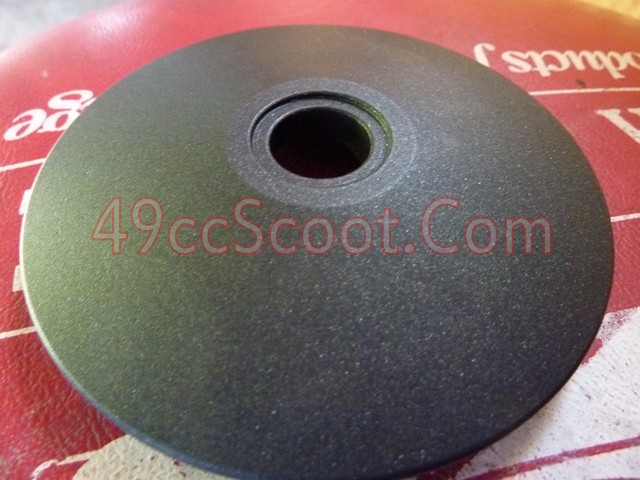 I ground down a 1mm shim that filled the recess perfectly and used a 1mm spacer on the drive boss as well. The belt still doesn't sit on the drive boss, but hopefully this will be enough to get a decent takeoff. 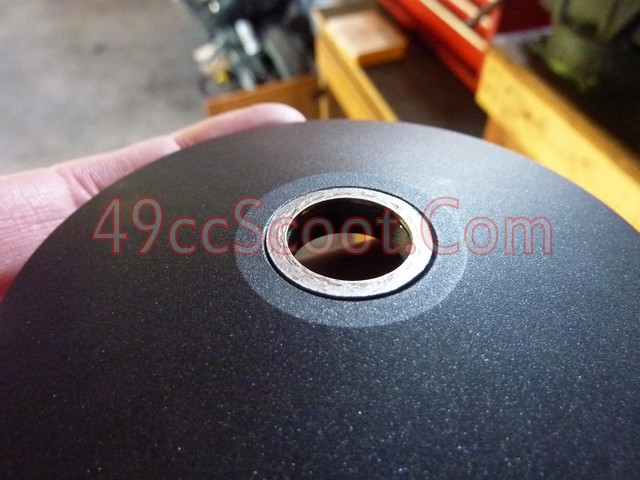 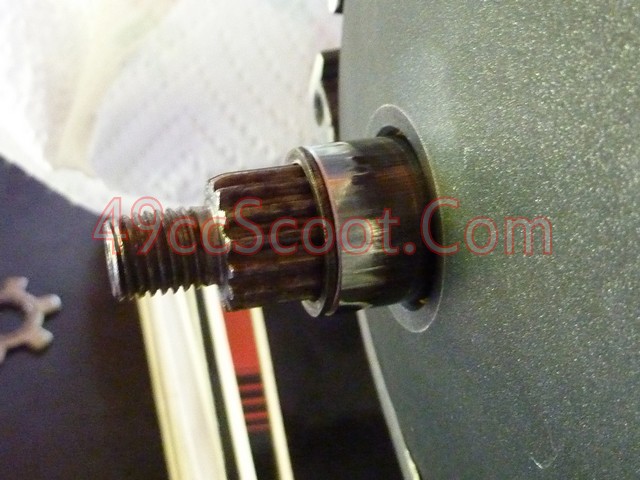 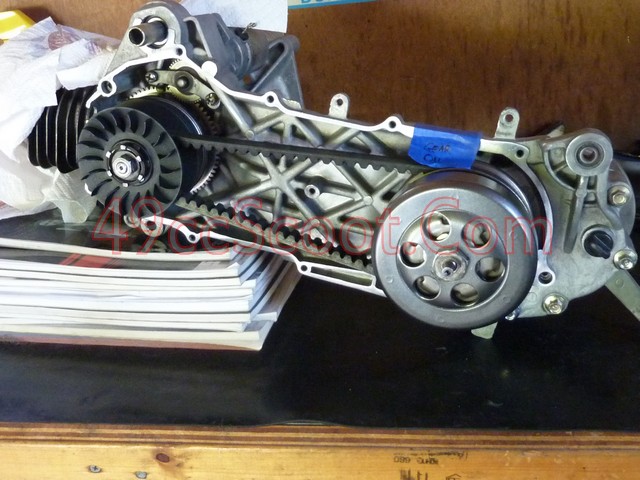 By now I was itching to get a little painting done. I started off with the frame, done in satin black. The finish looks like a stock frame. 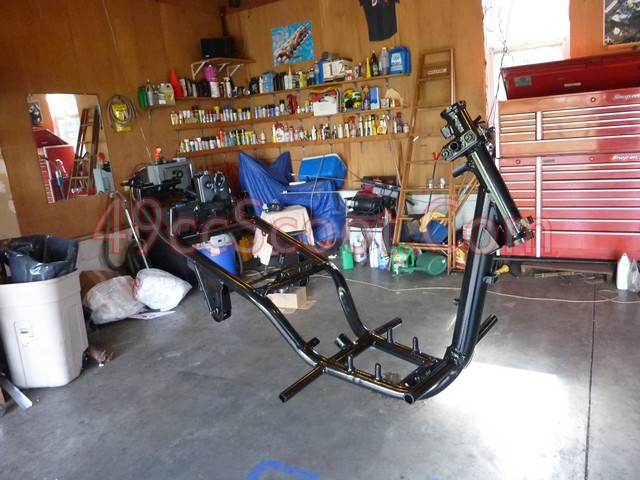 Then I started looking at my wheels. I'm kinda tired of looking at these red wheels. 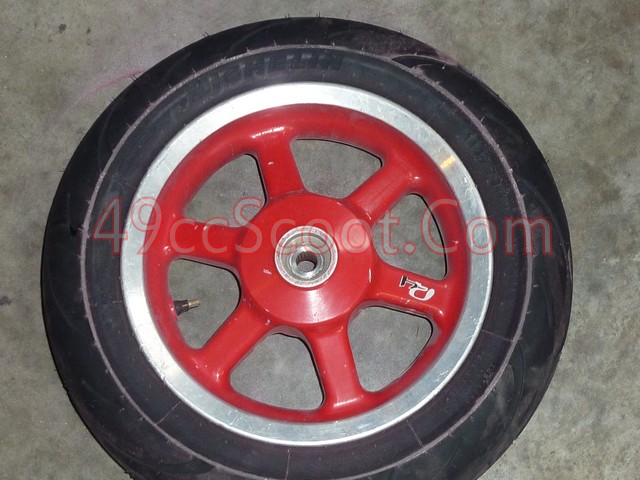 I had an idea that I thought might be cool, so I decided to try it out. I wanted to polish the lip of the wheels and do the center in a graphite color and clear coat the whole deal. The polish is not the best. It's a "quick" polish with less steps. Gives a good looking result, but not a flawless or super bright polish. Even at that it took me 1 1/2 days to do the wheels. I hate this part... 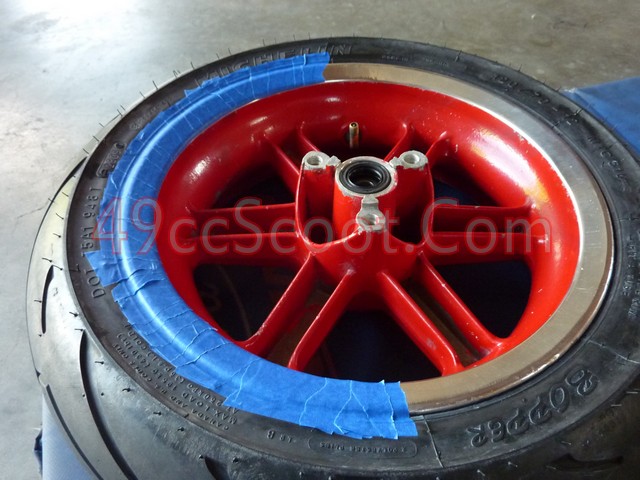 Turned out OK though. Here you can see the wheels and the inspiration for them. ;D 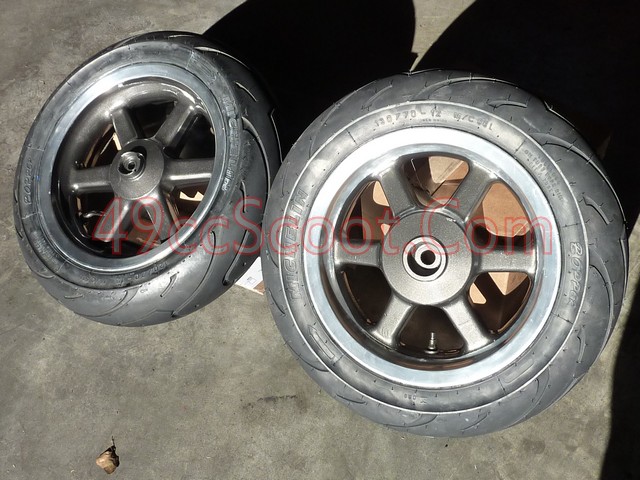 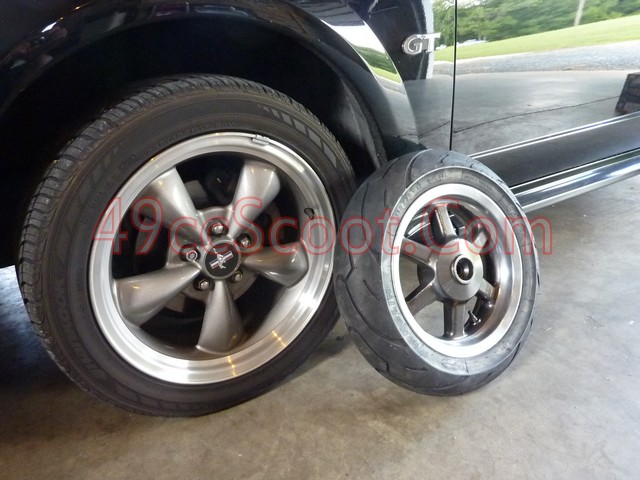 I did the front wheel with a standard lip, basically just followed the line from stock. I did the rear wheel with a lip that went close to the spokes in the center. My thought was that it would give more of a deep dish look to the rear, kinda like a car with fat tires in the back and normal or skinny tires up front. I'm not sure if the effect will really work when mounted, or if it will just look like my wheels don't match? lol 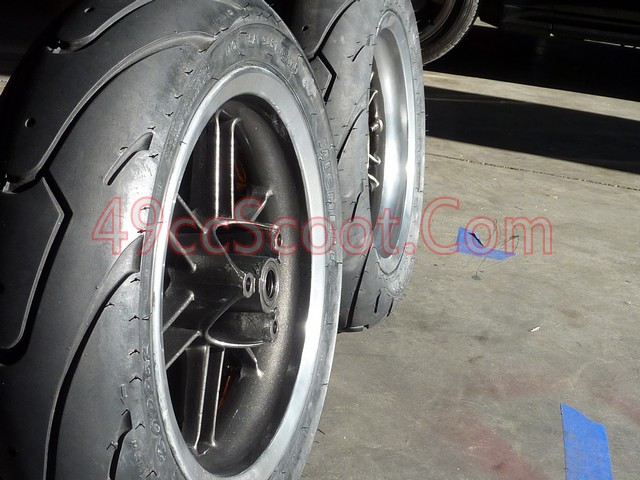 The main problem I had was on the "deep dish" wheel. The paint line is rough because the paint didn't wanna stick to polished aluminum. I dunno how I really could have polished in a straight line. Eh, still looks good from a few feet. 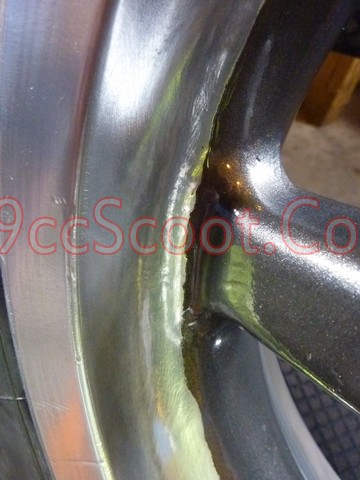 I used Dupli-Color wheel paint for the frame and wheels. It's supposed to be chemical and heat resistant and pretty tough and some online reviews seemed to back that up. It goes on well at least, that's about all I know so far. 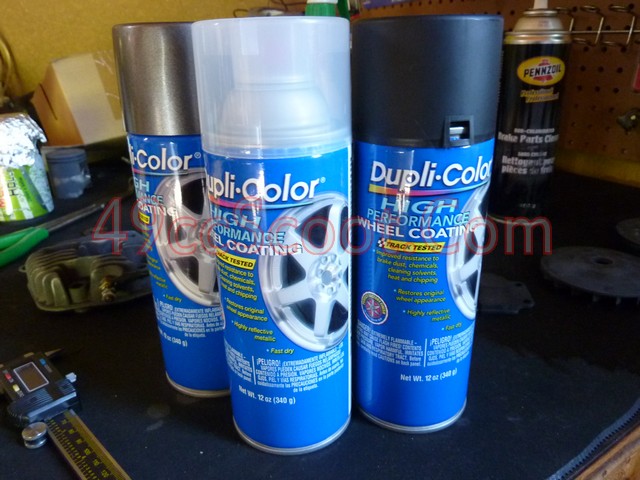 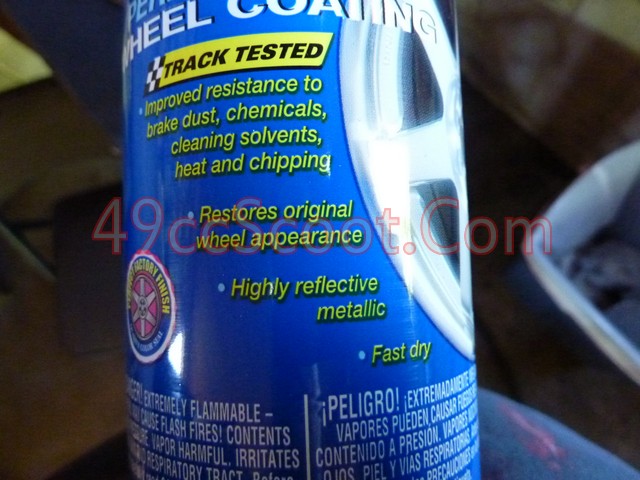 I had another idea that's probably not a good one. I did a mirror polish on the frame brace. It was just a silver coating. I have a feeling this thing will blind me on daytime rides, but I was afraid to paint it because the bar gets a good bit of abuse. 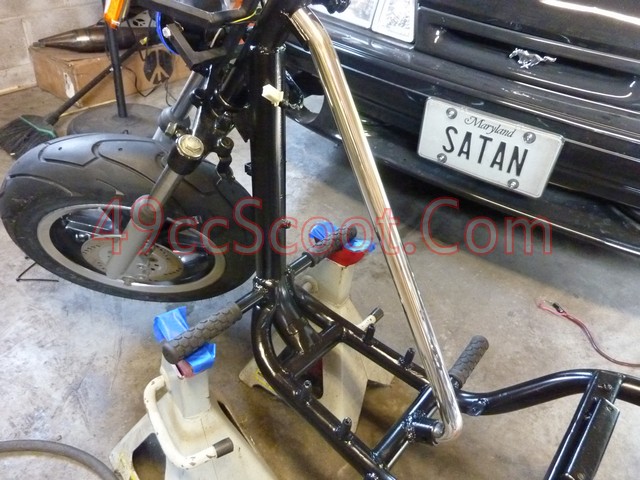 That's about all I've got done so far. It's kinda sad spending a bunch of time on polishing and such for a scooter that's still gonna be ugly. lol |
|
|
|
Post by 90GTVert on May 13, 2012 13:21:32 GMT -5
With the thickest head gasket I have, the compression tester says over 180psi just with the electric starter. From what I've seen in the past, that probably means 200psi or so kick starting. I'm pleased with the timing, so I don't wanna add more base gaskets or a spacer. I really don't like using multiple head gaskets and squish is showing 1.2mm, which is safe, so I cc'ed the head. It's 10.8cc right now. I'm gonna open up the combustion chamber when I can and see how that works out. My other 54mm heads with larger chambers are in use on T1 and the Venus so no quick swap options. 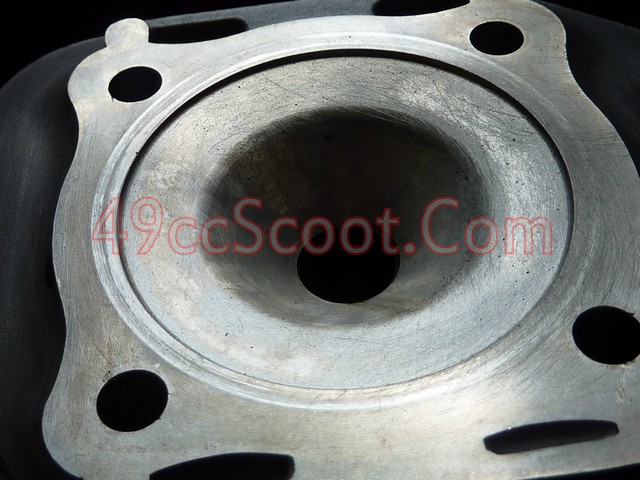 |
|
|
|
Post by 90GTVert on May 14, 2012 10:15:35 GMT -5
Opened the head up to 12cc and now electric starter compression tests show 155psi, which I think will put it about where I wanna be. I'll check for sure once the engine is in the frame and easier to kickstart. 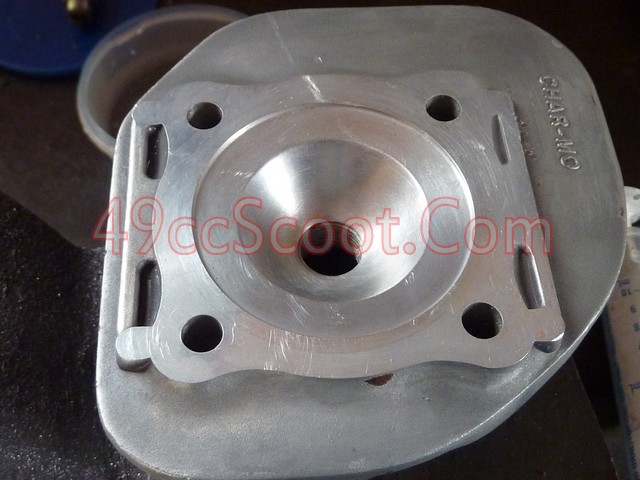 Got the CHT probe tapped into the Hoca head and pressure tested. Other than adding gear oil, hopefully the motor is about done. 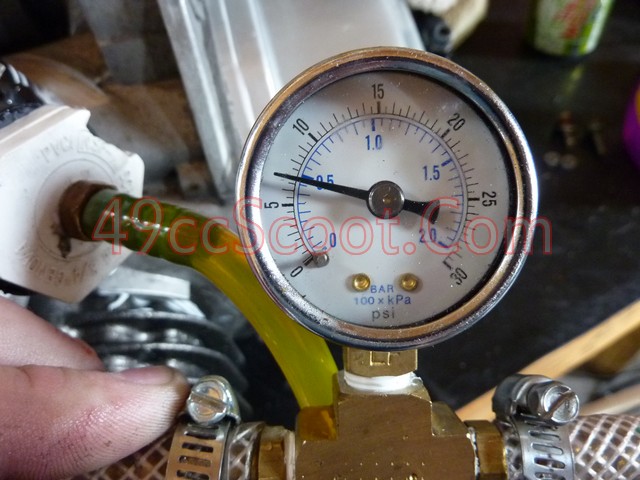 |
|
|
|
Post by 2strokd on May 14, 2012 11:52:20 GMT -5
:thumb: Sure is purdy! ;D
Cant wait to see T2 back in action
|
|
|
|
Post by 90GTVert on May 14, 2012 19:48:22 GMT -5
Before 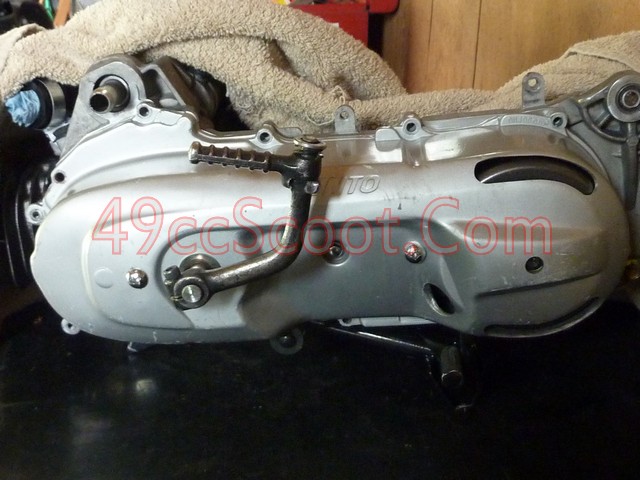 After 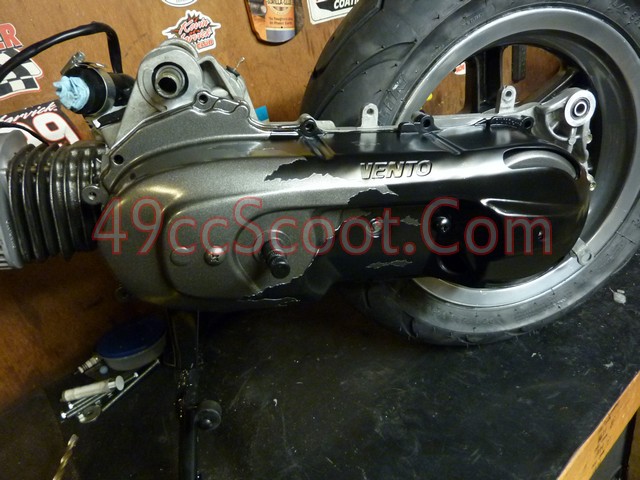 |
|