|
|
Post by 90GTVert on May 13, 2010 7:54:29 GMT -5
Troubleshooting A No-Start Condition This is a basic guide to help you do no-start troubleshooting on most scooters. It doesn't include all the in-depth details for every scenario, but hopefully it will lead you down the right path to fixing your problem. All of this may not be information that you see in a manual, but it works in most cases. Use any and all information here at your own risk. Sometimes referring to a service or owner's manual specific to your scooter or engine platform is suggested. If you need a manual, you may find one HERE. There are also some wiring diagrams on that page if needed.You can click the appropriate option to be re-directed or simply scroll through the guide until you find the section suggested. Section 1
Engine won't start. |
|
|
|
Post by 90GTVert on May 13, 2010 7:55:48 GMT -5
Section 2
Engine doesn't turn over or turns over slowly. |
|
|
|
Post by 90GTVert on May 13, 2010 8:05:48 GMT -5
Section 3
Battery Checks And Tests - Make sure all connections to the battery are secure and free of corrosion. Tighten connections and clean if necessary.
- Use a multimeter or other voltage gauge to determine the battery's voltage with the key off and all accessories off. If the voltage is 12.5V or greater, proceed to the next step. If the voltage is below 12.5V, charge the battery. If battery voltage does not increase, you may need a new battery. You may be able to get a free battery test from stores such as AutoZone, Pep Boys, Advanved Auto Parts, and others if you remove the battery and take it to them.
- Leave the multimeter or other voltage indicator connected to the battery and turn the ignition switch on. Attempt to start the engine and watch the battery voltage. If the voltage remains above 9.6V while you are attempting to start the engine, proceed to the next step. If battery voltage drops below 9.6V, try charging the battery. If a freshly charged battery does the same thing, the battery may need replacement or you could have a bad cable. You may be able to get a free battery test from stores such as AutoZone, Pep Boys, Advanved Auto Parts, and others if you remove the battery and take it to them.
- If the engine still doesn't turn over proceed to starter relay checks and tests (Section 4).
- If the engine turns over, but won't start, proceed to Section 8.
|
|
|
|
Post by 90GTVert on May 13, 2010 8:49:38 GMT -5
Section 4
Starter Relay Checks And Tests |
|
|
|
Post by 90GTVert on May 13, 2010 9:16:08 GMT -5
Section 5
Checking The Starter Button Circuit - Locate the wires that provide a trigger signal to the starter relay. The trigger input is usually two wires coming from the starter relay that lead to one connector. One side should have 12V+ and the other should be a ground.
If 12V+ is present to all terminals and you completed the steps in Section 4, replace the starter relay.
If you don't have 12V+, continue with the steps in this section.
- Locate the wires coming from the starter button. There are usually two wires, one supplying 12V+ to the button and another sending 12V+ out to the starter relay. Check for 12V+ on one wire with the ignition switch on while holding both brake levers.
If 12V+ is present in one wire, hold the starter button and check for 12V+ in the other wire. If you don't get 12V+ to the other side, the starter button needs cleaning or replacement.
If no power is present in either wire, proceed with the steps in this section.
- Find the brake switches located in the brake levers. These are usually two wires, much like the starter button. One wire should provide 12V+ to the switch and the other should carry 12V+ from the switch to the brake light and the starter button. The easy way to check the operation of the brake light switches is simply to turn the ignition on and see if your brake light illuminates when each switch is depressed. You can also test the switches like you tested the starter button, by verifying that you have 12V+ in both wires when the brake lever is used.
If you have power to one wire but not both when the switch is depressed, clean or replace the brake switch.
If you have no power in either of the wires to the switch, proceed to the next step in this section.
- The brake switches usually receive 12V+ from the ignition switch. Common scooter ignition switches have 4 wires. Red is usually battery 12V+ to the switch. red/white is usually 12V+ out of the switch. Check to verify that there is 12V+ going into the switch via the red wire. 12V+ should be present in the red/white wire when the switch is turned on.
If 12V+ is not present from the battery, check the wire from the battery to the switch for continuity and repair or replace it.
If 12V+ is present from the battery but not being transferred to the red/white wire out, inspect or replace the ignition switch.
- If the engine doesn't turn over proceed to checking the starter motor (Section 6).
- If the engine turns over, but still won't start, proceed to Section 8.
|
|
|
|
Post by 90GTVert on May 13, 2010 9:18:29 GMT -5
Section 6
Checking The Starter Motor  - Make sure the starter is mounted securely to the engine and that all connections are clean and secure.
- Test for battery voltage on the motor's positive terminal while attempting to start the engine. Also check for ground at the starter's base or ground wire if so equipped. A ground should be present at all times, not just when attempting to start.
If no ground is present, check all battery and frame grounds. If there is no 12V+ to the starter, check the cable that runs between the starter motor and relay and replace if found to be faulty (no/low continuity).
If power is being supplied to the starter, proceed with the other steps in this section. It's not a bad idea to try "jumping" the starter just to be sure. This can be done by attaching a cable to 12V+ and touching it to the 12V+ lead of the starter motor. In some cases you may need to attach 12V- to the starter's 12V- terminal or wire.
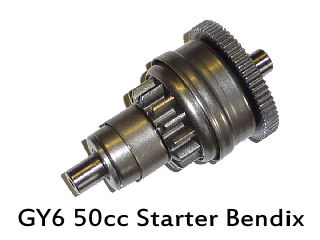
- Inspect the starter clutch/bendix for proper operation and replace if necessary.
- Turn the engine over by hand to ensure that it is not seized.
If the engine turns over by hand, replace the starter motor.
If the engine does not turn over by hand, proceed to check for a seized engine (Section 7).
- If the engine turns over with the electric or kick starter, but still won't start, proceed to Section 8.
|
|
|
|
Post by 90GTVert on May 13, 2010 15:14:49 GMT -5
Section 7
Checking For A Seized Engine |
|
|
|
Post by 90GTVert on May 13, 2010 15:20:57 GMT -5
Section 8
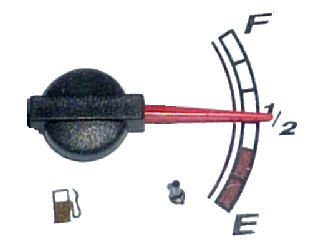
Engine turns over, but wont start. Check the most basic things before you start any real troubleshooting. You would be surprised how often these simple things have been found as the cause of a non-starting scooter. - Is there fuel in the tank?
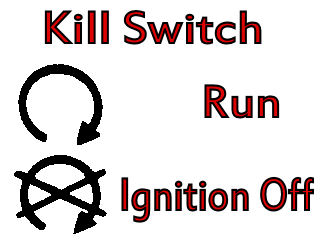
- Is the kill switch in the run position?
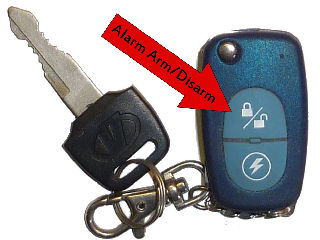
- Is the alarm deactivated?
If all the basics checked out, you can move on to more in-depth troubleshooting. You are essentially looking for three things to get your engine running. They are fuel, spark, and compression. There are other factors, but these are the most likely causes of no start conditions. I like to check for spark first, because it's quick and easy in most cases.
- Checking For Spark (Section 9)
|
|
|
|
Post by 90GTVert on May 14, 2010 7:38:30 GMT -5
Section 9
Checking For Spark There are a couple of methods for verifying that your engine has spark. You can use a spark tester that plugs inline or plugs into the spark plug boot or you can do it with no specialty tools just as easily. Remove the spark plug. It's a good idea to inspect the plug now. Look for excess fuel on the plug, a bone dry plug, damage to the plug, or an oily or fouled plug. Check and set the gap if necessary. Most scoots use somewhere between 0.025"-0.030", but check your owner's manual or service manual to be sure. Now attach the spark plug boot to the plug. Hold the metal portion of the spark plug against the scooter's frame or the engine casing. Make sure you aren't touching the spark plug (you may get a shock), and crank the engine over. You should be able to see a spark. If it is very bright where you are, it may be helpful to move to a darker area for this test. You may also be able to get an indication of spark strength and consistency by using a spark strength tester or even an old spark plug with the ground strap removed or bent back to create a wide gap. We'd like to see a bright white/blue/purple spark that is consistent and able to jump a large gap. An orange or inconsistent spark may indicate weak ignition components. - If you did not see a spark, replace the spark plug and try again. If there is still no spark, proceed to checking the coil (Section 10). |
|
|
|
Post by 90GTVert on May 14, 2010 7:54:03 GMT -5
Section 10
Checking The Ignition Coil - Inspect the spark plug boot to ensure that it fits snug on the spark plug.
- Make sure the spark plug wire is securely attached to both the boot and the ignition coil. Most spark plug wires simply screw into the boot and coil.
- Check the ignition coil's connectors to assure that they are clean and secure. There are usually 2 wires, a trigger wire and a ground wire. Some coils may only have a signal wire and use their mounting location (usually on the frame) as a ground. Make sure the coil is securely attached to it's mounting point.
- Disconnect the ignition coil and check it's primary and secondary resistances and replace it if out of specifications. Refer to a service manual for proper specifications for your scooter.
- If you still don't have spark, move on to checking the stator (Section 11).
- If you have spark and it still won't start proceed to checking compression (Section 14).
|
|
|
|
Post by 90GTVert on May 14, 2010 10:01:37 GMT -5
Section 11
Checking The Stator/Magneto - Check all connections from the stator and make sure they are secure.
- Assure that the pickup is located close enough to the flywheel to be triggered. You can use feeler gauges to measure the distance between the pickup and the reluctor (raised bit) on the flywheel. It's best to check a service manual for your particular scooter, but if you can't find specifications somewhere around 0.010" should be acceptable. If it is too far away, try loosening the mounting tabs for the pickup and re-positioning it.
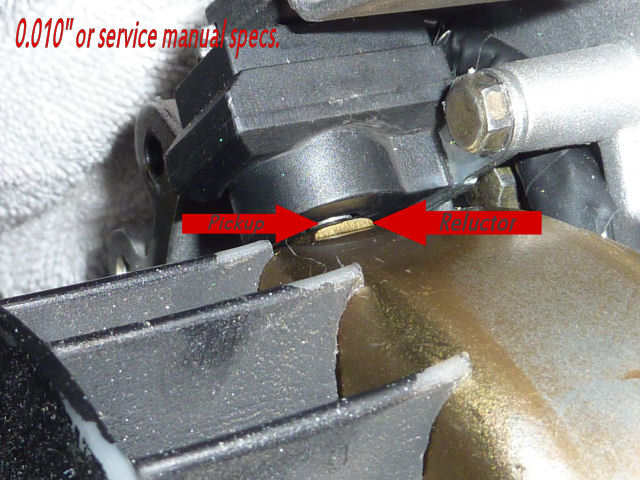
- Disconnect the stator from the scooter's wiring harness. Check for a trigger signal from the stator. There should be a wire coming from the pickup. You can use a test light to be sure there is a signal when the engine is cranked over with the ignition switch on. If there is no signal, replace the stator. Using a multimeter you can check for AC voltage. Usually this should be in the neighborhood of 0.5VAC, but check a service manual of possible for exact numbers.
- Disconnect the stator from the scooter's wiring harness. Find the wire from the stator that leads to the CDI to supply it with power on AC powered units. This should have 50VAC or more in most cases when the engine is turning over. Refer to a service manual for exact specifications for your model.
- Refer to a service manual for your scooter and test for proper stator specifications as it outlines. If out of specifications, replace the stator.
- If there is still no spark, proceed to checking the ignition and kill switches (Section 12).
- If you have spark and it still won't start proceed to checking compression (Section 14).
|
|
|
|
Post by 90GTVert on May 15, 2010 14:56:39 GMT -5
Section 12
Checking The Ignition And Kill Switches |
|
|
|
Post by 90GTVert on May 16, 2010 13:32:13 GMT -5
Section 13
Checking The CDI |
|
|
|
Post by 90GTVert on May 16, 2010 13:38:46 GMT -5
Section 14
Checking Compression - Make sure the engine is cool. Remove the spark plug and place your thumb over the spark plug hole as if you are trying to seal it. Do not try to reach into the spark plug hole, just cover it and apply pressure. Crank the engine over with the kickstarter or electric starter. Pressure from the cylinder should try to push your thumb off of the hole.
If you feel only a weak pulse, your compression is probably low. Proceed to
If you feel a very strong pressure pushing your thumb away, you should have enough compression for the engine to run. Proceed to
If you are unsure of your results, try the other method for compression testing below.
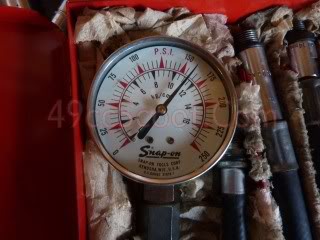
- The other method to check for compression requires a tool called a compression tester. If you don't have one, some parts store will loan them out at a low cost or sometimes refund the whole cost when the tool is returned in good condition. Some cheap testers seem to have trouble with sealing and inaccurate readings, but I've had good luck with THIS reasonably priced tester.
A compression tester basically consists of fitting, a hose, and a gauge. The fitting screws into your spark plug hole. The hose connects the fitting and the gauge. The gauge measures the amount of peak pressure that your engine produces. Install the compression tester and hold the throttle wide open while you or a friend cranks the engine over for a few seconds. Note the number (psi) shown on the gauge. Refer to a service manual for your vehicle for proper specifications. They will usually state a "service limit." Below that number is considered too low. If you can't find specs for your engine, here are some generally accepted numbers :
~100psi = Minimum for starting engine
150psi or above = Strong running engine
- If your engine is low on compression proceed to finding the cause of compression loss (Section 15).
- If your engine has good compression and still won't start proceed to checking for fuel (Section 16).
|
|
|
|
Post by 90GTVert on May 19, 2010 8:27:32 GMT -5
Section 15
Finding The Cause Of Compression Loss - Damaged or loose spark plug threads. Aluminum heads can easily be damaged by tightening a spark plug beyond proper torque over time, or instantly in extreme cases of over-tightening. If the threads are damaged, cylinder pressure can escape. Ispect the spark plug and spark plug hole's threads for obvious damage. Sometimes you can hear a leak. You can try using a soapy water solution around the installed spark plug. You should be able to see if there is a leak when the engine is cranked over.
- Faulty head gasket. A faulty head gasket can cause a pressure leak. Not all head gasket failures lead to a compression loss however. Sometimes you can use a soapy water solution around the head gasket area (top of the cylinder/bottom of the head) and look for bubbles while you crank the engine over or introduce pressure using a leakdown tester. Otherwise, engine disassembly is required. If a head gasket leak is suspected, the sealing surfaces o fthe head and cylinder should also be checked for flatness using a straight edge and feeler gauges. Your scooter's service manual should outline acceptable tolerances. If not, look for less than .002" variance in flatness. Before you get the feeler gauges out, use a flashlight and see if you can see light on the other side of the straight edge. Check in multiple positions. If you can't see any light passing between the straight edge and surface, checking with feeler gauges isn't necessary.
- Improper valve timing and position. Improper valve timing can cause minor or severe compression loss. Ensure that the camshaft is installed properly so that the timing marks line up with the engine at top dead center on the compression stroke. Set valve lash to specifications provided in your service manual to be certain that an improper clearance isn't keeping a valve slightly open to allow pressure release. Make sure no valves are open from mechanical failures such as a bent valve, missing or damaged retaining hardware, or valve guide damage.
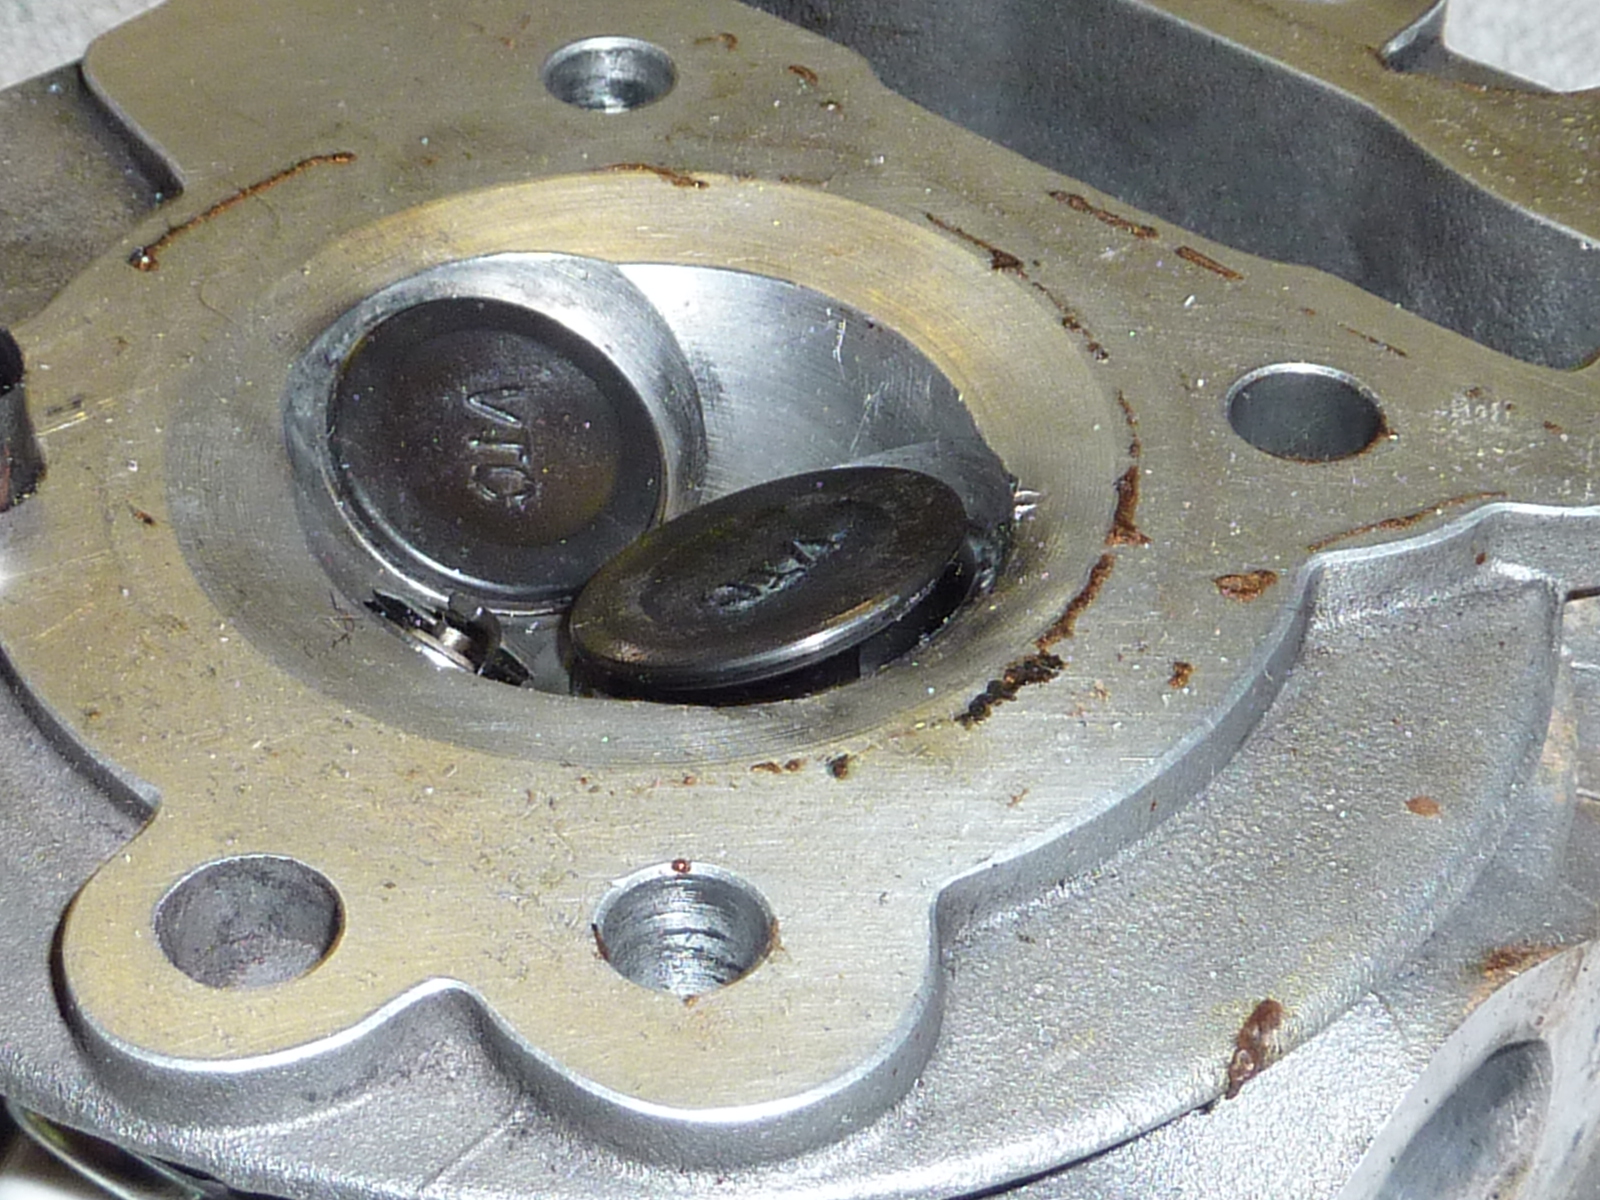 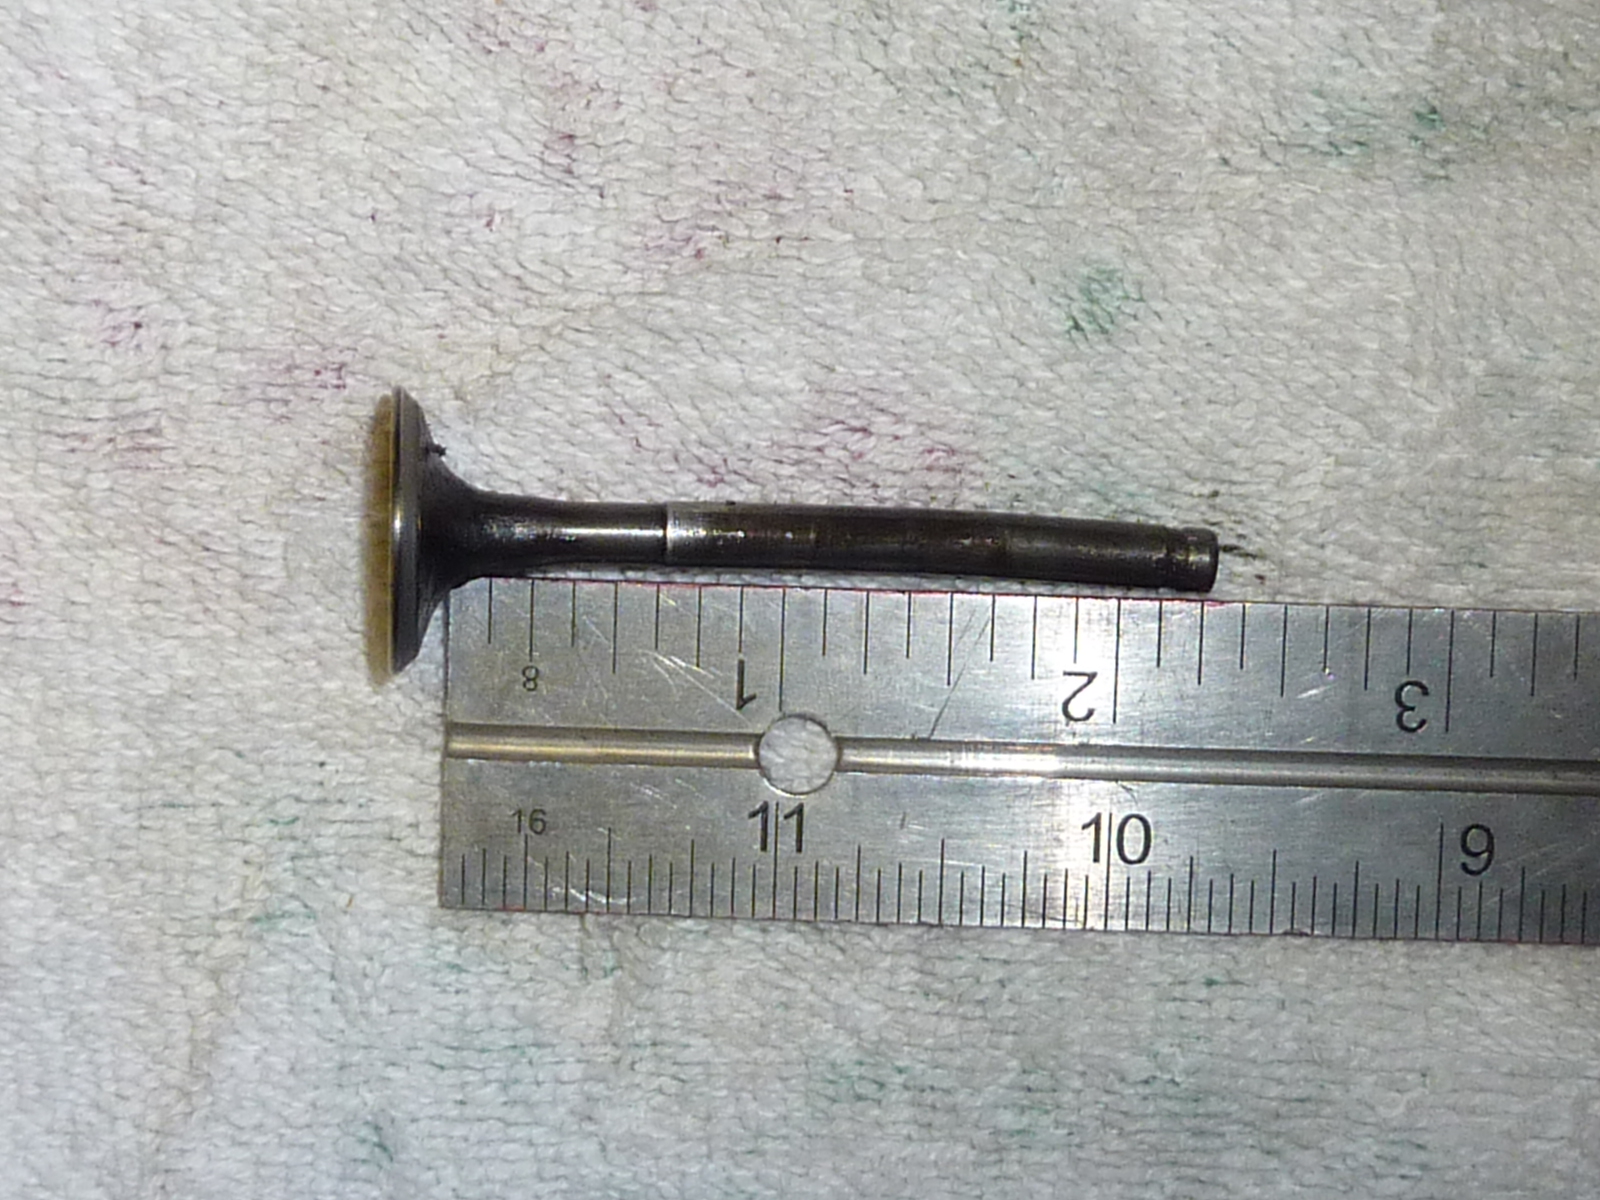
- Piston ring wear, damage, or improper gap. If the piston rings don't seal properly, cylinder pressure can pass the rings and bleed into the crankcase. Inspect the piston rings for breaks or scuffing. After many miles, the piston rings will wear down and may not seal. Piston rings that are not gapped to specifications can cause poor sealing. Check piston ring end gap of all compression rings. The service manual for your scooter should specify the proper gap. Check the cylinder bore diameter and piston diameter as well and compare to specifications for your engine.

- Catastrophic failure. Melted or shattered pistons, a damaged cylinder or cylinder head, broken valves, etc... This type of failure should be obvious upon disassembly. Metal on or damage to the spark plug is also an indicator of serious problems.
 
- If you have proper compression and your engine still won't start proceed to checking for fuel (Section 16).
|
|