|
|
Post by hergeekiness on Oct 25, 2015 3:04:59 GMT -5
Hi there,
I am new to this forum and this is my first thread here. I normally don't go around creating threads unless I am really stuck. In this case - I am...
The patient: Peugeot V-Clic 2010, 4-stroke. It's basically a Chinese scooter with a French name.
Long story short (long version below): I went to work in the morning and parked in a warm underground garage. I took the scooter for a short ride during the lunch break. 5 hours later, when it was time for me to go home, the scooter wouldn't start. Problems ruled out: the kill switches (there are two as far as I know: the button on the handle bar and the switch linked to the kick-stand), the spark issue, there is enough gas (the tank is full actually), no obvious holes or leaks, nothing looks burned or melted. When attempting to start the scooter sound good - nothing seems to be stuck inside. I disassembled the kick-start - everything is fine.
Question: what else is likely to break while standing?
************
The full story (take a seat):
I purchased him (it's a boy, his name is Simon) in March 2013 new from a scooter shop with a two year warranty. He didn't have many problem while he was on the warranty (small stings - rust patches, hole in a tire, the battery went moribund). Bad stuff started happening just a couple of weeks after the warranty ended. First of all, as I already mentioned, the battery died. It was not covered by the warranty, so I've been kick-starting Simon for over a year now (if not two years).
Things that broke in the last 6 months:
the main stand (the rust ate it)
the speedometer cable (or rod - don't know the right name for it) - broke twice!
the spark plug cable - twice. I learned now to fix it fast, so it's just a small annoyance
The latter one would lead into stopping suddenly in the middle of a ride. Or while standing.
The scooter is unable to start now. I examined everything, I even bought a new battery to rule out a faulty kick-start. I replaced the spark plug (even though the old one looked old but was still working) and checked the spark plug cable (without the coiled coil) with a multimeter to rule out broken circuits. The spark plug gives a spark. I ordered a new sparkplug cable+coiled coil with a new CDI box (didn't arrive yet). But from I have seen so far - neither of those things seem to be broken.
Oh, and there is fuel going inside the carburetor - no clog there.
The scooter was standing in the underground garage of my work for a couple of weeks now. I would appreciate any help or suggestions. I have a strong feeling I have missed something rather simple.
|
|
|
|
Post by spaz12 on Oct 25, 2015 3:12:10 GMT -5
I'm going to find you a video in a second... Fox shares this video a lot and it makes sense that it could possibly be your problem. Another thing could be a clogged idle jet in your carburetor. Though I don't think that's the case, but who know. Anyway, I'd try your valves first. |
|
|
|
Post by Fox on Oct 25, 2015 11:22:02 GMT -5
You say you ruled out spark and fuel so compression would be the next logical suspect so the above post is right on the money. Here's a test for you to try: Grab the kick start lever with your hand and work it 5 or 6 times real slow. It should fight you on the compression stroke and then release and repeat that behavior over and over as you work the lever. Does it put up a good fight or is the resistance weak and short? If it's weak then the valves are the #1 suspect. Over time one or both of the valve tappets will tighten up (no gap) and that valve will fail to close completely so you get a loss of compression. Restoring the gaps will solve the issue and it will start and run good. If you do not own a feeler gauge then you can use a strip of aluminum from a soda or beer can. It's close enough trust me. Also, if the valve adjustment works, then go ahead and readjust the idle mixture screw. It's important. There's a written guide and a video at this link: 49ccscoot.proboards.com/thread/429/idle-mixture-adjustmentIf you happen to have a sealed carb with a capped off mixture screw then you can drill the cap out and remove it. The pics below show one I did. I drilled a hole off to one side and then I started to drill another and the cap started spinning and came out. Don't push too hard on the bit or it can damage the screw head when it breaks through. You may need to pry the cap out with a sharp object after you get a couple holes in it. 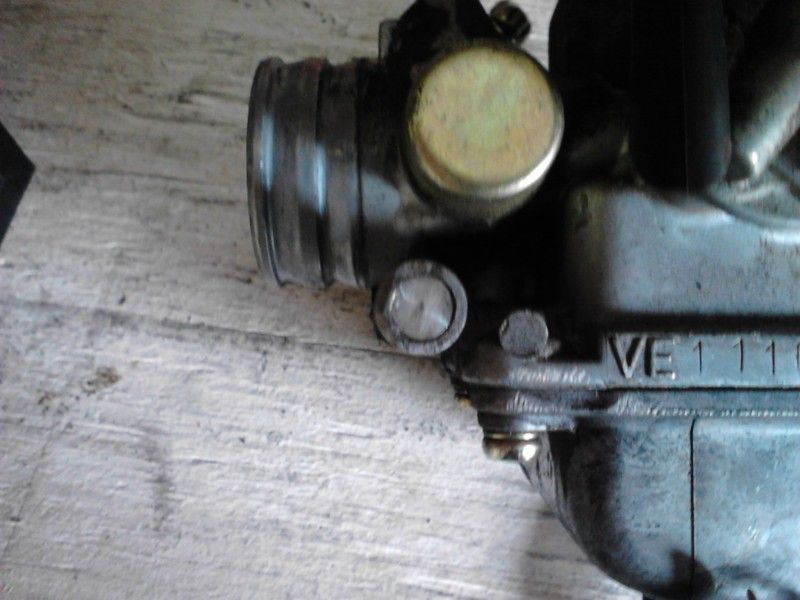 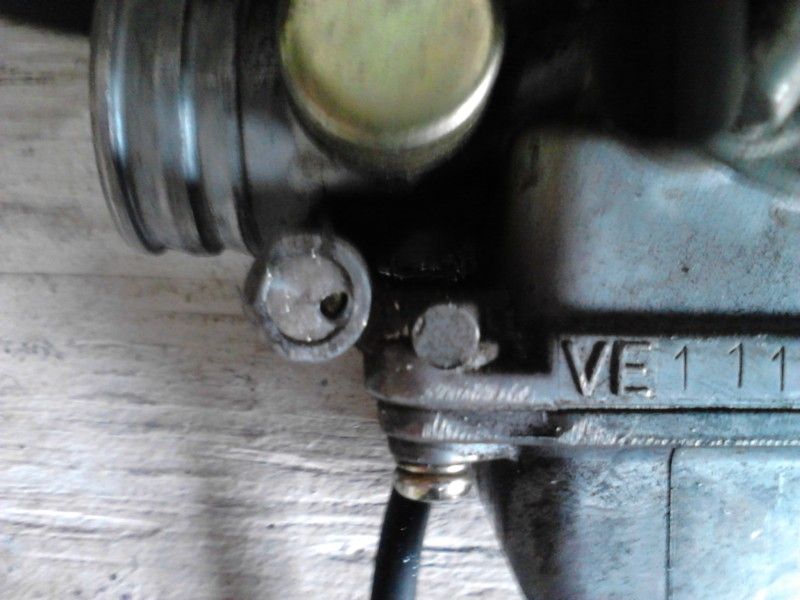 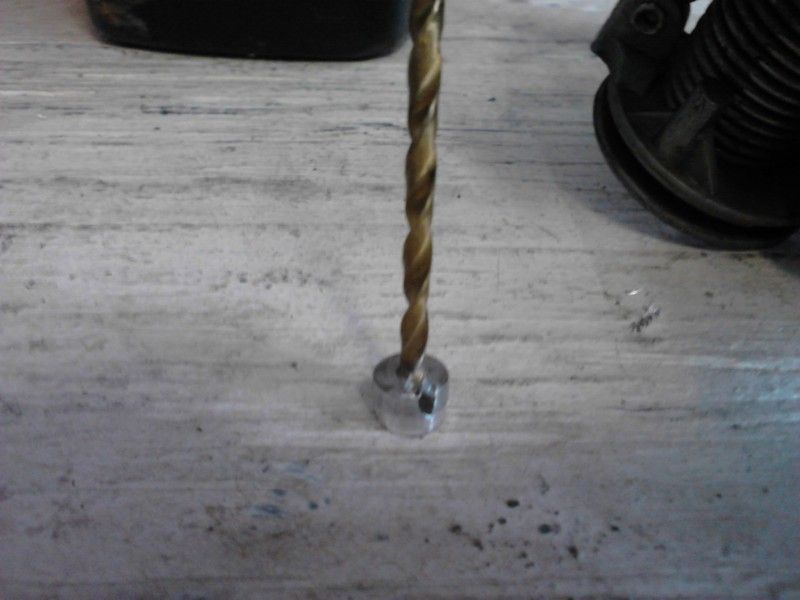 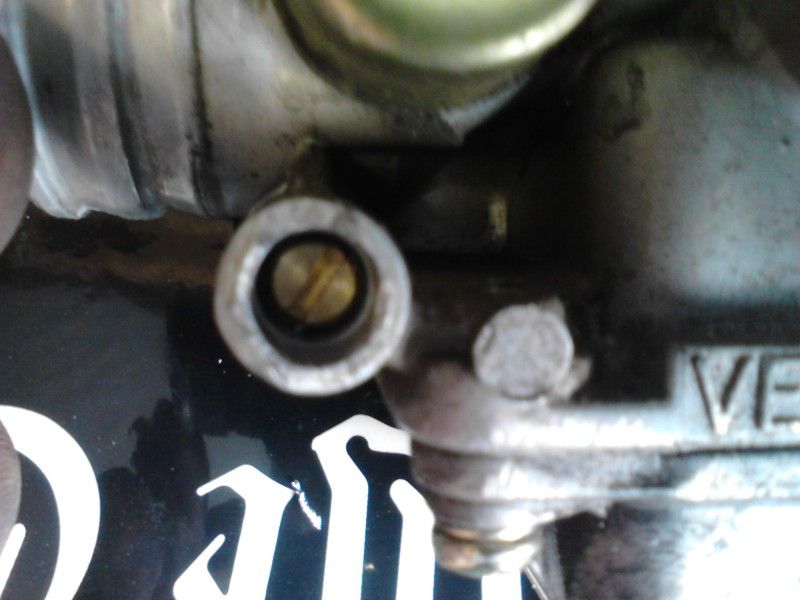 |
|
|
|
Post by hergeekiness on Oct 25, 2015 16:12:45 GMT -5
Thank you so much for your replies!
I will do the kick start leveler test tomorrow when I am at work, where the scooter is parked. I don't suppose you need a battery for the compression test, do you? I took the battery out the other day as it ran out of charge. I heard one can check for compression by putting a finger against the spark plug hole (sorry, don't know a better name for it) while trying to start the engine. Is this a good thing to try?
Lets say you have a running scooter. What could indicate that the valves should be adjusted any time soon? Would it act differently from a scooter with well adjusted valves? Just wondering if there was a warning sign that I missed.
|
|
|
|
Post by Fox on Oct 25, 2015 17:09:15 GMT -5
A scooter with a tight valve may be hard to start and die a lot. Rough idle etc... They keep getting tighter and tighter until one day no start at all. They should be checked and adjusted at least twice a year.
Here is a video showing a proper compression test with a tester.
|
|
|
|
Post by hergeekiness on Oct 26, 2015 13:49:41 GMT -5
Hi again,
The kick start leveler test didn't go so well. And the scooter was dying a lot lately when stopping on the red light for example. Even if it is not the primary cause if its current coma, I will adjust the valves anyway.
I watched the video several times and then checked my scooter's service manual. The adjustment process doesn't seem tobe too difficult and I will go for the soda tin option for the gap adjustment. But I was wondering - when I am done adjusting, do I have to put something to seal with before I put the valve cover back on? I've been using heavy-duty grease to seal the less delicate covers (e.g. the kick-start cover), but would that be good enough for this purpose?
And possibly a silly questions - can I use WD-40 in case I need to lubricate anything in the valve area? My gut feeling it's not a good idea...
|
|
|
|
Post by spaz12 on Oct 26, 2015 14:15:26 GMT -5
I never tried the grease, but it might work. I've always used a light coat of rtv silicone. If it leaks you can always go back and fix it later.
You should just use motor oil to lubricate anything up in that area.
|
|
|
|
Post by Fox on Oct 26, 2015 15:35:45 GMT -5
If the o-ring gasket on the valve cover looks to be in good shape then you shouldnt need to use any sealant on it. Just keep an eye on the dipstick for a few days after.
No need to lube the valve rockers, there is an oil pump in the engine that pushes oil up into the rocker assy and cam bearings. Don't forget about the idle mixture adjust. It is important.
|
|
|
|
Post by hergeekiness on Oct 27, 2015 5:52:26 GMT -5
You guys... I'm just speechless.
I came to my work building, found a coke can in a trash bin and made a tool out of it. I did everything as explained in the video above. I could feel the difference in the kick-start immediately - I tried that before I put the battery back in. I put the battery back in, "kicked" the kick-starter a couple of time and here it was - the sound of a running engine I was longing for.
Thank you!!
The o-ring on the valve cover was intact. Unfortunately, I tied one screw too tight and it broke off. It looks fairly stable, but I will post a picture later to see what you think.
I haven't adjusted the mixture yet, it's on my to-do list. Unfortunately for me it does seem to have a metal plug over it. I don't suppose I can get it out without taking the carburettor off beforehand, right?
One thing that concerns me: what happens if the valves are adjusted too loose?
|
|
|
|
Post by Fox on Oct 27, 2015 9:20:05 GMT -5
Congratulations! Your valves are now closing all the way so normal compression is restored. If the valves are too loose you will hear loud tapping and your top end speeds may suffer but it's not going to hurt anything it just may drive you nuts. A set of feeler gauges isn't much money. Sux about that bolt. Now you know you can't crank too hard on them. Those bolt holes go all the way through the head so you may be able to get the broken piece out from the back side if you get the cooling shrouds loosened up and out of the way. There may be enough of it sticking out the back side to grab with a pair of pointy pliers depending on which one broke. The carburetor and rubber intake will lift off the engine all in one piece and swing aside by just removing the two nuts holding the intake. That will allow the upper fan plastic to move easily. If you can't get at it that way then you can try a small drill bit from the front side. It may spin the bolt out the back once the bit starts digging in. You have to be real careful not to damage the threads. A sharp punch and a hammer will make a divot in the broken piece so the drill bit doesn't wander. This picture is just to show you what's under the plastic. Ignore the arrow. 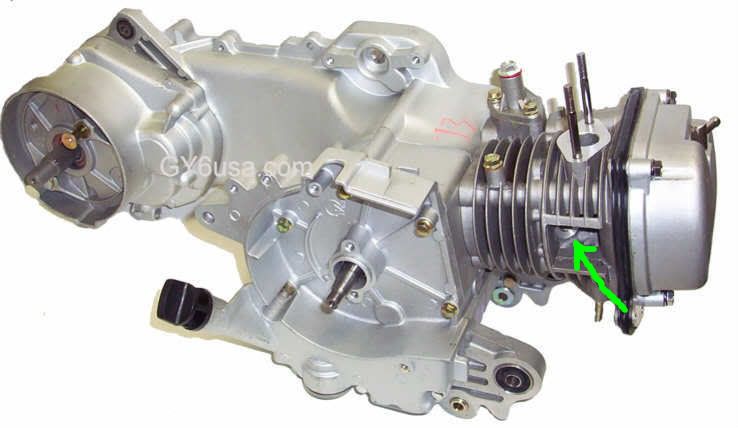 |
|
|
|
Post by hergeekiness on Oct 27, 2015 14:32:16 GMT -5
Congratulations! Your valves are now closing all the way so normal compression is restored. Thank you! I wouldn't have accomplished that on my own  If the valves are too loose you will hear loud tapping and your top end speeds may suffer but it's not going to hurt anything it just may drive you nuts. A set of feeler gauges isn't much money. Ok, that explains why the scooter sounds different now. Next time I open him up I will readjust the valves again. Now that I know how to do that  The bolts that hold the cover are all fine, but one of these two broke off:  The one that is left there seems to be doing a good job though. |
|
|
|
Post by Fox on Oct 27, 2015 15:17:01 GMT -5
That tube is connected to a port that leads straight into the exhaust stream so that could be the noise you are hearing. Push inward on that tube with the engine running to see if the noise changes. If it does then you have a leak there. Not the end of the world but you should take care of it asap. Should be pretty easy to remove the broken piece there. The lower fan plastic will drop down and if you screw up the threads drilling you can put a slightly longer bolt with a nut on the back side. 6mm thread, hardware store  If you are feeling industrious you can actually remove that whole smog system and block that port off for good with a little metal plate you can make yourself and you'll never have to screw with those two bolts again. The block off plate doesn't have to be all pretty. I made this one in about 5 minutes with some flat steel I got at Home Depot, a hacksaw and a drill. 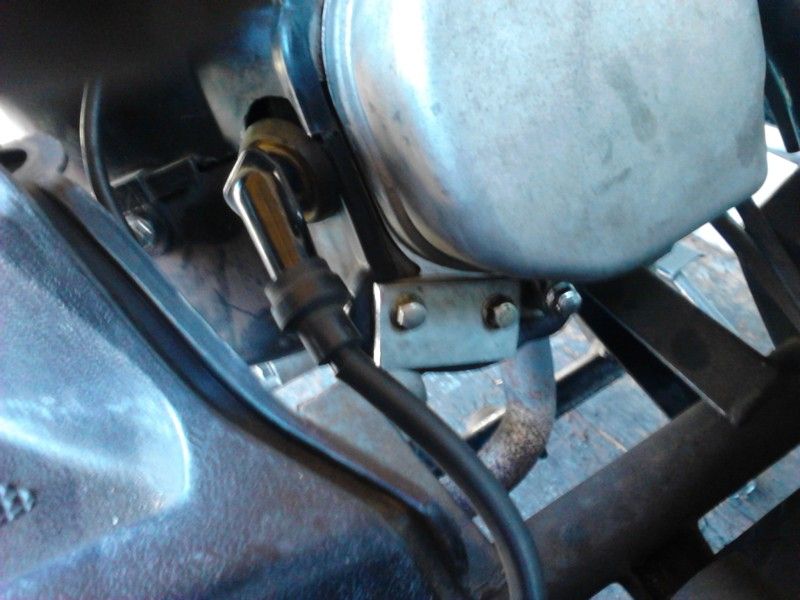 |
|


