90GTVert's Larger Case TrenchesI cleaned up the cases so I could apply JB Weld to the areas where trenches will be at some point and let it cure. If you decide to go with JB Weld, get the standard JB Weld and not the JB Kwik quick-setting stuff.
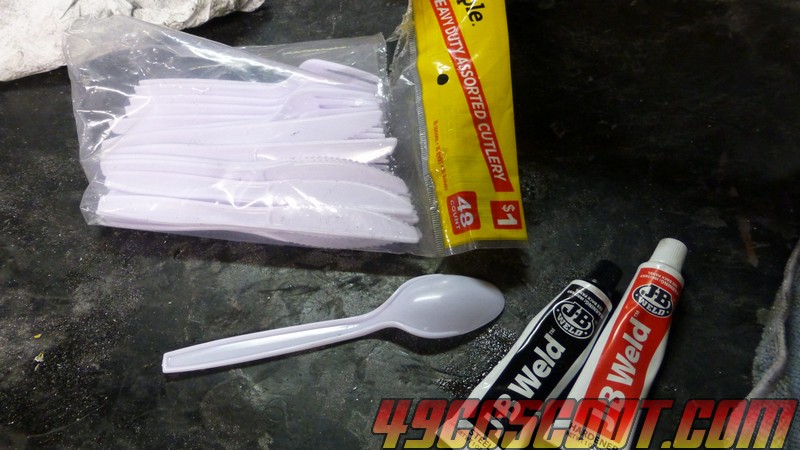
Random tip. If you grab a pack of plastic forks, knives, and spoons at a dollar store, you've got all the mixing and application tools you'll need for a very long time. You can break some of the prongs off of forks to get into tight spots if needed too.
Filled the large half.
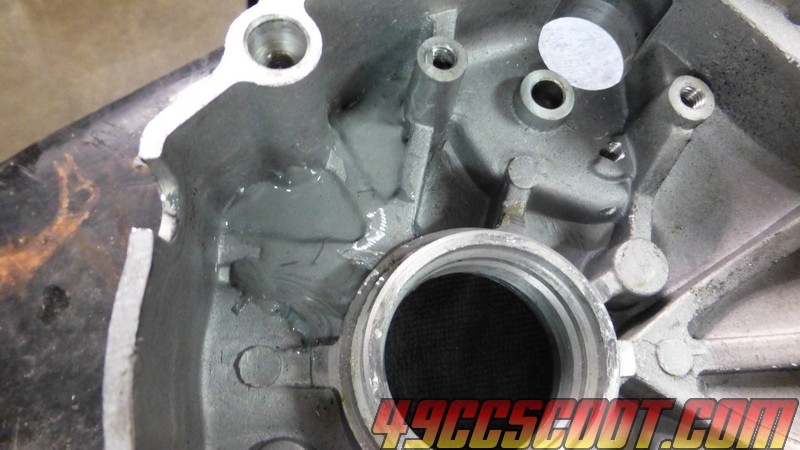
Then cleaned and filled the small case half as well. When filling the cases for trench cuts, you should be able to tell which areas are directly behind the areas you'll be working in. Be careful not to get epoxy into any bolt holes. Also remember that the epoxy may run (JB Weld does), so leave the cases level or in a position where filler would move in the direction you'd like as it cures.
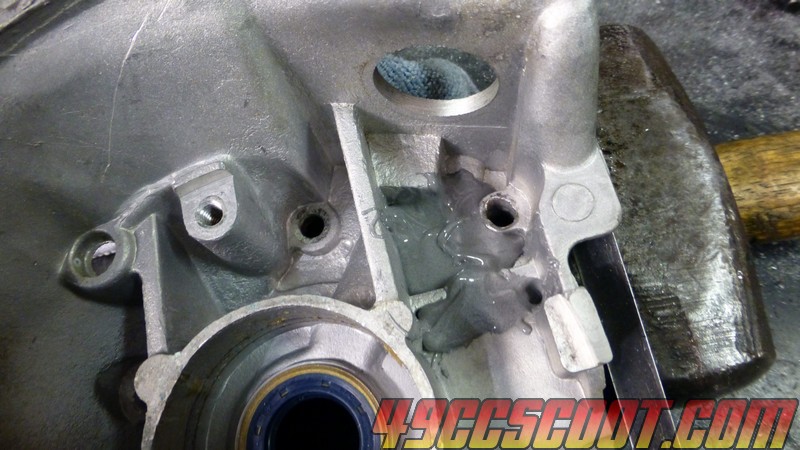
I started making the trench cut in the large case half. I wanted the trench at least partially in there before any attempt at filling my previous blunders while port matching would be made. (See the port matching
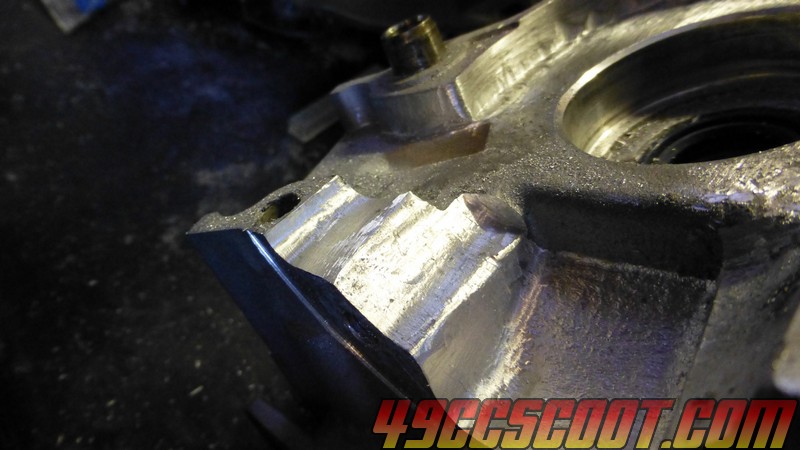
HERE.) Here are a few looks at the cases before any trenching.
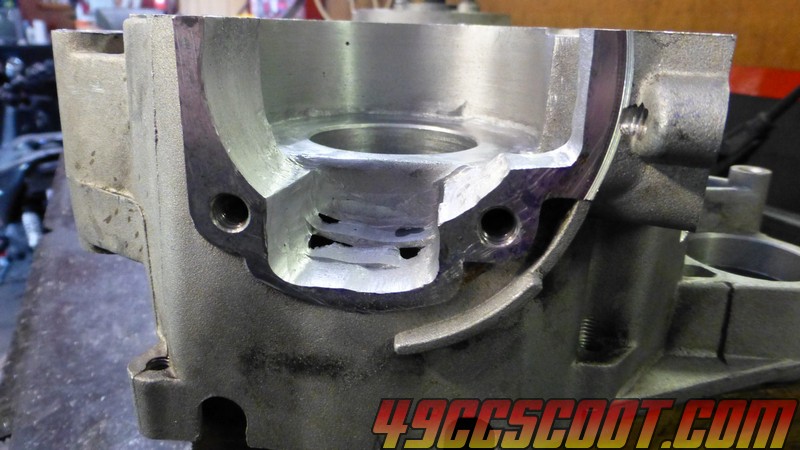
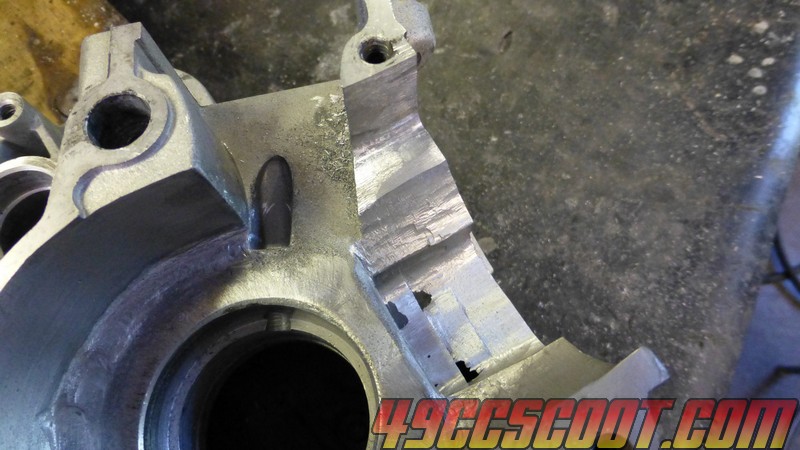
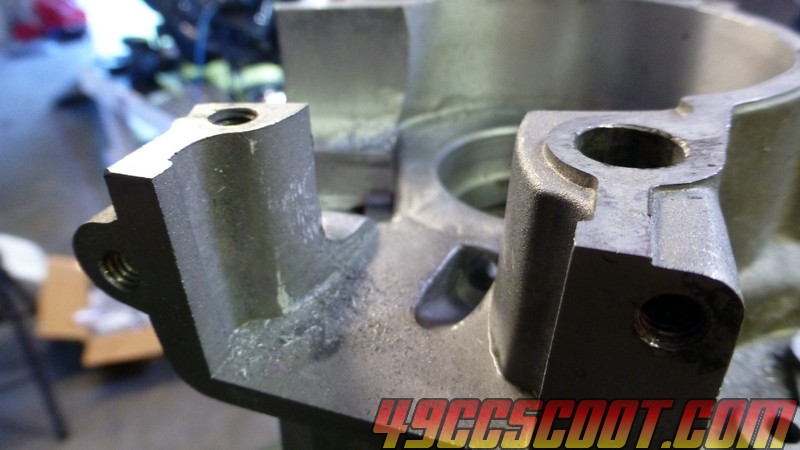
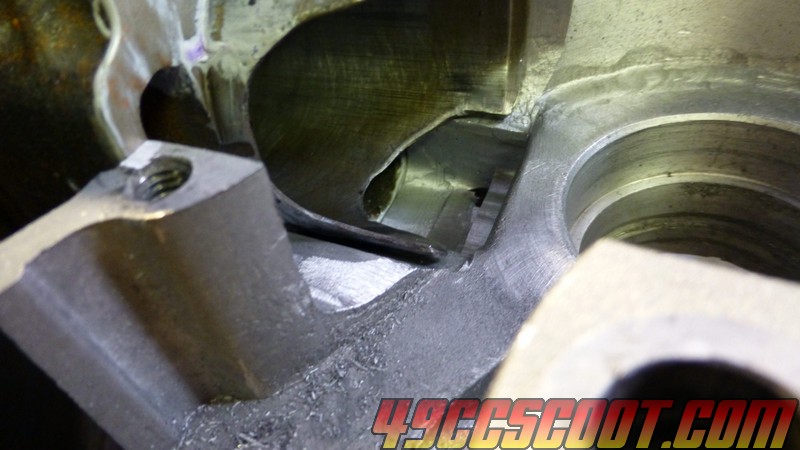
If you want to stay on the safer/milder side and not break into the cylinder stud passages, measure the depth of the hole and then mark that plus a couple mm onto the case so you know where to stop cutting.
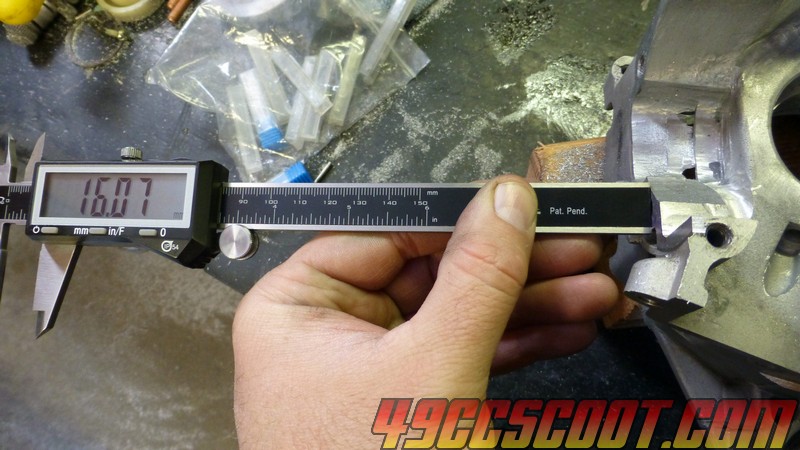
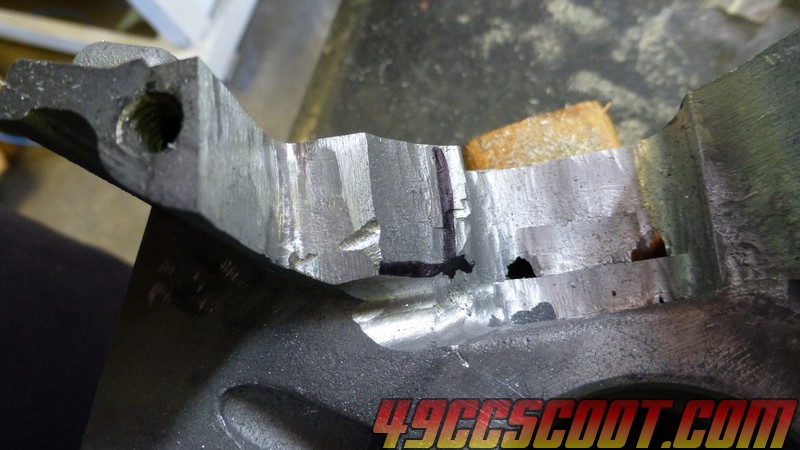
I started out with the milder cut like I normally do at first, and here's a look at it after. I went fairly deep without ever breaking through to the JB Weld on this side.
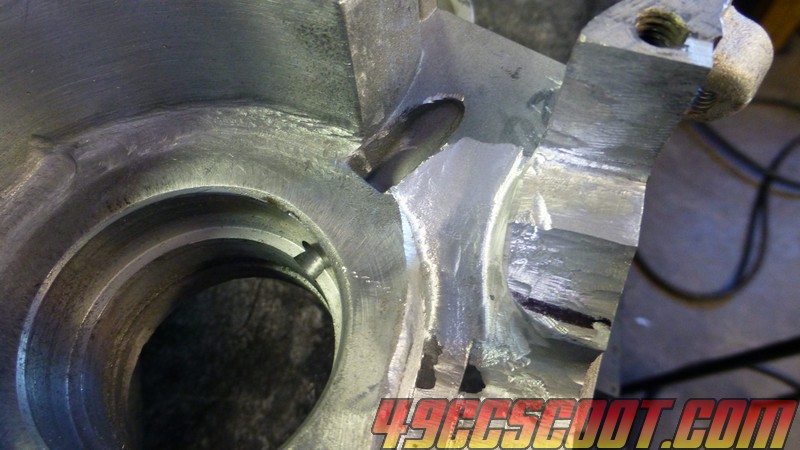
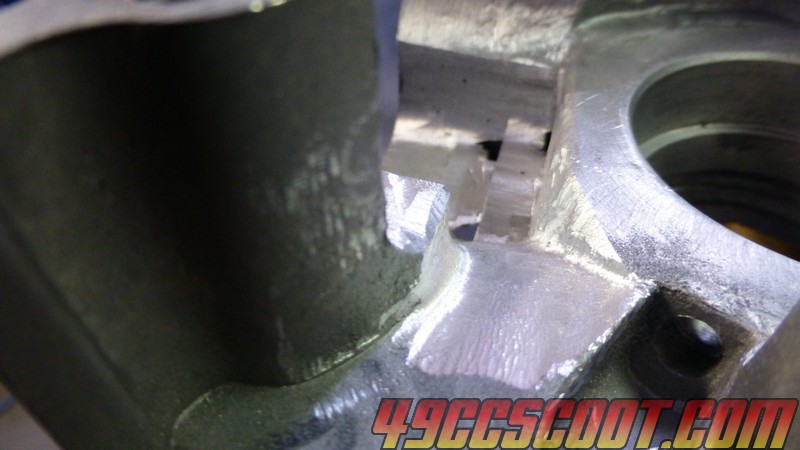
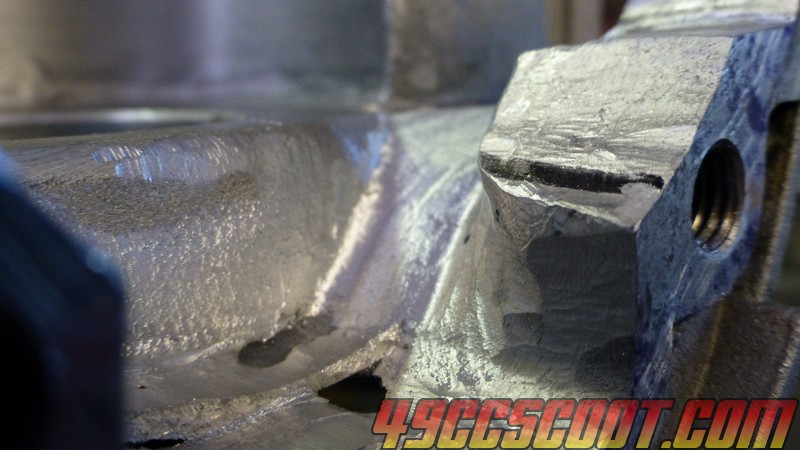
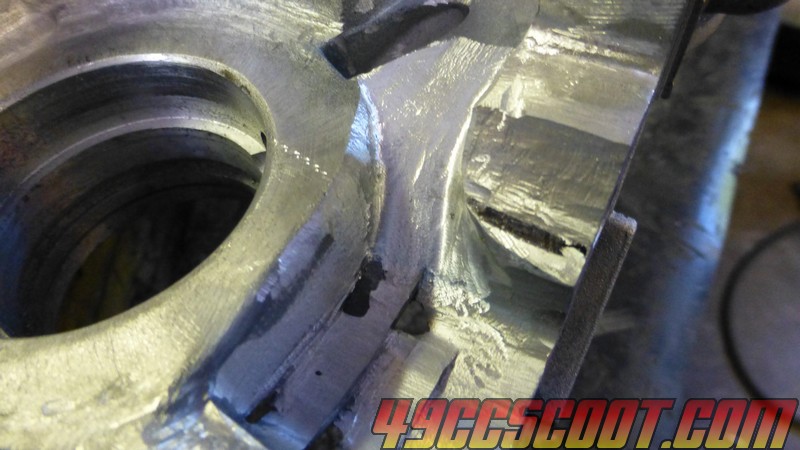
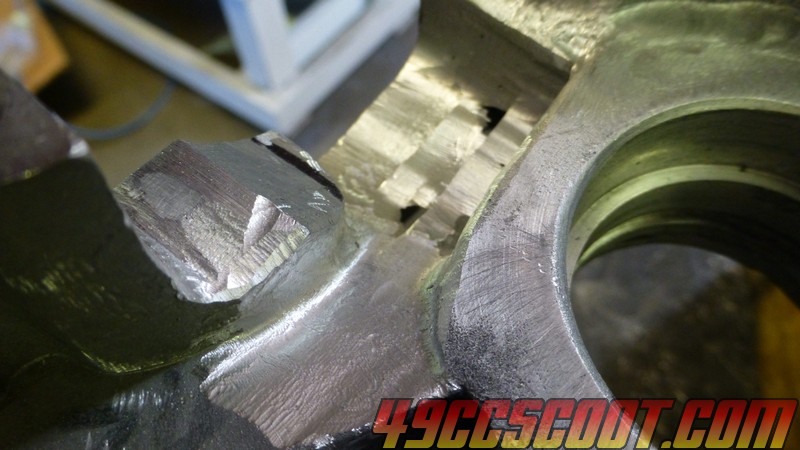
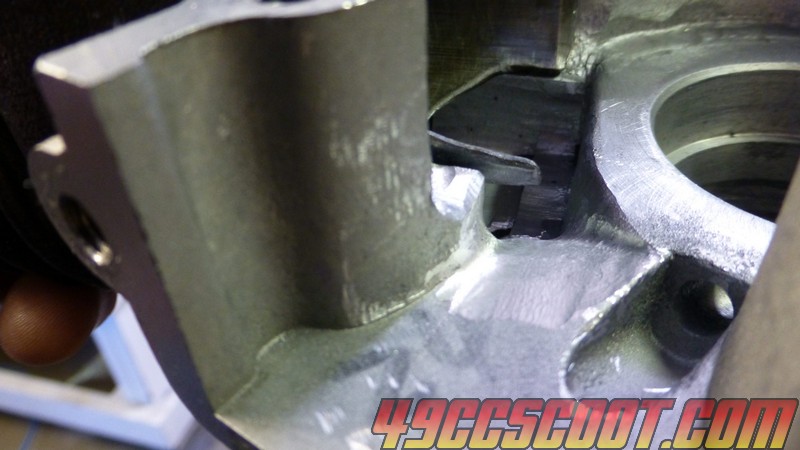
Then I turned my attention to the small case half. Shots of this side pre-trenching.
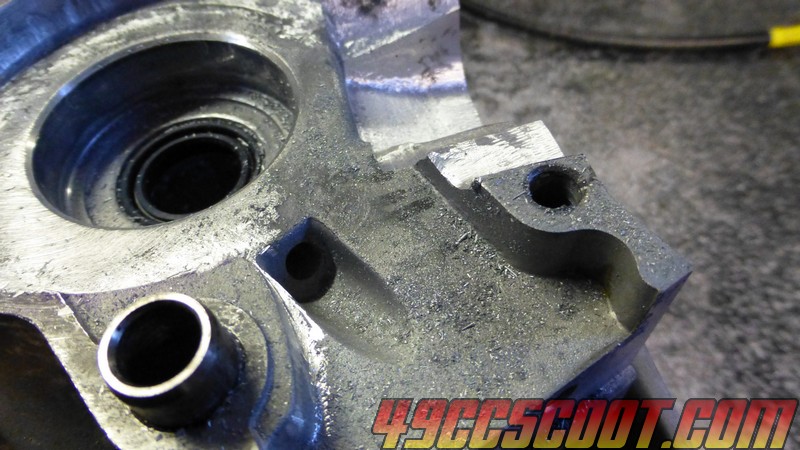
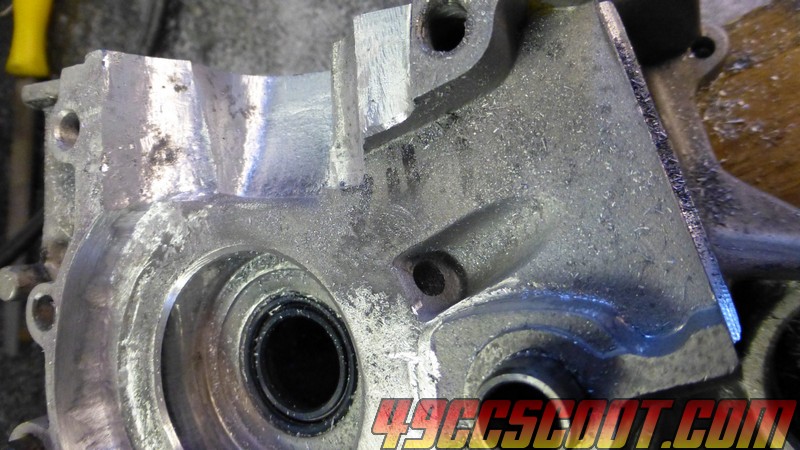
And some pics after the more mild version of trenching, keeping the cylinder stud area intact. I broke through into the JB Weld pretty quickly on this side.
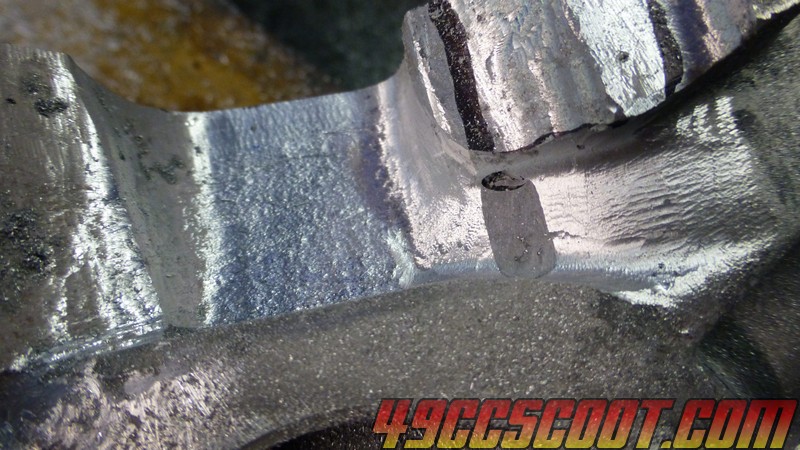
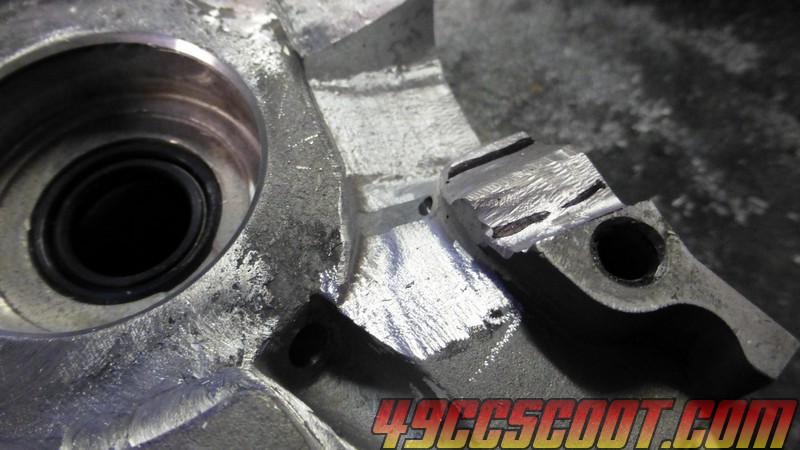
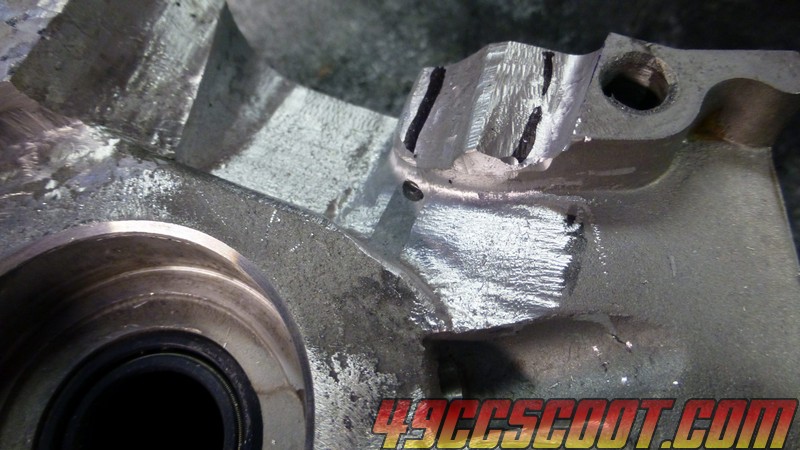
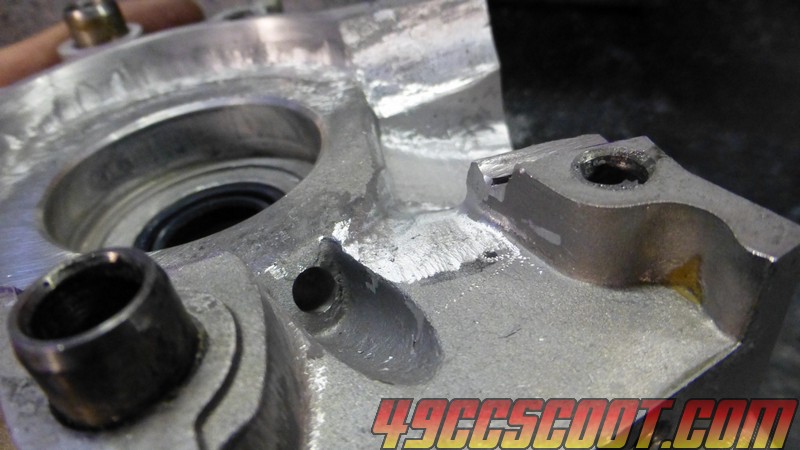
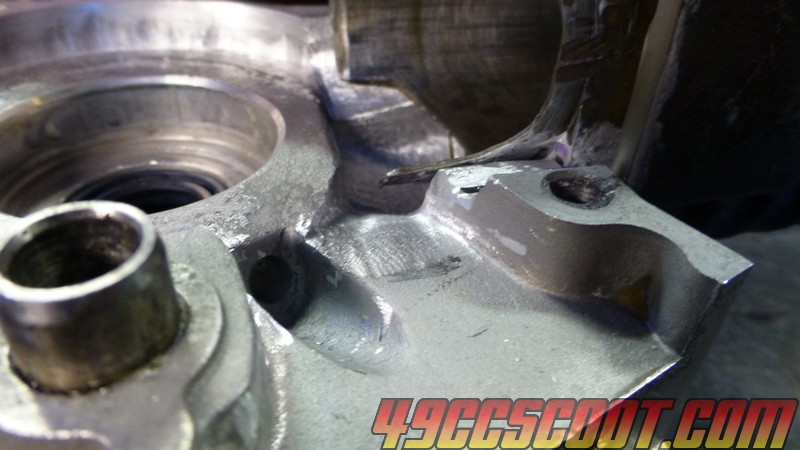
Later on, 190mech answered my question about sealing broken-through stud passages. If you wish to cut wide trenches as you can see in his post, you have to cut into the area where the cylinder studs are a bit. This means you would create a potential case leak past the threads. I was told to use Permatex #2 or #3 to seal the studs in these passages. (I have since used Permatex #2 and it sealed.) I went ahead and tried the wider trenches for the first time.
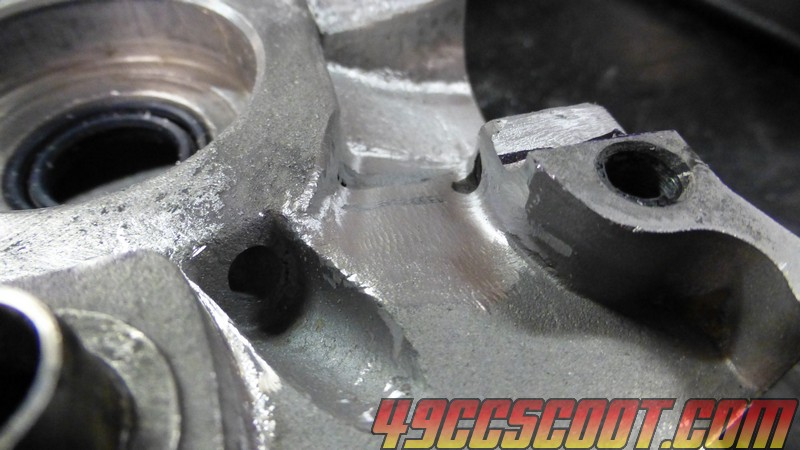
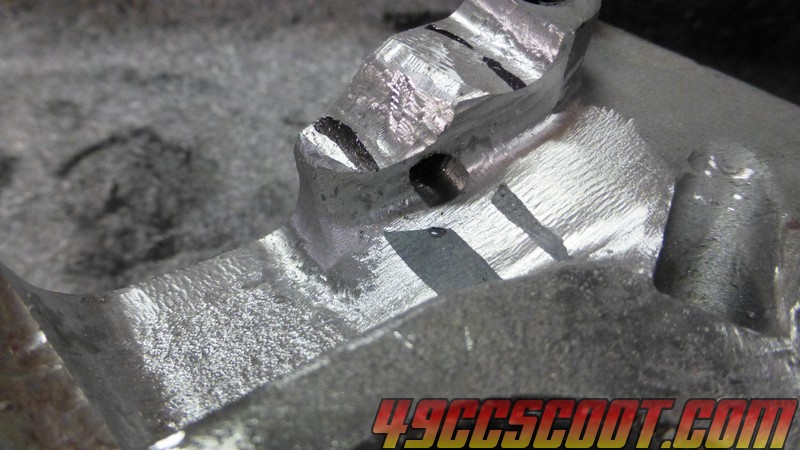
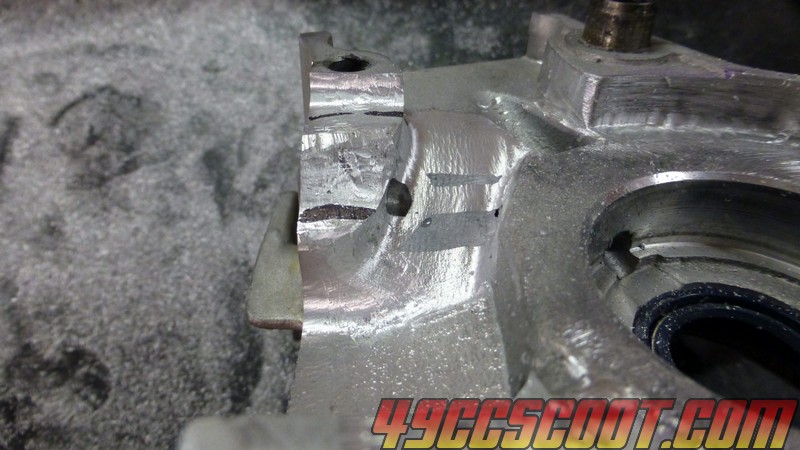
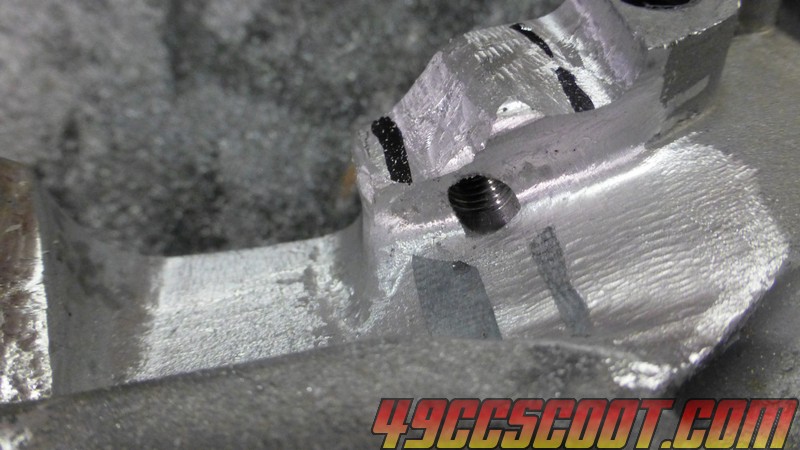

If you've seen the huge tunnels that 190mech cuts in, these probably still don't look that big. I looked at the reed block and I wasn't so sure there would be much benefit going farther with how the block sits. Perhaps with a spacer under the reed block to aim it at the transfers better it would do more?
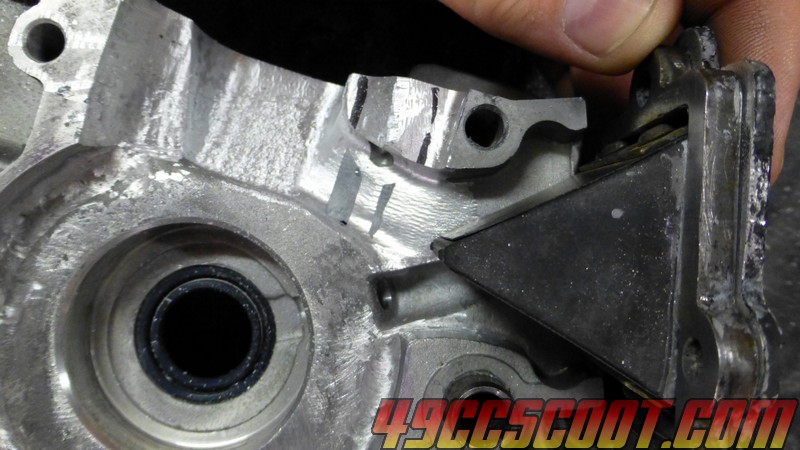
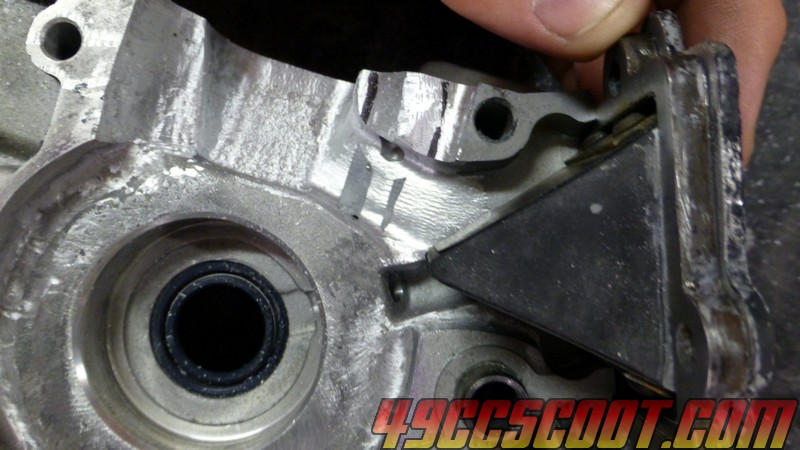
I also checked and the stud comes through the hole, so cutting farther may not be great for that reason either. Pics of that soon enough.
You can see here that I had a bit of a bubble or air gap in this spot where I filled the cases. That will need to be filled.
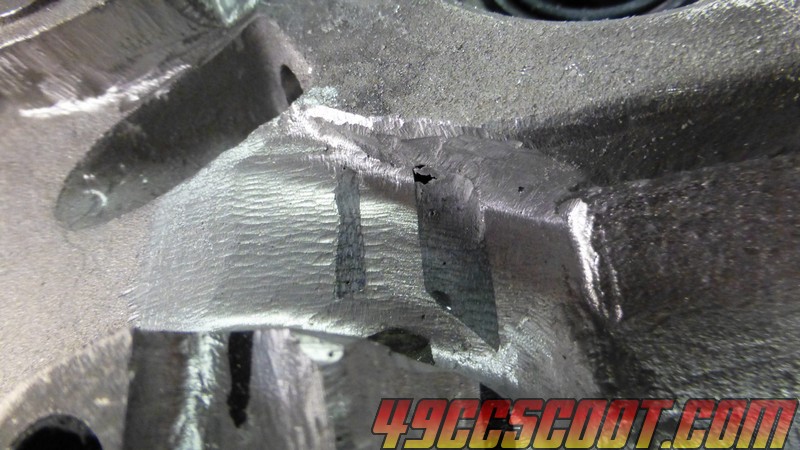
Next, I moved back to the large case half to enlarge the trench.
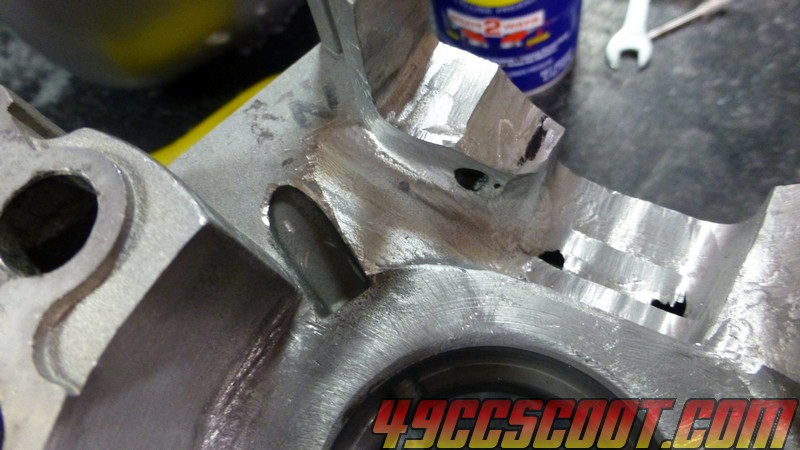
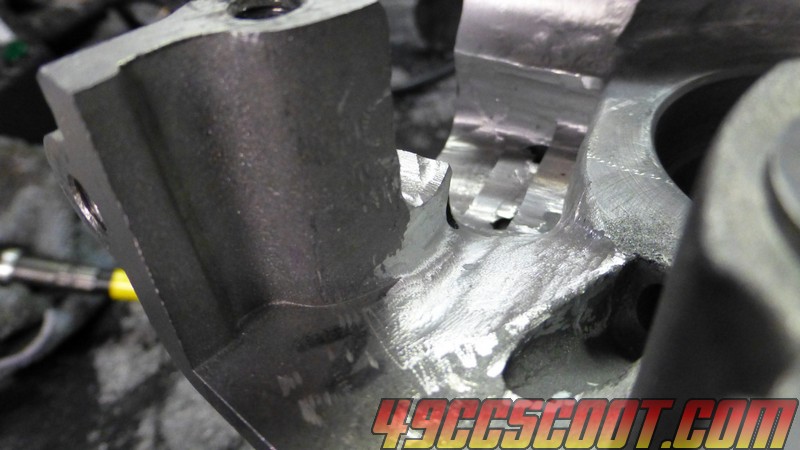
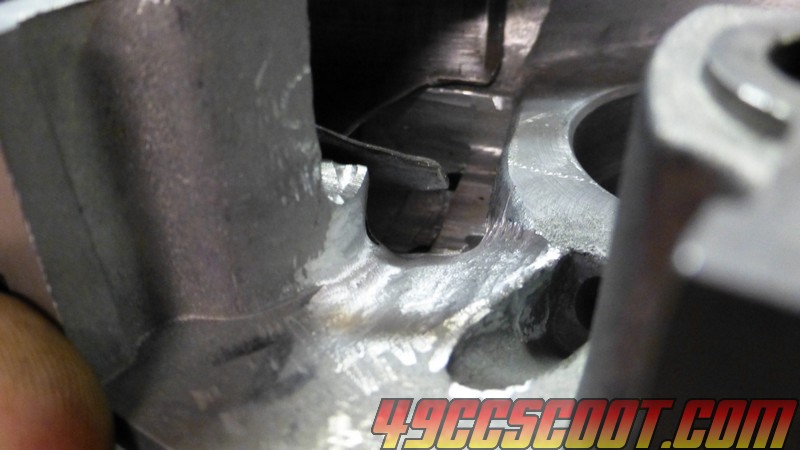
Then I applied a little JB Weld to the pinhole in the small case half. I started looking at the cylinder stud hole and thinking about filling it partially so it wouldn't create any sort of turbulence or dead area. As it is, the stud comes out through the opening though, so without cutting it down or stopping it from getting that far it would want to push the patch out anyway and the stud itself is not smooth with the trench. I don't really think it would make enough difference to be worth the effort, and on top of that I don't have an M7x1.0 tap or chase so I'd rather not work that close to the threads with JB.
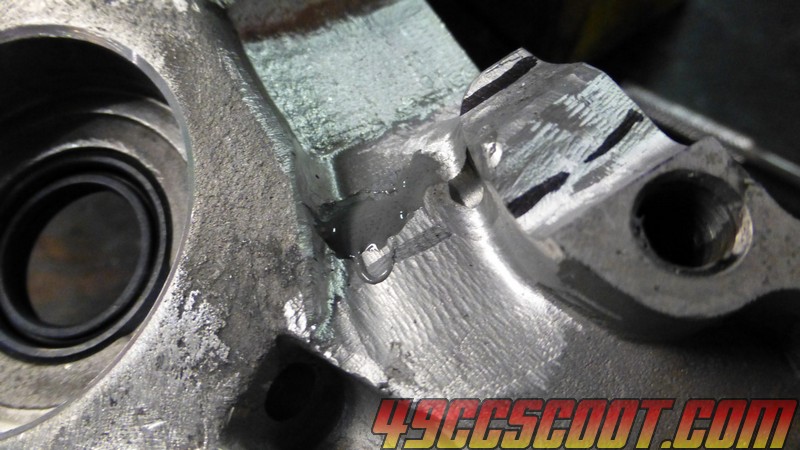
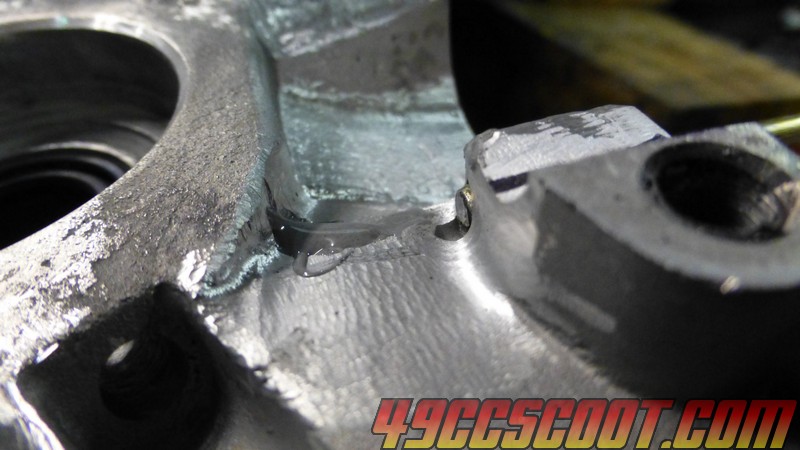
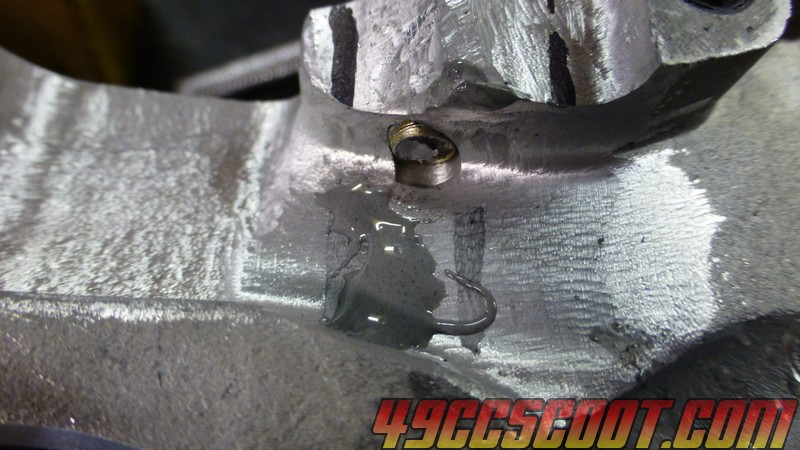
After the JB Weld cured, the area was sanded down. Repeat if you don't fix the holes the first time, and try to push the filler into the hole. Make sure the cases are sitting so filler will run into the area.
Later I rounded off the corners that lead into the boost port area on each case half as well.
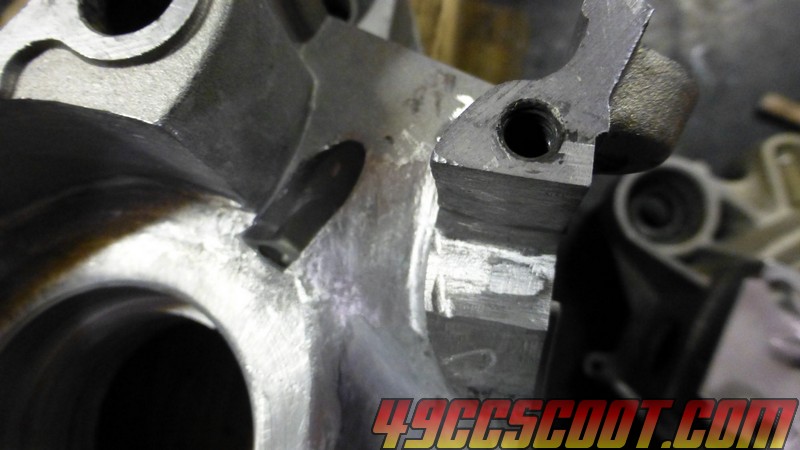
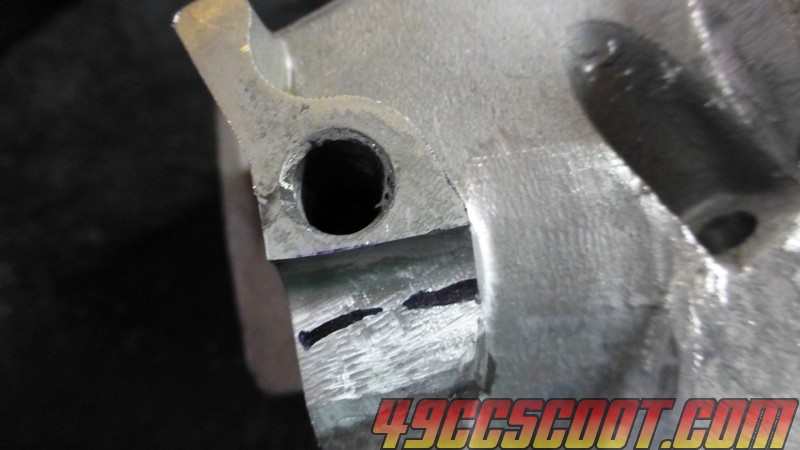
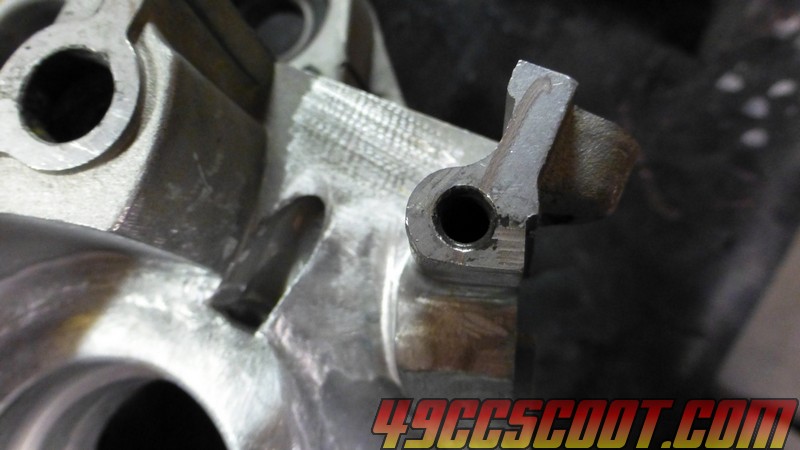
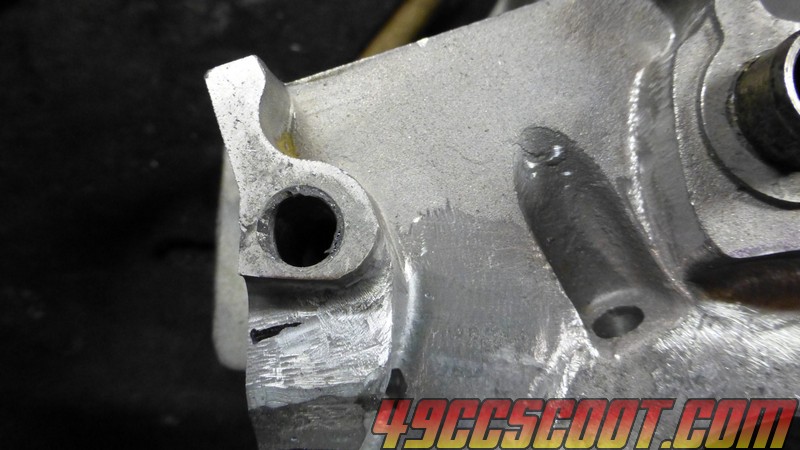
I may smooth some of it out a little, but basically the case stuff should be done.