|
|
Post by katastroff on May 30, 2015 20:56:51 GMT -5
Thx Otto  |
|
|
|
Post by Fox on May 30, 2015 21:36:43 GMT -5
I really like it a lot. I'm sorry if you mentioned it before but is the gauge on the tank functional? I was looking at your last pics and trying to think of a cool solution to the floor space issue and I started thinking that maybe you could remove the two metal foot plates, then fill the center space in with a piece of sheet metal that has a raised "tunnel" if you will to span the two sections and then you could cover the entire floor over that with some sort or rubber mat type material cut to fit and then reinstall the metal foot plates on top so it stays put real good. This picture of a pre-made mat for a car with a hump in the center gave me the idea.  |
|
|
|
Post by katastroff on May 30, 2015 21:42:42 GMT -5
I really like it a lot. I'm sorry if you mentioned it before but is the gauge on the tank functional? I was looking at your last pics and trying to think of a cool solution to the floor space issue and I started thinking that maybe you could remove the two metal foot plates, then fill the center space in with a piece of sheet metal that have a raised "tunnel" if you will to span the two sections and then you could cover the entire floor over that with some sort or rubber mat type material cut to fit and then reinstall the metal foot plates on top so it stays put real good. This picture of a pre-made mat for a car with a hump in the center gave me the idea.  I could kiss you!!! ... But i settle for a big thank you!!!!  I still have some of tha metal sheet i used to block off the ports in my ashtray project. The gauge on the tank is a speedo meter, and yes its functioning rather truly. |
|
|
|
Post by Fox on May 30, 2015 21:59:00 GMT -5
Well it's just one idea but you're welcome to it.
I am a little concerned about you having only the one strap on that muffler. Keep an eye on the weld on the flange where the header and muffler meet. Lot of force when you hit a good bump at 45-50 and you have a lot off muffler hanging out there unsupported.
|
|
|
|
Post by katastroff on Jun 1, 2015 19:01:57 GMT -5
Took it out for a spin after lunch. The carb was definitively too lean. I poened it up and found this new gizmo thing for the needle. There is no circlip to set the needle, its small washers. It felt a bit gimmicky in a chineese way at first, but after looking at it more, you can tune your needle way more accurately. I'll post pictures tomorrow. Saturday when i rode it, it was on the lean side with a hot and humid 32c. Today it feels like its gonna snow. We got a nice 13c this afternoon so the scoot was sputtering and back firing and had no power. opened up the carb, it had a 109 jet in it. So i took out my jets and the biggest i had was 125. Raised the nedle 1 ring  and went out. It ran good but the cold weather still made it feel a bit on the lean side. Summer will fix this. Checked on the CVT, and i think the strap it too long. I got play in it, so i'm gonna have to found a shorter one. Sadly on the 858 photos on my phone i got none of the belt so i'm not sure about the size. |
|
|
|
Post by Fox on Jun 1, 2015 23:49:18 GMT -5
You got a free flow UNI style pod on there right? If so you can partially wrap it with duct tape to restrict it a little bit and richen up the mix. Those long case engines will run two sizes. 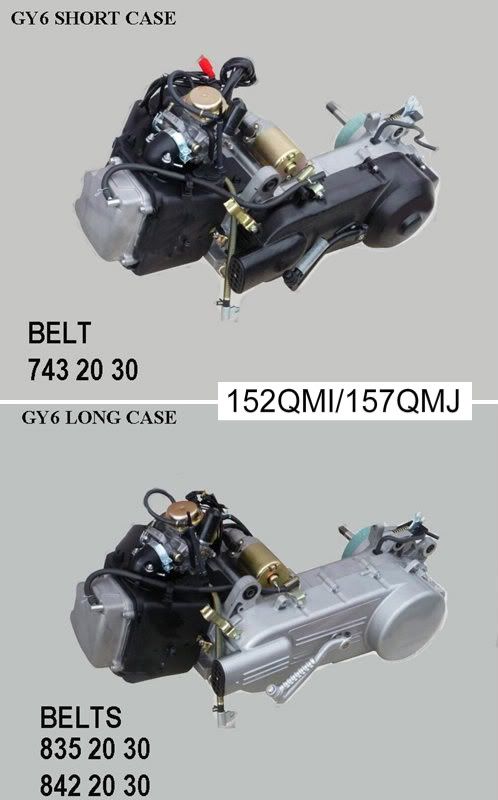 |
|
|
|
Post by katastroff on Jun 2, 2015 5:20:36 GMT -5
Thx Fox, i'll check the belt this morning. Need to go in the garage anyway to take pictures of that carb stuff.
|
|
|
|
Post by katastroff on Jun 9, 2015 21:13:53 GMT -5
Ok,Worked on the seat, but im not to pleased with it so it gets bump down in the "to do" list. I might try and make a cover for it with that wannabe leather i got from the seat of the donor scoot. As it is right now, its confy but ugly. Did the floor board. Slapped on a piece of metal sheet on the hole, formed it. Got some rubber mat from work glued it on, sprayed some rubberized paint and screwed in the wannabe checkered plates. 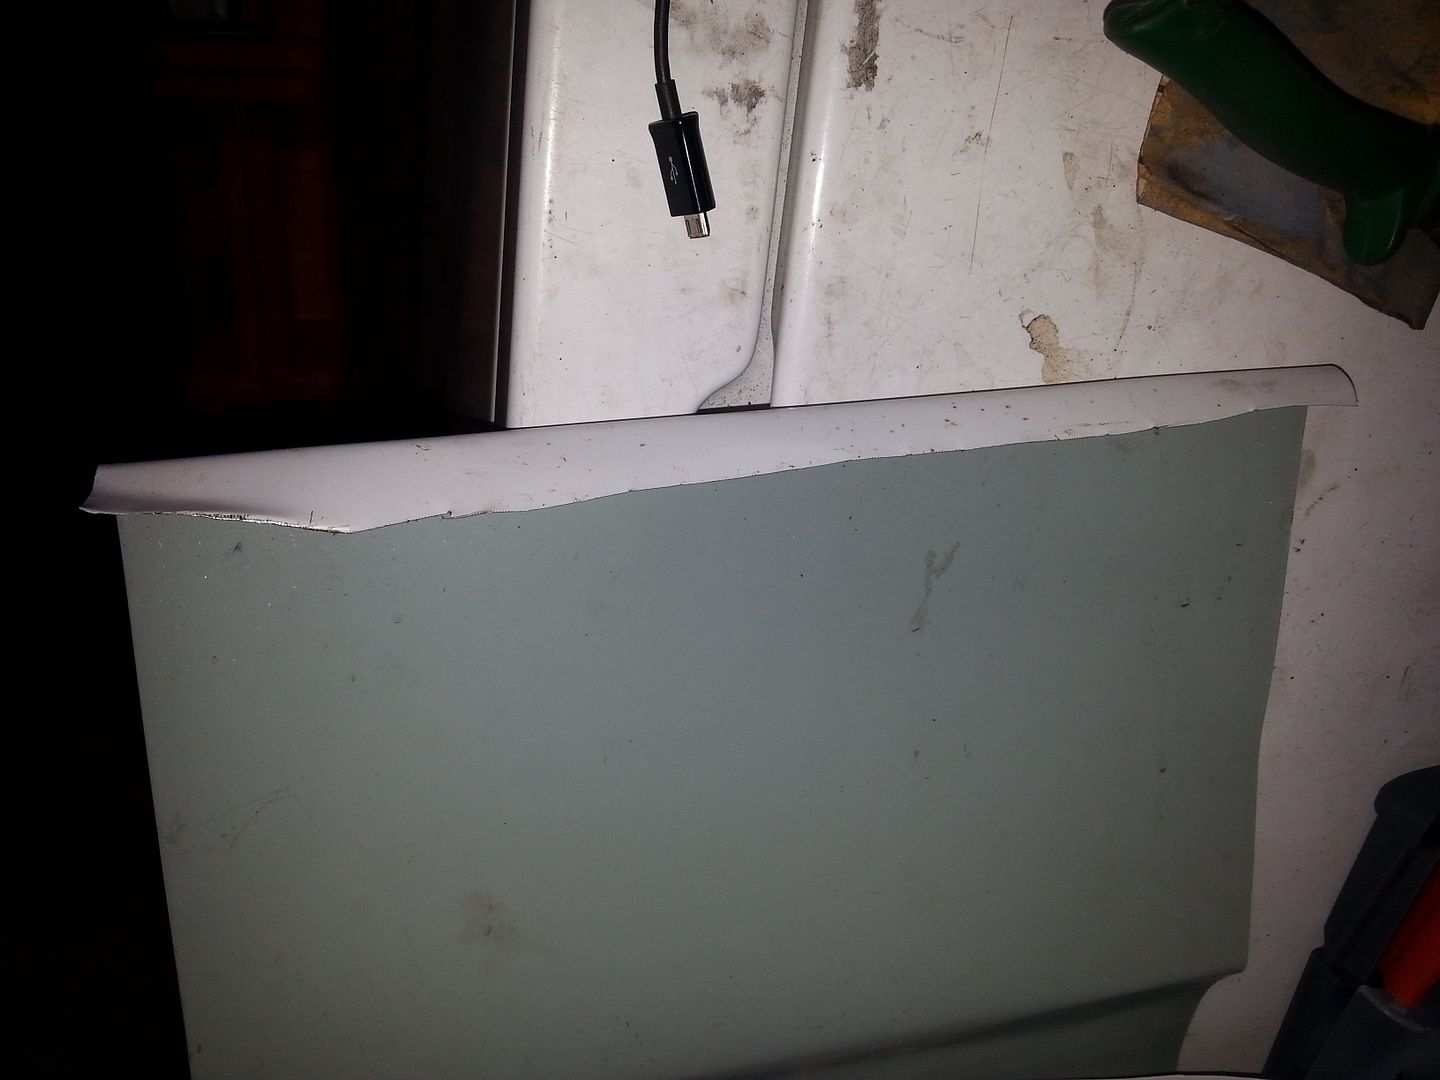 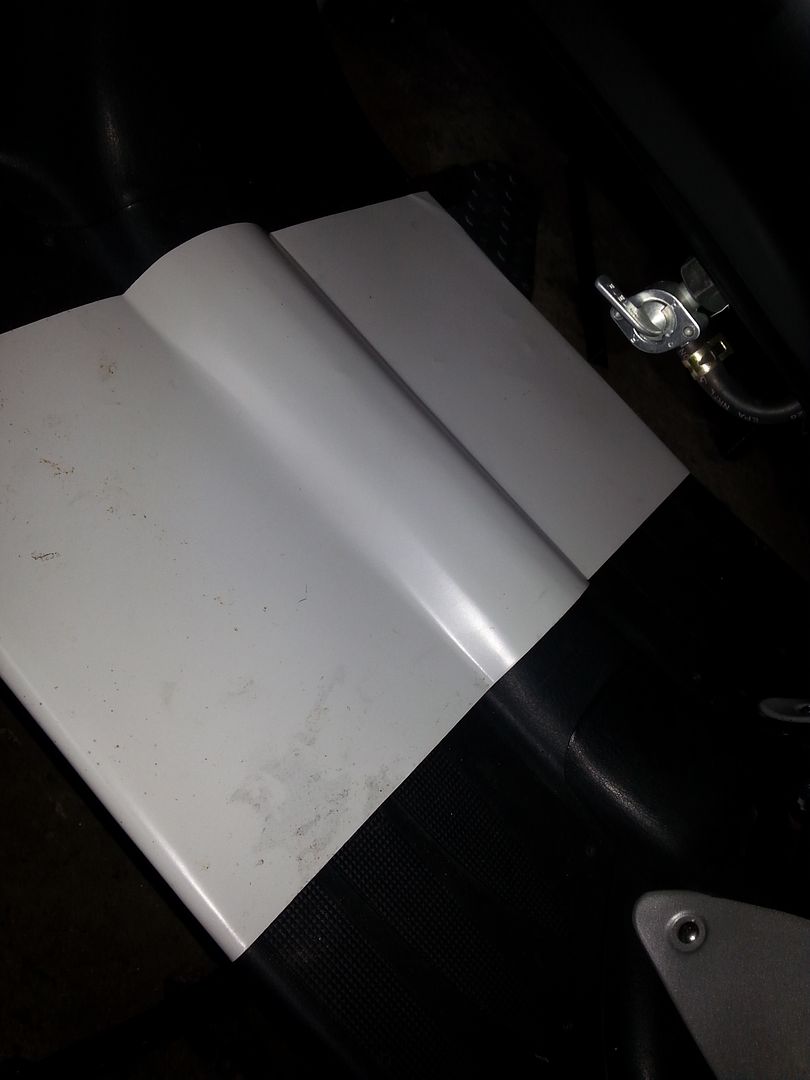 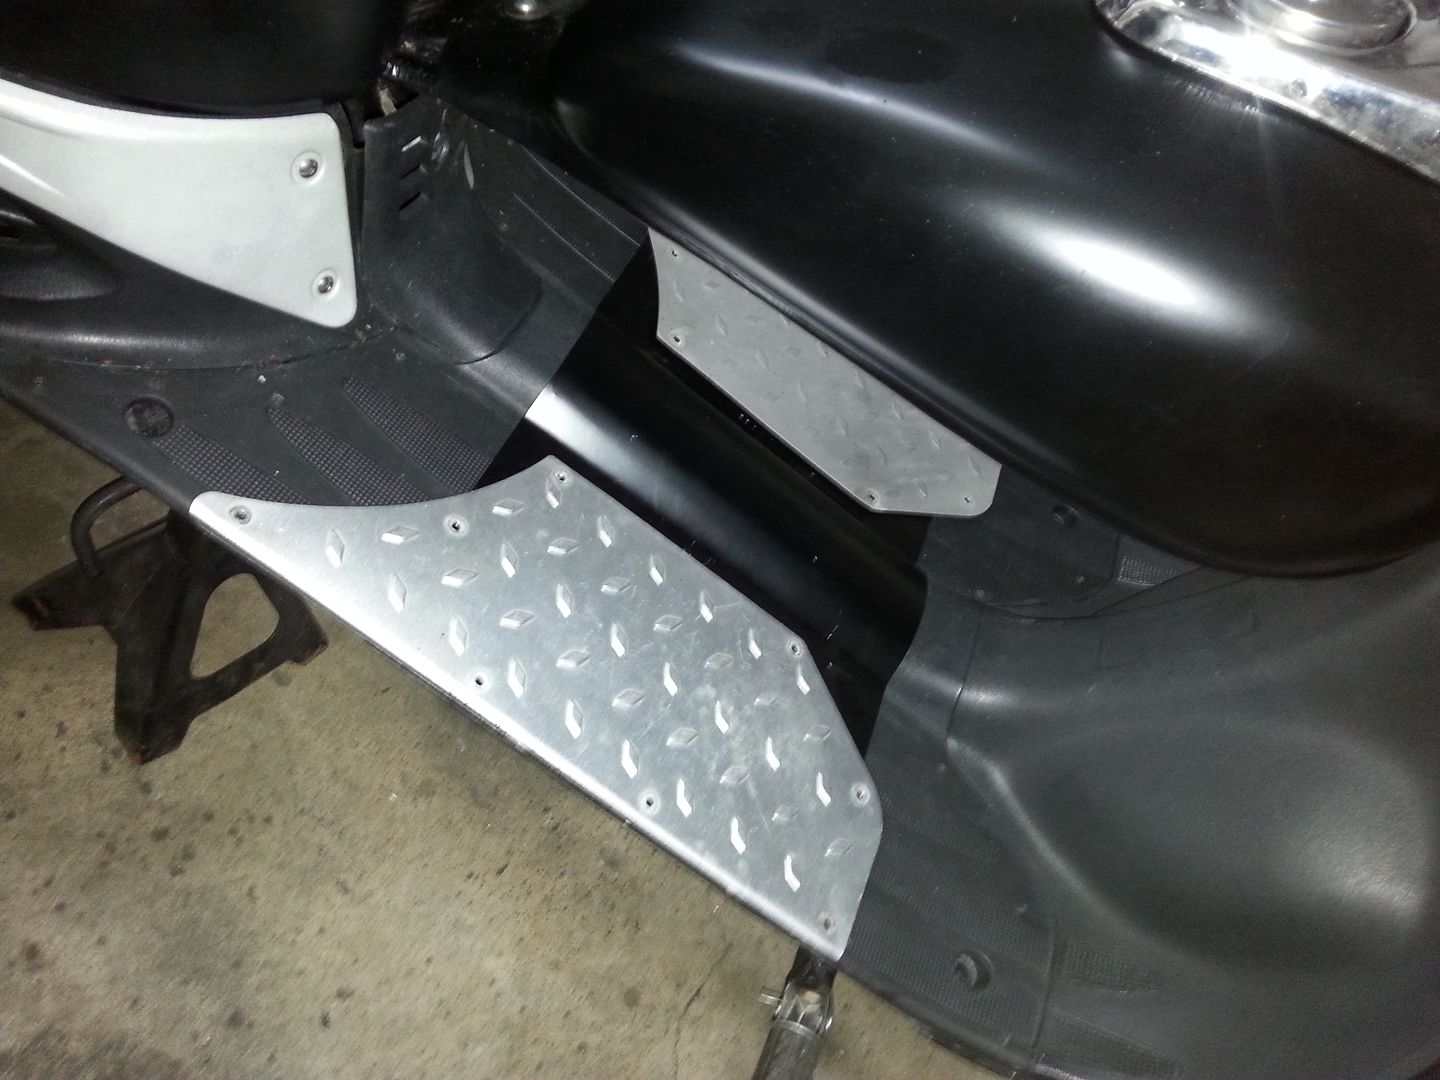 Now for the rubber mat.It was glued on with the spiderman stuff, then soak with the gravel guard. 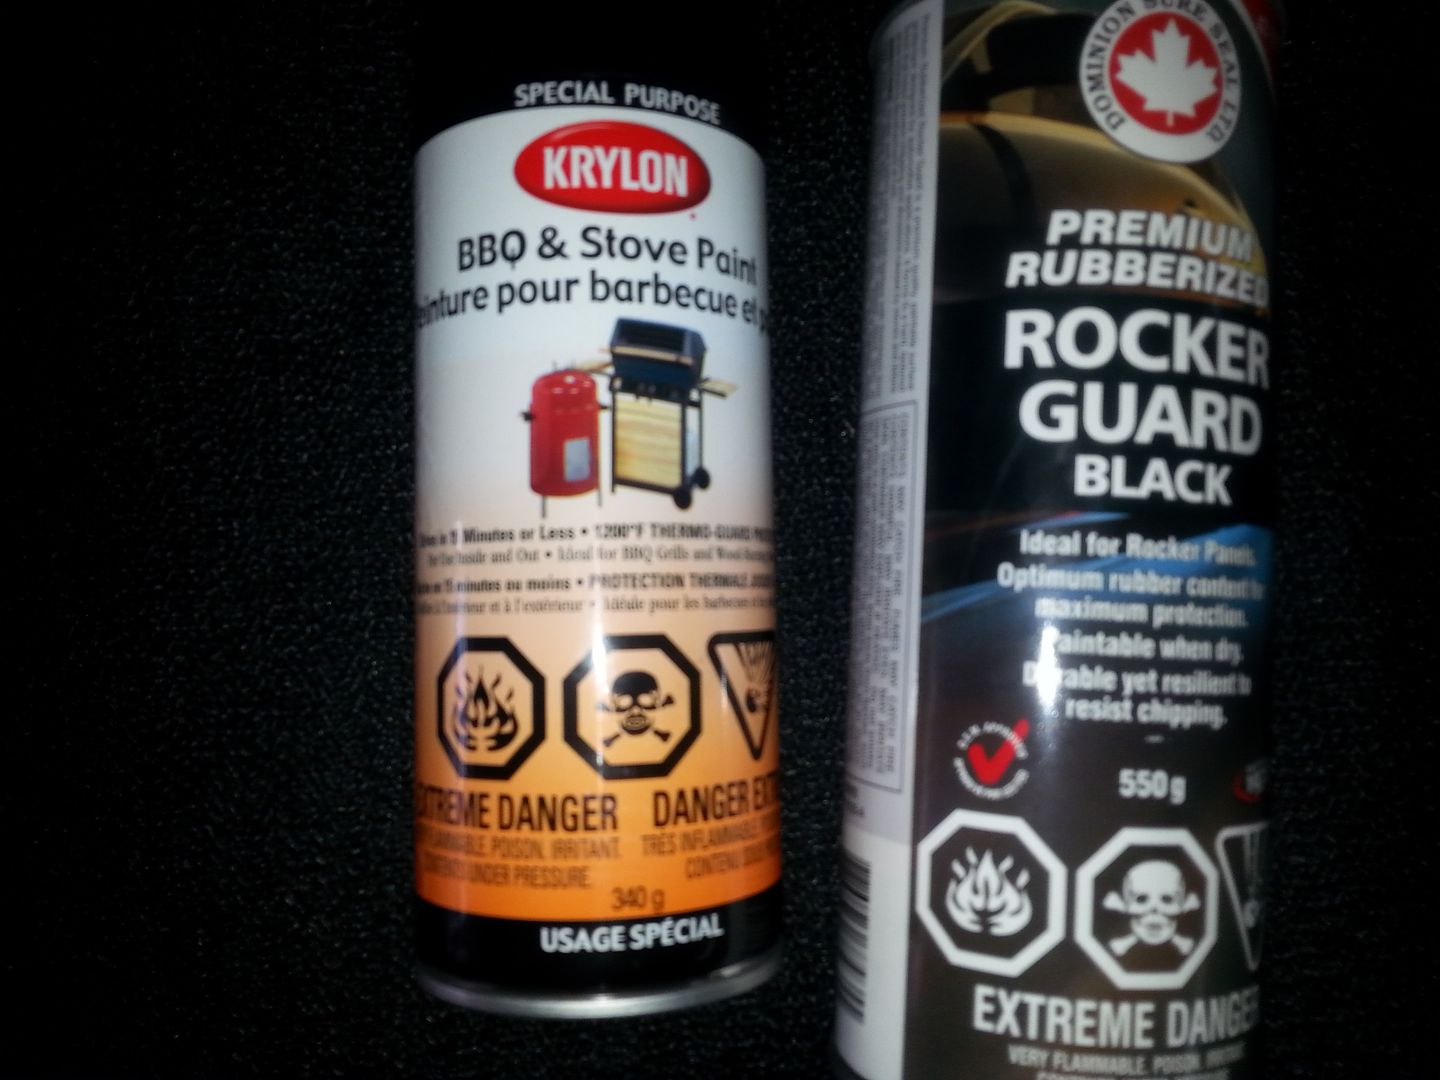  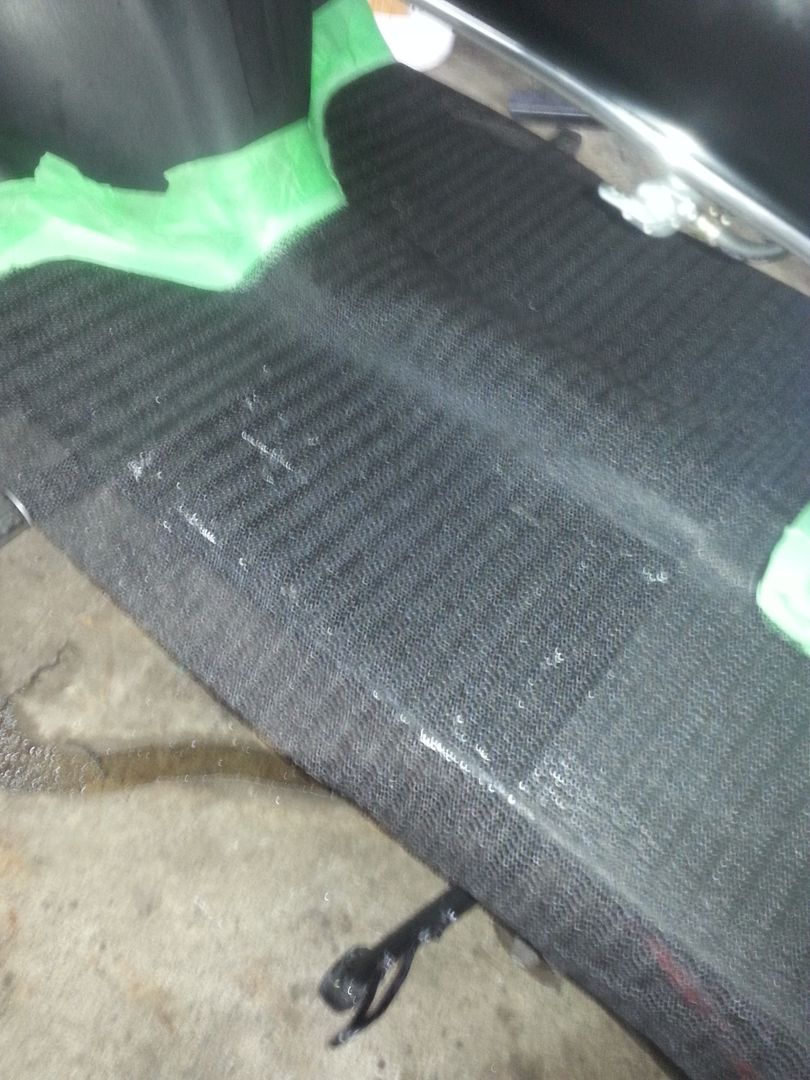 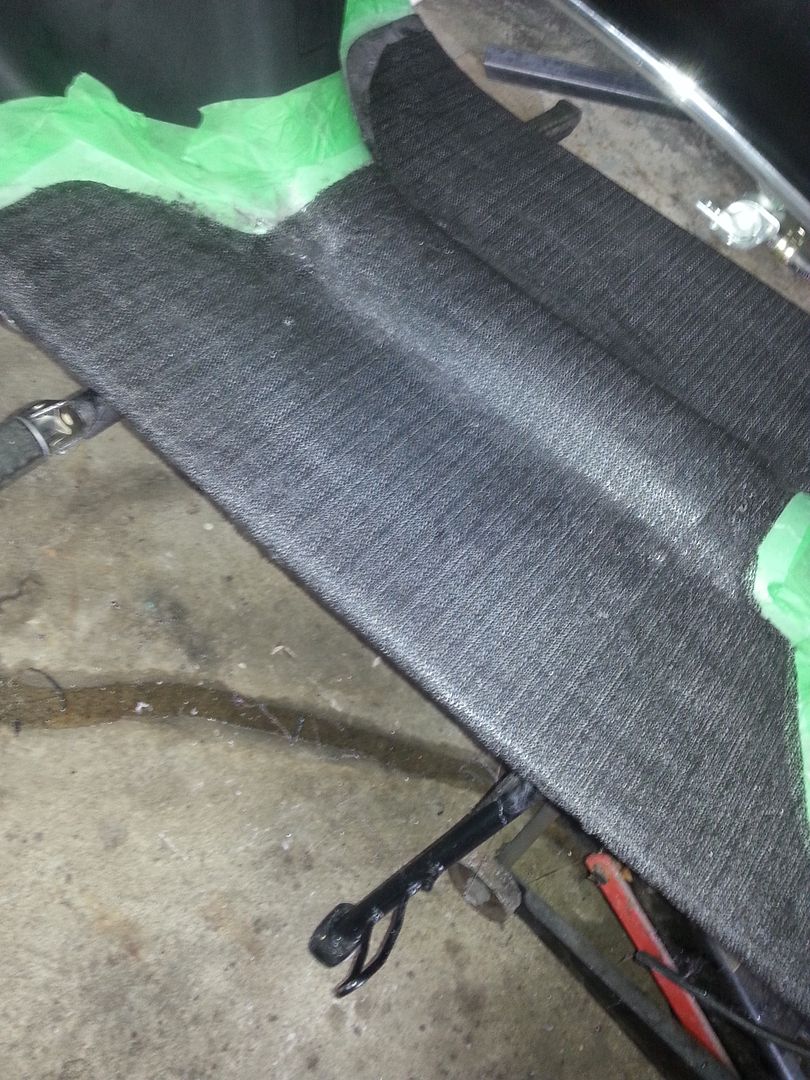 The paint is still a bit wet, but it give a good idea of the look of it. A bit too shinny for my taste but that can be fixed. 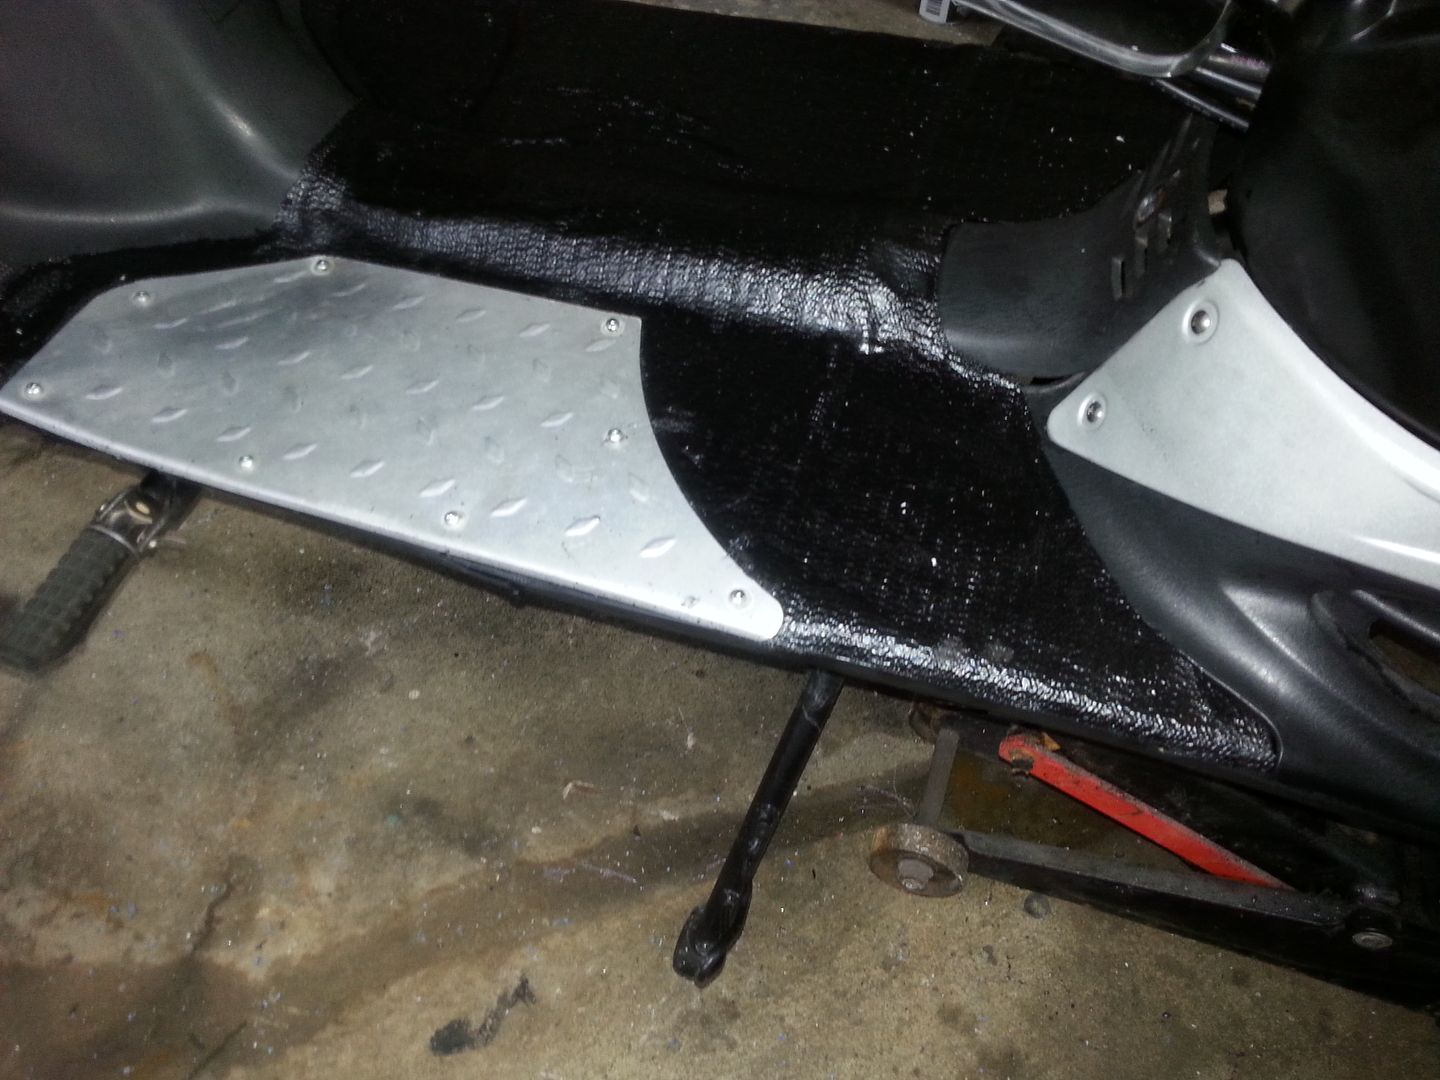 While i was on my knees in tha area, i did the "rocker panels". I used the lid of a plastique bin to stretch them. I got 1 side done, the other gets done tomorrow. it looks better in real then on the picture, but that will go on a "to do" list for next winter. Both sifde will get a nice layer of fiber glass, all smooth and flat black. 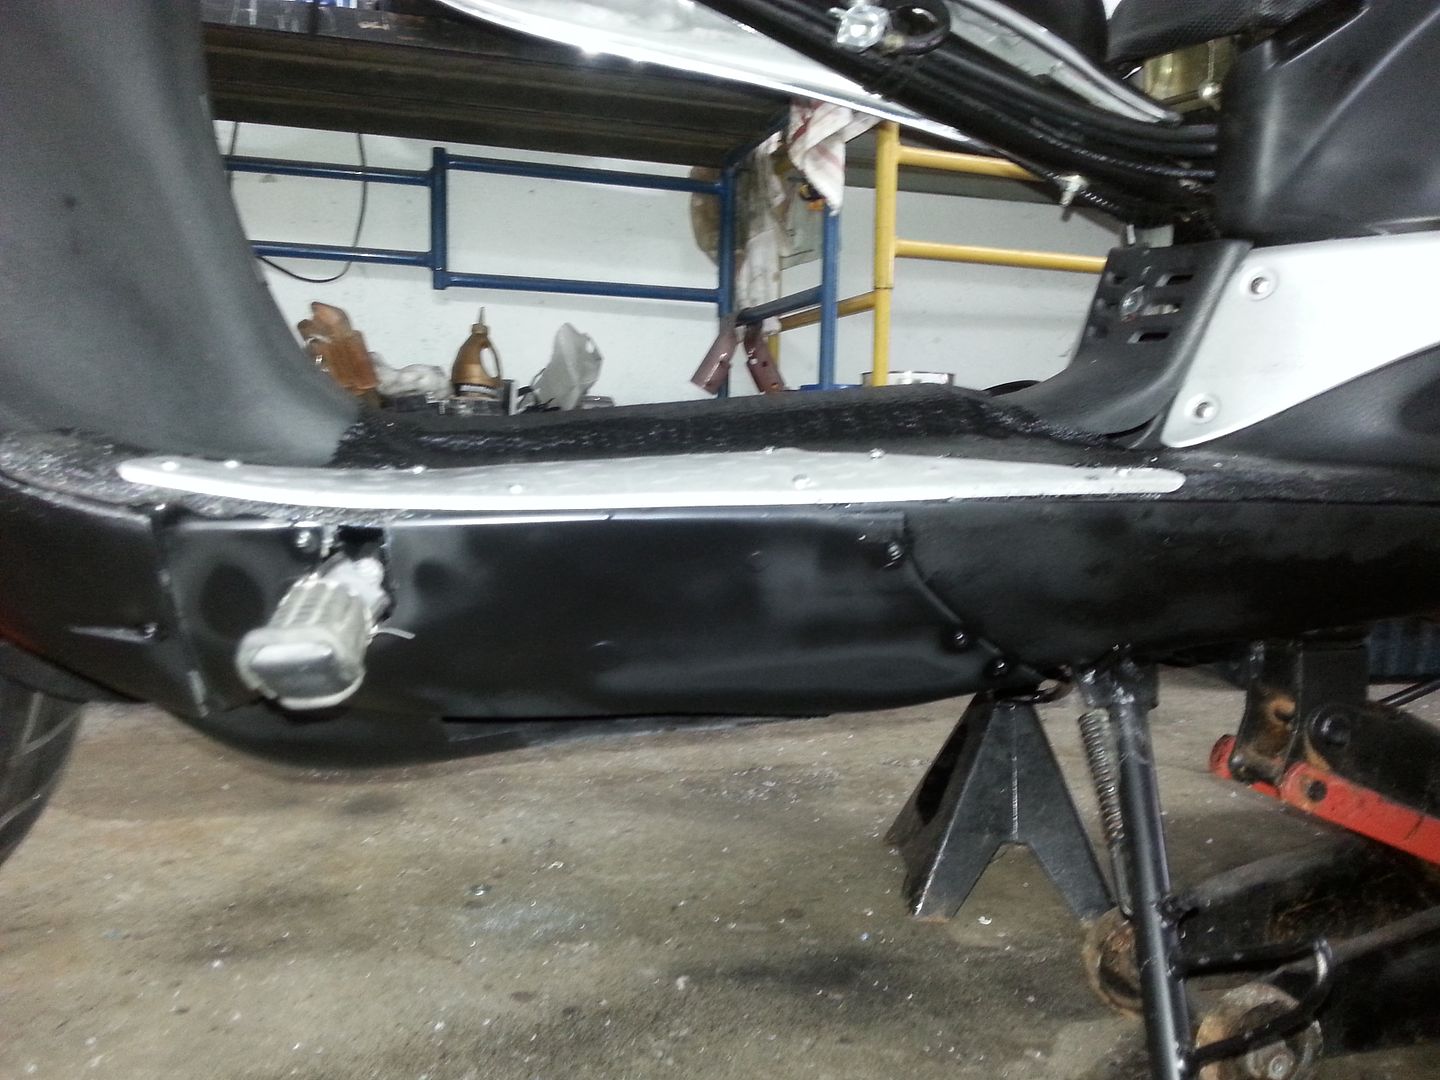 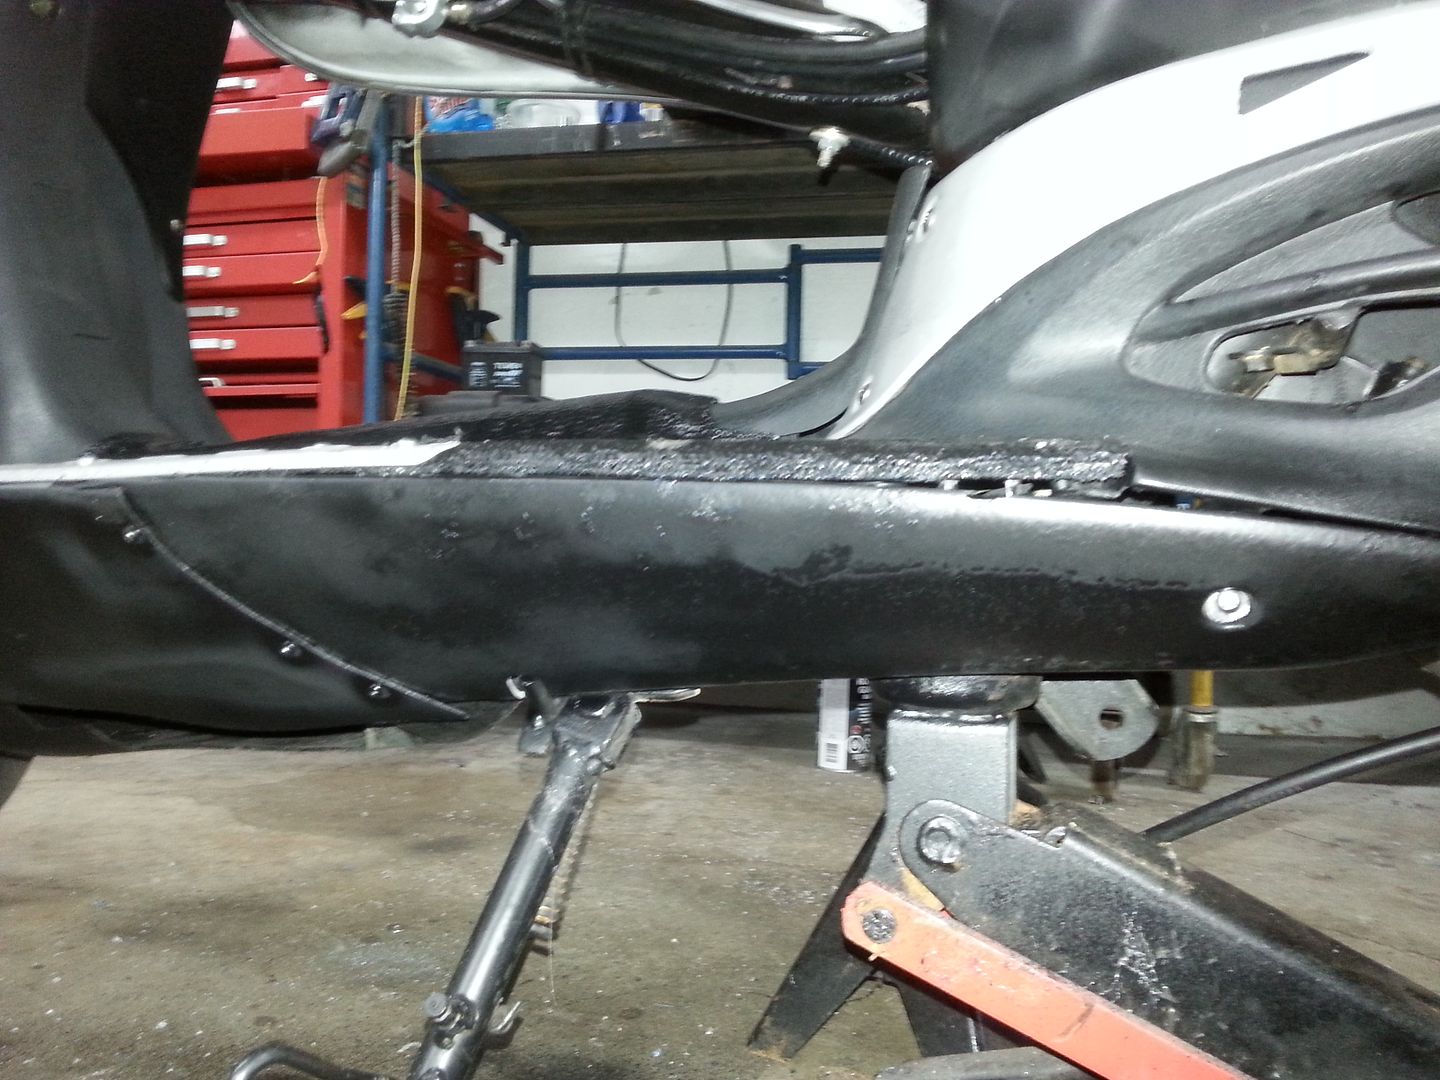 And here is the seat, not as ugly as the floor mat, but a nice cover would do it some good.  Off to bed now, im starting to feel my age.  |
|
|
|
Post by Fox on Jun 10, 2015 9:22:50 GMT -5
|
|
|
|
Post by katastroff on Jun 10, 2015 12:48:03 GMT -5
Yeah its fugly. But cant know how it will turn out till i actually do it. Working on fixing it right now.  |
|
|
|
Post by katastroff on Jun 10, 2015 20:32:16 GMT -5
|
|
|
|
Post by katastroff on Jun 10, 2015 20:40:17 GMT -5
Received the fiberglass tape today. I had one heck of a time scratching myself.  Its seem to be of a very good quality, but shipping took over a month!!! So i rolled up my header pipe into all of the tape, ended up with 3 layers of it. Took it for a drive and that think smoked like crazy. This is something i never installed before, i was thinking of buying a tube of muffler cement, add a nice layer on the header pipe, then roll it on it. If anyone got any tips or tricks on how its used, feel fre to post. 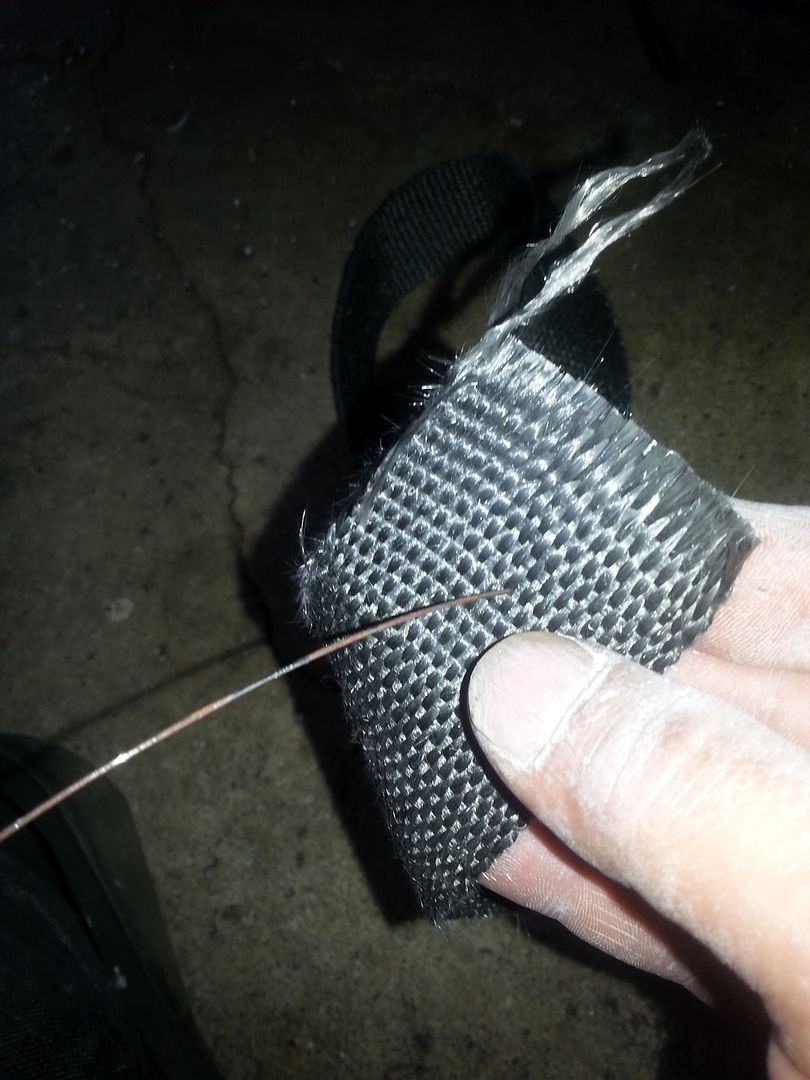 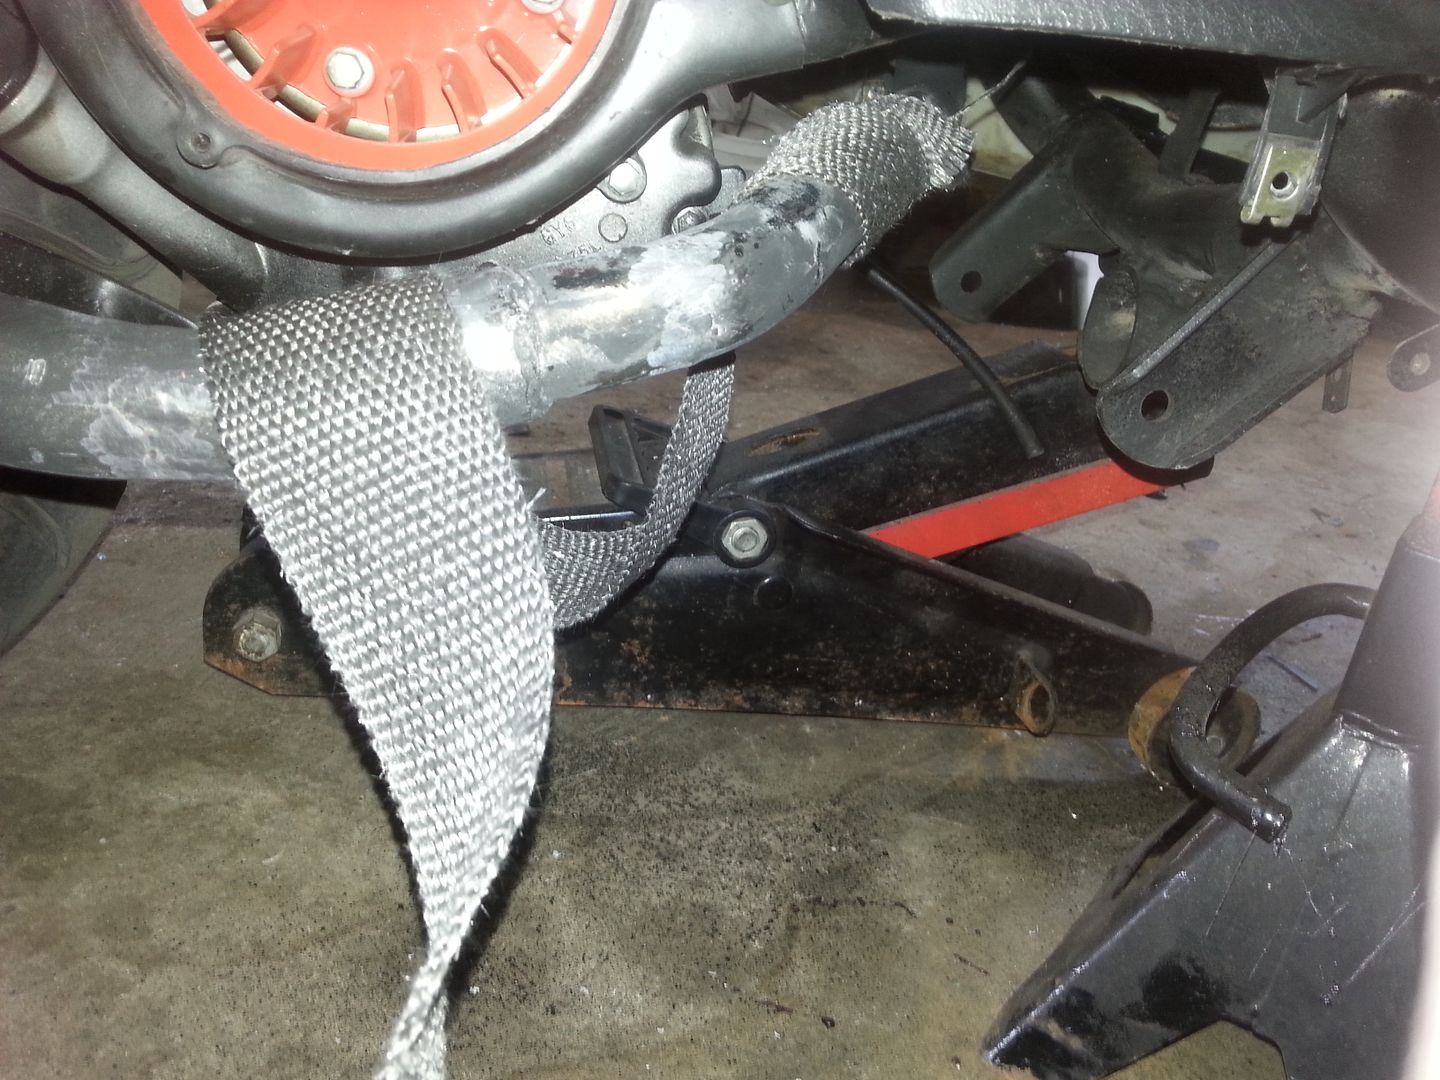 |
|
|
|
Post by katastroff on Jun 10, 2015 20:43:38 GMT -5
I had to make another bracket to hold the pipe. the welding broke on the one i had. 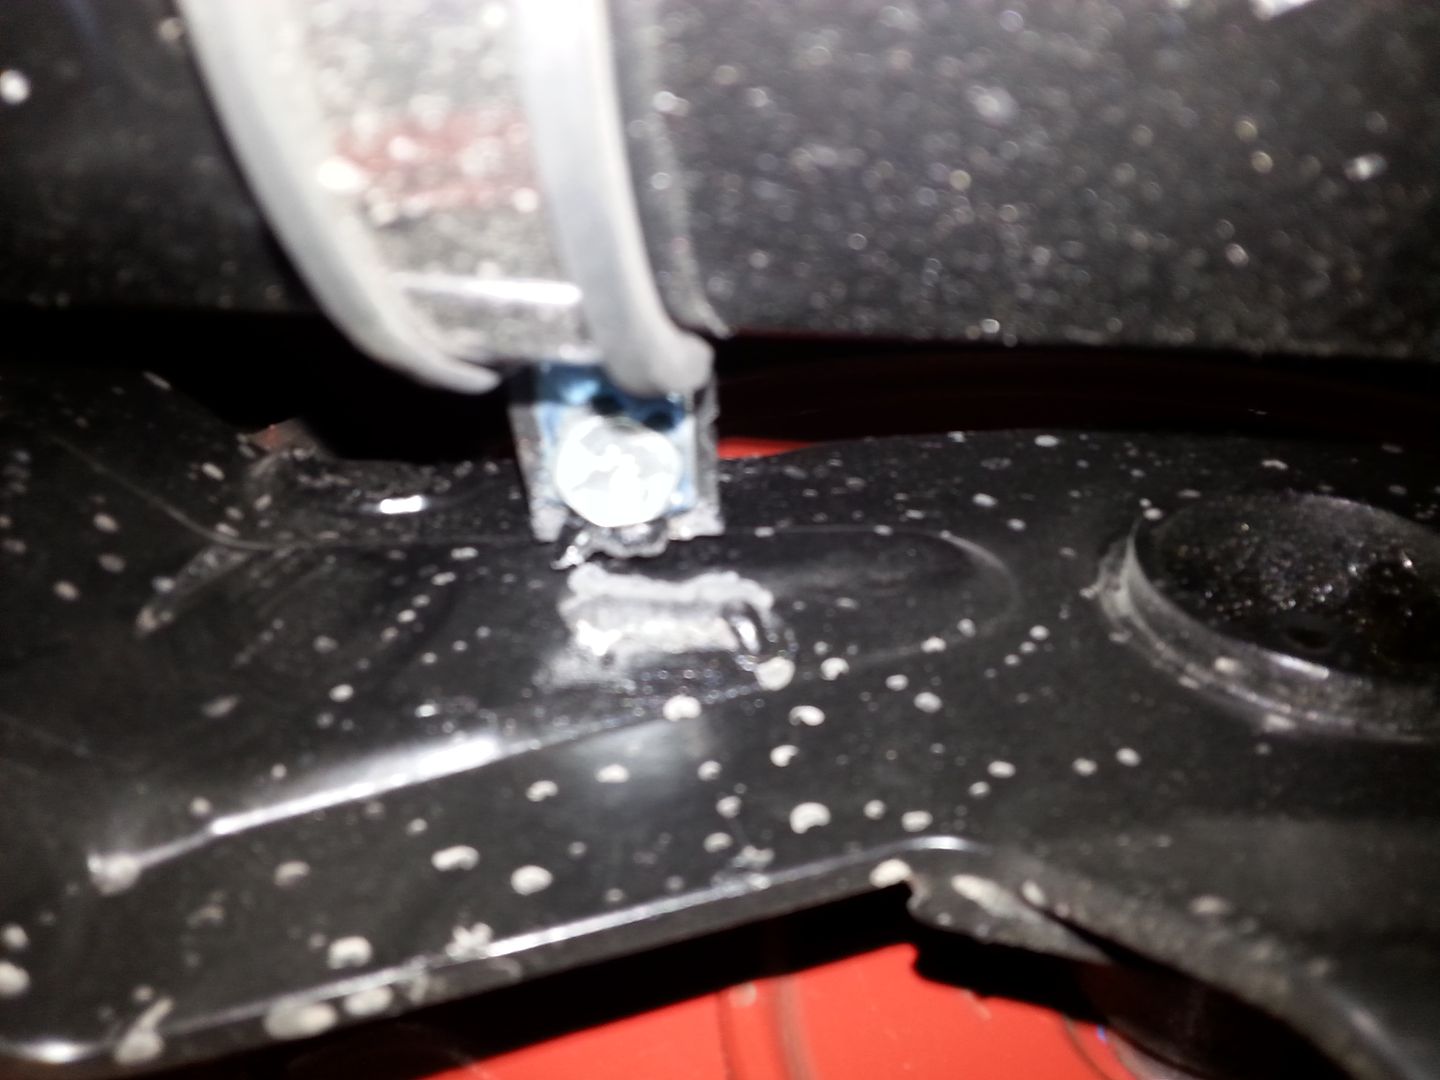 This time, its not going anywhere: 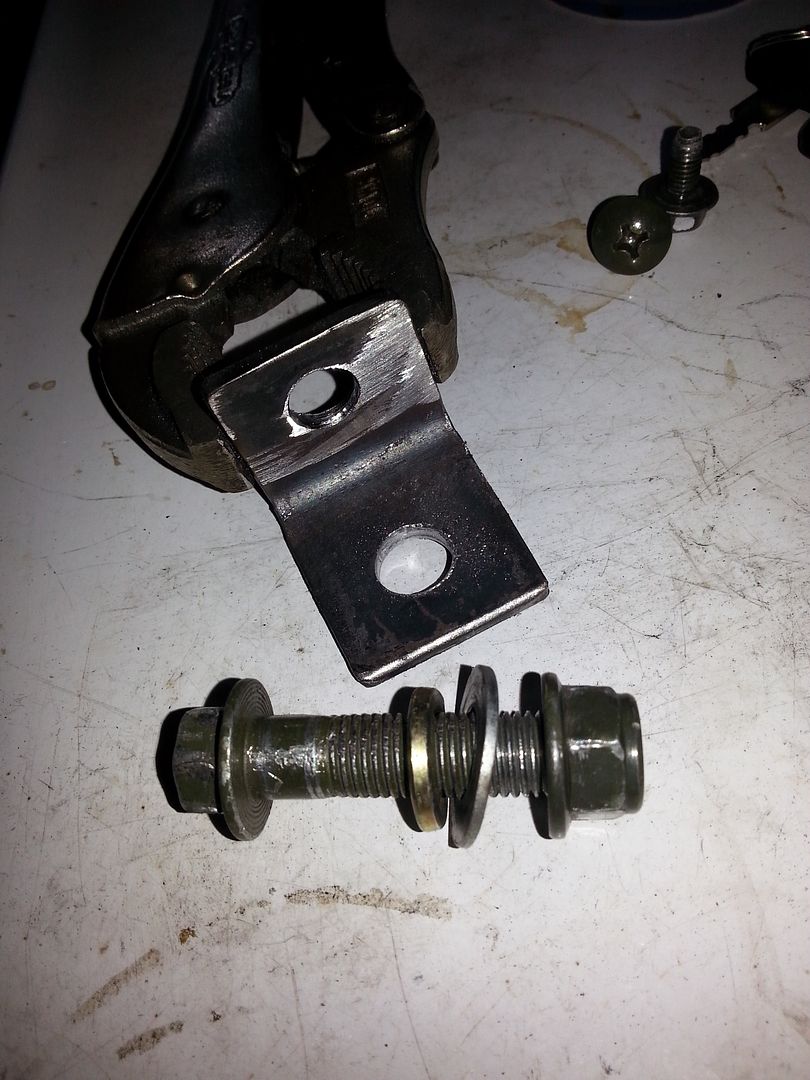 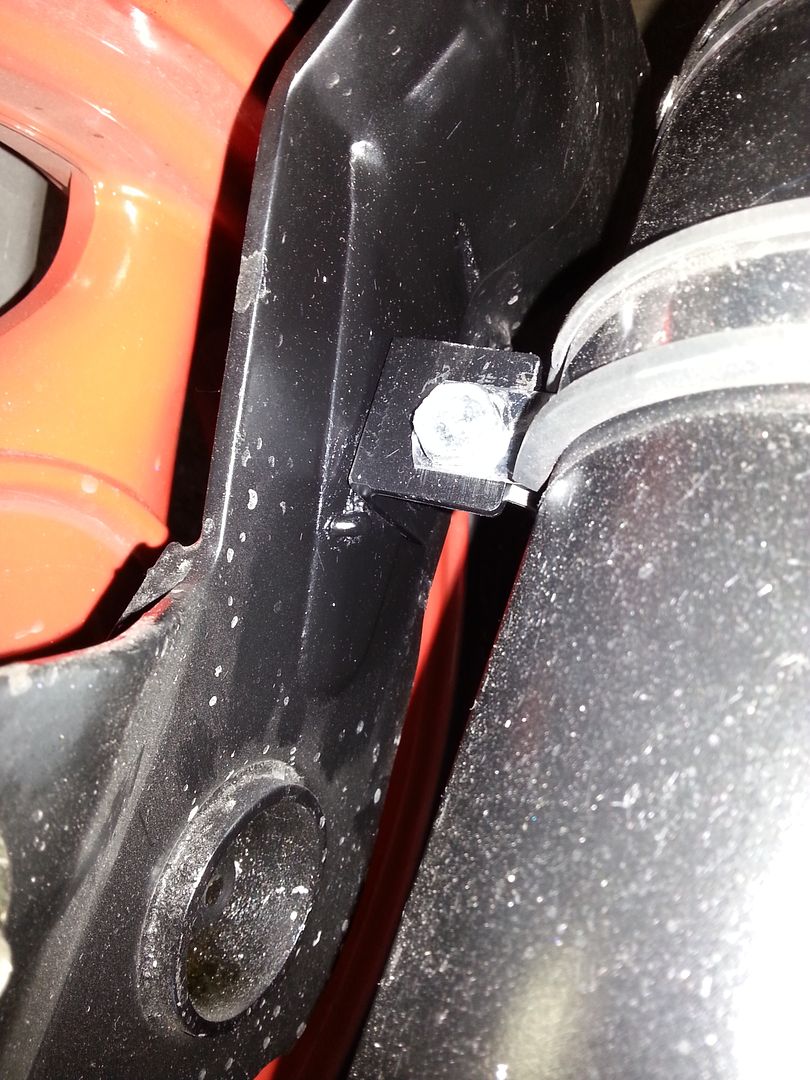 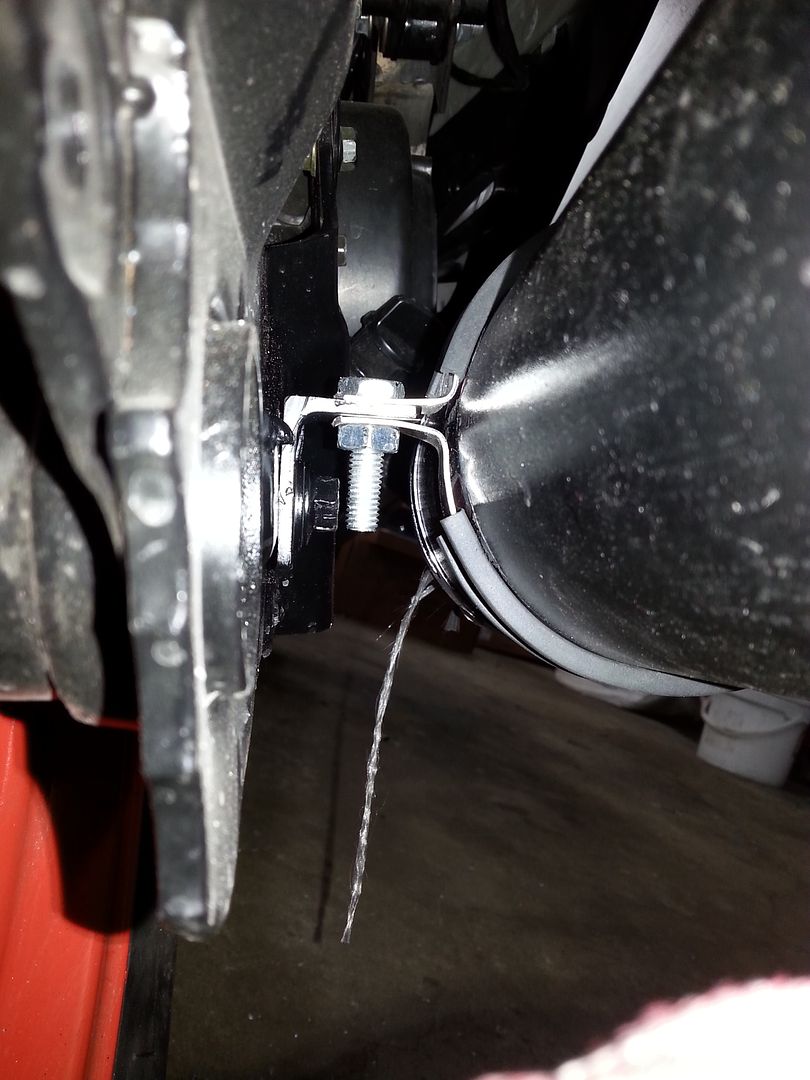 Then i found this: Guess i'll go shopping tomorrow. 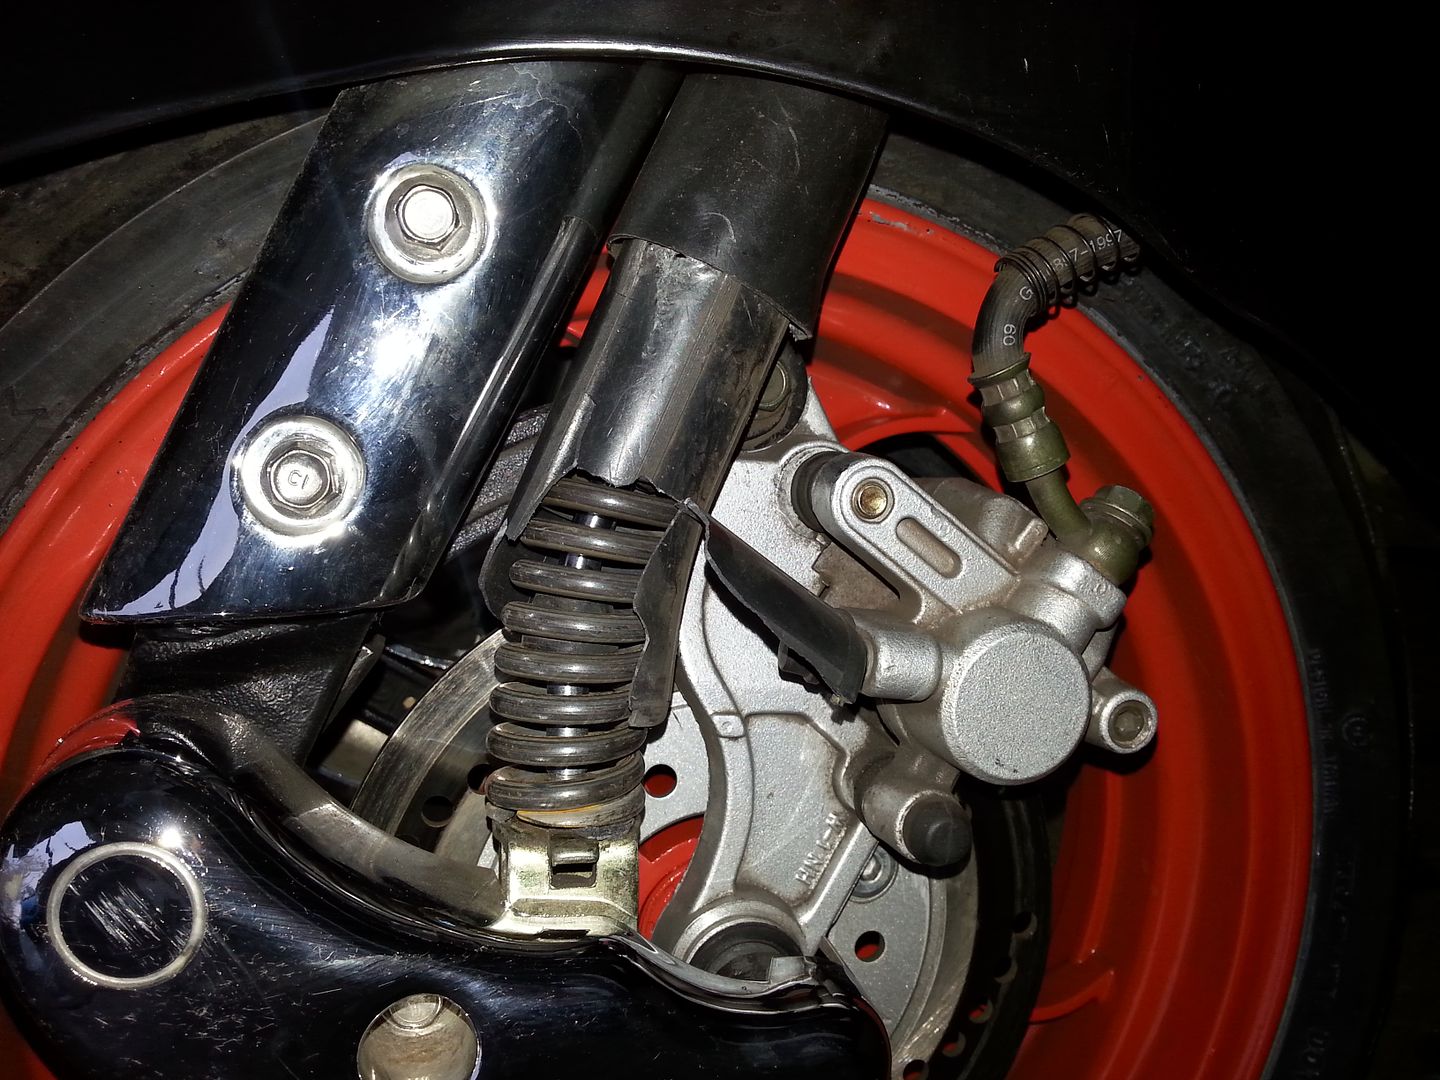 |
|
|
|
Post by scooterpimp on Jun 10, 2015 20:46:27 GMT -5
I usually let header wrap soak in warm water for a while , then stretch very tightly when applying , then ride it dry helps shrink it. Scoot is lookin way cool Katastroff  |
|
|
|
Post by katastroff on Jun 10, 2015 20:50:30 GMT -5
I'll give that a go. Thx!!!!
|
|