Post by 90GTVert on Jan 7, 2011 16:08:26 GMT -5
I'd love to have an overrange variator so I could modify the pulley faces to get the variator to close farther and push the belt out more, while still being able to keep the ramp plate on the guides as well as having room to open the vari wide for the belt to clear at idle. Overrange kits are very expensive though ($300-400), and I'm just not willing or able to put that money out now. Even the variators alone are over $100 from what I've seen. Wishing and dreaming gave me an idea though. I've never seen this done before, so maybe there's a reason, but I think it could work to some degree.
I started out by finding aluminum that would fit the guides in my variator pretty well.
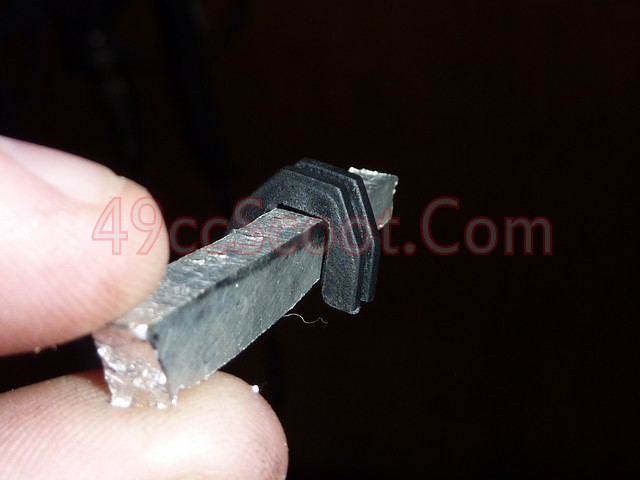
3/16" (thanks to John) fit the bill for my aftermarket vari.
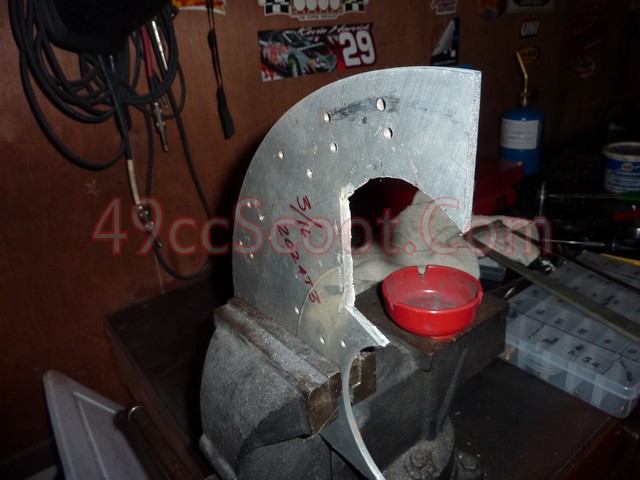
I cut a small chunk of the aluminum and roughed up one side of it with a sharp file so JB weld would hold better hopefully.
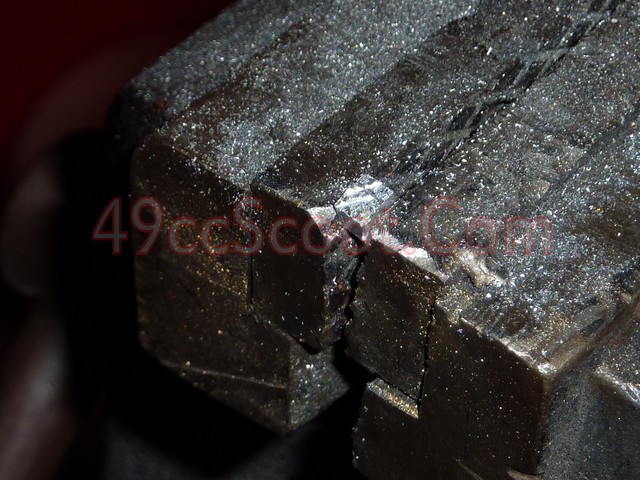
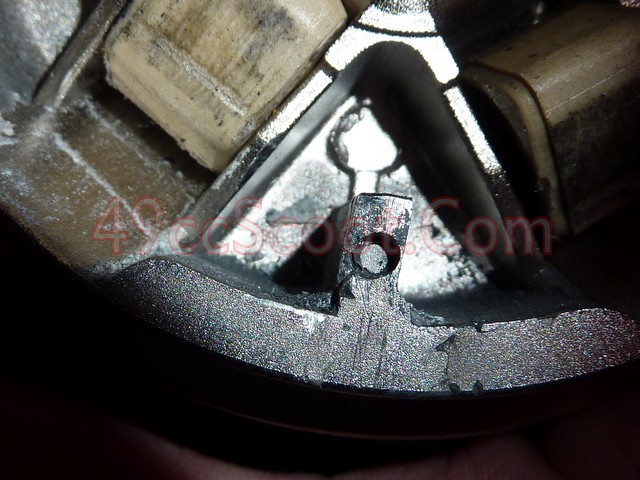
Then I roughed up one of the guides, just the top where the piece would mount.
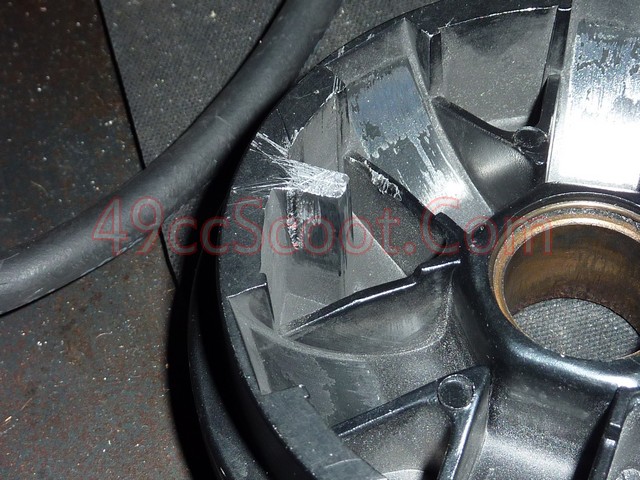
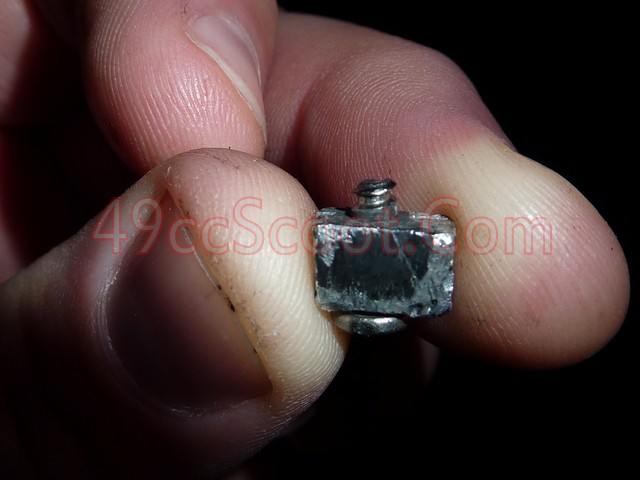
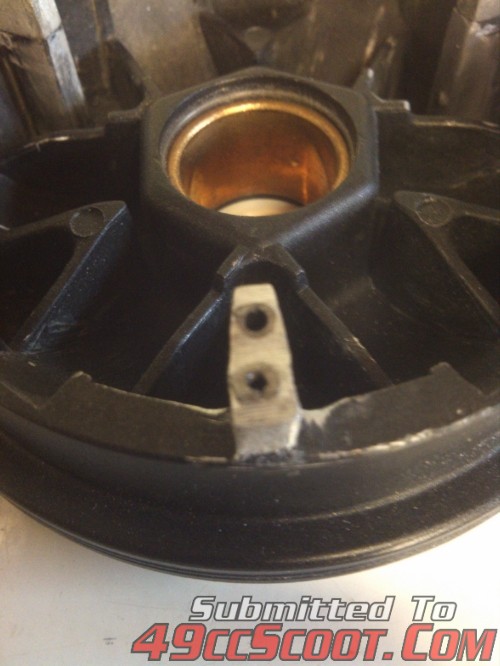
I glued the aluminum chunk to the variator with JB Weld.
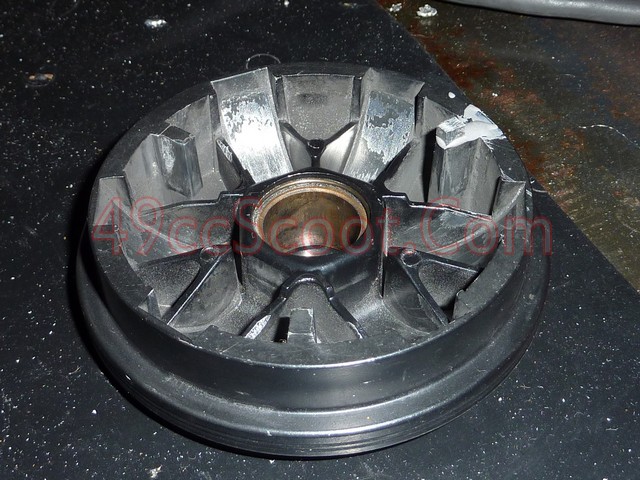
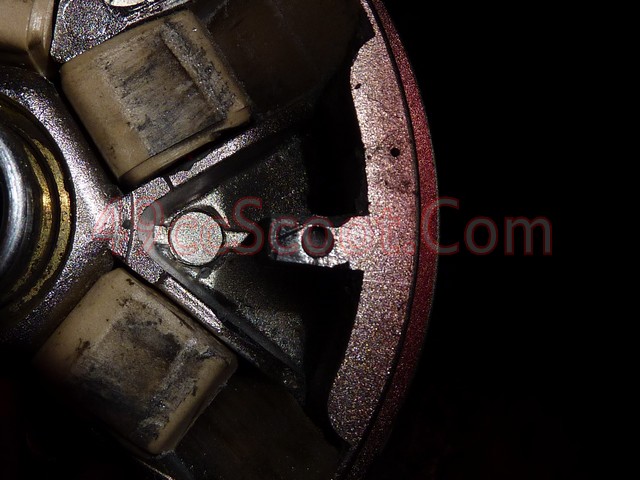
I let that set over about 10hrs. It's cold out now so it really needs longer to cure, but it's pretty strong already. Now I've got a nice extended guide.
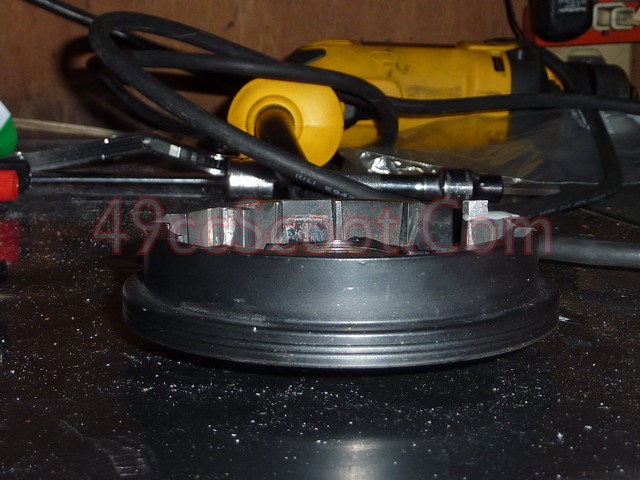
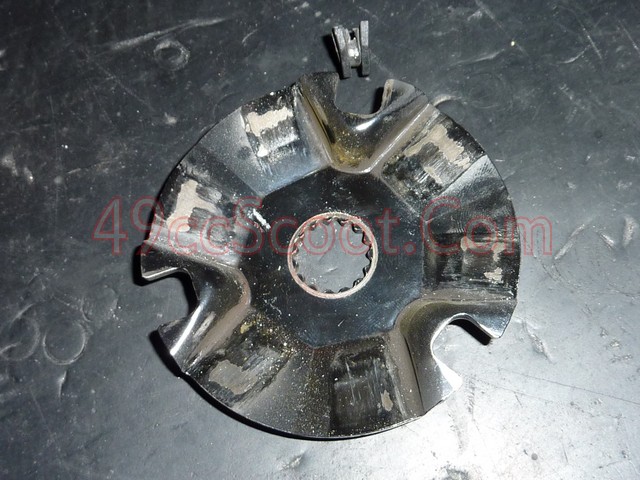
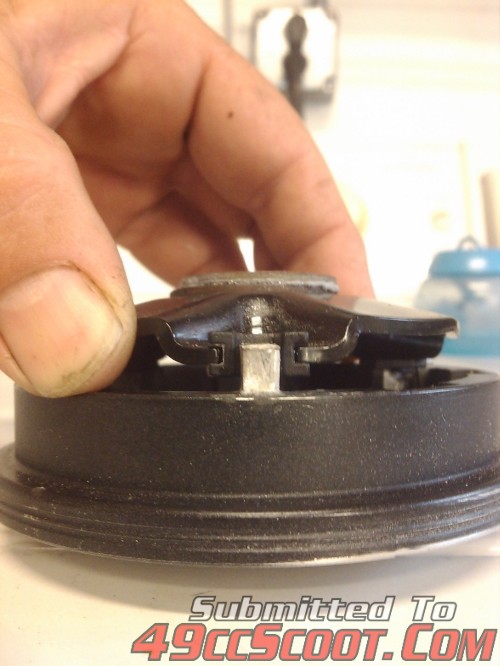
As you can see here, when the ramp plate would be past the normal guide, the new extension would still be retaining the plate.
I hope it ends up working. Between this, modding the faces, using spacers, increasing the length of the tracks in the torque driver, lightening clutch shoes, and shimming the contra spring you could certainly have a decent transmission on a pretty tight budget... or more in my case, get some average performance components dialed in to suit your needs.
I don't really need a rear pulley for what I'm doing. I constantly break guides because I get the variator traveling too far. My biggest goal is to stop that. lol I broke the last set I had on my last test ride. I just want the belt to clear, while not having to file most of the center of the vari face off essentially. That means I need a long drive boss and the vari will have to travel farther to close where it normally would. Hence, I need the ramp plate to stay supported longer. This vari isn't even filed on it's face, just the fan side. Some of my other variators are files so much that they will close really tight and get really good speeds, again breaking guides constantly. Even with the front pulley closed way up, I've never noticed any problems indicating a new rear pulley is a must.
I used the other variator that I had JB'd one extension to as a test dummy, and it can hold the force of me pushing on it with my finger till it hurts lol, but when I used a pair of pliers it took little force to remove it. No way it'll hold up that way. I took 190mech's advice and added screws. I didn't have any countersink screws of an appropriate size around, but it didn't matter. There is enough room to clear these. While drilling through, every extension broke loose, and that's with more than 24hr setup time. I have my doubts about even the screws and JB working at this point. Seems like a good idea, but I might be lacking the skills for proper execution.
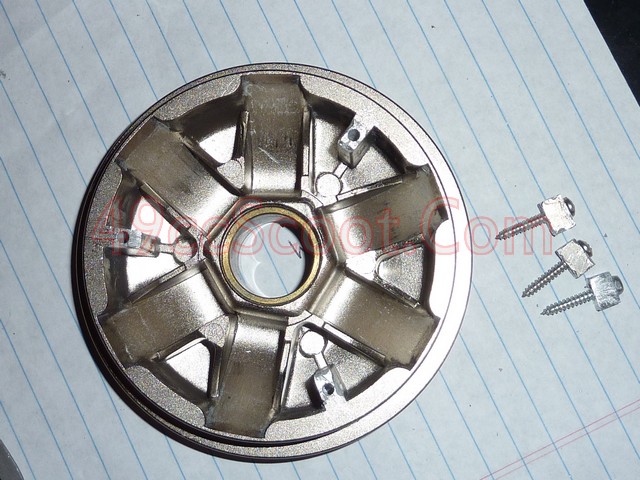
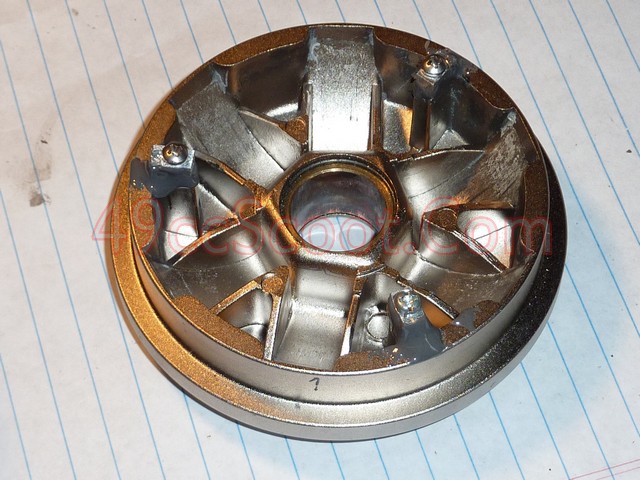
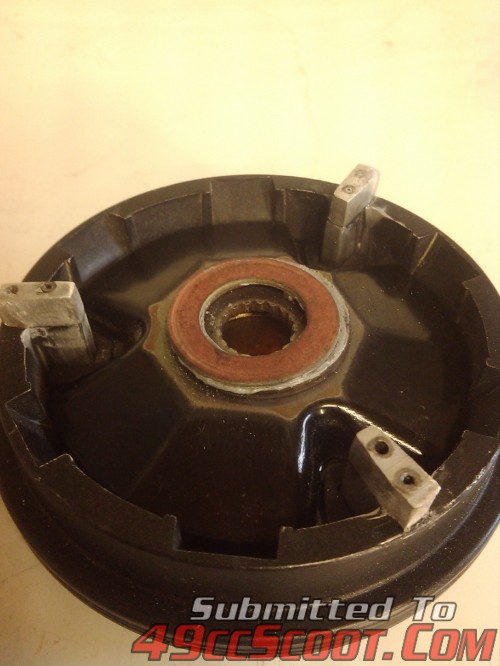
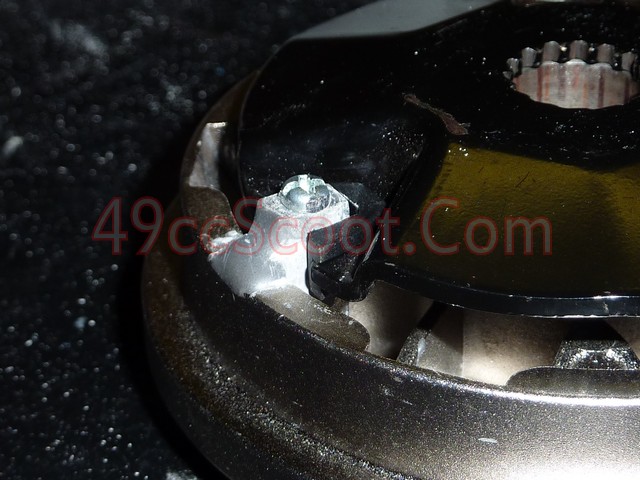
Once it was all cured, I filed the screw heads, JB Weld, and aluminum add-ons if necessary so the ramp plate could glide easily over them.
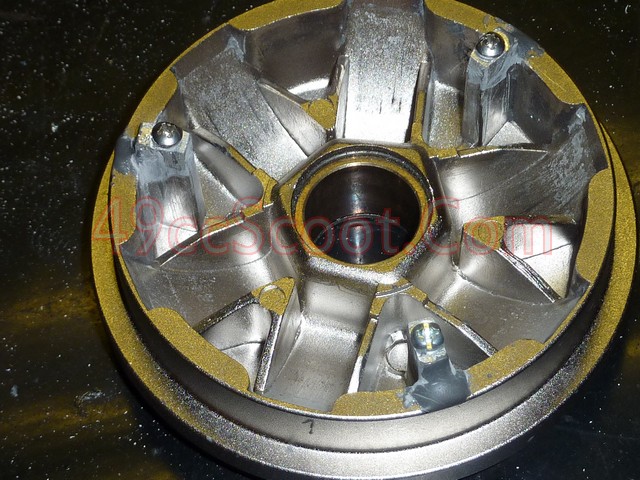
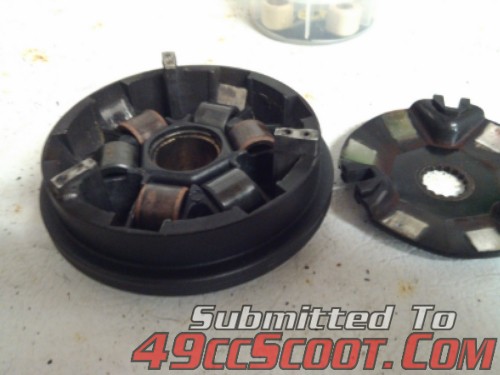
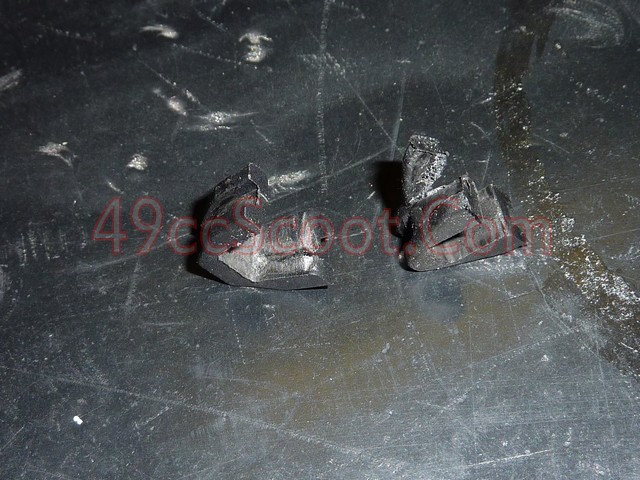
Here are my old guides to show you what I keep doing to them when I try to get more travel without these extensions. Sometimes they break apart and disappear completely.
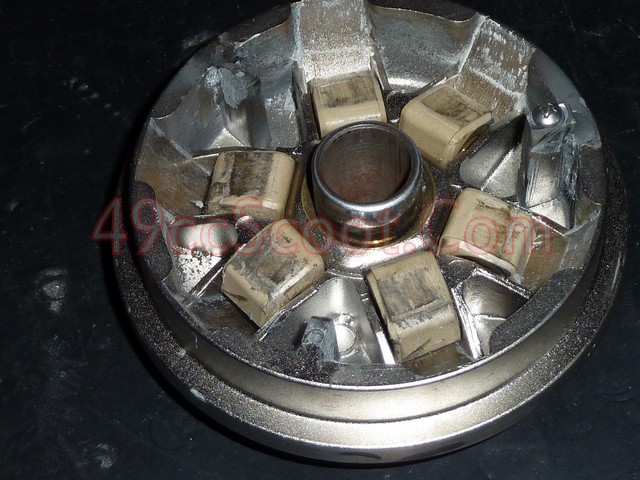
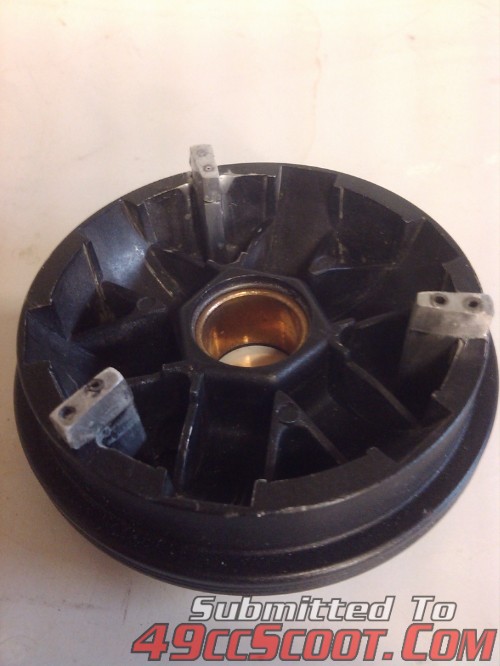
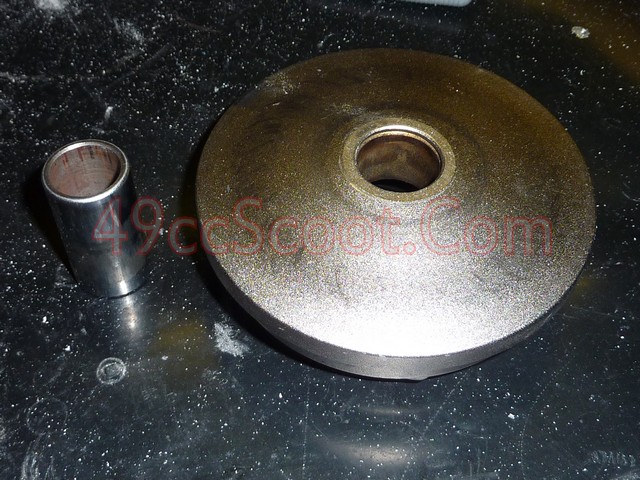
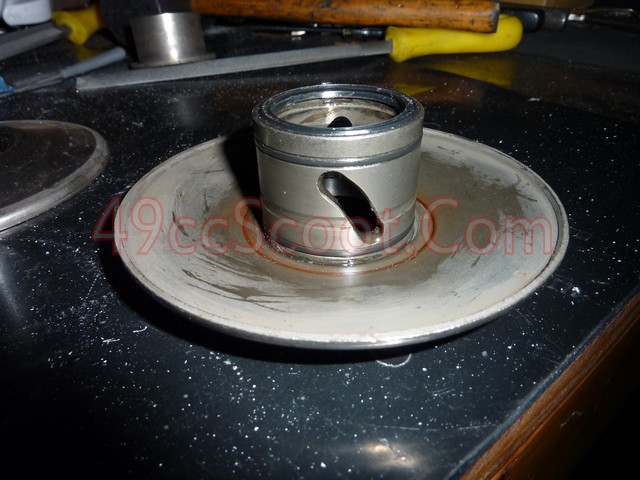
Here's the other side of the variator I'm modding. The face is just as it came out of the box and so is the drive boss. It's another Malossi clone variator, made by MRP.
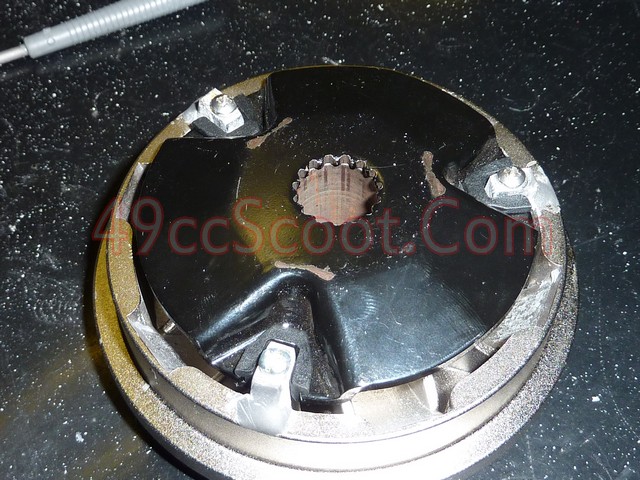
Here's the travel it's capable of with no spacers. You can see that it needs these extensions just to have full contact of the guides even in stock form.
I was using a .5mm washer small enough for the variator to pass over and then 2x1mm washer that kept the variator from going beyond it's capabilities and breaking the ramp's guide pieces. That kept the variator 2mm from it's full potential for closing, and that's what really got me to do this mod.
(Somehow I deleted the wrong pic, so imagine 2mm worth of washers separating the faces lol )
)
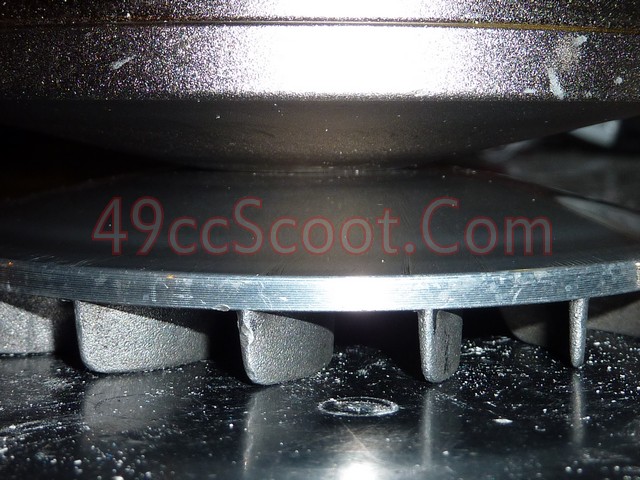
Here it is as setup with 2.5mm of spacers to let my belt clear and ride all the way to the center.
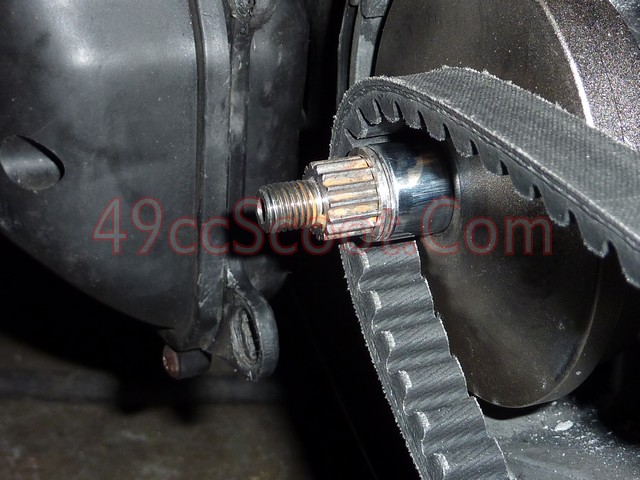
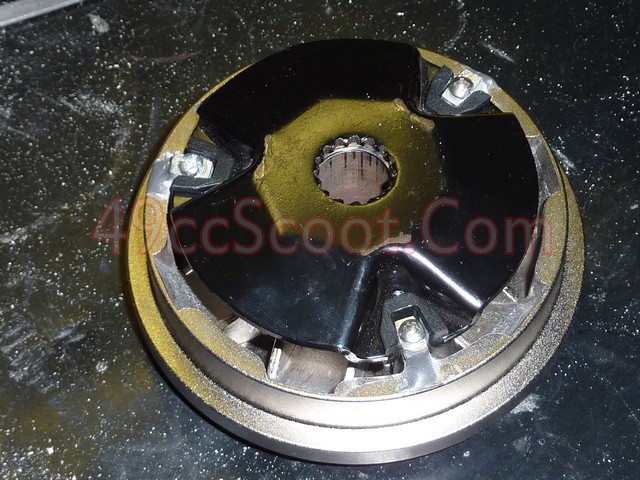
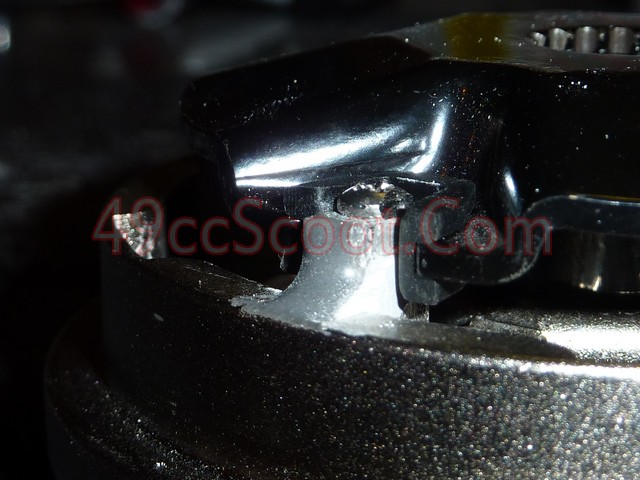
At rest...
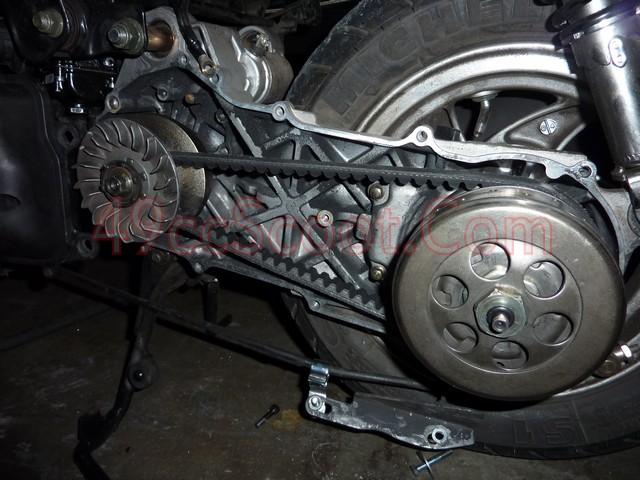
Here it is with 8.5g sliders, first try. Never made it over 54MPH IIRC. Everything was still intact.
I eventually ended up at 9.5g sliders to get 57MPH@8700RPM on a test run, and still wheelies. Wheelies aren't as easy from a roll of more than 5MPH, but it will still do 'em just fine. Even with the heavy sliders, it wanted to stay revved too much above 40MPH or so. I swapped the stock torque driver back in so it would shift into a more cruise friendly rev range when needed.
I went for a 40 mile ride late last night to see how I like it. I'm pretty pleased. 58.2MPH max speed @ 8740RPM. It'll cruise around town as low as the 4000RPM range, just chugging along with big block torque. No damage to anything so far. Hopefully it holds up long term! ;D
It might actually have 60MPH in it as-is, if I just had a wider belt. Mine is worn to about 15.5mm. Makes light contact all the way to the egde of the vari, but still leaves a faint marking. Tried to get a pic, but it's so faint that it won't show in the pic.
I started out by finding aluminum that would fit the guides in my variator pretty well.

3/16" (thanks to John) fit the bill for my aftermarket vari.

I cut a small chunk of the aluminum and roughed up one side of it with a sharp file so JB weld would hold better hopefully.

Then I roughed up one of the guides, just the top where the piece would mount.

I glued the aluminum chunk to the variator with JB Weld.

I let that set over about 10hrs. It's cold out now so it really needs longer to cure, but it's pretty strong already. Now I've got a nice extended guide.

As you can see here, when the ramp plate would be past the normal guide, the new extension would still be retaining the plate.
I hope it ends up working. Between this, modding the faces, using spacers, increasing the length of the tracks in the torque driver, lightening clutch shoes, and shimming the contra spring you could certainly have a decent transmission on a pretty tight budget... or more in my case, get some average performance components dialed in to suit your needs.
I don't really need a rear pulley for what I'm doing. I constantly break guides because I get the variator traveling too far. My biggest goal is to stop that. lol I broke the last set I had on my last test ride. I just want the belt to clear, while not having to file most of the center of the vari face off essentially. That means I need a long drive boss and the vari will have to travel farther to close where it normally would. Hence, I need the ramp plate to stay supported longer. This vari isn't even filed on it's face, just the fan side. Some of my other variators are files so much that they will close really tight and get really good speeds, again breaking guides constantly. Even with the front pulley closed way up, I've never noticed any problems indicating a new rear pulley is a must.
I used the other variator that I had JB'd one extension to as a test dummy, and it can hold the force of me pushing on it with my finger till it hurts lol, but when I used a pair of pliers it took little force to remove it. No way it'll hold up that way. I took 190mech's advice and added screws. I didn't have any countersink screws of an appropriate size around, but it didn't matter. There is enough room to clear these. While drilling through, every extension broke loose, and that's with more than 24hr setup time. I have my doubts about even the screws and JB working at this point. Seems like a good idea, but I might be lacking the skills for proper execution.


Once it was all cured, I filed the screw heads, JB Weld, and aluminum add-ons if necessary so the ramp plate could glide easily over them.

Here are my old guides to show you what I keep doing to them when I try to get more travel without these extensions. Sometimes they break apart and disappear completely.

Here's the other side of the variator I'm modding. The face is just as it came out of the box and so is the drive boss. It's another Malossi clone variator, made by MRP.

Here's the travel it's capable of with no spacers. You can see that it needs these extensions just to have full contact of the guides even in stock form.


I was using a .5mm washer small enough for the variator to pass over and then 2x1mm washer that kept the variator from going beyond it's capabilities and breaking the ramp's guide pieces. That kept the variator 2mm from it's full potential for closing, and that's what really got me to do this mod.
(Somehow I deleted the wrong pic, so imagine 2mm worth of washers separating the faces lol
 )
) 
Here it is as setup with 2.5mm of spacers to let my belt clear and ride all the way to the center.


At rest...

Here it is with 8.5g sliders, first try. Never made it over 54MPH IIRC. Everything was still intact.
I eventually ended up at 9.5g sliders to get 57MPH@8700RPM on a test run, and still wheelies. Wheelies aren't as easy from a roll of more than 5MPH, but it will still do 'em just fine. Even with the heavy sliders, it wanted to stay revved too much above 40MPH or so. I swapped the stock torque driver back in so it would shift into a more cruise friendly rev range when needed.

I went for a 40 mile ride late last night to see how I like it. I'm pretty pleased. 58.2MPH max speed @ 8740RPM. It'll cruise around town as low as the 4000RPM range, just chugging along with big block torque. No damage to anything so far. Hopefully it holds up long term! ;D
It might actually have 60MPH in it as-is, if I just had a wider belt. Mine is worn to about 15.5mm. Makes light contact all the way to the egde of the vari, but still leaves a faint marking. Tried to get a pic, but it's so faint that it won't show in the pic.


