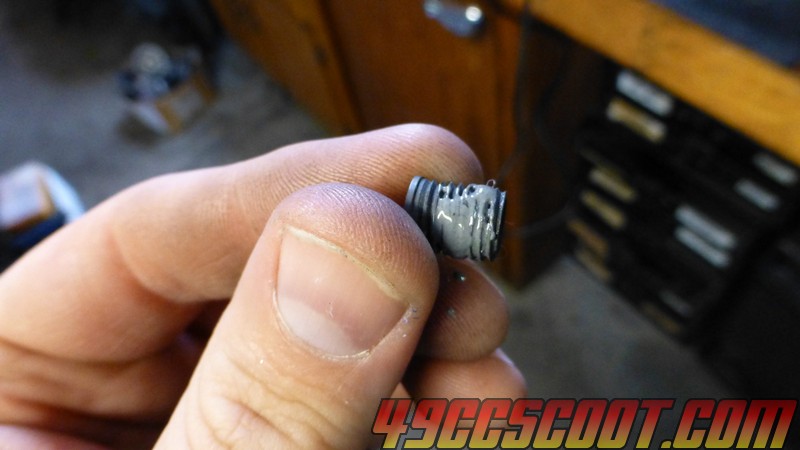
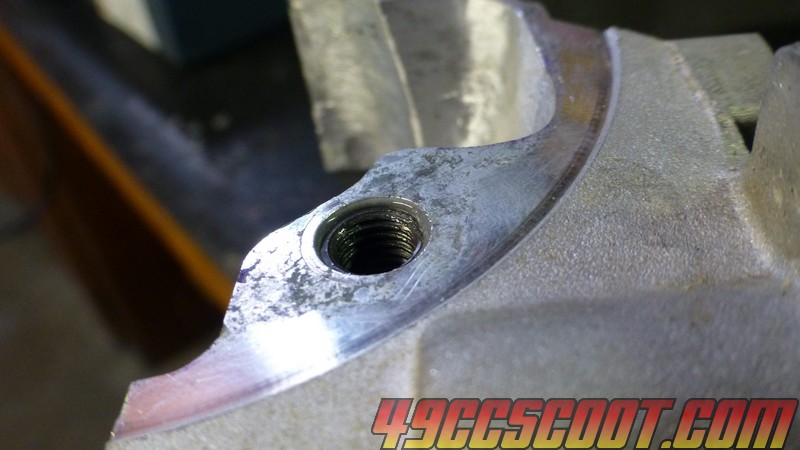
I started torquing the cylinder nuts down. When I was doing the top left nut I heard a loud crack. From the sound of it I figured I had broken the stud or busted the cases.
I started getting nervous when I removed the stud from the corner where I heard the loud noise and it was fine. The case had to be cracked, I thought.
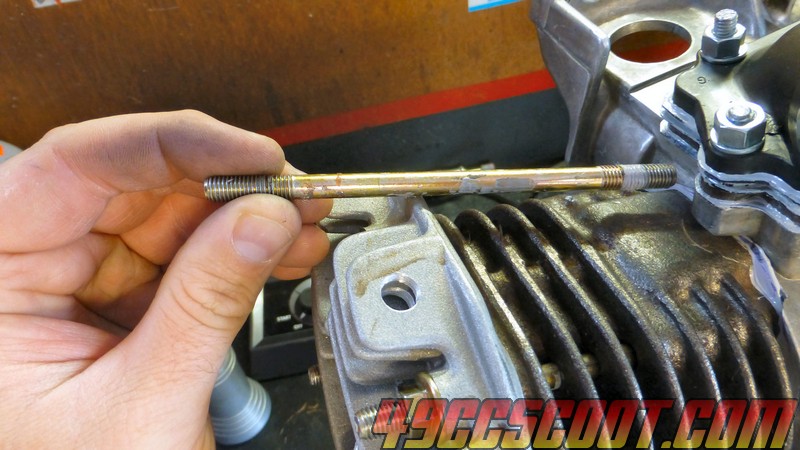
I pulled the cylinder off (hooray I get to make more gaskets and do more cleanup even if it's not busted up). When I looked at the threads at first they seemed fine. Then I took a little screwdriver and prodded in there and started pulling out chunks of threads. Good news though was that the cases are not cracked AFAIK.
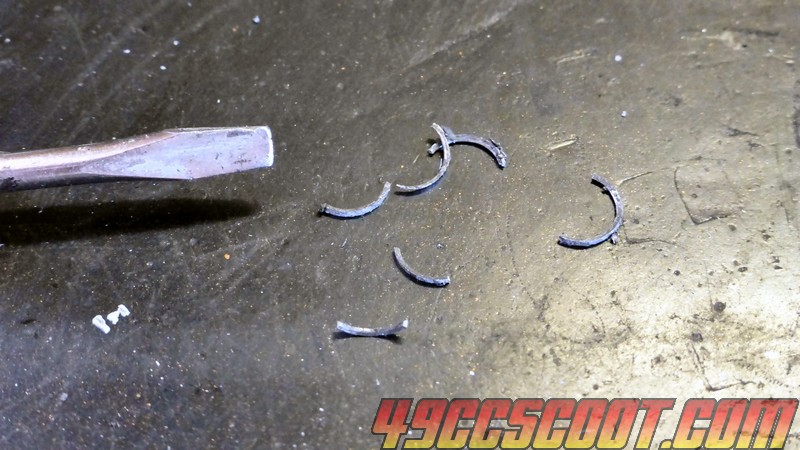
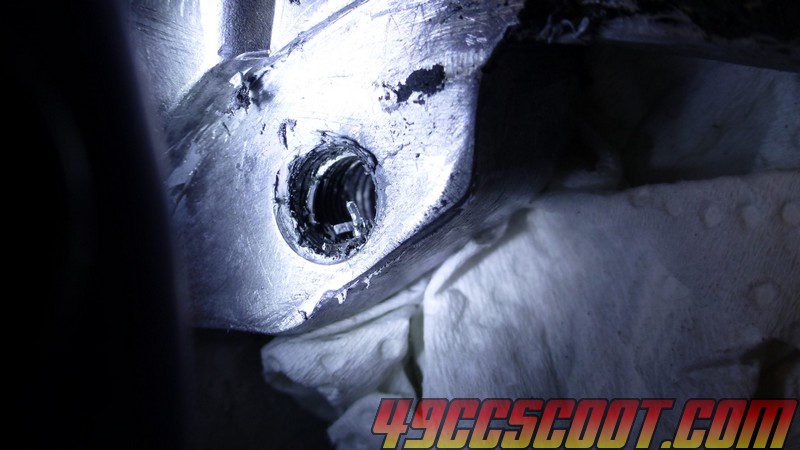
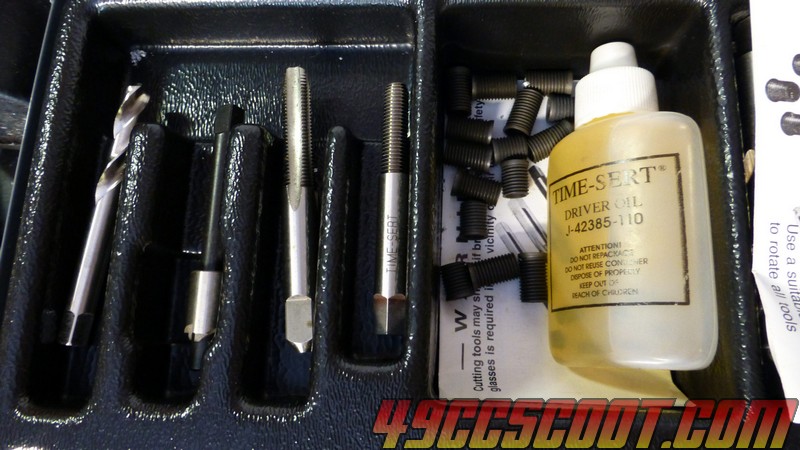
Luckily I bought a Time-Sert kit for M7x1.0 threads 1-2 years ago to have around just in case.
I stuffed paper towels in the crankcase.
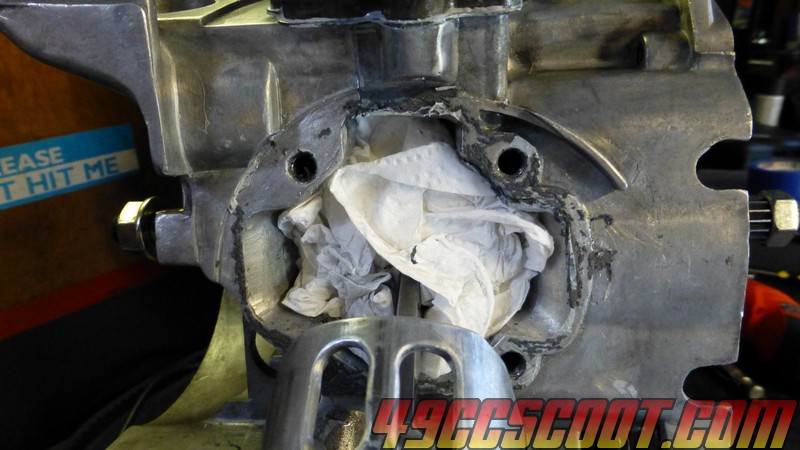
Then I removed the piston, set the rod at the bottom of it's stroke, and applied masking tape over the opening to keep any debris out. I cut a little section of the tape out right around the damaged stud hole so I could work.
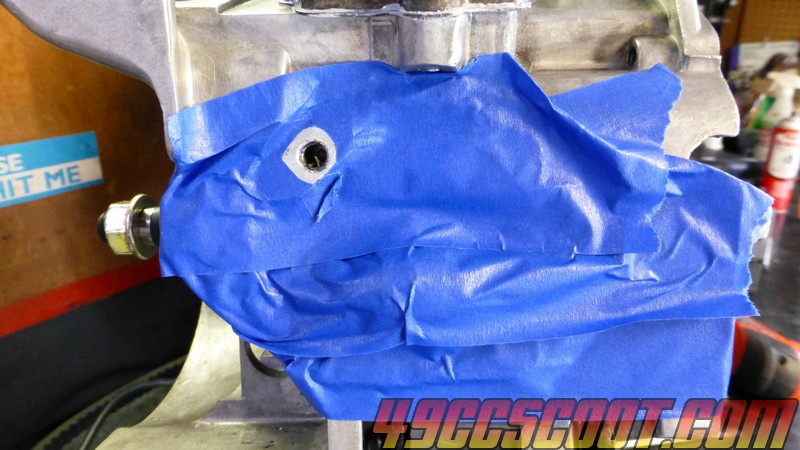
I started out with the drill bit (all bits are supplied by Time-Sert in their kit). You can use them in a drill, but I went by hand hoping to have a better shot at staying straight.
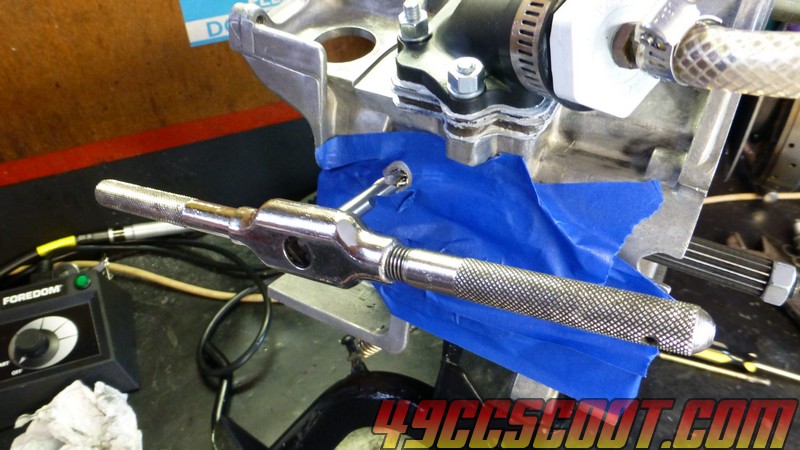
Tip : This is from another repair, but you can use a ruler while other studs are installed to help you keep the drill or other bits straight. Measure the distances and make sure the stud and the bit are the same distance apart on either end.
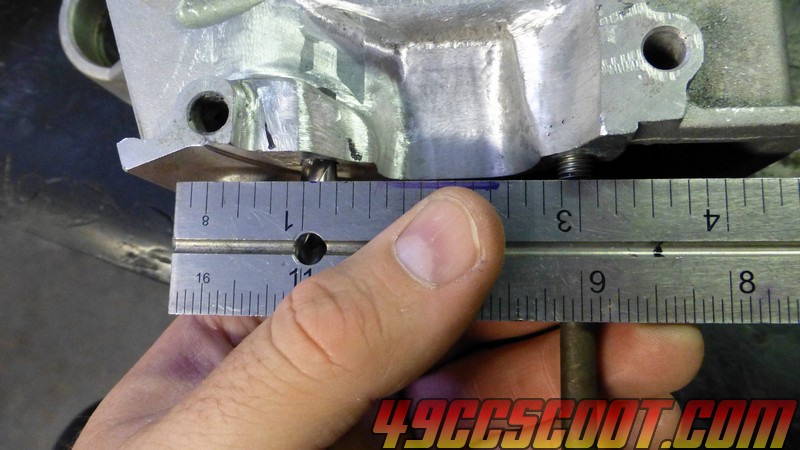
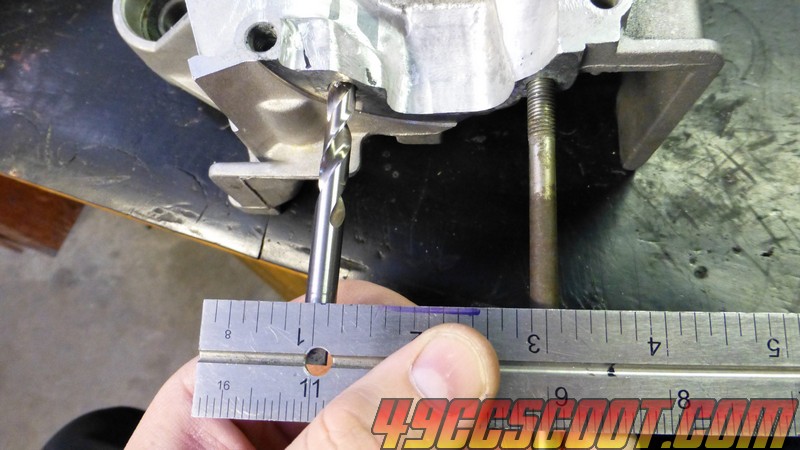
Depending what studs you have installed you may be able to measure with them to keep it straight all around, or you can use the stud as a reference to "eyeball" it. It's very important to get these straight, so take your time here.
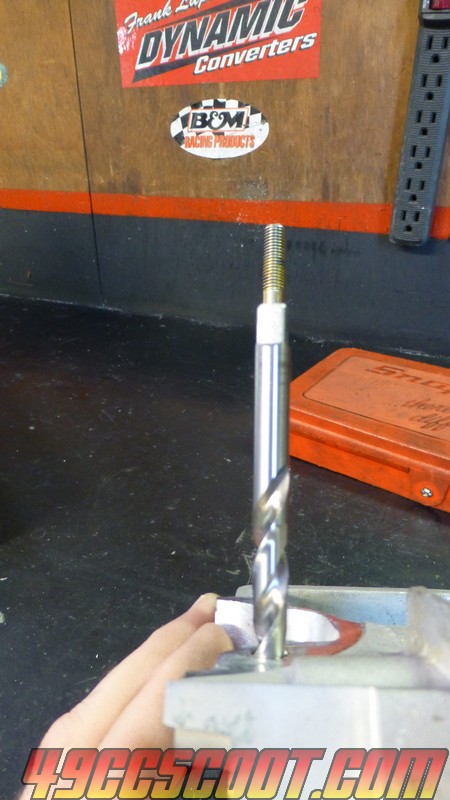
I drilled in till it started feeling tight and then marked the bit. That way I could measure the bit and the depth of the hole to be sure I cut in as far as I needed to.
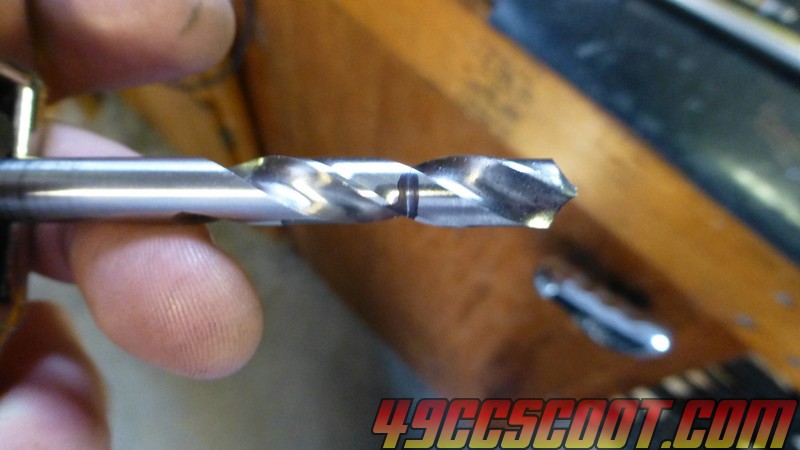
I blew the aluminum chips out with compressed air to clean the hole.
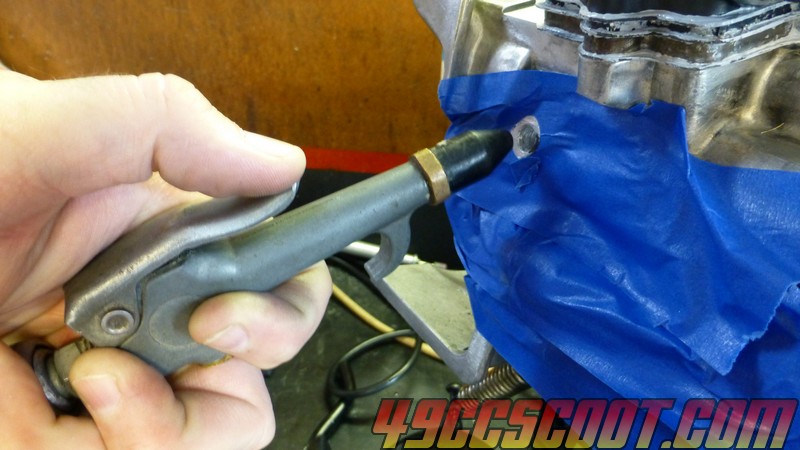
Then I switched over to the counterbore bit and went until it stopped cutting to create a countersink. Again I cleaned the shavings out with compressed air.
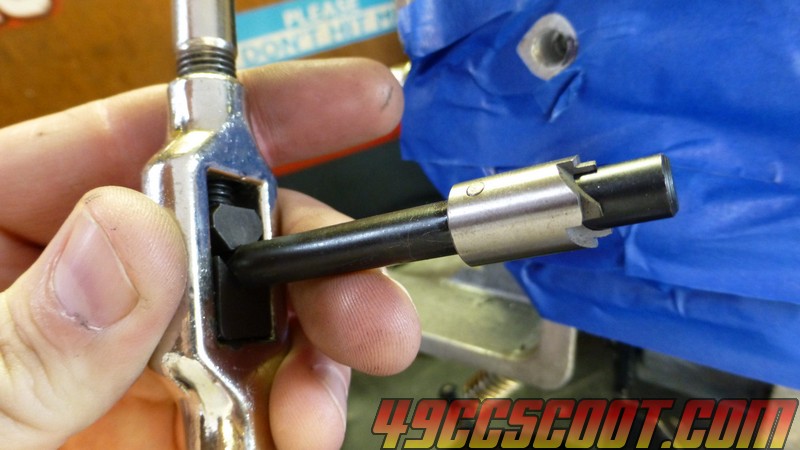
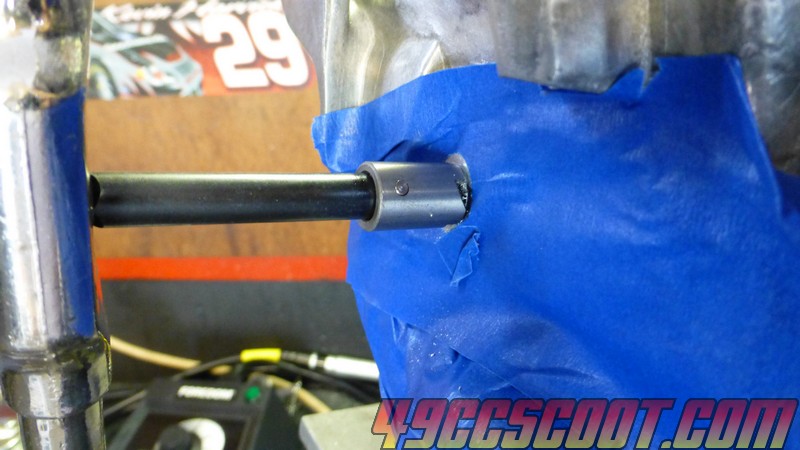
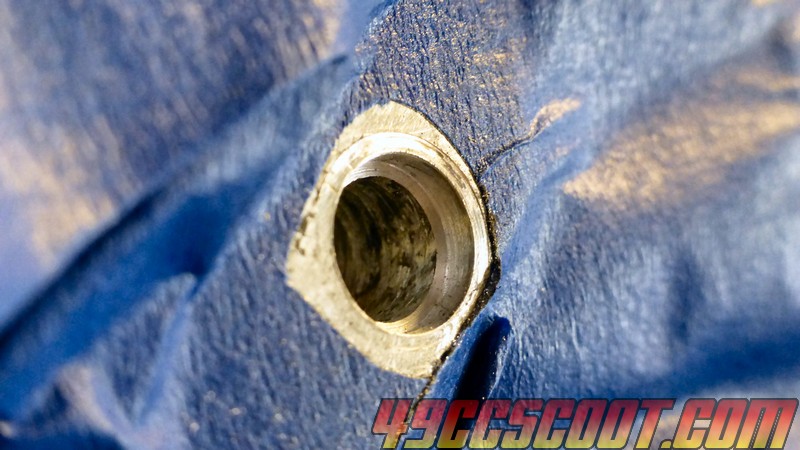
Next, I used the supplied tap and cut threads in as deep as I could. Again it's a good idea to mark the bit and make sure you're getting the full depth and not just in a rough spot. Don't use too much force to attempt to go deeper because you could ruin the threads you just cut. Once again I cleaned the stray aluminum out with a shot of air.

I bought two lengths of inserts when I got my kit so I could be sure I had the right one.
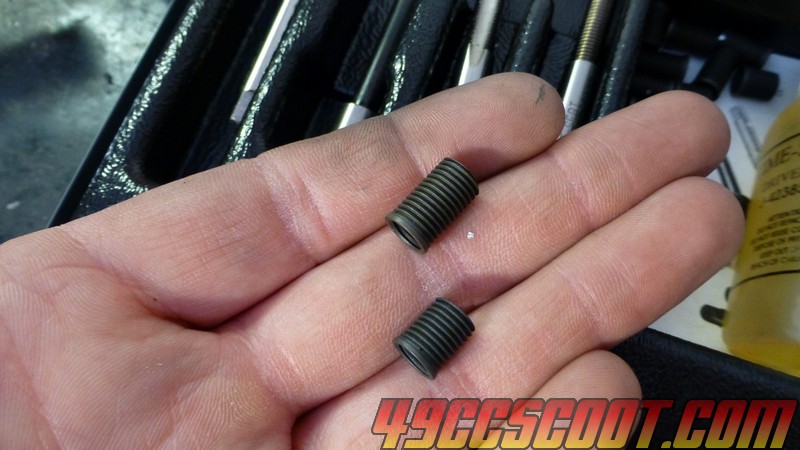

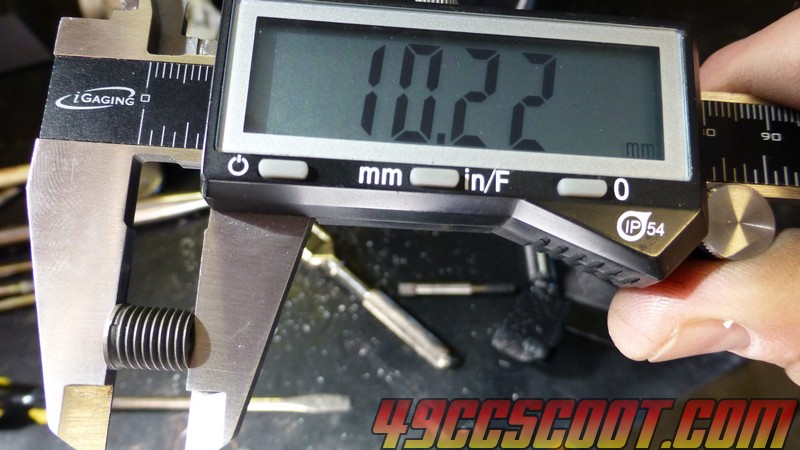
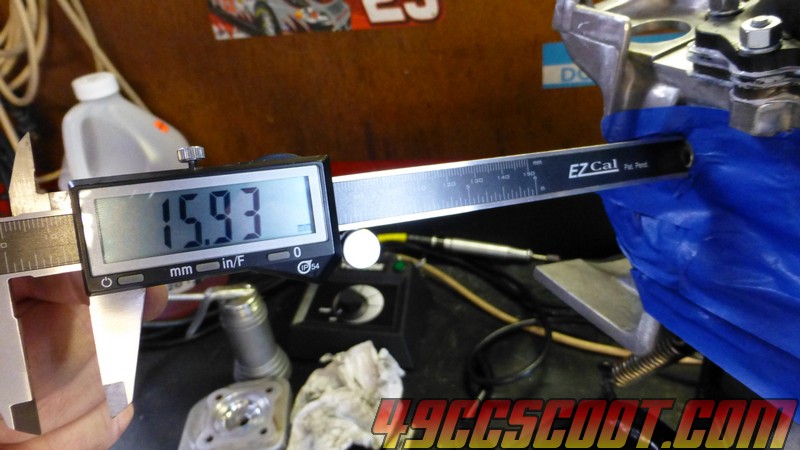
I decided to use the 14mm long insert, because the hole was roughly 16mm deep.
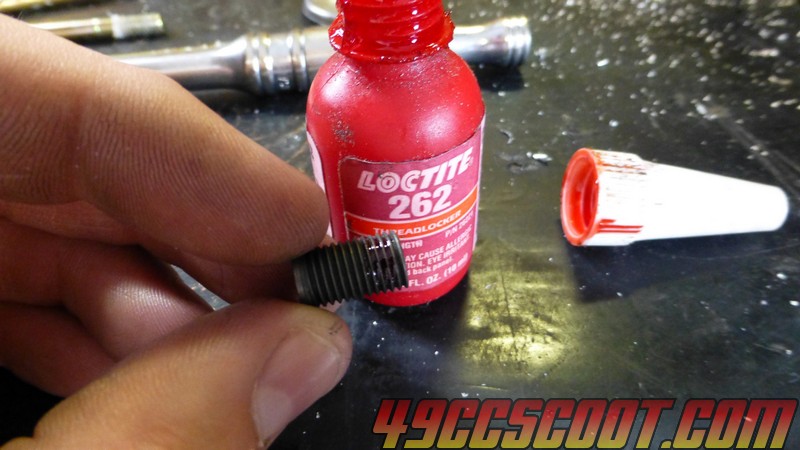
I applied red high strength thread locker to the insert. This is not supplied with standard Time-Sert kits or mentioned, but they did supply it with the spark plug repair kit for Ford that I have. I've used it on most repairs I've done so I can't really say if it's needed, but it makes me feel better about the job.
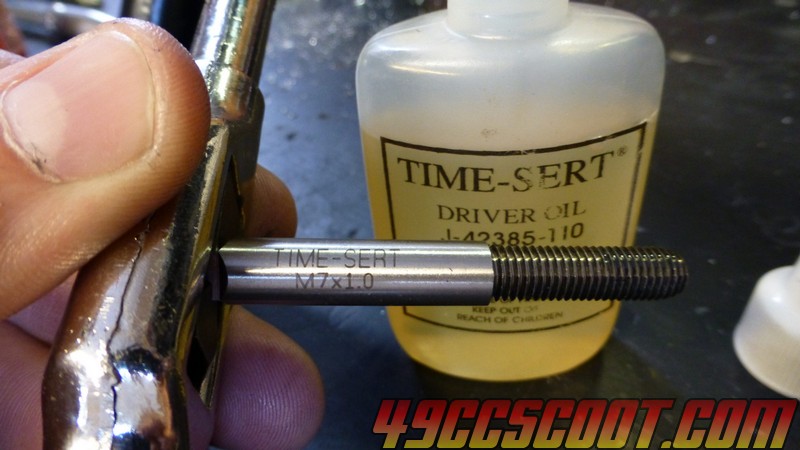
I switched to the installer tool that looks somewhat similar to a tap and applied the supplied thread oil to it.
Pictures became scarce at this point because I had an issue and forgot the camera till it was ironed out.
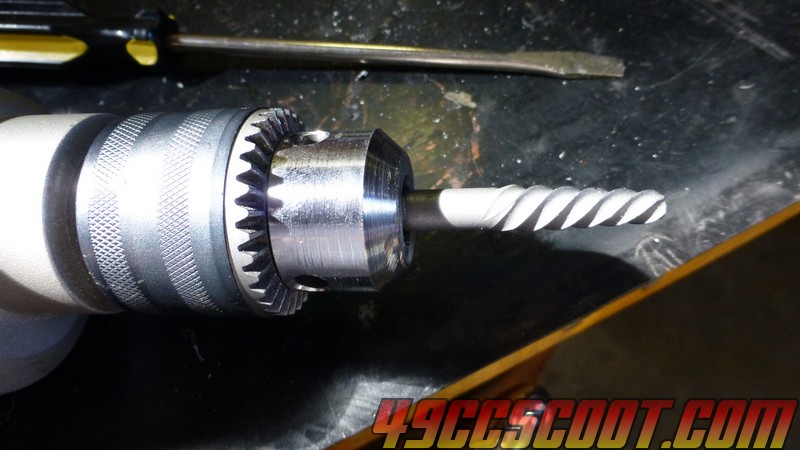
As it turned out, the 14mm long insert was too long for the repair. I threaded it in by hand and then switched to the tool, but the insert would not go all the way in. I ended up using a screw extractor to unscrew it without any damage to the cases.
What I didn't think about was that the Time-Sert recesses into the case a bit. That combined with not being able to get threads cut all the way to the back of the hole properly, since the tap is tapered on the end, meant the 14mm could not fit as it should.
I applied thread locker to one of the ~10mm inserts and threaded it in by hand. Then finished installing it with the supplied tool. You should feel the tool get tight in one spot, then loosen up again before the install is complete. Time-Serts have a spot where they expand out into the threads of the case so the insert locks in better, and that's what the tightness should be. Obviously use your judgement there and make sure you aren't just bottoming out.
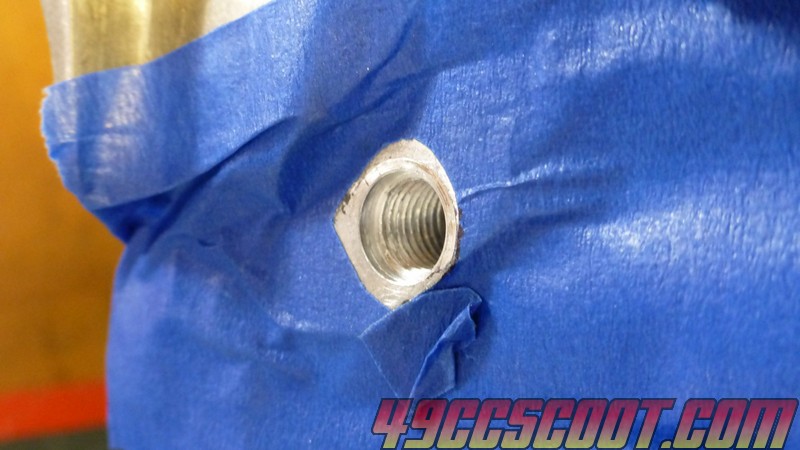
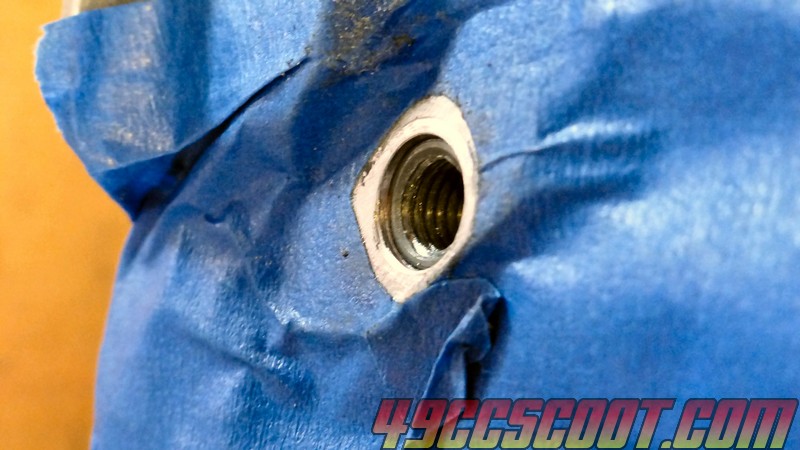
Here's a look at the installed insert.
This is from another repair, but JB Weld could also be an option to help hold the Time-Sert in place instead of thread locker or simply relying on the Time-Sert's built-in locking method.
