Homemade Mount For Small Gauges
Feb 3, 2011 19:16:32 GMT -5
Hilo Rider and brandonblank72cc like this
Post by 90GTVert on Feb 3, 2011 19:16:32 GMT -5
This is a pretty simple mount to make (assuming you can weld) for small gauges like a digital tach or bicycle speedometer. I'm mounting a Trail Tech TTO tachometer in this article. I use the stock mirror mounting location, because I installed bar end mirrors to replace the stockers.
I started out with an M8 x 1.25 thread pitch x 40mm bolt. You need a bolt that screws into your handlebar mount. You could also use a stud or all thread of the appropriate length. What I have is the most common, but there are variations. Bolt you may wish to use a longer bolt for larger gauges, but I wouldn't advise using anything much shorter than 40mm to give adequate clearance and room to install a locking nut.
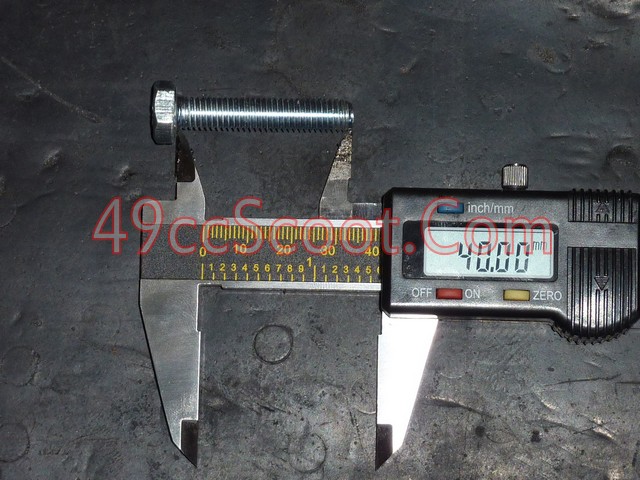
Cut the head off of the bolt, and file away any sharp edges.
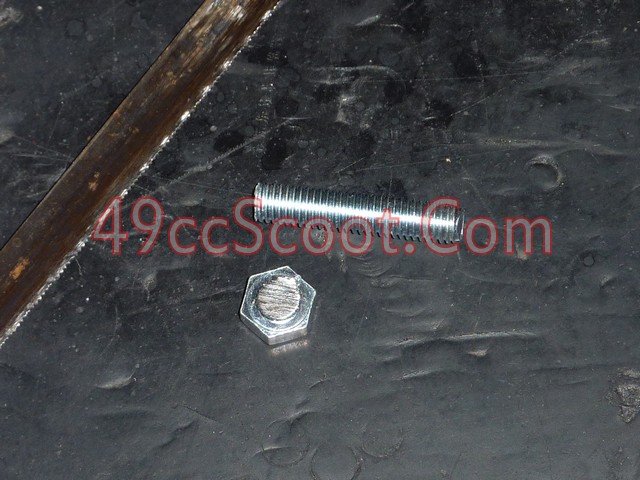
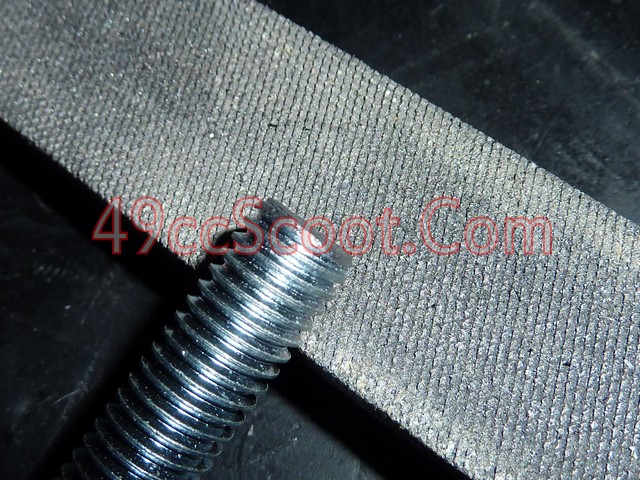
Screw the bolt into the handle bar mount as far as it will go by hand.
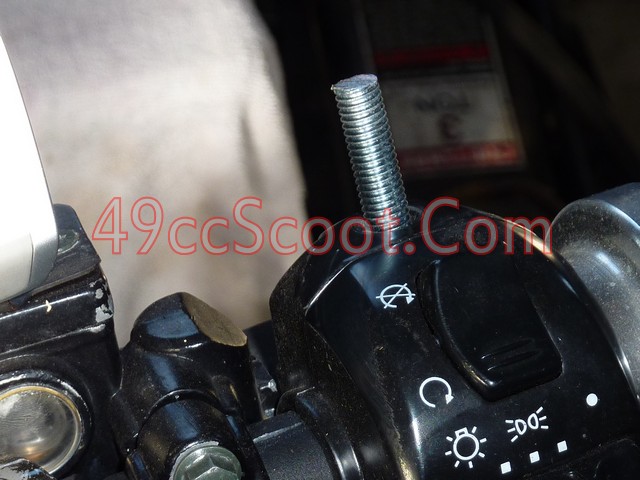
Decide where the bottom of the gauge should be and mark that spot on the bolt.
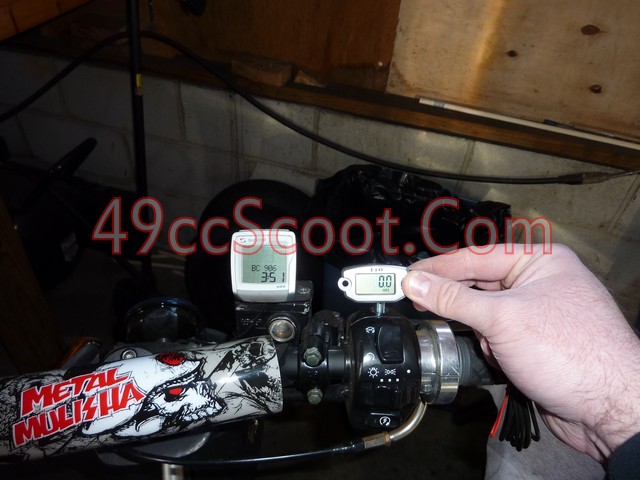
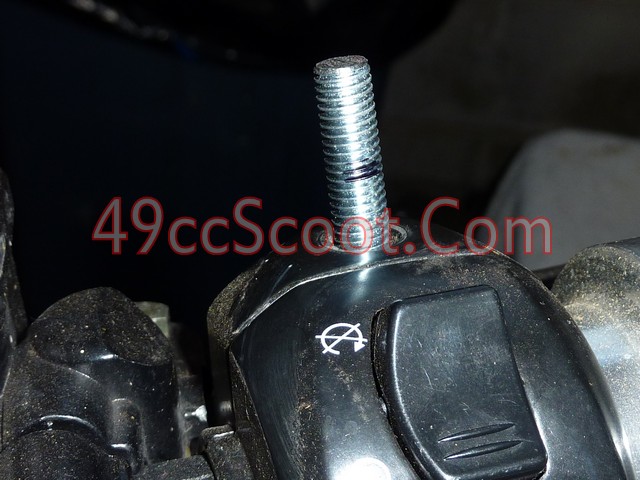
Now you'll need to find something to use as a back plate for mounting via double-sided tape or hardware. If you end up doing many custom projects, it pays to save brackets and bits of metal from other projects for times like this.
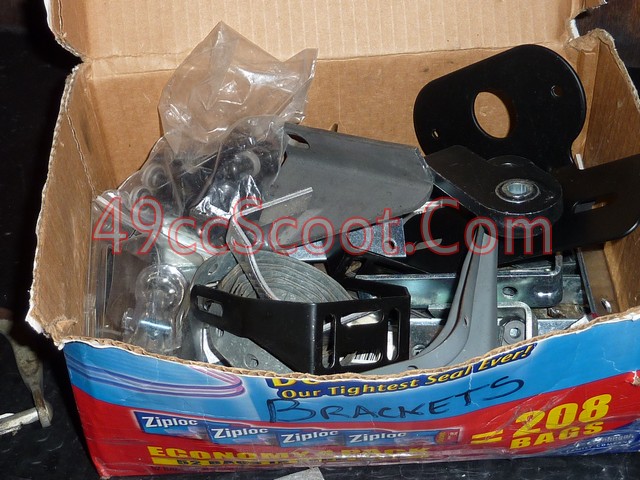
I found a cut up portion of an L bracket that will work for me. Of course you can also go out and buy steel sheet or find a bracket that will work for you.
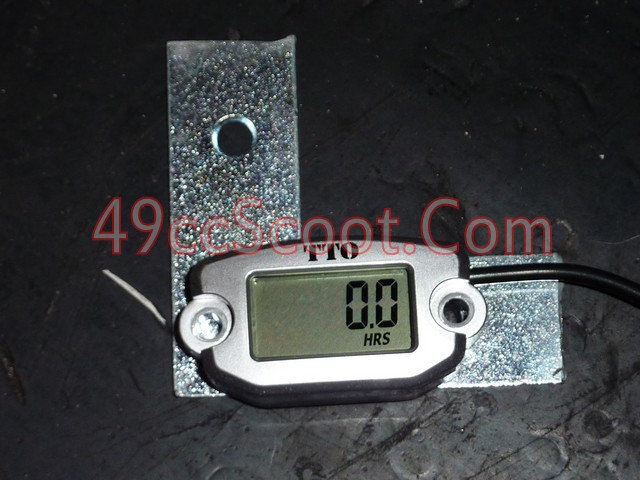
Mark the metal and cut it to fit your gauge. Be sure to remove all sharp edges.
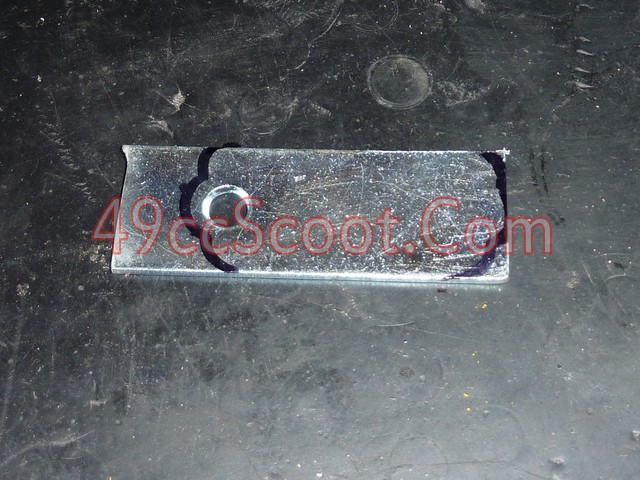
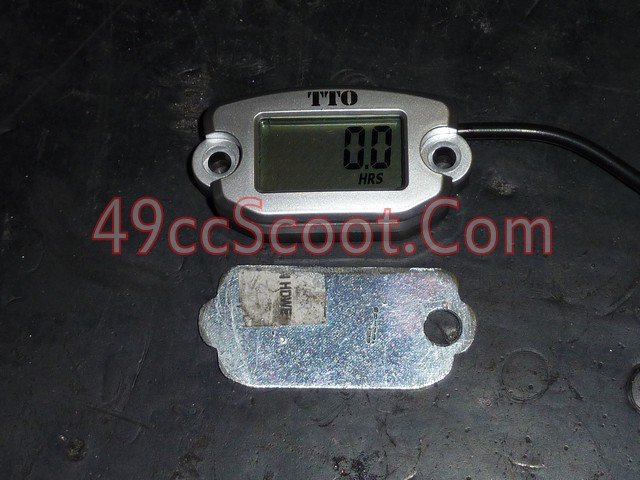
Clamp the backing plate to the bolt, using the mark you made previously to determine the correct position. Then weld the two together and clean them up.
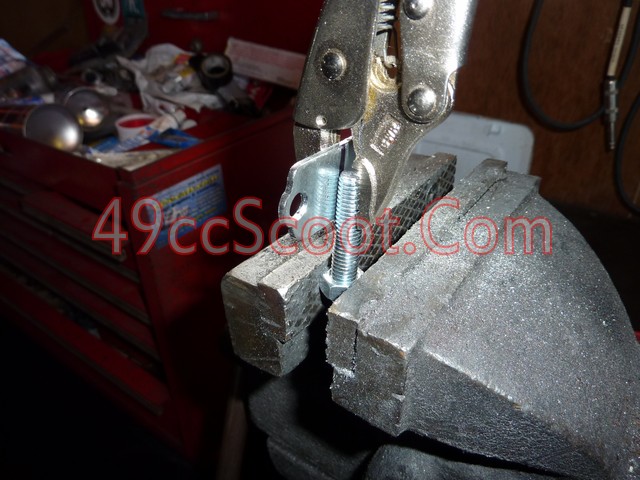
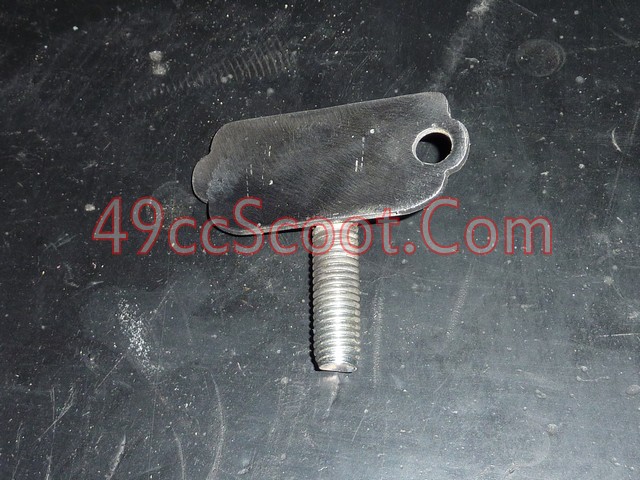
Paint the bracket as you please.
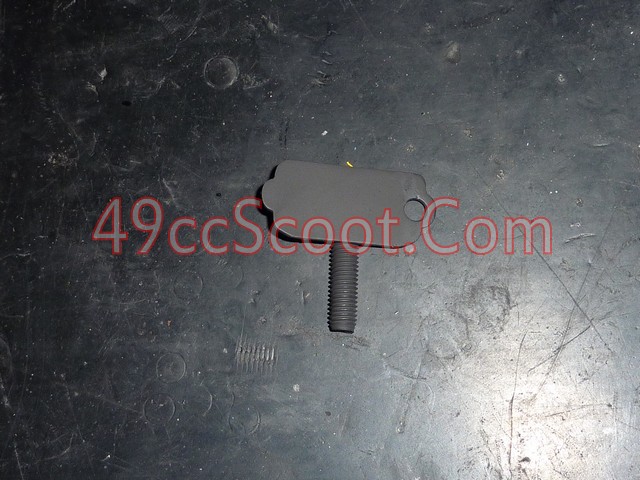
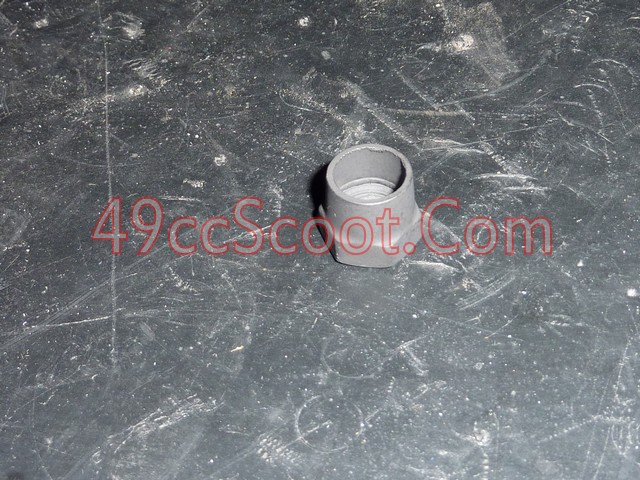
You'll need a nut to secure the mount into position. I used the stock mirror's nut. I had to file the sleeve above the nut a little to make it work, but it makes a cleaner look.
Now you can screw the mount into place and secure it with the nut.
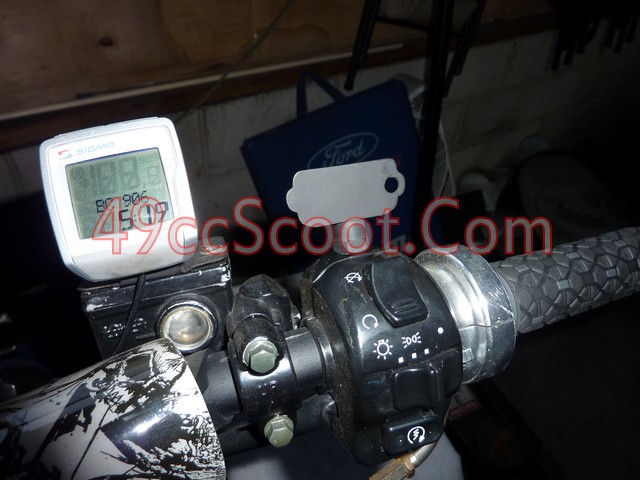
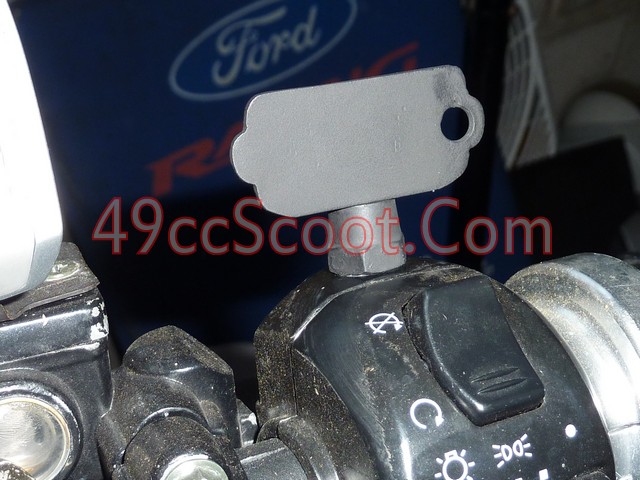
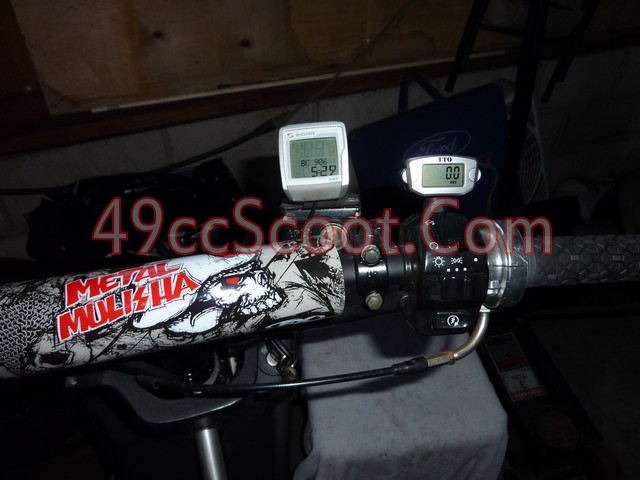
Here's my tach installed on the new mount. Very sturdy.

I started out with an M8 x 1.25 thread pitch x 40mm bolt. You need a bolt that screws into your handlebar mount. You could also use a stud or all thread of the appropriate length. What I have is the most common, but there are variations. Bolt you may wish to use a longer bolt for larger gauges, but I wouldn't advise using anything much shorter than 40mm to give adequate clearance and room to install a locking nut.

Cut the head off of the bolt, and file away any sharp edges.


Screw the bolt into the handle bar mount as far as it will go by hand.

Decide where the bottom of the gauge should be and mark that spot on the bolt.


Now you'll need to find something to use as a back plate for mounting via double-sided tape or hardware. If you end up doing many custom projects, it pays to save brackets and bits of metal from other projects for times like this.

I found a cut up portion of an L bracket that will work for me. Of course you can also go out and buy steel sheet or find a bracket that will work for you.

Mark the metal and cut it to fit your gauge. Be sure to remove all sharp edges.


Clamp the backing plate to the bolt, using the mark you made previously to determine the correct position. Then weld the two together and clean them up.


Paint the bracket as you please.

You'll need a nut to secure the mount into position. I used the stock mirror's nut. I had to file the sleeve above the nut a little to make it work, but it makes a cleaner look.

Now you can screw the mount into place and secure it with the nut.


Here's my tach installed on the new mount. Very sturdy.


