Modifying A Stock Airbox For Larger Carbs & Relocation Ideas
Feb 12, 2011 6:37:58 GMT -5
jhobe6678, milly, and 1 more like this
Post by 90GTVert on Feb 12, 2011 6:37:58 GMT -5
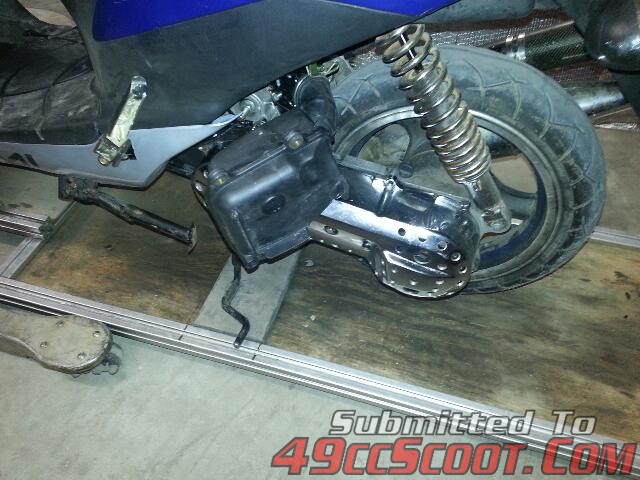
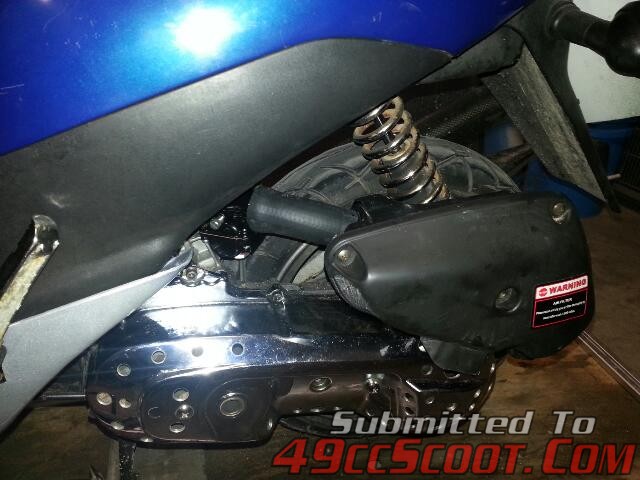
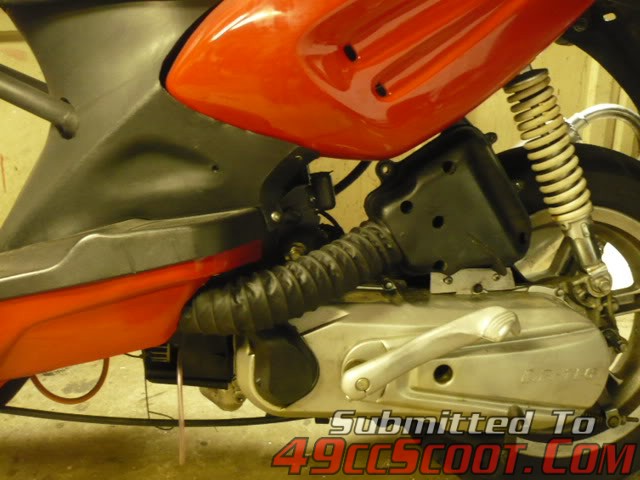
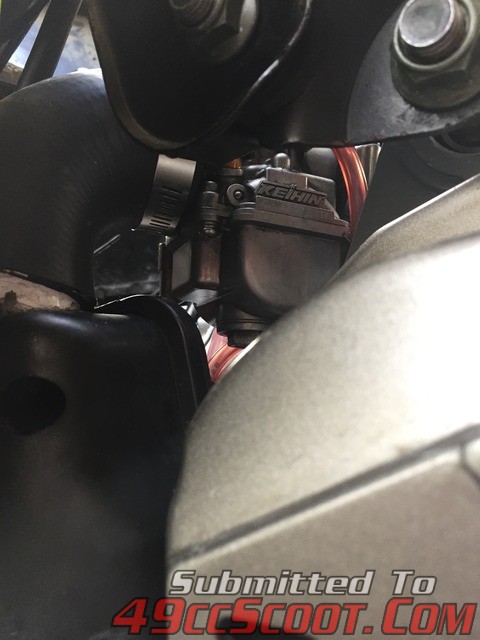
I wanted to use an airbox with my 25mm DellOrto PHBL on a 1E40QMB to keep noise levels lower, but the stock airbox didn't fit very well. I could persuade it over the mouth of the carb, but it was stuck way out of the side and couldn't be bolted on as it would in stock form because of the carb and intake size. I decided to modify the stock airbox so it could be relocated, and to work better with the larger carb hopefully.
Start by removing the snorkel and the tube that attaches the the carburetor's mouth from the airbox. Both should just pull out reasonably easily. If there is a sealant on yours, use a flat screwdriver to gently work them free.
Now remove the screws holding the two halves of the airbox together, and separate the parts.
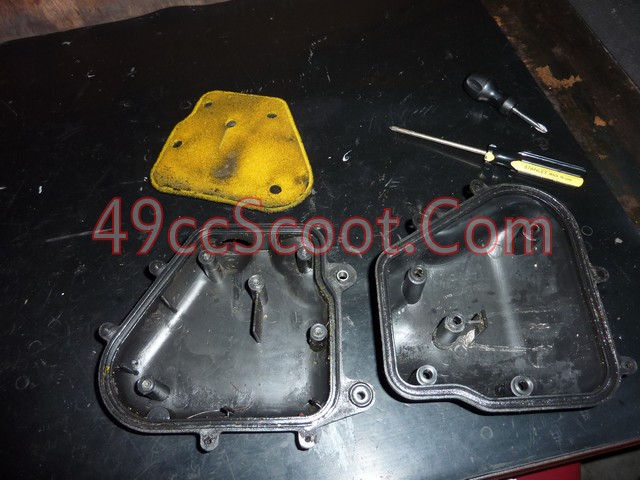
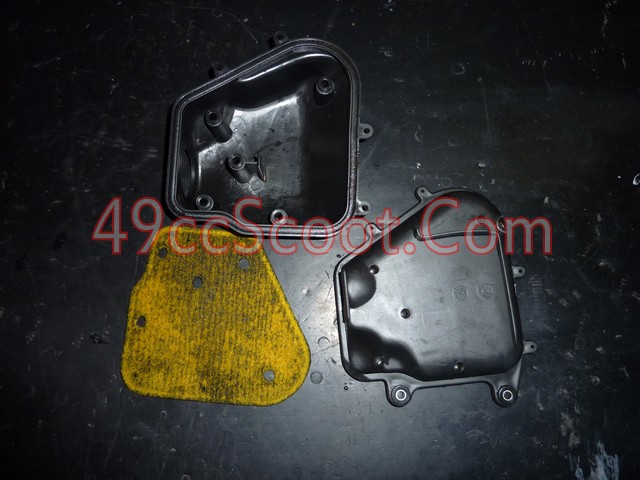
If your airbox and filter is as dirty as mine, the next step is to clean it all. Soap and water will work fine in most cases. If the air filter is extremely worn or nasty, you may wish to replace it. Oil the filter with an appropriate foam filter oil after it has dried from cleaning. Local bike shops usually carry something that will work.
I picked up some blower/vacuum hose to attach the airbox to the carburetor. It's durable and the 1.5" hose fit my carb perfectly. I picked mine up from McMaster-Carr for about $3 a foot.
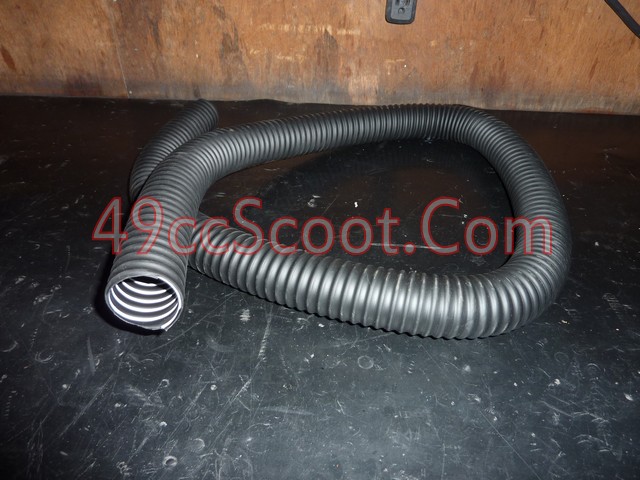
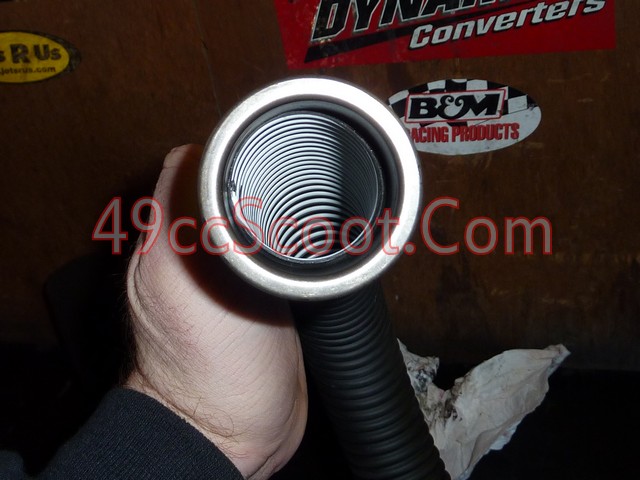
 you can get spa/ pool vaccum hose at home depot for $4.00 a foot
The hose needs a way to attach to the airbox. It will fit through the hole, so I suppose you could come up with a way of sealing it in, but I chose to opt for a clamp on setup to make removal or hose replacement easy.
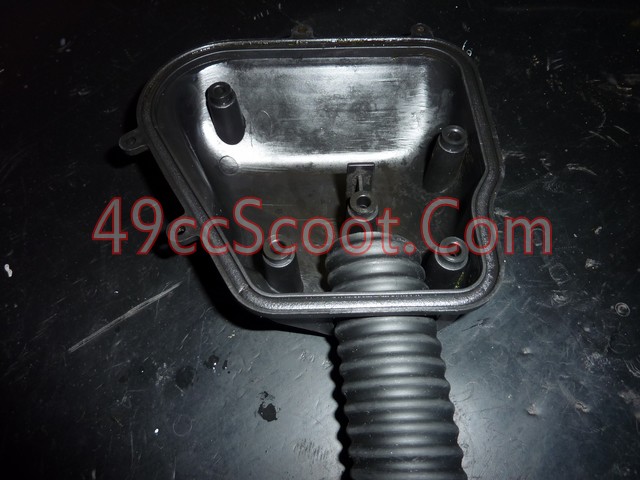
You'll need something to use as an adapter for the hose to attach to. I happened to have a rear pulley from a 1E40QMB sitting on my workbench. I looked over at the contra spring seat and decided to investigate using it.
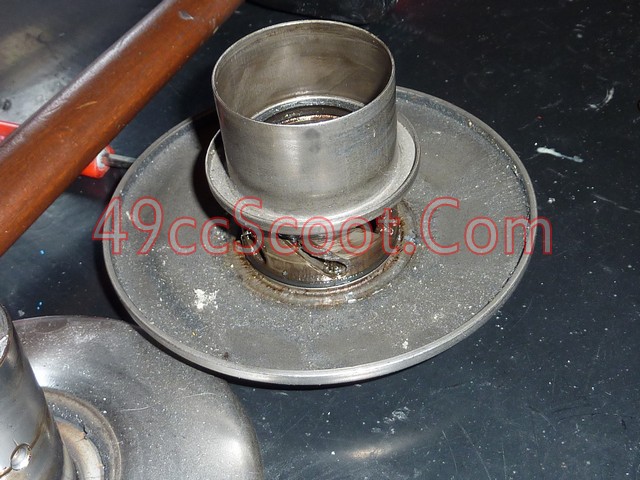
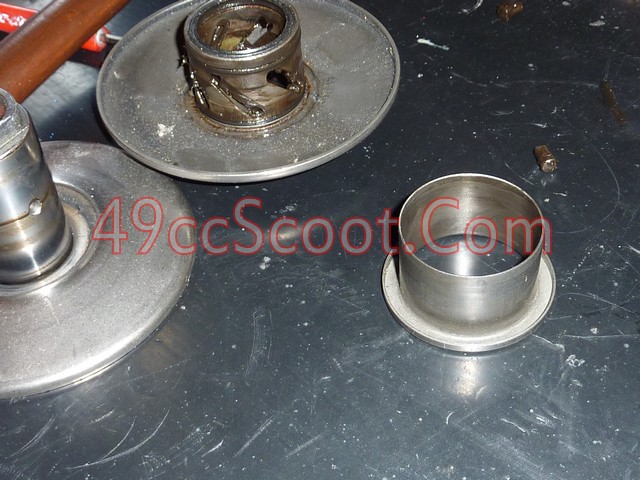
It fit into the airbox well and it matches up with the hose almost perfectly. If you'd like to use the same idea, you can pick up the spring seat for around $5 from online retailers such as KaseaParts.Com. You could also make an adapter of your own from PVC, thin-wall steel tubing, or whatever else you can come up with.
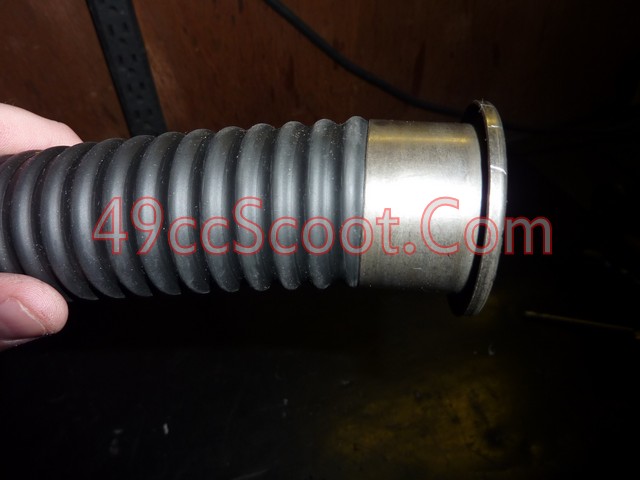
Slide it into the airbox. You'll have to apply a bit of pressure to get it past one of the pegs inside the airbox, but it should go in without too much trouble. Be careful not to damage the peg.
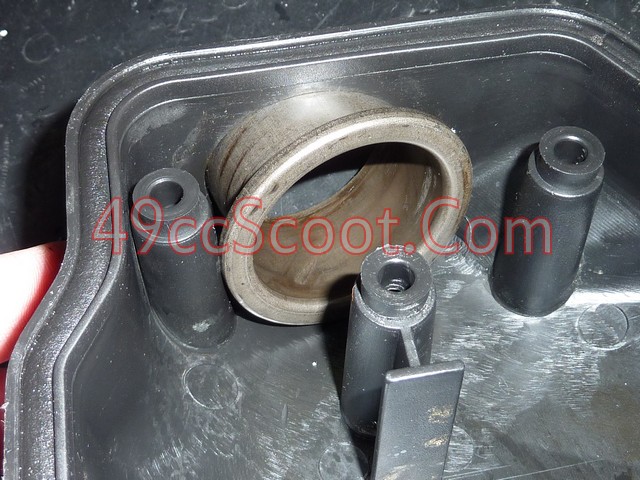
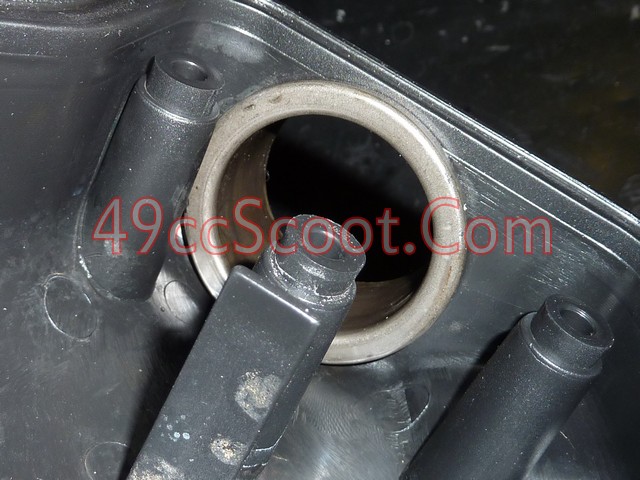
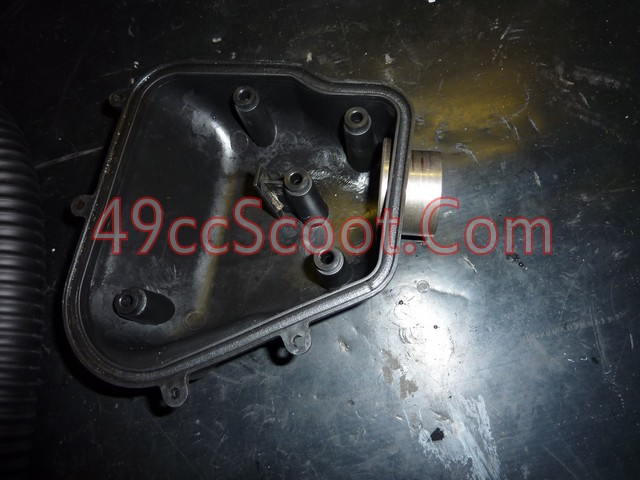
Now the adapter needs to be secured to the airbox and sealed. I mixed up a big batch of Plastic Welder for the task. It's available at select parts and hardware stores, and works well for bonding to plastic.
I applied it generously around the base of the spring seat/adapter, then pressed the seat into place and smeared a little extra around to assure a good bond and seal. Give it time to cure before doing anything else to this side of the airbox.
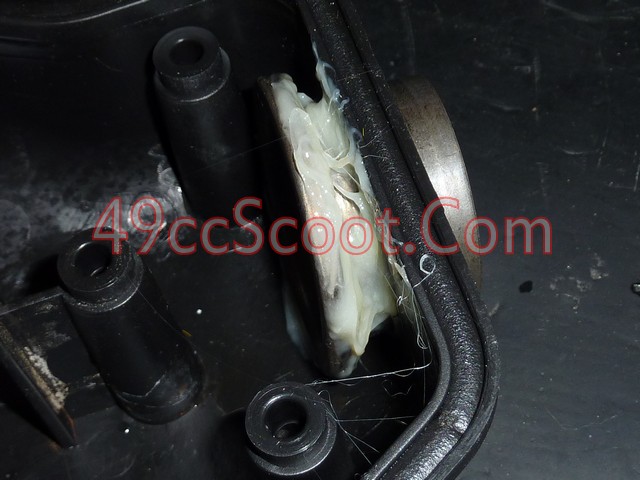
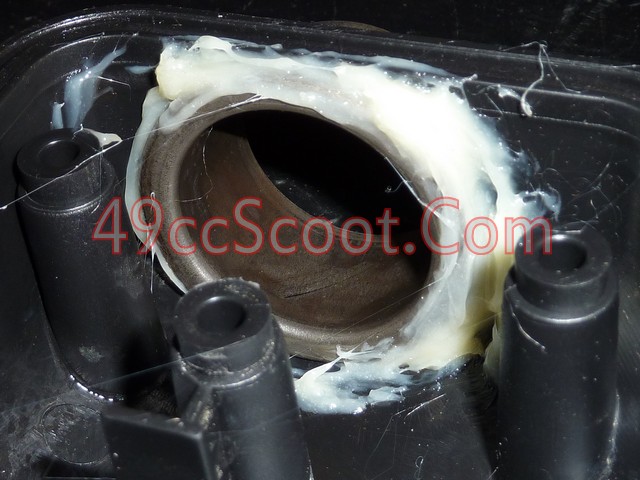
 I used jb weld also to secure new metal flange too the oem airbox
Moving on to the other side of the box, I wanted to enlarge the inlet a little bit. I feel better having this inlet a little larger than the size of the carburetor's venturi, though it will be nowhere near the size of the outlet of the airbox.
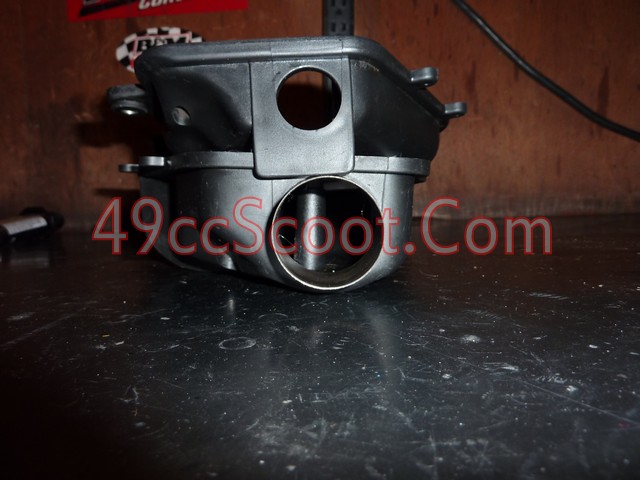
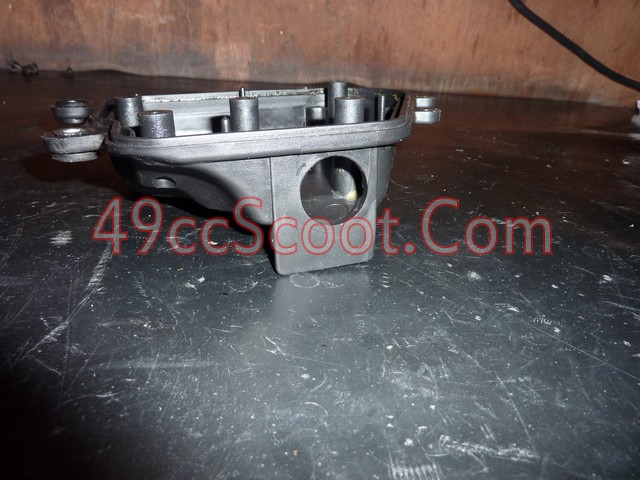
Drilling a larger hole won't work, unless it's only slightly larger, because of it's location close to the edge.
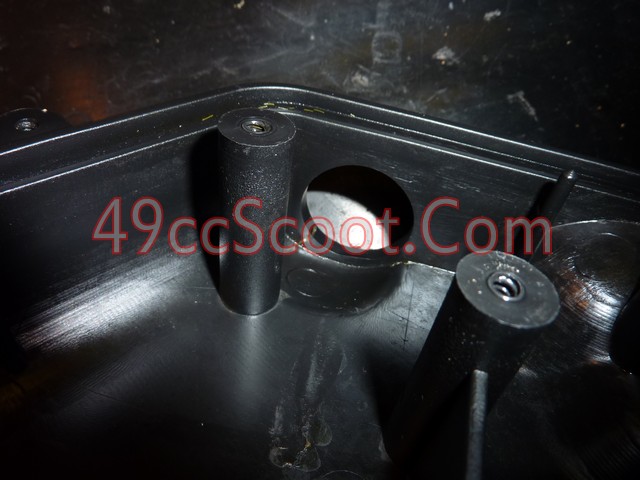
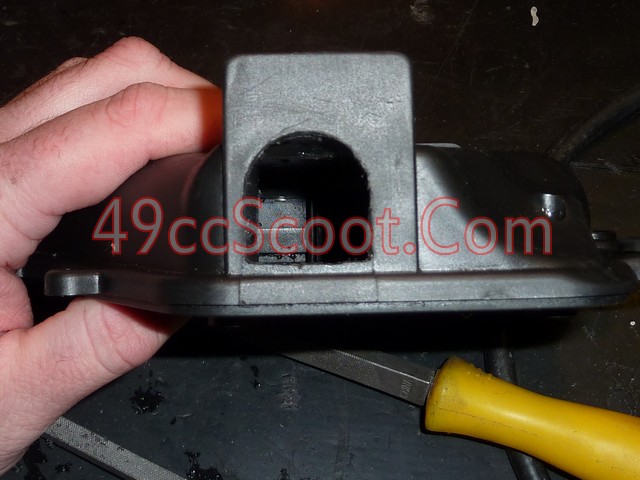
I chose to enlarge the circle just a little and then bring the opening toward the middle of the airbox as shown to create more area. This is easily achieved with files or a rotary tool.
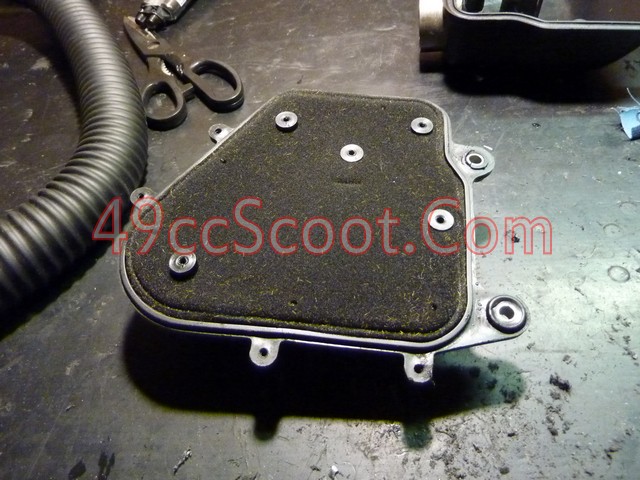
Now you can put the filter back in and reassemble the airbox if your glue has cured.
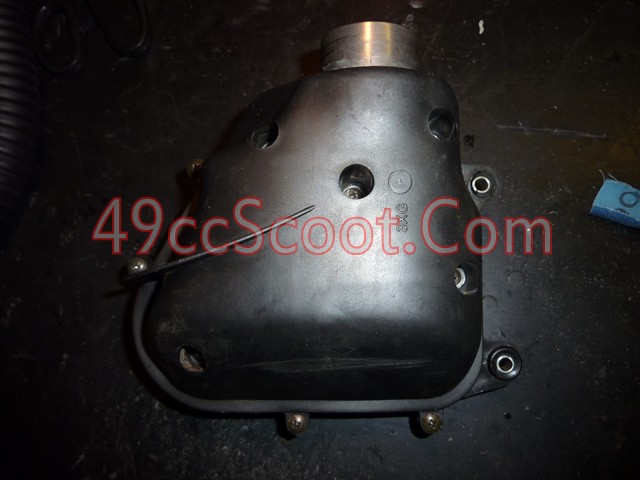
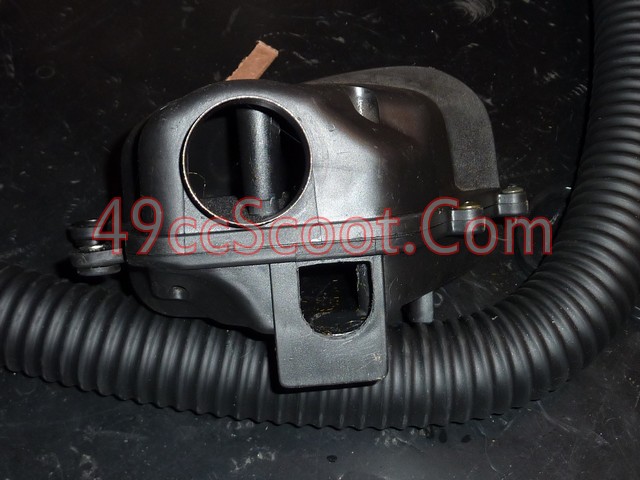
The next task is to join the hose to the airbox. I used a coupling for 1.25" PVC pipe to do this.
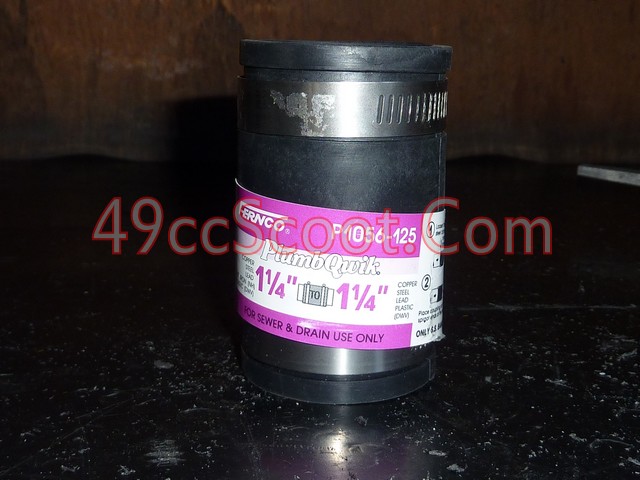
The thick coupling will need to be marked and shaved a little to fit past the lip shown. You can use a razor or utility knife to trim just enough off to make it slide past the lip.
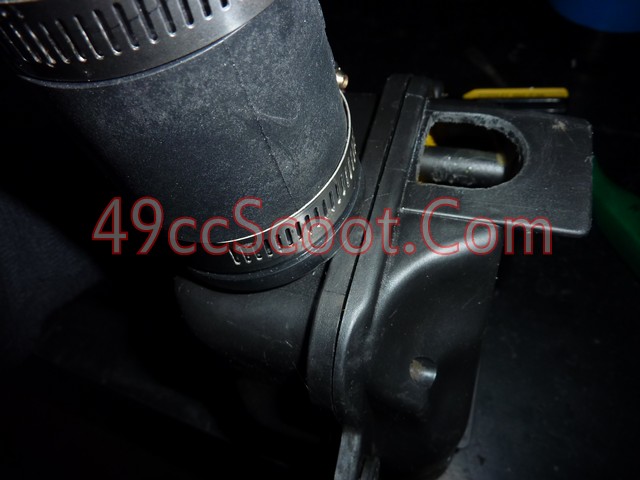
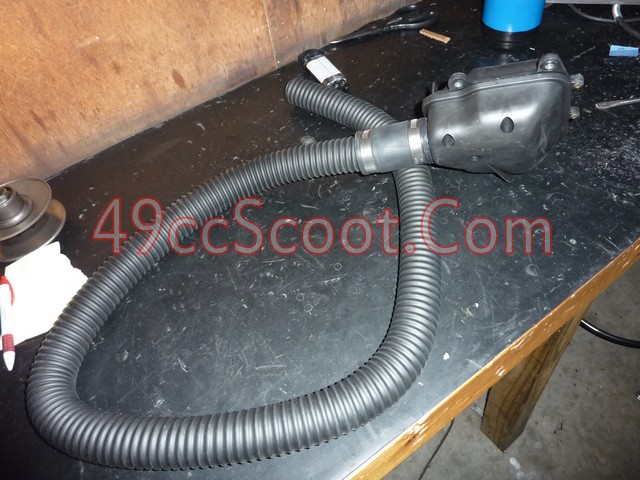
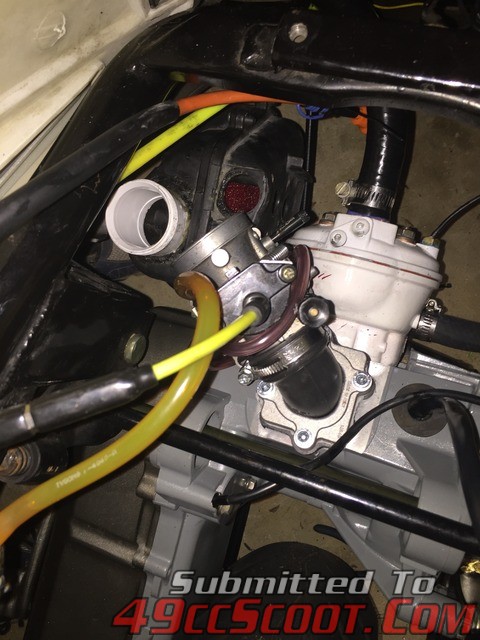
Now filter assembly just needs to be mounted to the carb and the scooter. The 1.5" blower/vacuum hose fits my carburetor perfectly, so all I needed to do was clamp it on.
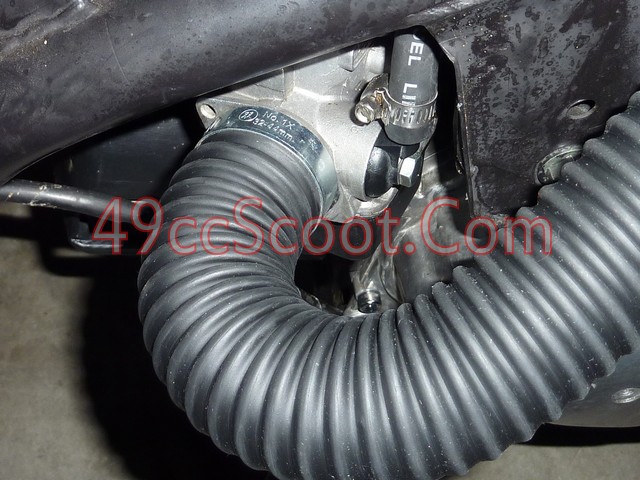
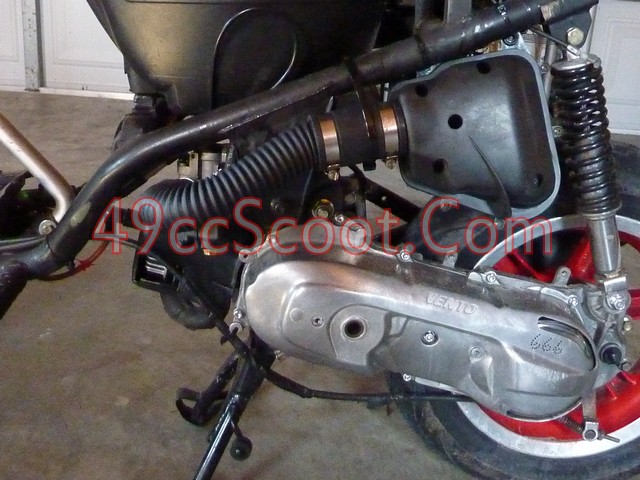
I zip-tied my airbox to the frame for testing. I am considering welding mounting tabs onto the frame to line up with the tabs on the airbox that used to attach to the CVT cover. You could also make a braket to mount it to the CVT cover.
Start by removing the snorkel and the tube that attaches the the carburetor's mouth from the airbox. Both should just pull out reasonably easily. If there is a sealant on yours, use a flat screwdriver to gently work them free.
Now remove the screws holding the two halves of the airbox together, and separate the parts.

If your airbox and filter is as dirty as mine, the next step is to clean it all. Soap and water will work fine in most cases. If the air filter is extremely worn or nasty, you may wish to replace it. Oil the filter with an appropriate foam filter oil after it has dried from cleaning. Local bike shops usually carry something that will work.

I picked up some blower/vacuum hose to attach the airbox to the carburetor. It's durable and the 1.5" hose fit my carb perfectly. I picked mine up from McMaster-Carr for about $3 a foot.


The hose needs a way to attach to the airbox. It will fit through the hole, so I suppose you could come up with a way of sealing it in, but I chose to opt for a clamp on setup to make removal or hose replacement easy.

You'll need something to use as an adapter for the hose to attach to. I happened to have a rear pulley from a 1E40QMB sitting on my workbench. I looked over at the contra spring seat and decided to investigate using it.


It fit into the airbox well and it matches up with the hose almost perfectly. If you'd like to use the same idea, you can pick up the spring seat for around $5 from online retailers such as KaseaParts.Com. You could also make an adapter of your own from PVC, thin-wall steel tubing, or whatever else you can come up with.

Slide it into the airbox. You'll have to apply a bit of pressure to get it past one of the pegs inside the airbox, but it should go in without too much trouble. Be careful not to damage the peg.


Now the adapter needs to be secured to the airbox and sealed. I mixed up a big batch of Plastic Welder for the task. It's available at select parts and hardware stores, and works well for bonding to plastic.
I applied it generously around the base of the spring seat/adapter, then pressed the seat into place and smeared a little extra around to assure a good bond and seal. Give it time to cure before doing anything else to this side of the airbox.


Moving on to the other side of the box, I wanted to enlarge the inlet a little bit. I feel better having this inlet a little larger than the size of the carburetor's venturi, though it will be nowhere near the size of the outlet of the airbox.


Drilling a larger hole won't work, unless it's only slightly larger, because of it's location close to the edge.

I chose to enlarge the circle just a little and then bring the opening toward the middle of the airbox as shown to create more area. This is easily achieved with files or a rotary tool.

Now you can put the filter back in and reassemble the airbox if your glue has cured.


The next task is to join the hose to the airbox. I used a coupling for 1.25" PVC pipe to do this.

The thick coupling will need to be marked and shaved a little to fit past the lip shown. You can use a razor or utility knife to trim just enough off to make it slide past the lip.


Now filter assembly just needs to be mounted to the carb and the scooter. The 1.5" blower/vacuum hose fits my carburetor perfectly, so all I needed to do was clamp it on.

I zip-tied my airbox to the frame for testing. I am considering welding mounting tabs onto the frame to line up with the tabs on the airbox that used to attach to the CVT cover. You could also make a braket to mount it to the CVT cover.


