Mounting A GoPro Cam To Helmets Without Large Flat Surfaces
Dec 31, 2018 21:06:08 GMT -5
190mech, ryan_ott, and 9 more like this
Post by 90GTVert on Dec 31, 2018 21:06:08 GMT -5
GoPro (and other cam brands) make flat and curved mounts that can securely attach to many helmets using double sided tape.
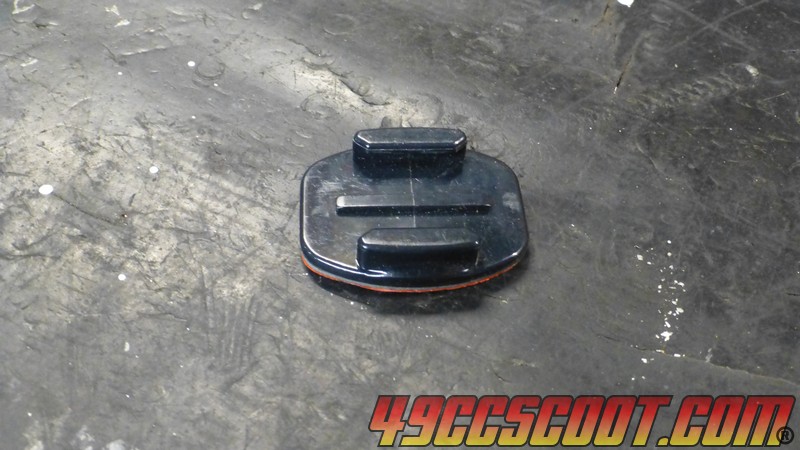
Sometimes helmets are too pointy at the front or have design features that don't leave large flat or mildly curved surfaces to make mounting simple. My HJC FG-17 is a good example. I prefer to mount my GoPro at the very front, in the chin area, but curves and vent size are not conducive to this.
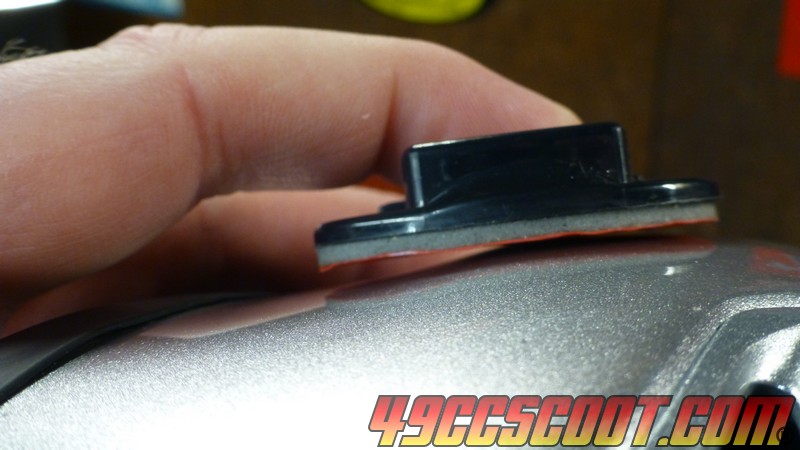
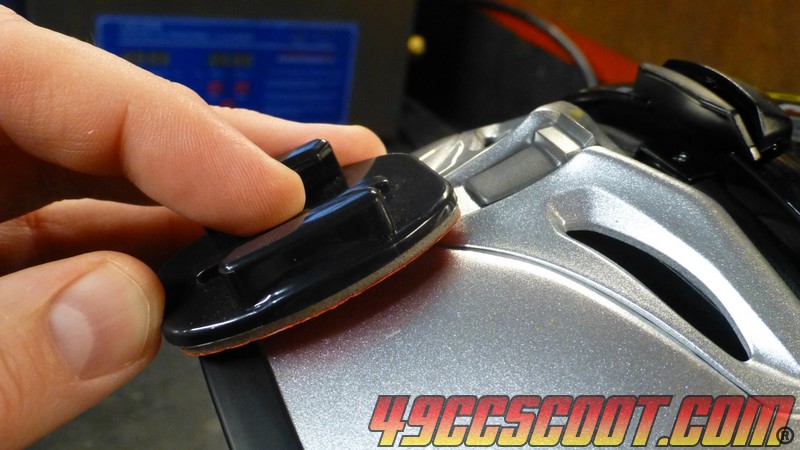
I planned to make a sort of base for the mount to conform to the shape of the helmet. I started by peeling the mounting tape off of the GoPro mount. A razor and a heat gun made the job easier. I had to make sure I got every bit of the adhesive off before continuing.
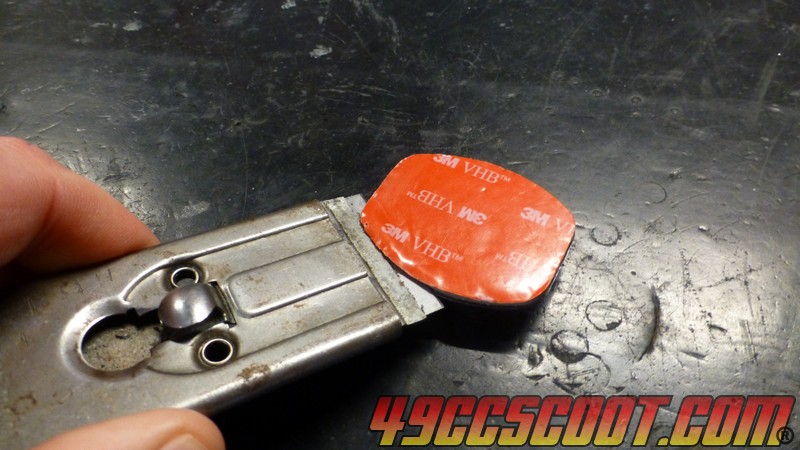
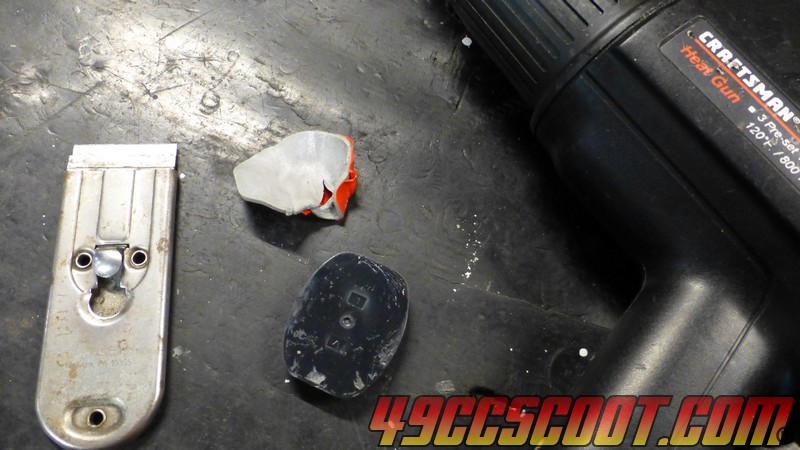
Then I sanded the bottom and a bit of the sides of the mount with 80 grit sandpaper to rough it up and then cleaned it with alcohol and let it dry.
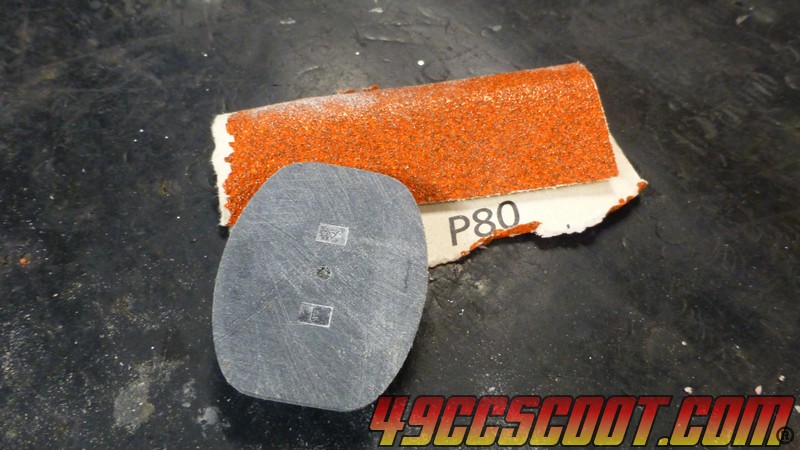
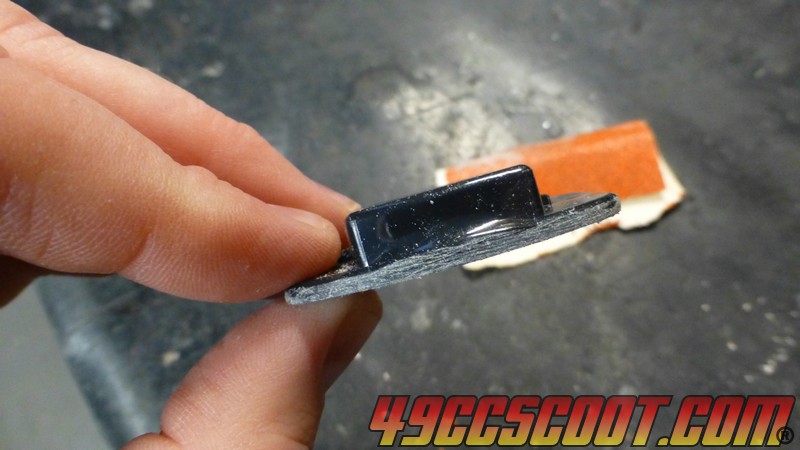
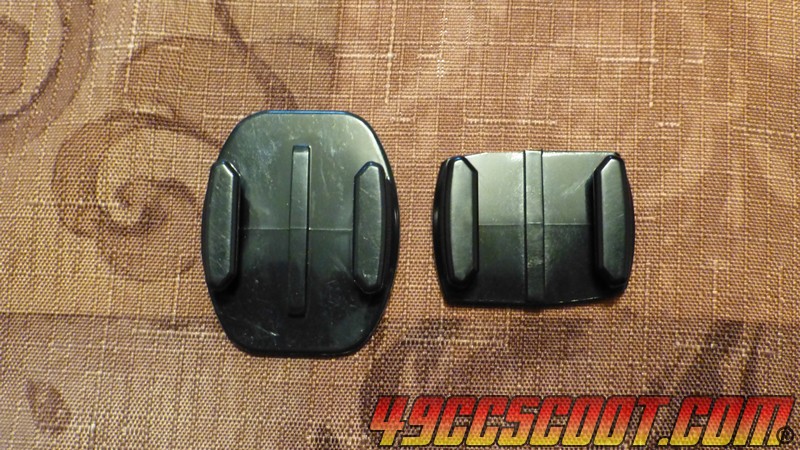
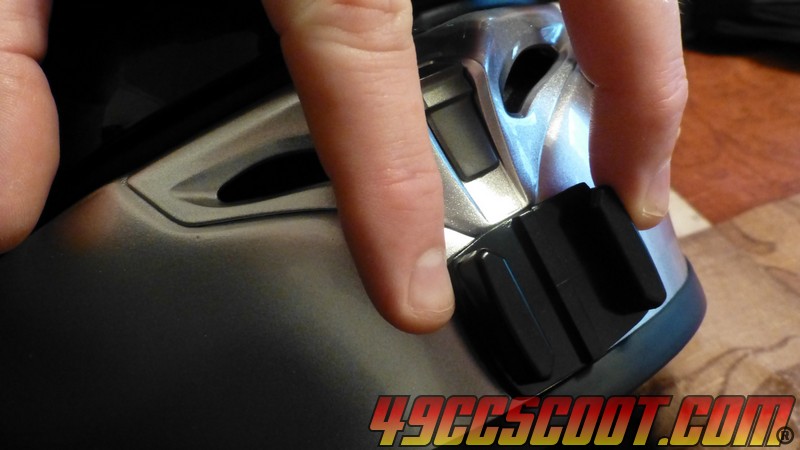
At this point I changed plans a bit. I was initially going to put the mount on the side of the front, but I decided the very center was a better spot because I'd have to use less adapters to get the cam where I want it. I got out a mount that I had already modified and roughed it up the same way. The mount was cut down with wire cutters to fit under the vent. I tried to mount it a couple of times before by piling up 3M double-sided tape to match the curvature of the chin area, but it was never secure enough.
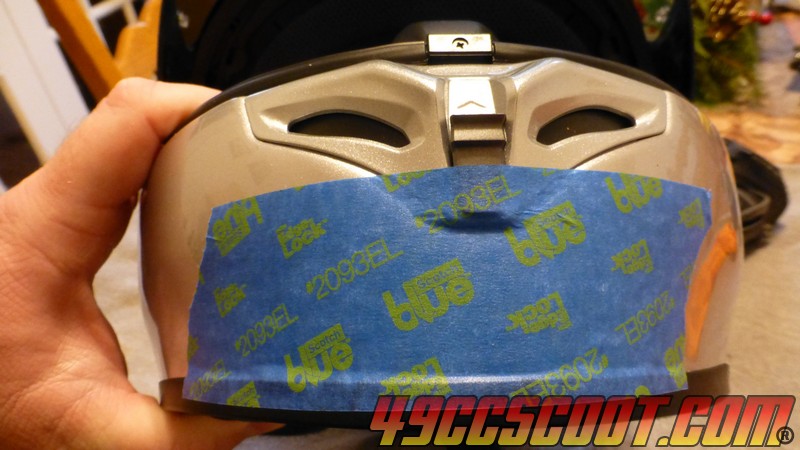
I applied a layer of painter's masking tape across the area where I wanted the mount to be. I was careful to work out bubbles and tried not to leave creases or other imperfections. Any imperfections could change the shape that would later be molded to this area.
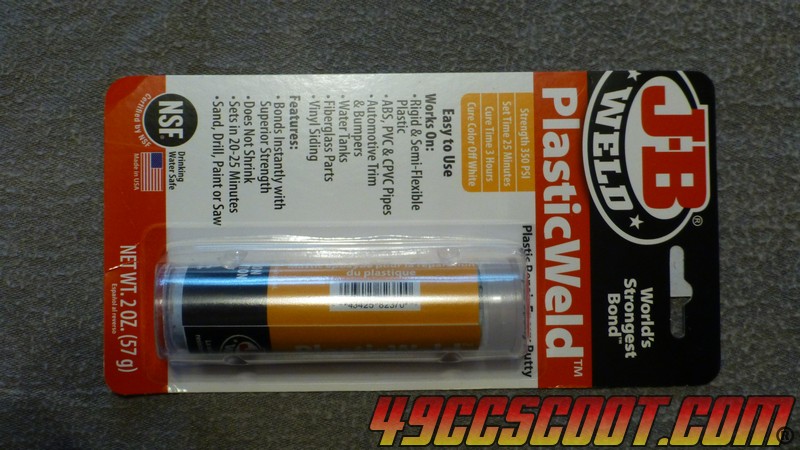
I used JB Weld PlasticWeld putty to make my base. Local stores didn't carry it in this form, so I bought mine HERE. I'm sure other products would work fine, but this is from a brand that I've used many times and specifically for plastic.
I wore nitrile gloves and put a little aluminum foil down in case I needed a surface to work with the putty on. Then I tore off enough to make the base. You can see that there are 2 colors in the putty.
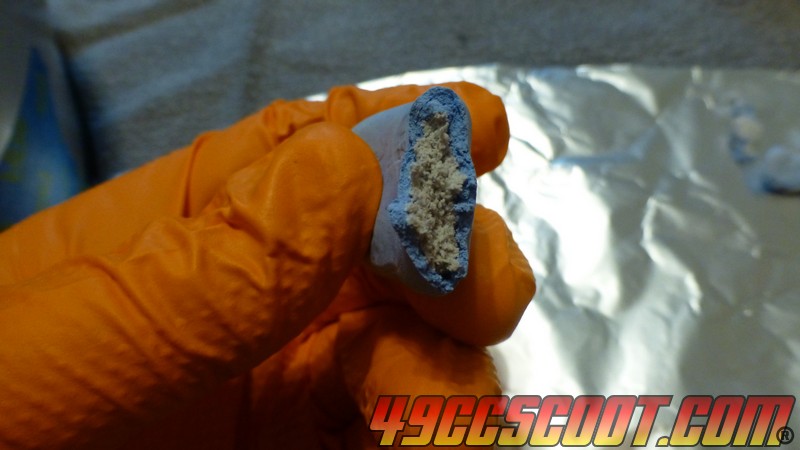
The putty has to be kneaded until it becomes 1 uniform color and then it's ready to apply.
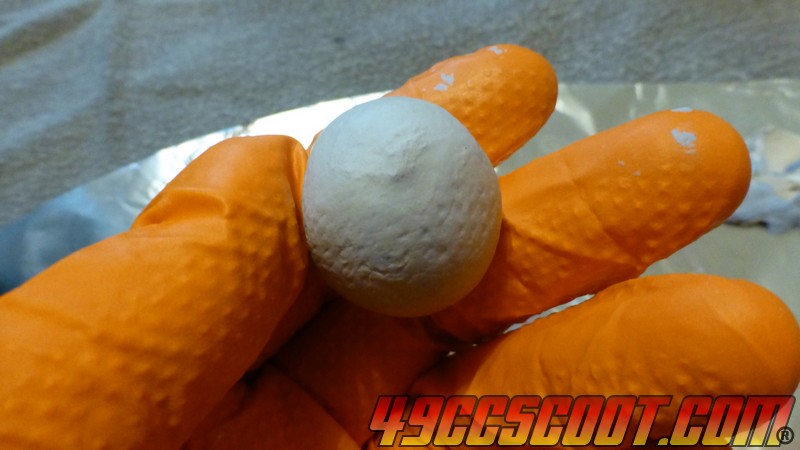
I put the putty onto the helmet where I'd want the mount and tried to shape it appropriately. Then I pushed the GoPro mount into it and worked with it a little more to get some of the putty over the sides where they may help to encase the mount a bit and wouldn't be in the way of the GoPro sliding into the mount.
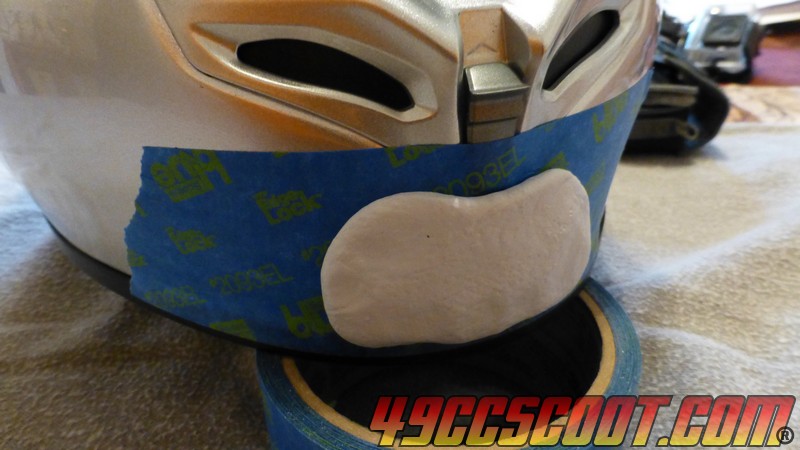
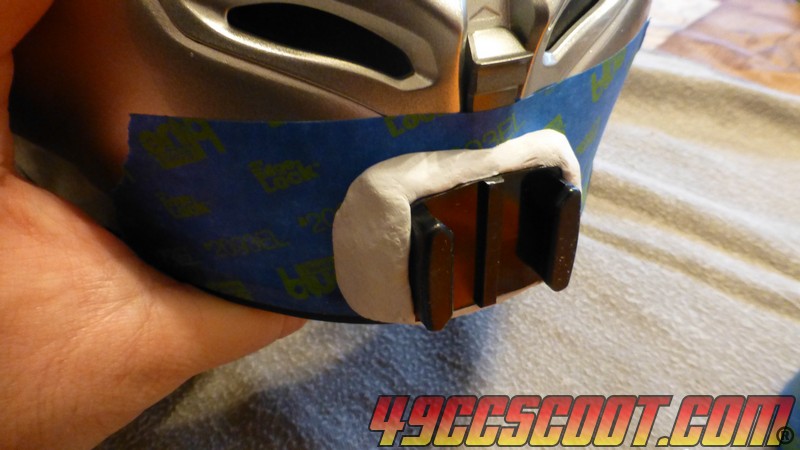
I gave it a few hours to harden and cure and it felt solid. You could give it longer to be safe. Then I peeled the tape and base off of the helmet. I had to carefully get a thin blade under the edge of the base to get it started and then it came off easily.
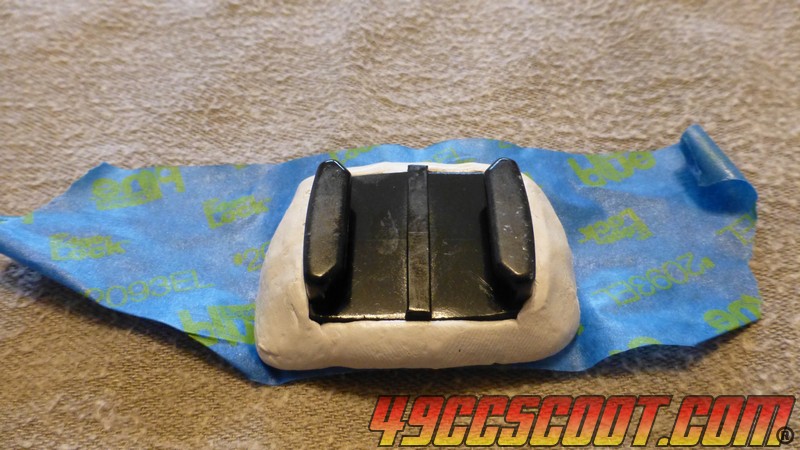
The masking tape peeled off of the mount without issue and I was left with something that conforms to the shape of my helmet nearly perfectly.
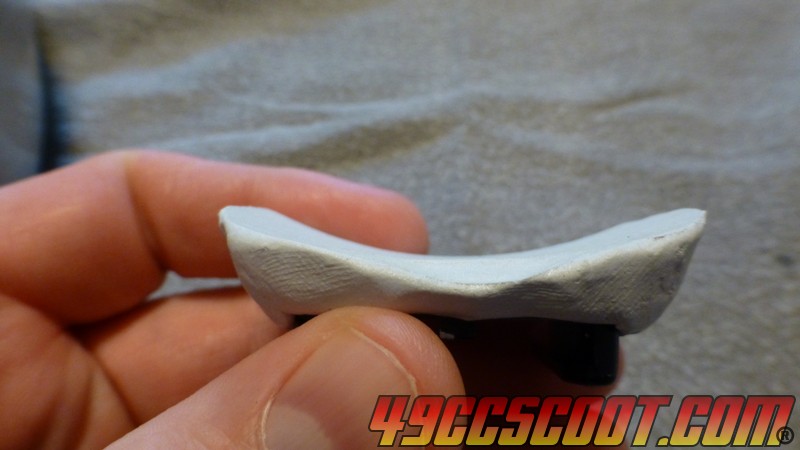
I used 80 grit sandpaper to smooth the base out a little bit and then finished it with 320 grit. I wasn't really concerned with appearance, but you could spend some time on this step and have a very sleek product. Be sure to check that the camera will slide onto the mount and that no putty is in the way before you proceed.
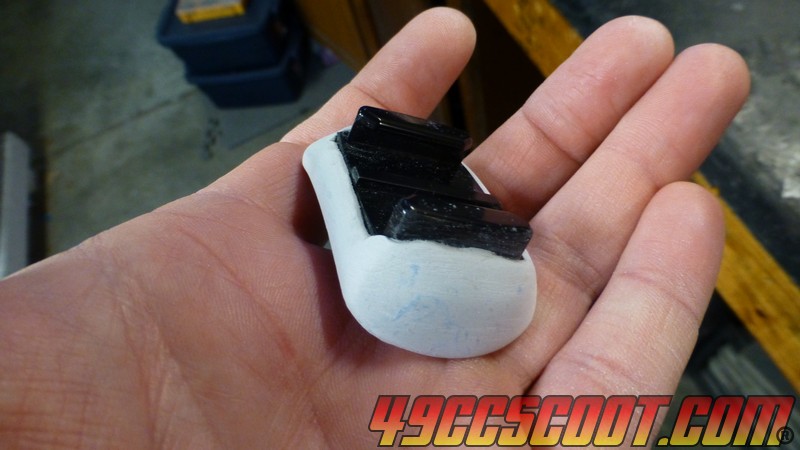
I gave the whole thing a couple of coats of black paint, but painting isn't necessary. Most likely the paint on the mount itself where the cam slides in will end up scratched up anyway with use.
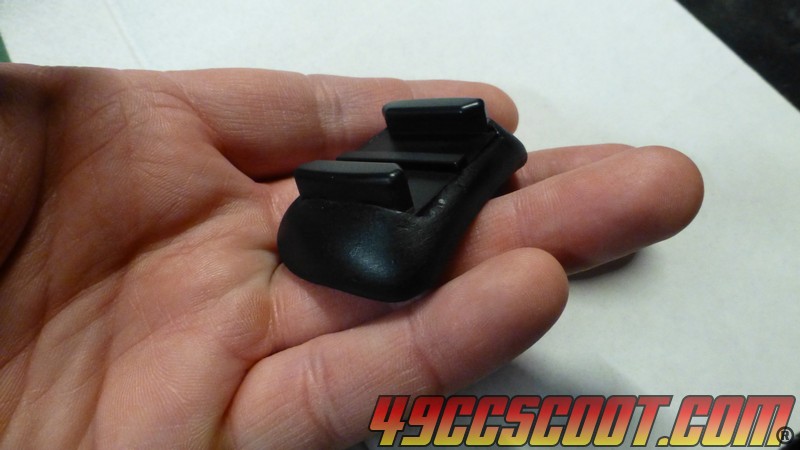
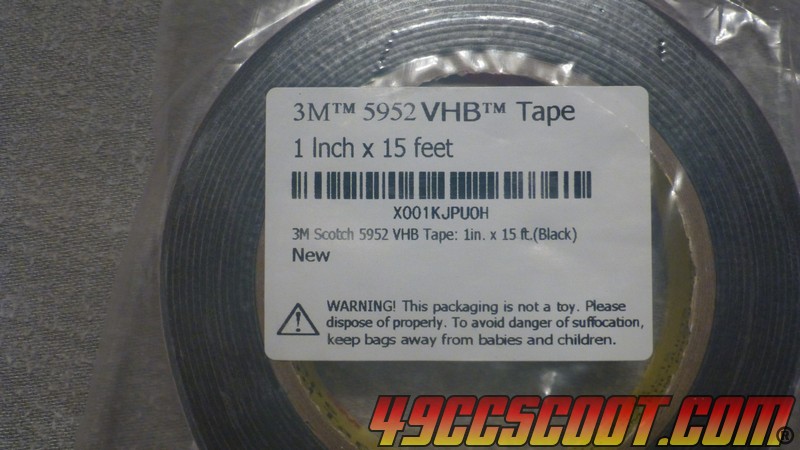
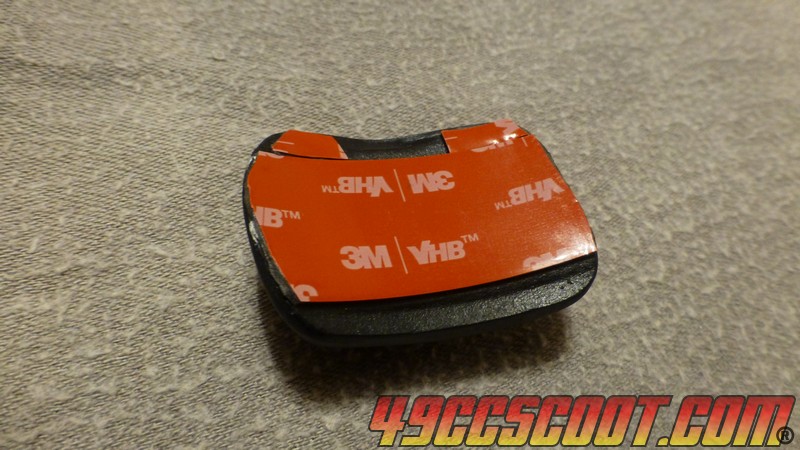
Then I put 3M VHB double-sided tape on the back of the base. This VHB is strong stuff that is often found on genuine GoPro mounts and has worked well for me with multiple cam setups.
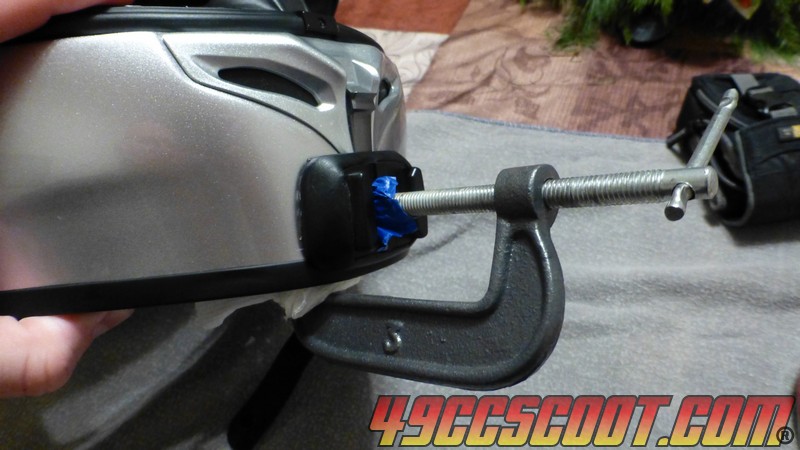
Finally, I cleaned the helmet with alcohol and let it dry and then stuck the base to the helmet in the spot that it was molded to fit. I used a small clamp to put pressure on it for a few hours.
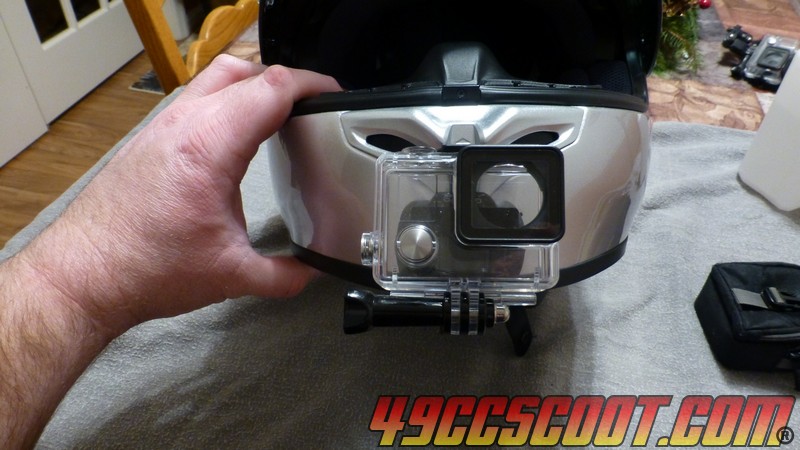
Once it was all setup, I have a secure mounting spot for my GoPro and just where I wanted to put it instead of a compromise.

Sometimes helmets are too pointy at the front or have design features that don't leave large flat or mildly curved surfaces to make mounting simple. My HJC FG-17 is a good example. I prefer to mount my GoPro at the very front, in the chin area, but curves and vent size are not conducive to this.


I planned to make a sort of base for the mount to conform to the shape of the helmet. I started by peeling the mounting tape off of the GoPro mount. A razor and a heat gun made the job easier. I had to make sure I got every bit of the adhesive off before continuing.


Then I sanded the bottom and a bit of the sides of the mount with 80 grit sandpaper to rough it up and then cleaned it with alcohol and let it dry.


At this point I changed plans a bit. I was initially going to put the mount on the side of the front, but I decided the very center was a better spot because I'd have to use less adapters to get the cam where I want it. I got out a mount that I had already modified and roughed it up the same way. The mount was cut down with wire cutters to fit under the vent. I tried to mount it a couple of times before by piling up 3M double-sided tape to match the curvature of the chin area, but it was never secure enough.


I applied a layer of painter's masking tape across the area where I wanted the mount to be. I was careful to work out bubbles and tried not to leave creases or other imperfections. Any imperfections could change the shape that would later be molded to this area.

I used JB Weld PlasticWeld putty to make my base. Local stores didn't carry it in this form, so I bought mine HERE. I'm sure other products would work fine, but this is from a brand that I've used many times and specifically for plastic.

I wore nitrile gloves and put a little aluminum foil down in case I needed a surface to work with the putty on. Then I tore off enough to make the base. You can see that there are 2 colors in the putty.

The putty has to be kneaded until it becomes 1 uniform color and then it's ready to apply.

I put the putty onto the helmet where I'd want the mount and tried to shape it appropriately. Then I pushed the GoPro mount into it and worked with it a little more to get some of the putty over the sides where they may help to encase the mount a bit and wouldn't be in the way of the GoPro sliding into the mount.


I gave it a few hours to harden and cure and it felt solid. You could give it longer to be safe. Then I peeled the tape and base off of the helmet. I had to carefully get a thin blade under the edge of the base to get it started and then it came off easily.

The masking tape peeled off of the mount without issue and I was left with something that conforms to the shape of my helmet nearly perfectly.

I used 80 grit sandpaper to smooth the base out a little bit and then finished it with 320 grit. I wasn't really concerned with appearance, but you could spend some time on this step and have a very sleek product. Be sure to check that the camera will slide onto the mount and that no putty is in the way before you proceed.

I gave the whole thing a couple of coats of black paint, but painting isn't necessary. Most likely the paint on the mount itself where the cam slides in will end up scratched up anyway with use.

Then I put 3M VHB double-sided tape on the back of the base. This VHB is strong stuff that is often found on genuine GoPro mounts and has worked well for me with multiple cam setups.


Finally, I cleaned the helmet with alcohol and let it dry and then stuck the base to the helmet in the spot that it was molded to fit. I used a small clamp to put pressure on it for a few hours.

Once it was all setup, I have a secure mounting spot for my GoPro and just where I wanted to put it instead of a compromise.


