Post by 90GTVert on Feb 14, 2010 21:13:06 GMT -5
Removing The Restrictors From Aftermarket Exhausts
This particular pipe is a Leo Vince ZX designed for 100cc minarelli engines, but many other companies, and sometimes the manufacturer of the scooter, install similar restrictors to meet Euro approval or whatever standards they need to comply to.
Restrictor 1
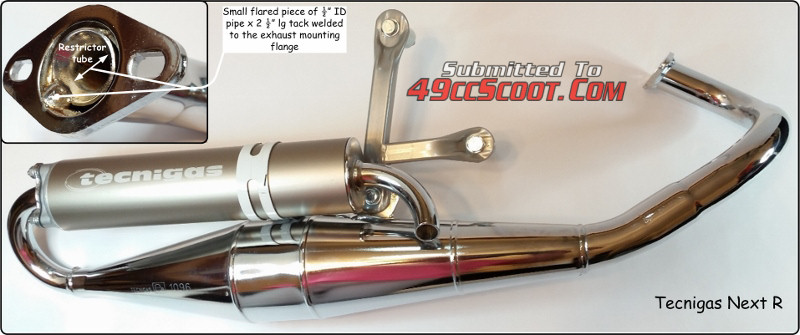
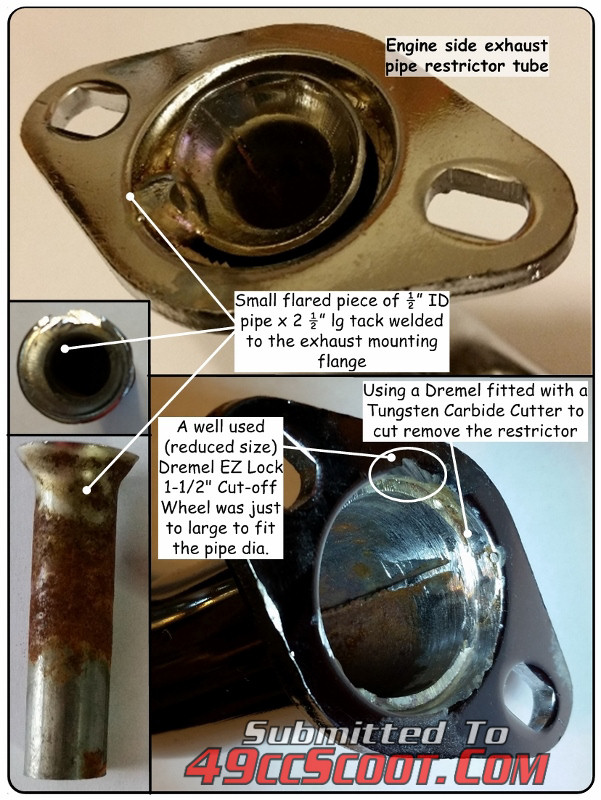
Restrictor in the head pipe.

I ground the spot weld until it was nearly free and then wiggled the restrictor loose.

Here's the restrictor.

Once it was out I just ground the spot weld out so the header was smooth.

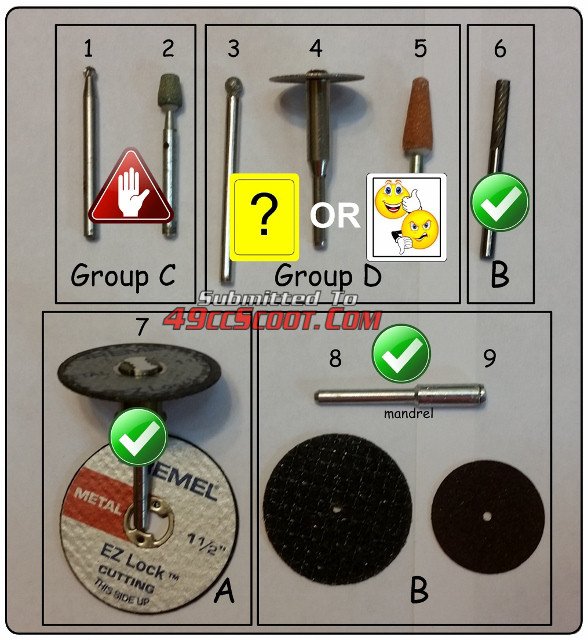
Some people use a chisel to knock out the restrictor. Whatever method you choose, be sure the restrictor isn't going to fall inot the pipe and I suggest smoothing out the weld that you break/grind/cut off.
Baffle Sound Deadening
I hesitate to call this a restrictor, but it is unnecessary material inside the pipe. Removing this will make the exhaust louder and didn't seem to increase performance any in my case. Unless you are making sure you squeeze every last bit of power out of your scooter or you want a louder exhaust, you may want to skip this one.
Remove the silencer and brackets from the pipe.
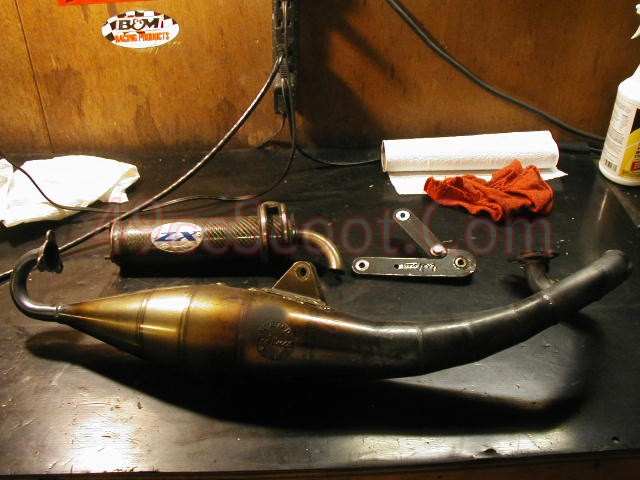
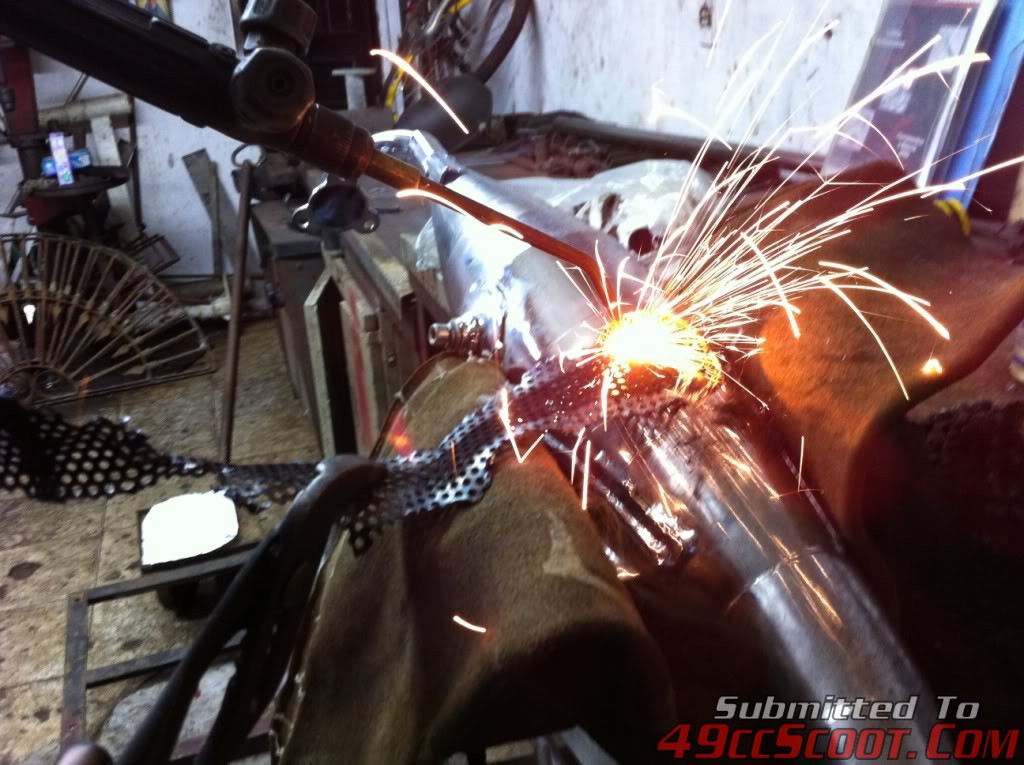
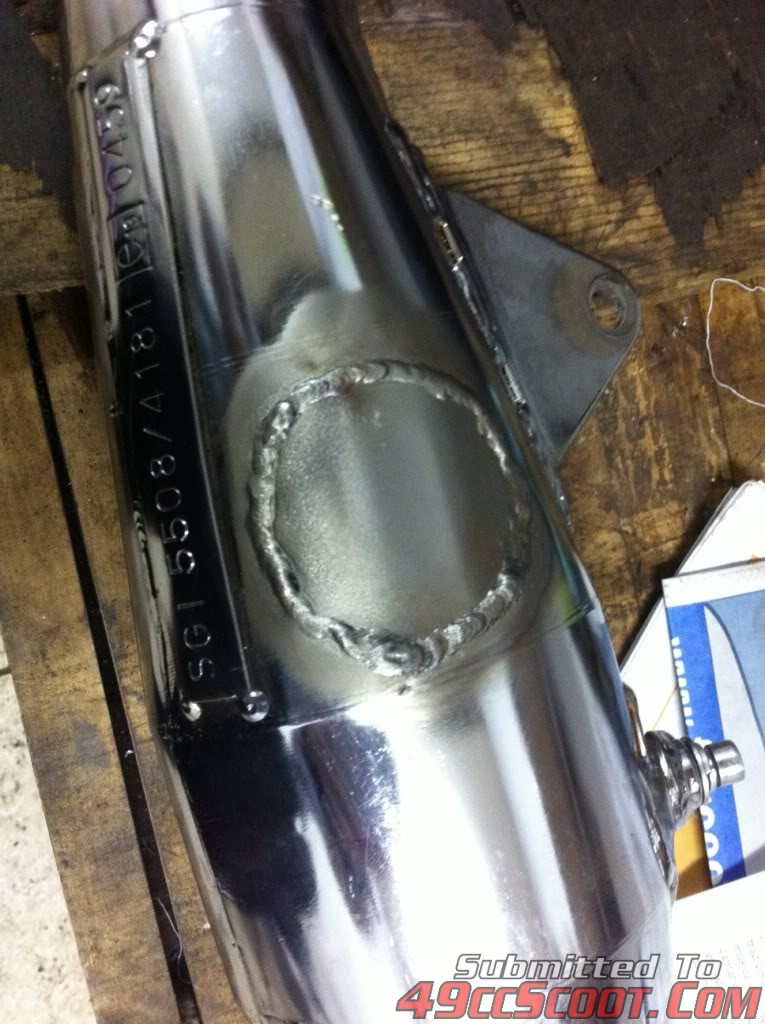
Cut the pipe in two at the weld just behind the mounting bracket.
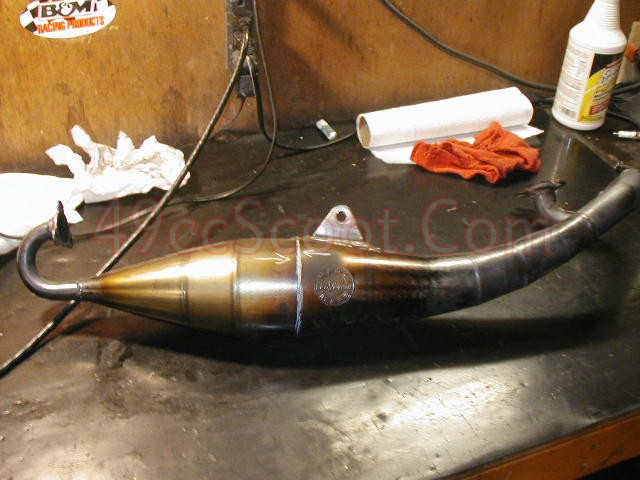
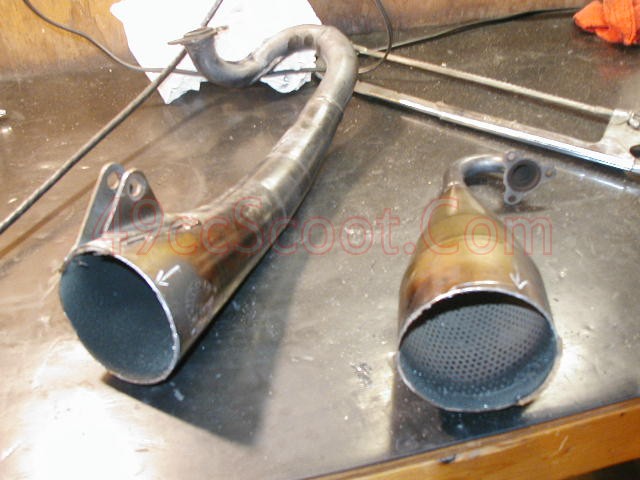
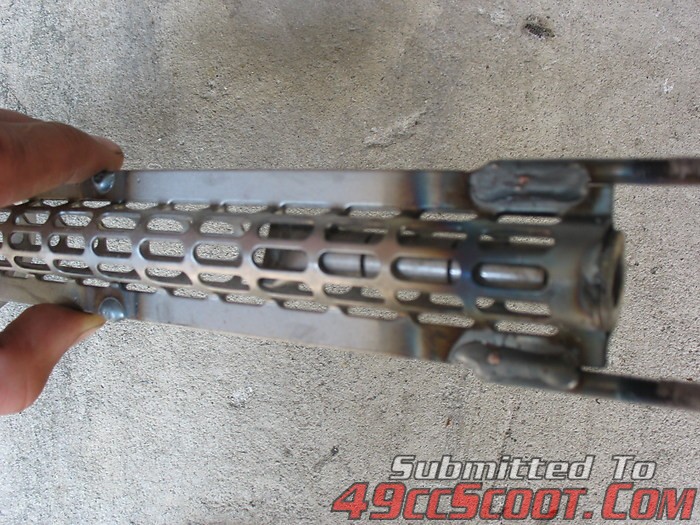
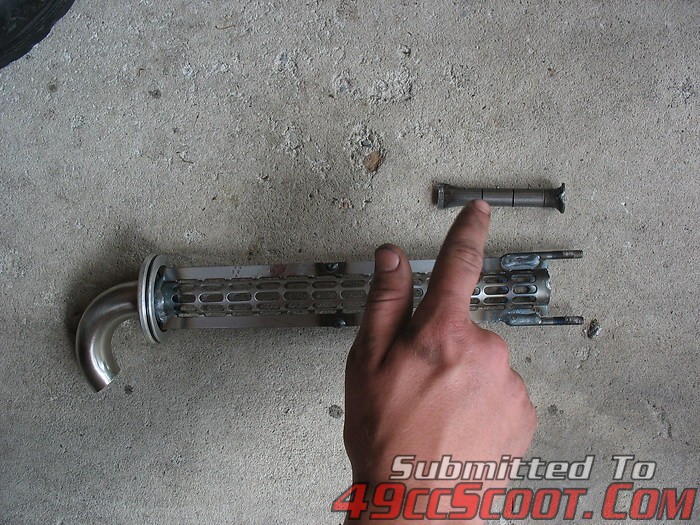
You should see a perforated cone in one end. This is held in by a few spot welds. Grind or chisel out the spot welds and you should be able to remove the cone.
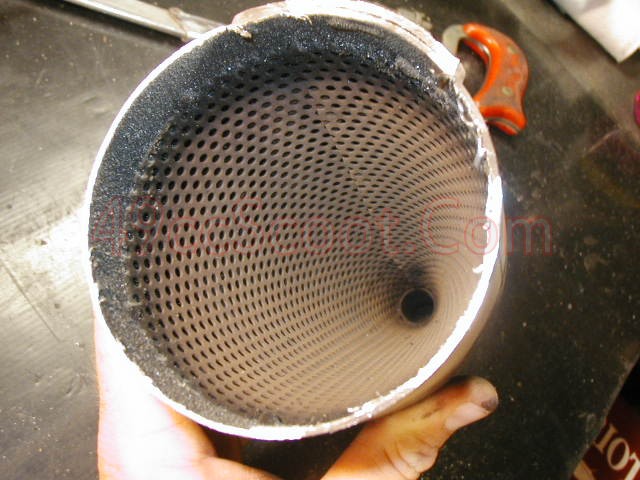
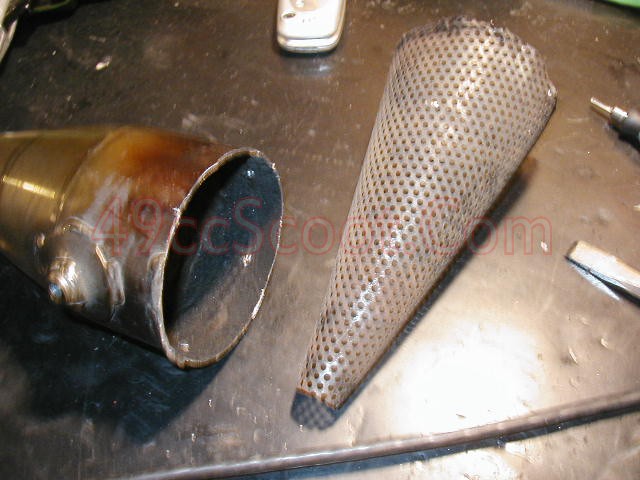
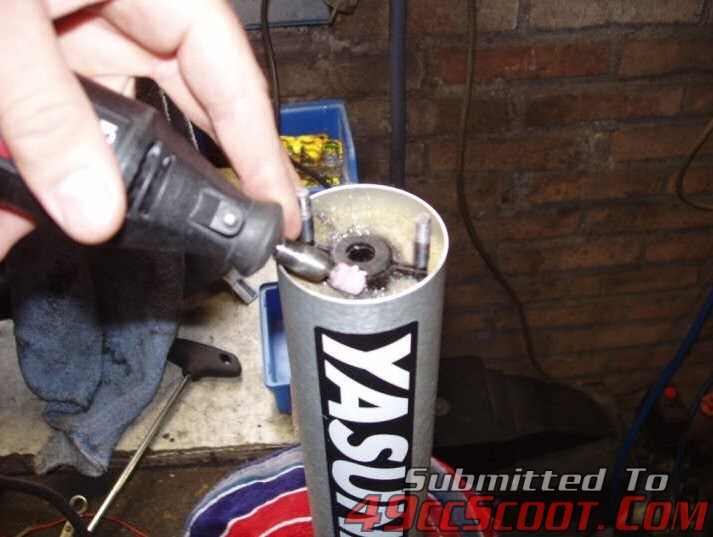
Now remove the sound deadening material that's left in the exhaust.
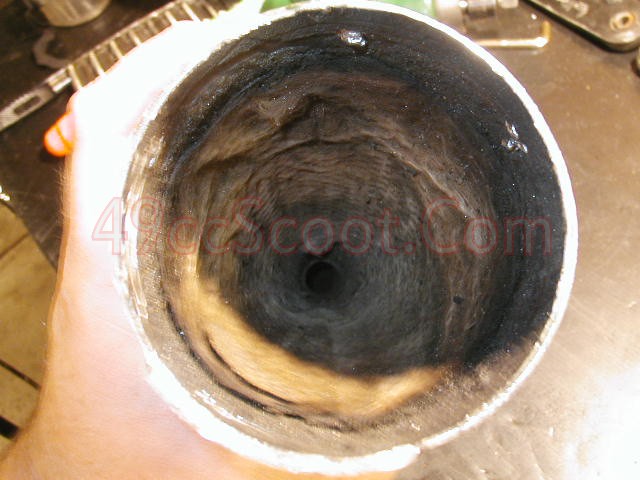
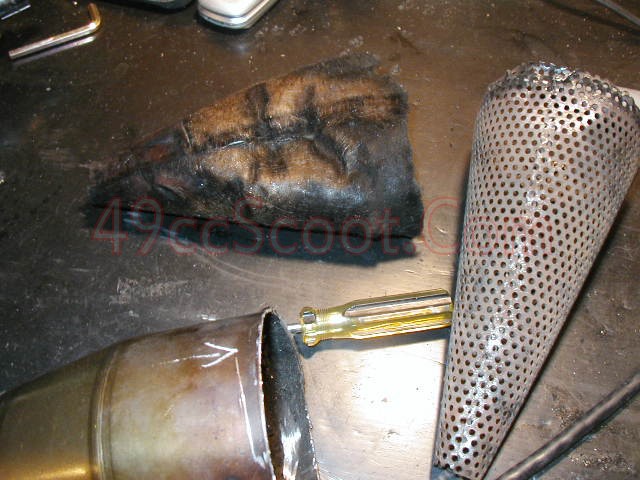
If your pipe has carbon buildup, clean that out. Otherwise, weld the pipe back together and reinstall the silencer and brackets.
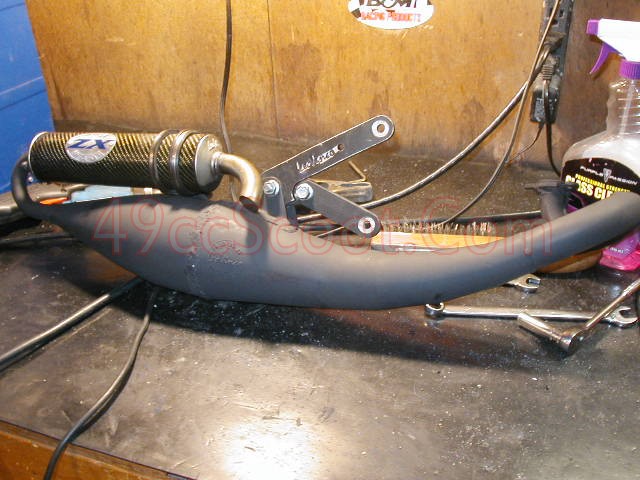
Opening Up The Header
Some aftermarket pipes have a tube installed in the end of them that will hold a ring style exhaust gasket into place and make installation of the exhaust a little easier. That's nice for convenience, but may not be good for performance. For smaller engines, this may not be worth the hassle. I'd suggest comparing your exhaust port diameter to the inside diamater of your header before attempting this, and then deciding if the change is worth it. In my case, the ZX for 100cc Aerox is restricted to only a 21mm inlet ID because of this ring, and I was looking for much more than that for this engine.
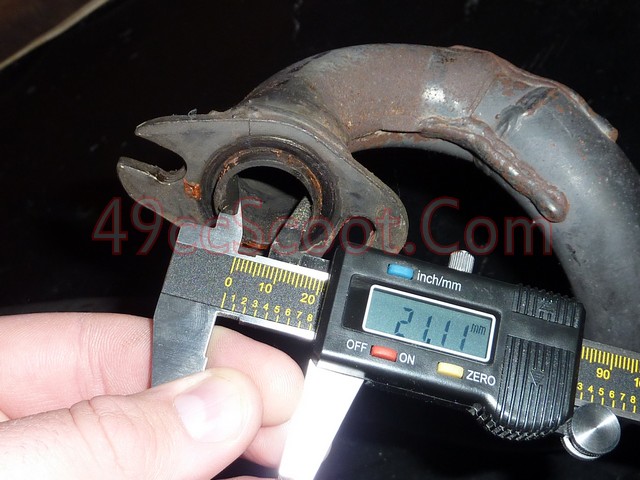
After trying to chisel out the piece, I discovered it was welded all the way around and chiseling it out wasn't a good option. I cut the flange off and worked on it that way instead. Here's the pipe side. What was left there popped out easily.
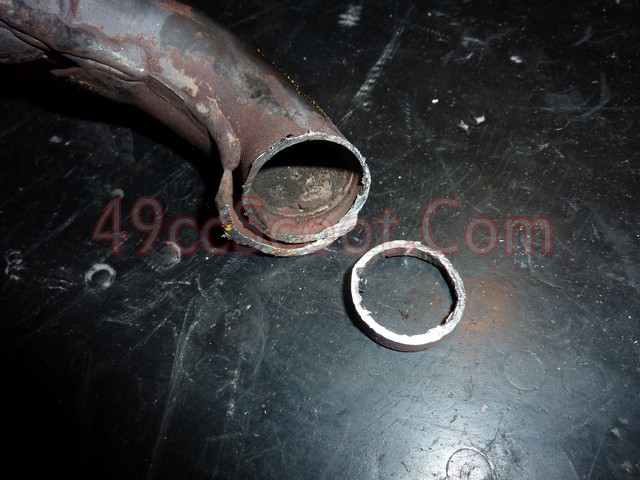
Here's the mess I made of the flange side with a chisel. I think an easier bet may be to simply grind this ring out. It takes time, but so does cutting and re-welding. The big advantage to cutting and welding is that it gives you a good chance to port match as I show in a moment.
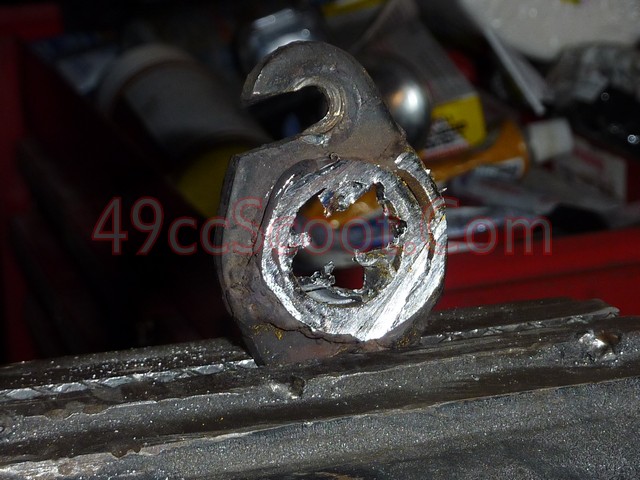
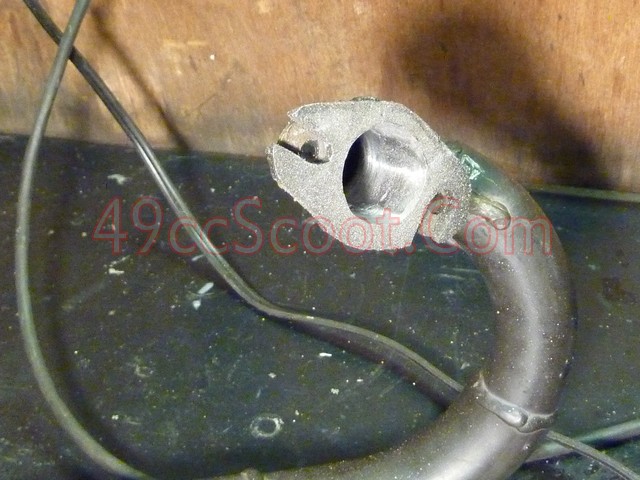
I ground that out and ended up with a 26mm flange, up 5mm from before.
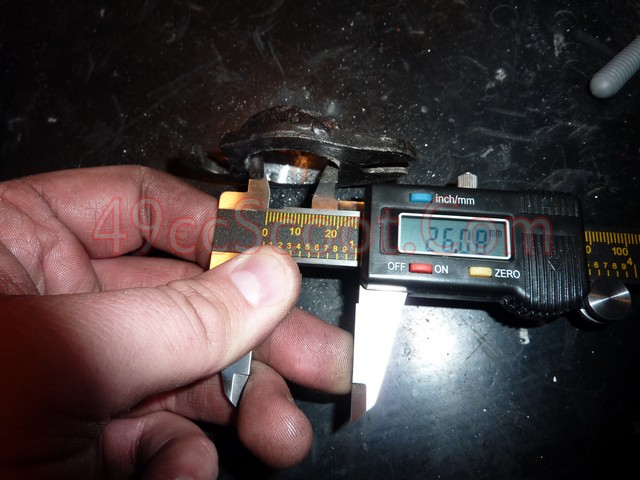
I decided not to weld it back together until I match up the cylinder. This pic illustarates why that's a good idea in this case. It is worth checking this while you have it off if you end up cutting the header flange off as I did.
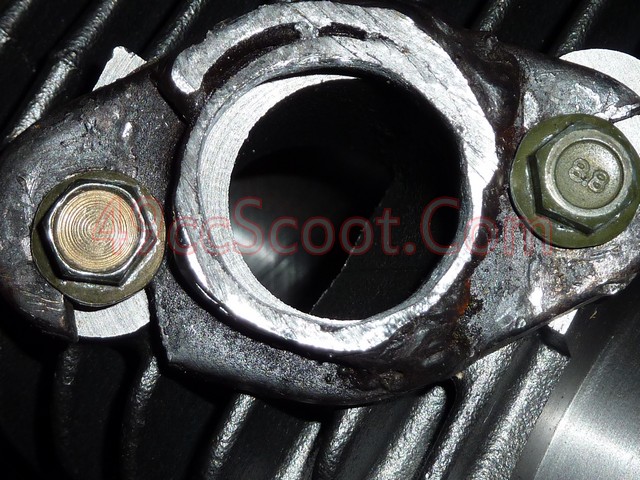
With a little grinding in both of the slots it lined up much more evenly.
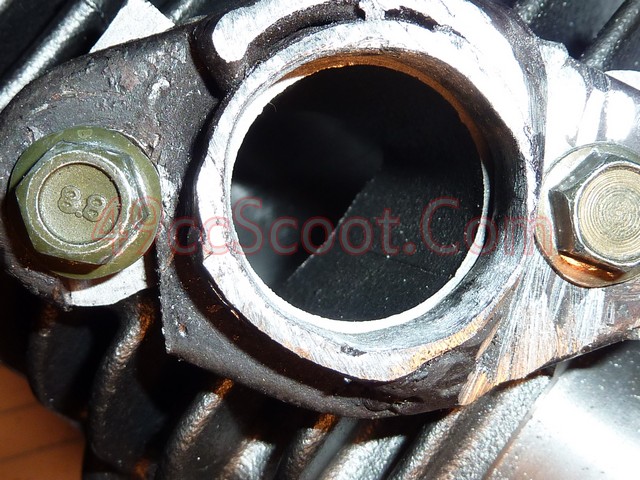
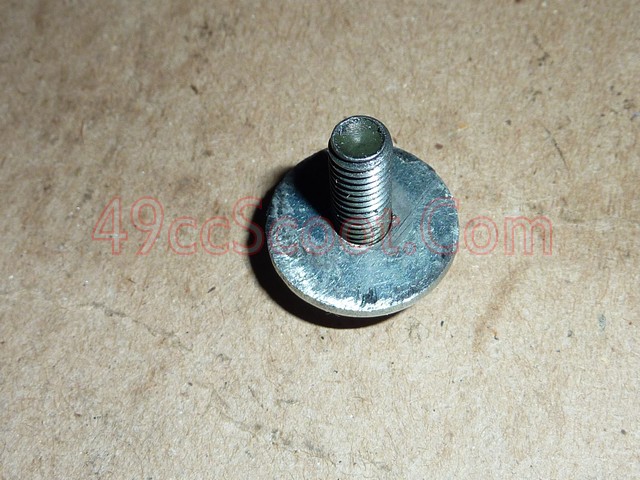
I used washers too small, then drilled them to a size where the bolts would just fit through without scraping the threads (15/64" worked well for my M6 bolts) for a very snug fit.
Bolted the flange back up with one washer in place. Stuffed the cylinder with wet rags to keep any slag outta there and tacked the washers in place. Then removed the flange, finsihed welding, and filed it flat.
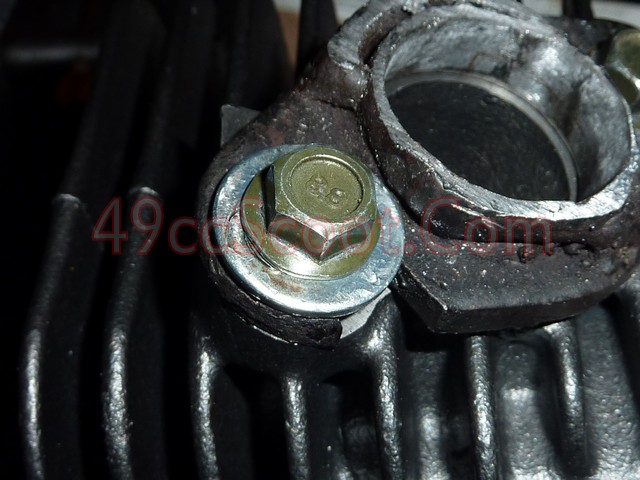
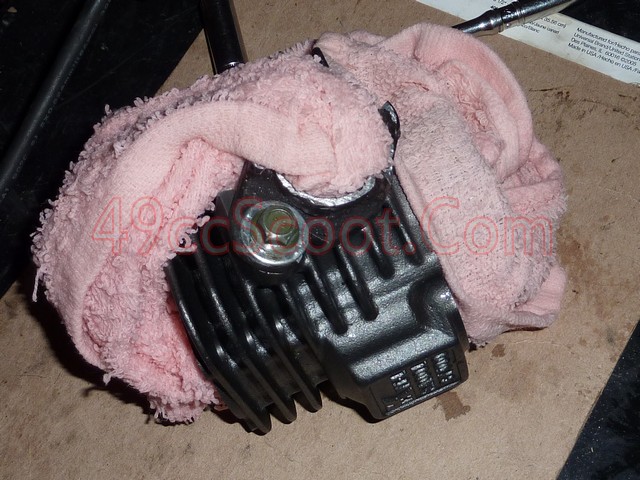
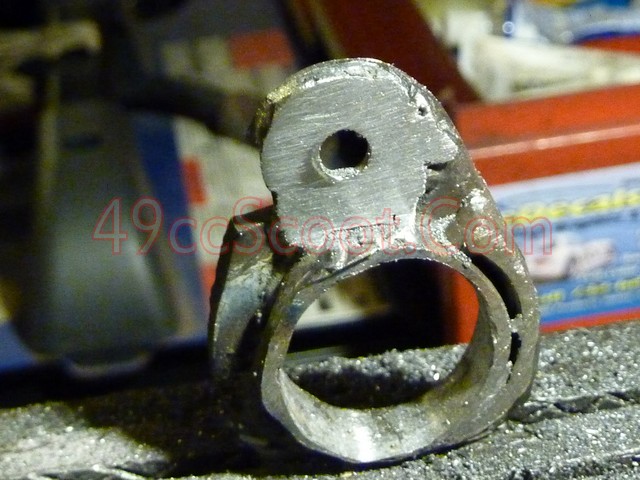
Repeated for the other side and now there's really no room for movement so I can be sure it stays where I want it after it's port matched. It's not pretty, but it should work.
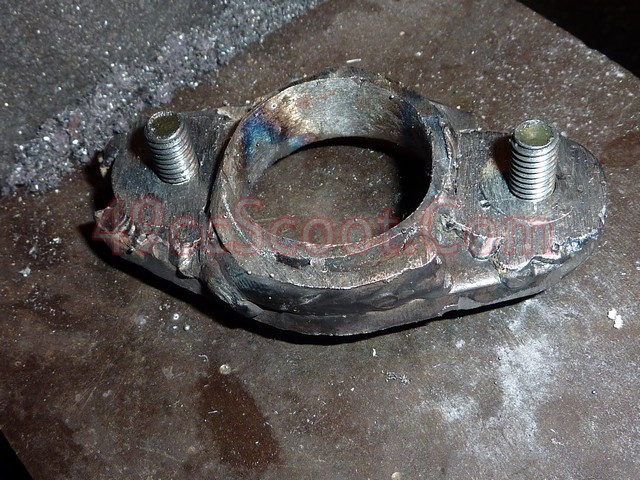
A little time with a Dremel and you can really see the improvement.
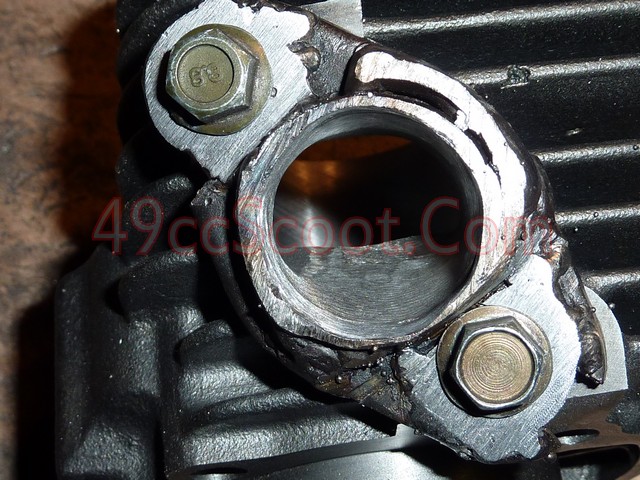
I figured I better bolt up the flange and get everything lined up rather than just welding the flange back on as it was. Probably a good idea since it didn't line up at all in it's original position.
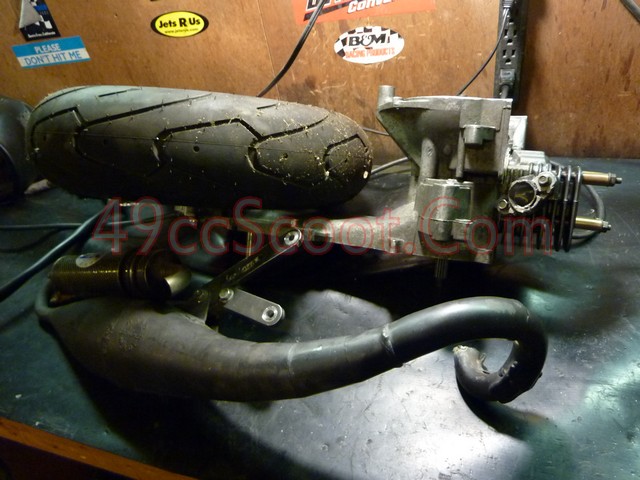
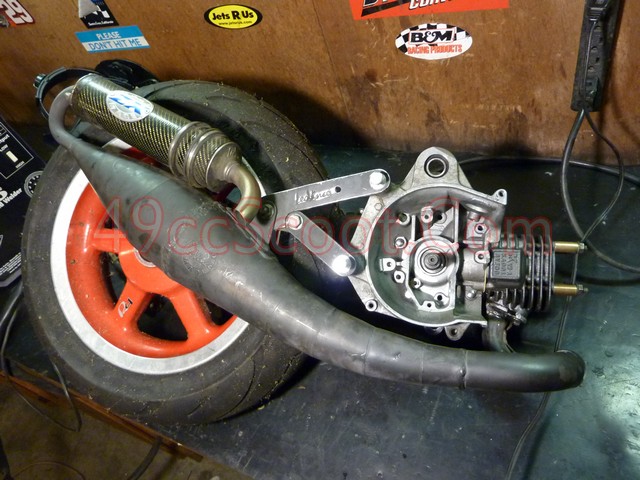
Ended up pulling the exhaust in toward the tire more, but there's sufficient clearnace.
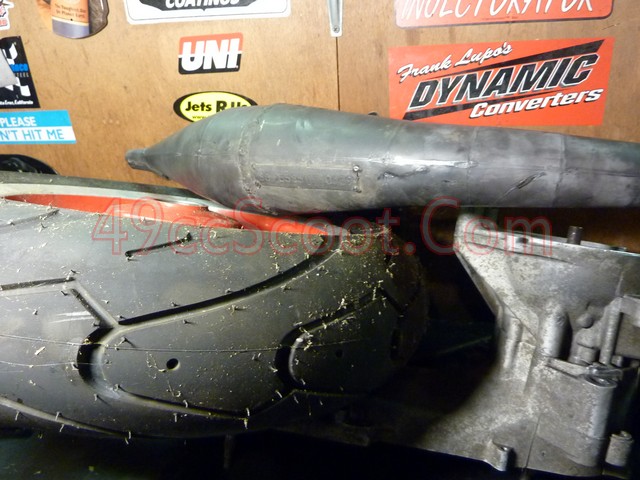
I welded it inside and out. It's basically finished. I just need to finish sanding the inside and repaint, but I ran out of sanding drums.
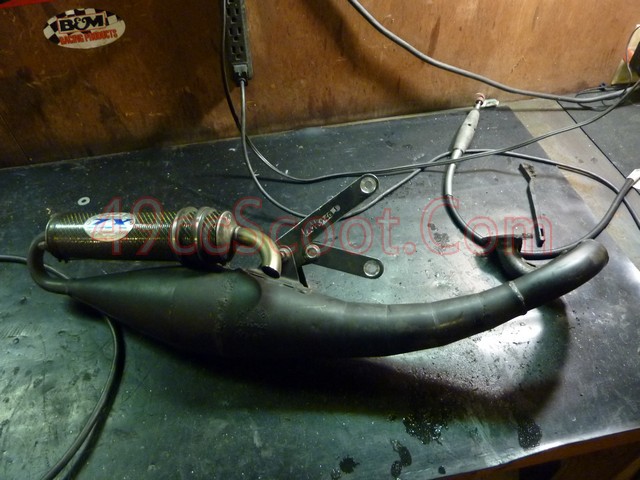
So there you have it. With the use of the alterations above, you might turn an average pipe into a great pipe. ;D


