|
|
Post by 90GTVert on Feb 16, 2010 13:54:33 GMT -5
This information was provided by 2strokd.Heres a case leak tester i made for cheap. 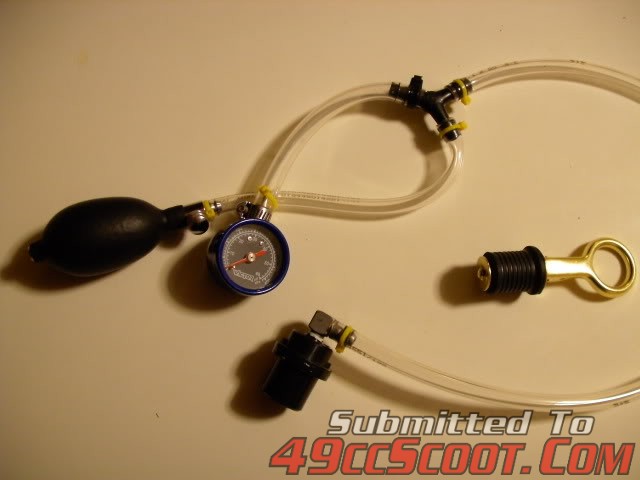 I had most of the stuff already but the rest is easy to get at about any parts or hardware store for under $15 or $20. I had the hose and y fitting, other fittings, and hand pump, all i needed to buy was the gauge and plug, i got those for under $10. Now i just need to pull my exhaust and carb, put the piston at BDC, and put the plug into the ex. and the adapter into the intake. Pump the tester to 6psi and make sure there isnt any bad leaks at first. If it seems good and sealed leave it alone for 5 to ten minutes. When you return you should still see 6 psi on the gauge, if not pump 6 psi back into the crank case, then spray soapy water around all mating surfaces and look for bubbles. Bubbles equal leaks, leaks equal poor running or an erratic hard to tune motor that may lean out at any time causing damage.
|
|
|
|
Post by 90GTVert on Mar 18, 2010 20:22:23 GMT -5
There are alternate methods to making a leak tester. Be creative. Be thrifty. Make it however you'd like it as long as it serves it's purpose. This is just the way I did it. What I used : Note : I added amazon links for some parts, but you may be able to get this stuff locally or online elsewhere for less. You may also get creative and do some substitutions.3ft - 1/4" I.D. Hose (amazon link)4 - Hose Clamps (amazon link)3 - 1/4" Hose Barbs with 1/8" NPT Threads (amazon link)1 - 1/8" NPT Tee (amazon link)1 - Air Pressure Gauge with 1/8" NPT Threads (amazon link)1 - Hand Pump (amazon link)1 - Expansion Plug or Blockoff Plate (Varies by exhaust size.) 1 - PVC Pipe Cap or Plug (Will vary depending on the size of your intake) Teflon Tape or Liquid Thread Sealant (amazon link)Everything I used cost me around $30-$35. You could do this for less money, depending what deals you can find, what parts you choose to use, and what you already have around. I found the 0-30psi air pressure gauge on eBay. A 0-15psi gauge would provide more precise readings, but I got a better deal on the 0-30psi gauge. I had a bit of trouble finding the hand pump until forum member 2strokd told me it's actually for blood pressure cuffs. Searching eBay for "baumanometer" or "inflation bulb" may make your searches more productive. You should be able to find everything else at a hardware store. The expansion plug needs to fit the exhaust port of the engine you plan to use the tester with. 1" (25.4mm) is a pretty common port size for big bore kits. The PVC pipe plug needs to fit the intake you plan on testing with. A 3/4" plug worked well for my stock minarelli intake.  Start by applying teflon tape to the threads of 2 hose barbs and the pressure gauge. Thread them securely into the tee and tighten them.   Use about 1ft of hose and 2 hose clamps to attach the hand pump to one of the hose barbs on the tee.  Attach the rest of the hose to the other barb on the tee with a hose clamp.  Choose a plug that fits the intake you need to test with.  Drill and 11/32" hole in the PVC pipe plug and tap it using a 1/8" NPT tap.  Apply teflon tape to the remaining hose barb and install it into the plug.  Use a hose clamp to attach the plug's barb to the hose coming from the tee.  Your expansion plug should fit the exhaust port of the cylinder you are testing. The plug may be loose at first, but it should expand to seal.   You can test your new leakdown tester for leaks by plugging the end that would fit into the intake. If you use a 1" pipe plug and an 1" expansion plug, this is very simple.  Once the end is plugged, pump the hand pump until the gauge reads 6-7psi. Listen and feel for leaks. If no leaks are detected, let the tester sit for 15 minutes or so and make sure it's still holding pressure. If the pressure doesn't drop, your new leakdown tester is ready to use.  |
|
|
|
Post by 90GTVert on Nov 24, 2014 8:25:59 GMT -5
Having used the leak tester a lot over the years since these how-tos were posted, I've found that I prefer using a plate to seal the exhaust port for leak tests instead of the expansion plugs. I bought a couple of the expansion plugs as shown and higher quality expansion freeze plugs from an auto parts store. Because of varying port dimensions and shapes, it was often a bit of trouble to get a seal with them. Now I use a piece of ~3/16" thick aluminum to seal the port. Aluminum, steel, maybe even some type of very thick plastic could be used. All you have to do is lay an exhaust header or an exhaust gasket onto the material you'll be using and trace around it and mark the bolt holes. Cut the shape out and drill the bolt holes out, but leave the exhaust port unopened so it will be blocked. You will need to seal the plate to the cylinder somehow. You can use a gasket, rubber sheet cut the same way, or sometimes I use a very thin coat of a sealant like clear silicone or an RTV that I have around. 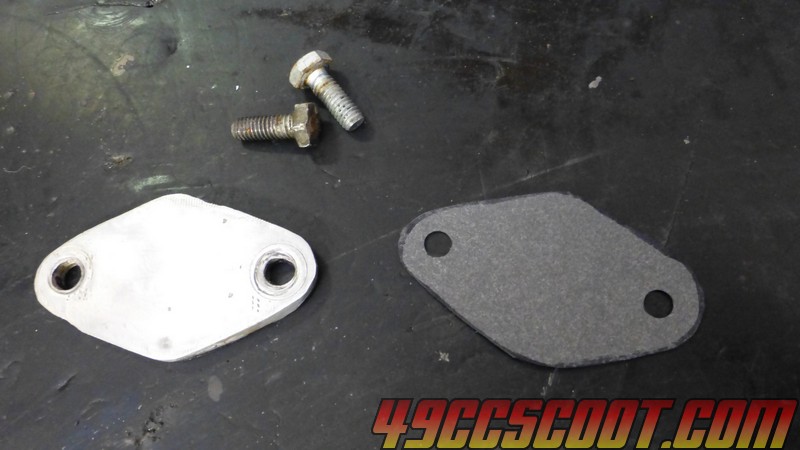 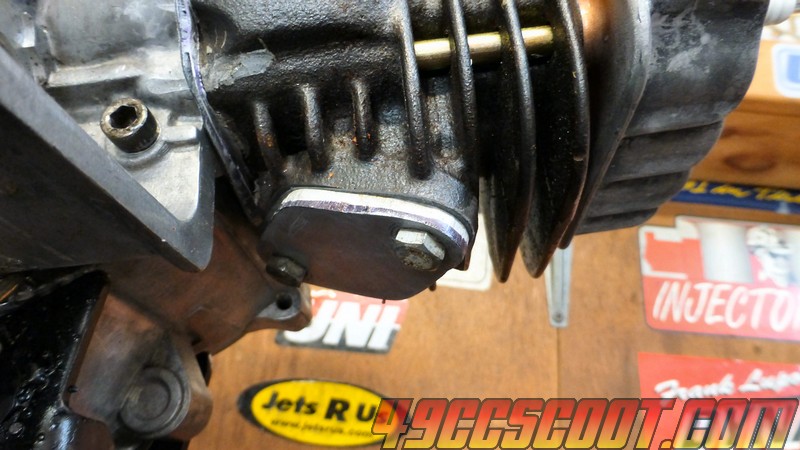 2strokd 2strokd has mentioned using a thick piece of rubber and an exhaust to seal the exhaust port. The thick piece of rubber is placed between the header and cylinder and then the exhaust pipe is installed and tightened enough to apply pressure to the rubber to seal the port off. Careful with thick rubber if it does not cover the entire sealing surface because over-torquing could bend your header. Below is a picture 2strokd posted. 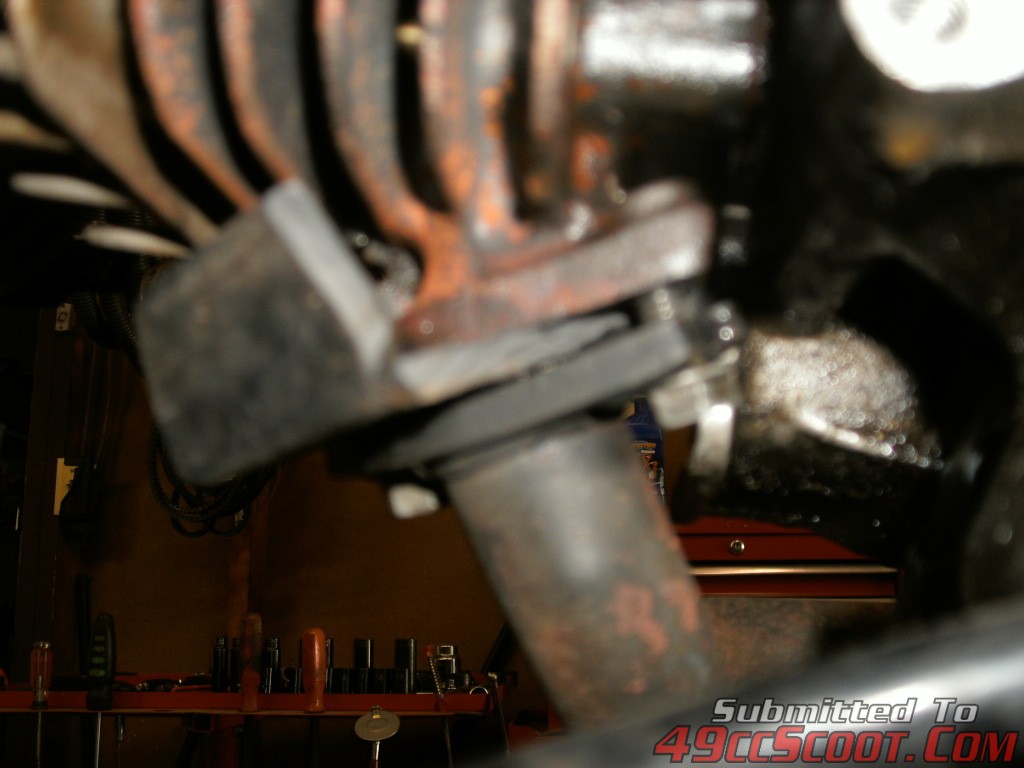 |
|
|
|
Post by niz76 on Dec 14, 2014 22:45:07 GMT -5
Ok so the next tool I need to assemble my engine is a leak down tester! I built one tonight and as you can see it looks nothing like the "typical" leak down tester does... 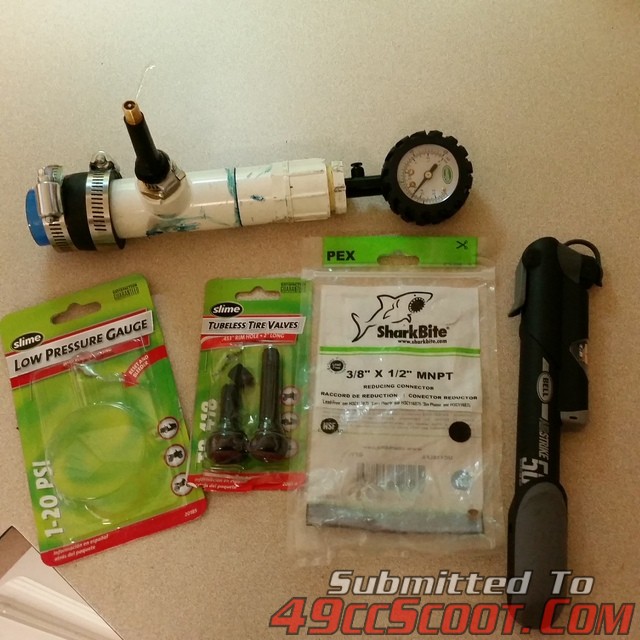 I didn't necessarily set out to reinvent the wheel but I did want to finish it tonight without waiting on ordered specialty parts. I built it from materials available from Walmart and Home Depot. It's construction is pretty much self explanatory- some PVC parts, a bicycle pump to add the air, a tire valve, a threaded nipple to clamp the valve to, and a low pressure gauge (this was probably the hardest part to find- I checked the usual places like HF, HD, and Walmart but all the gauges start at like 10 psi... I found this low psi beauty at Auto Zone!) 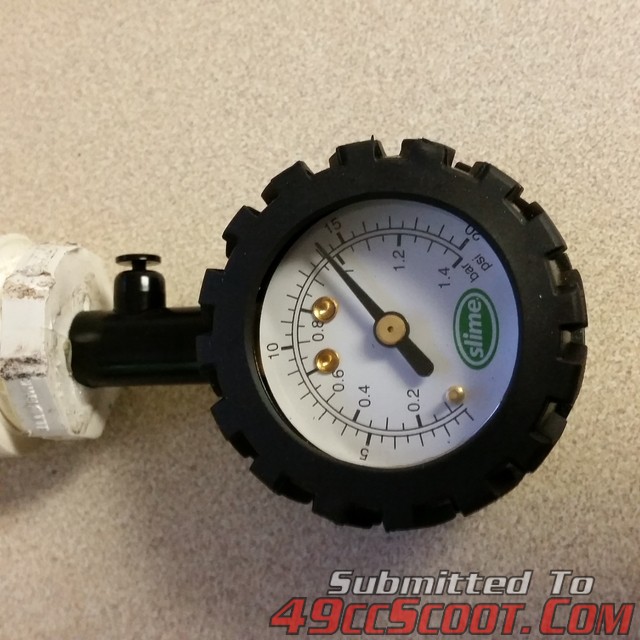 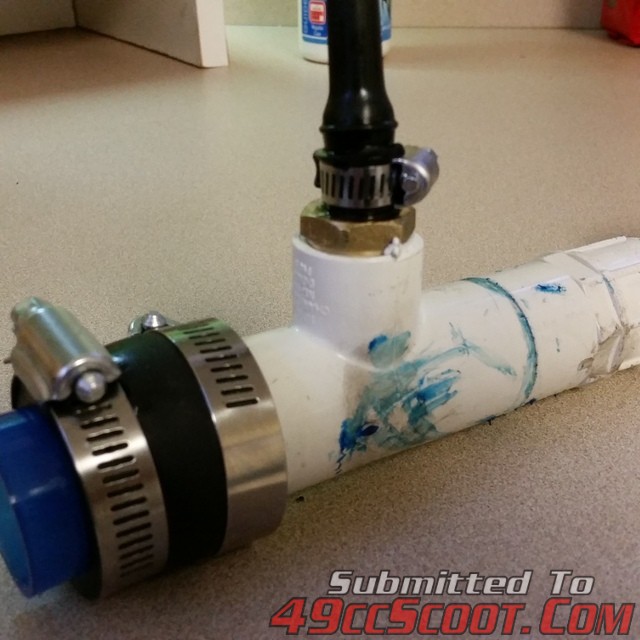 I capped the end and pressure tested the leak tester itself. Holds 15 psi for over 10 minutes no problem. Time to build an engine! 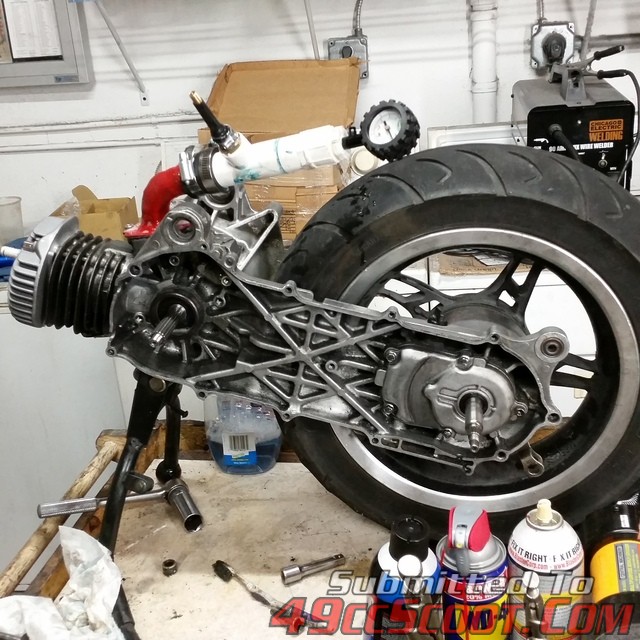 |
|
|
|
Post by 90GTVert on Jul 8, 2016 6:39:08 GMT -5
Mine: 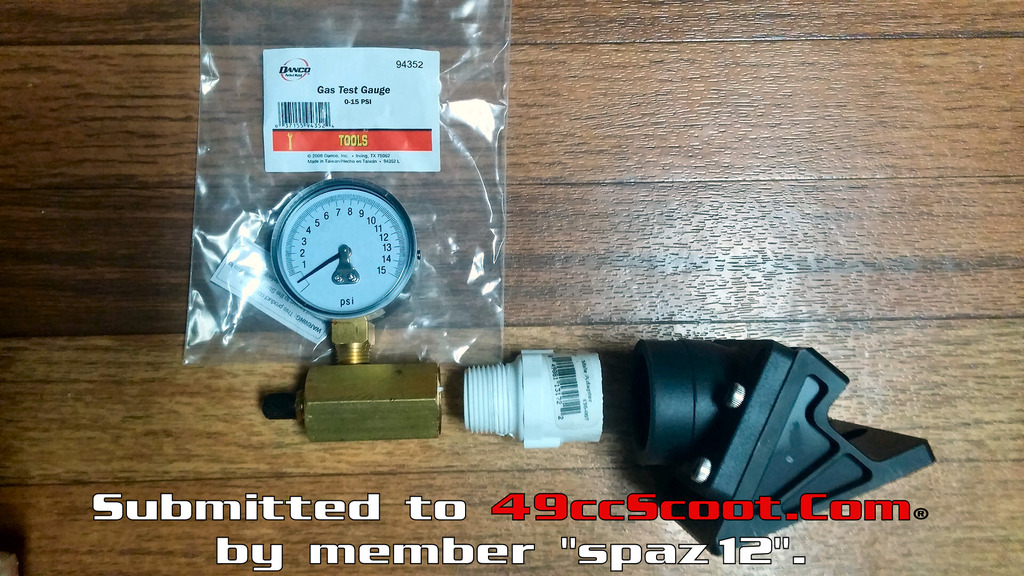 Simple, but effective. Low pressure gauge (with schrader valve), threaded pvc in whatever size you need for your particular intake manifold. I put my intake in there just for reference. I block my exhaust port with a piece of rubber between the pipe and port. Gauge is like 10 or 15 dollars at Home Depot. |
|
|
|
Post by 90GTVert on Jul 3, 2019 4:22:59 GMT -5
|
|
|
|
Post by TuneGoon on Nov 14, 2022 9:21:04 GMT -5
Havent been here long, but the time I have been here the folks on here have been very welcoming & helpful. I'd like to return this helpfulness by showing how I built my DIY leak down tester for under $35 USD. I'll list the prices of the parts I bought next to each item. Some items bought came with more than what I needed like the vinyl tubing and the hose barbs. Im sure many of you will have some of these items already, or can bargain shop these items for less than what I did making the project cost even less! PARTS NEEDED:
- (3) 1/8" NPT to 1/4" Hose Barb $7
- (1) 1/8" x 1/8" x 1/8" Barstock Tee (Female) $6
- (1 ) 0-15 P.S.I. Oil Filled Gauge (or equivalent) $10
- 2' 1/4" ID Vinyl Tubing $3
- (1) Blood Pressure Bulb latex (or equivalent) $4
- PVC Cap (sized appropriately to your carb/intake size) $0.50
- Zip Ties or 1/4" Worm Gear Clamps $3
I wont write out a ton of text because I feel that the pictures provided explain much of what is needed to do. 
  For the PVC cap (intake plug), I simply step-drilled out the hole just a hair smaller than the 1/8" threaded end of the hose barb. I screwed the threaded end into the cap a little, then backed it out...repeat until seated -same as if you were using a tap/thread kit. Once the threads were made in the cap and the threaded barb seats all the way, I wrapped the threads in the PTFE tape and tightened it down snug.   I cant speak on longevity since it is relatively new and only been used 2 times but it worked like gang busters both times, held working/testing pressure for over 15 minutes each time, and saved me a bunch compared to store bought kits (even the budget ones at HF). There are plenty of videos on how to use this tool so I'll save you a wall of instructional text. Hope this can be as handy to others as it has been for me! |
|