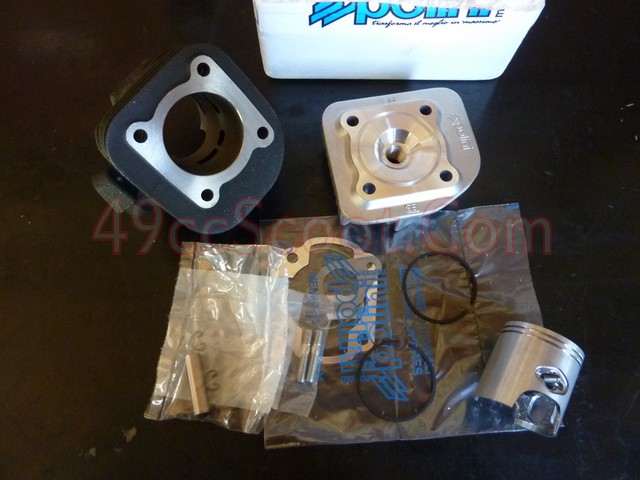
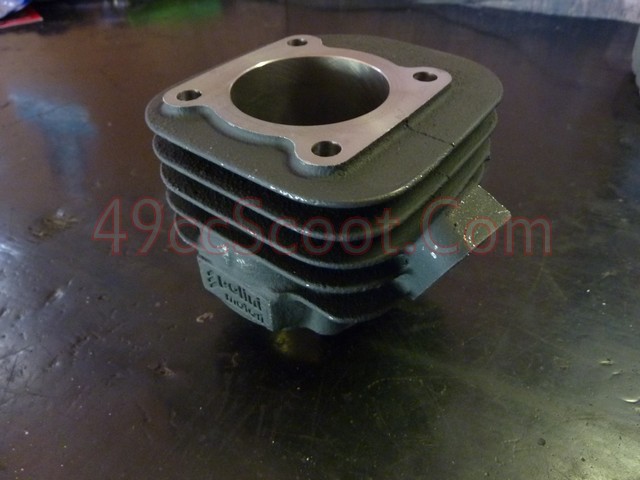
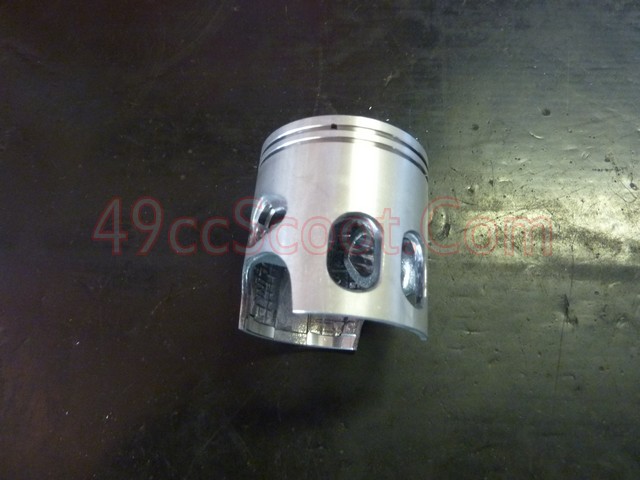
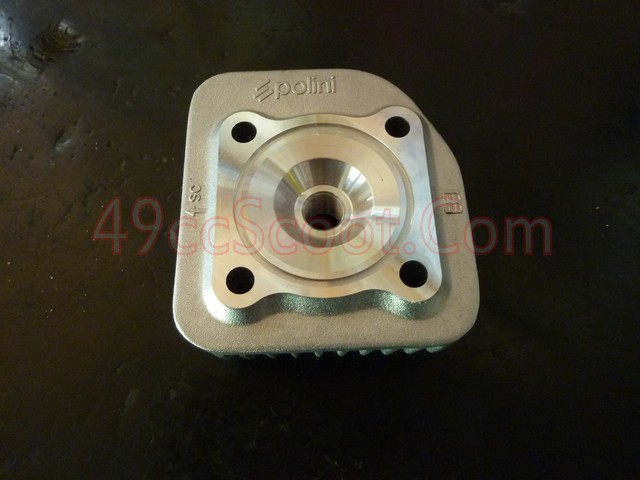
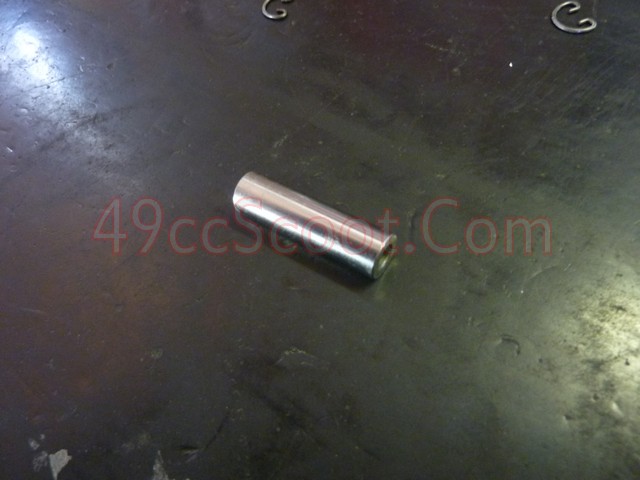
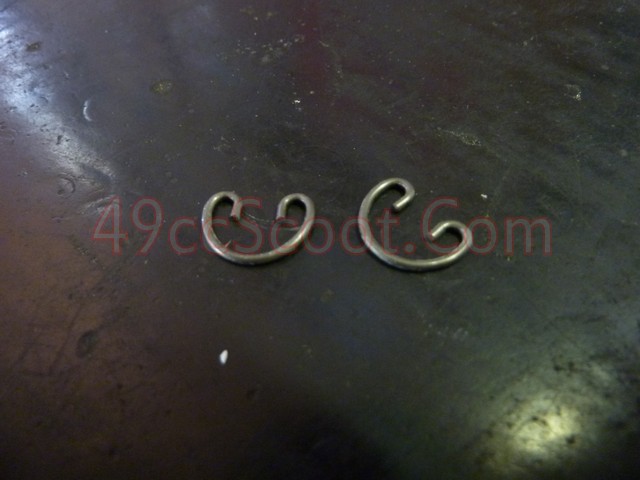
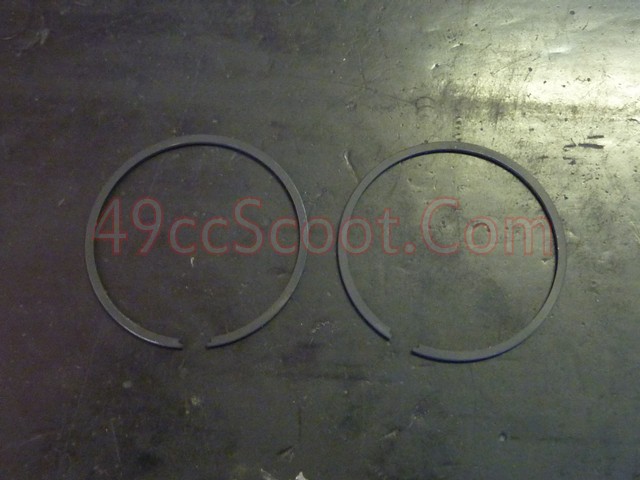
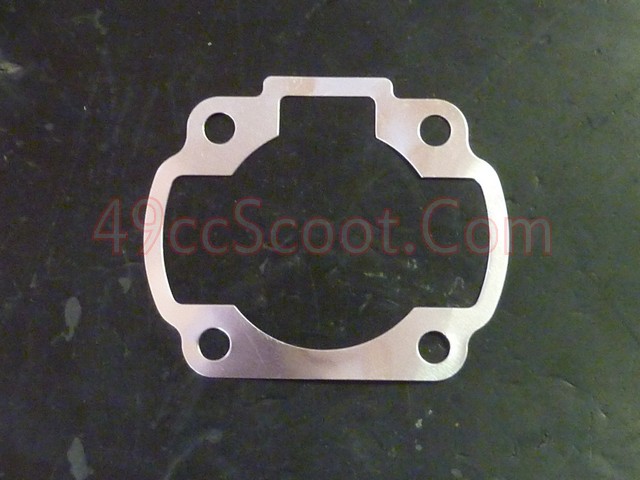
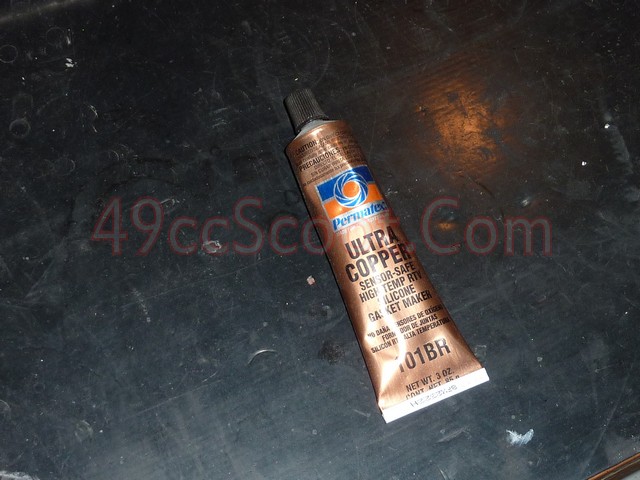
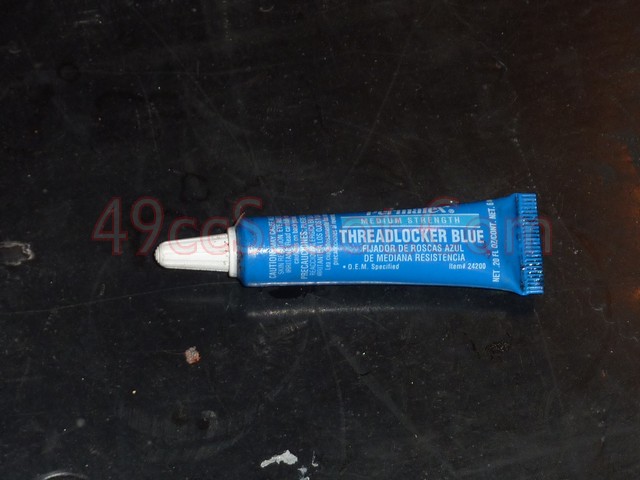
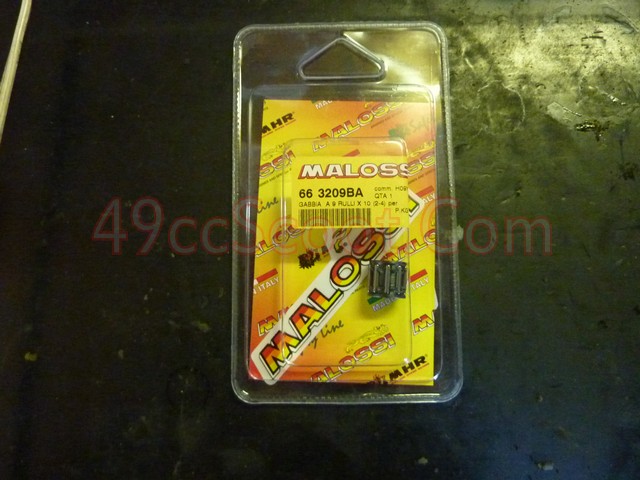
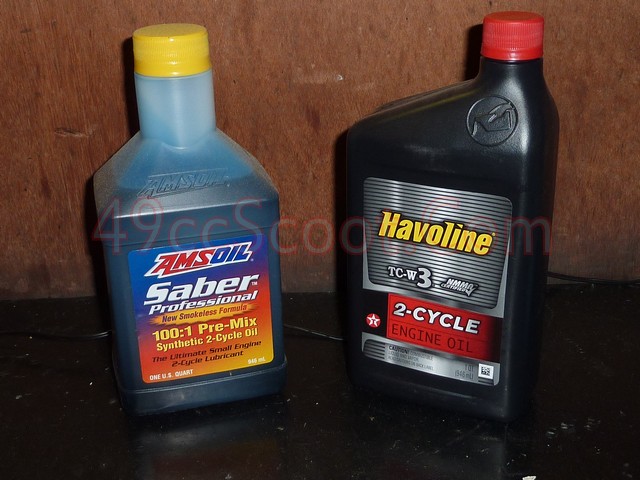
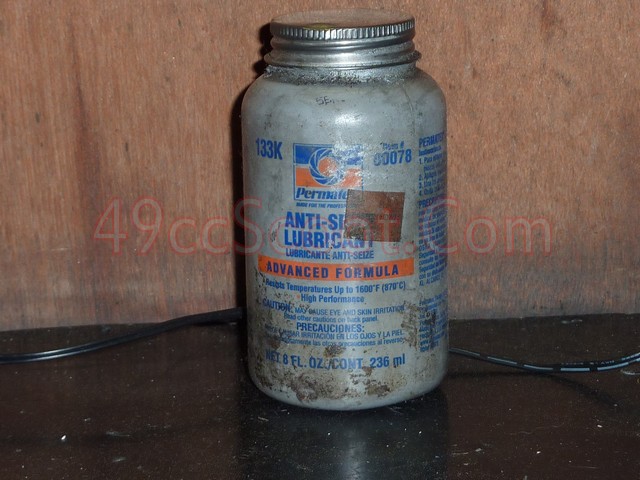
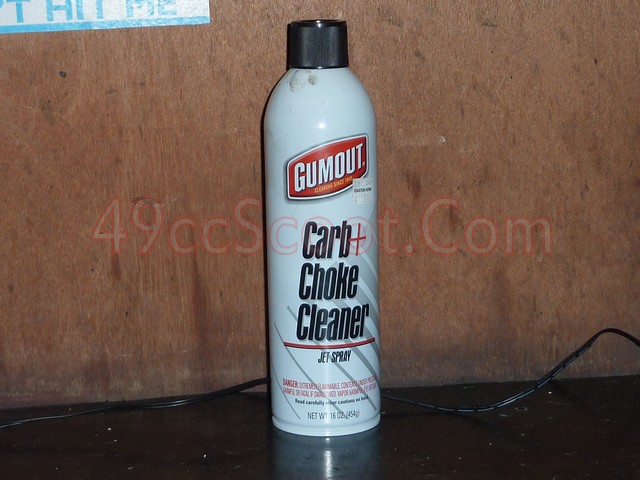
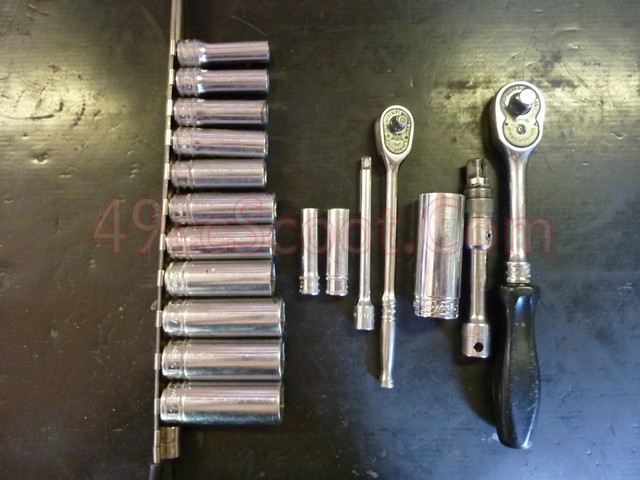
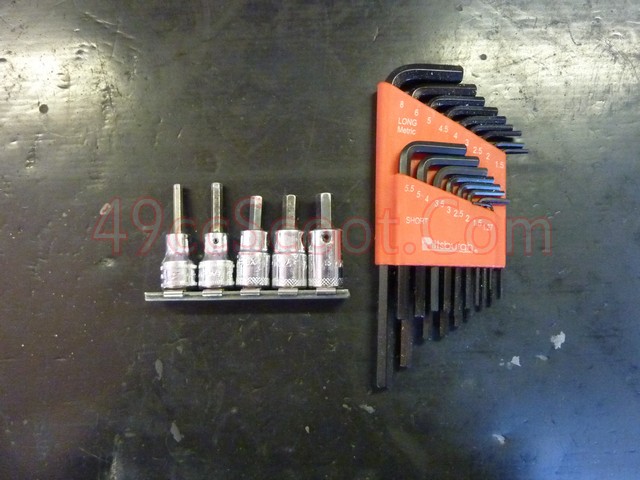
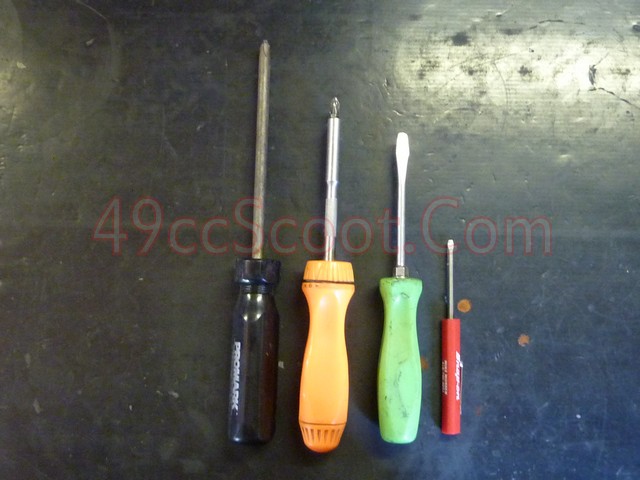
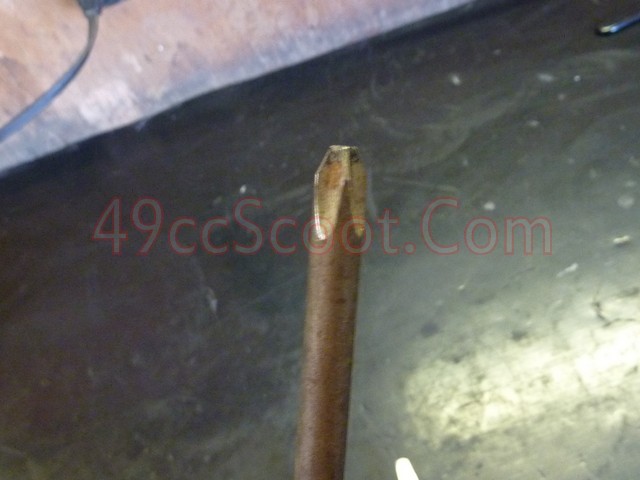
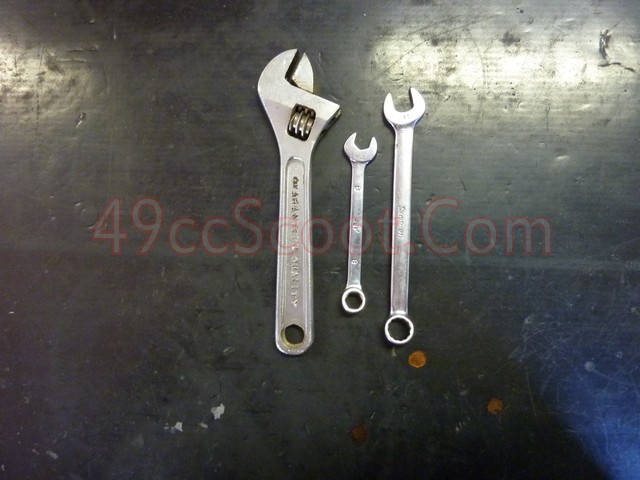
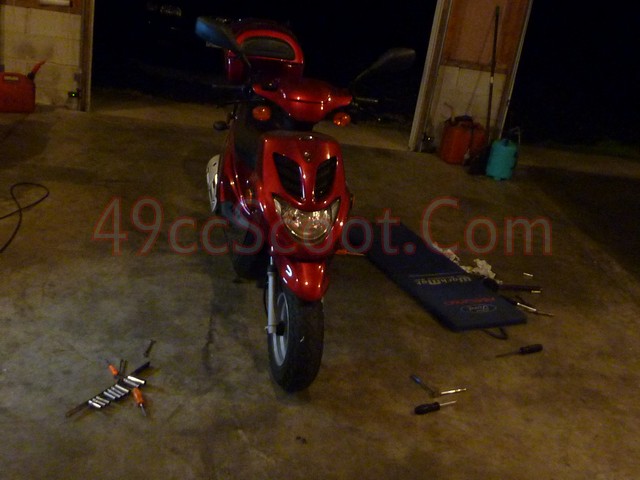
Section 3 : InstallationEverything is ready to go. Let's get to work.
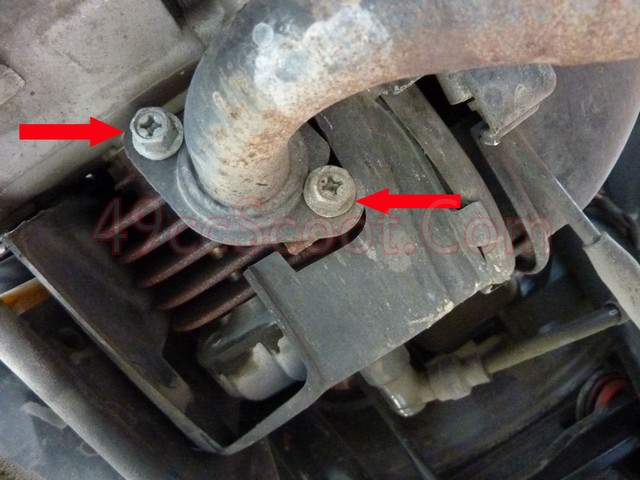
Start by removing the two bolts that secure the header to the cylinder. These usually require a 10mm socket or wrench.
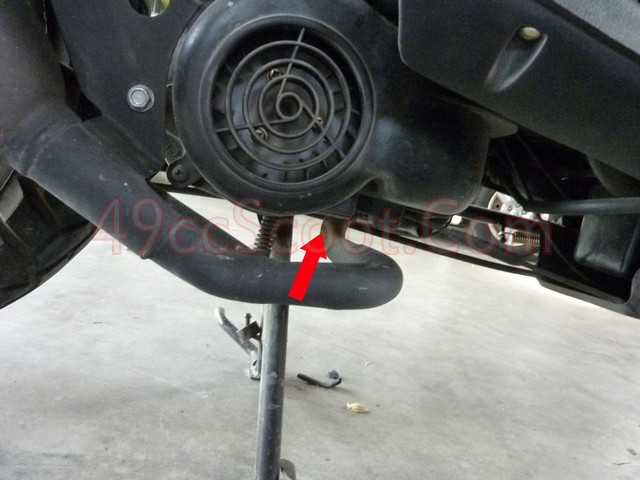
Remove the bolts holding the exhaust bracket and remove the pipe. These bolts are usually 12-14mm hex.
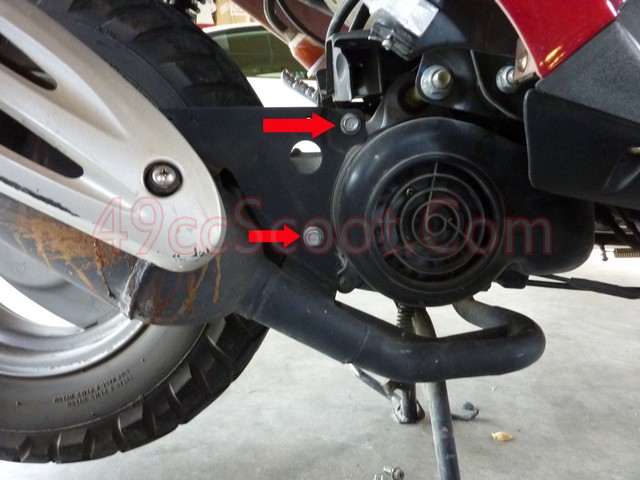
Remove the two screws holding this little access panel in place and then get it out of your way for a better view.
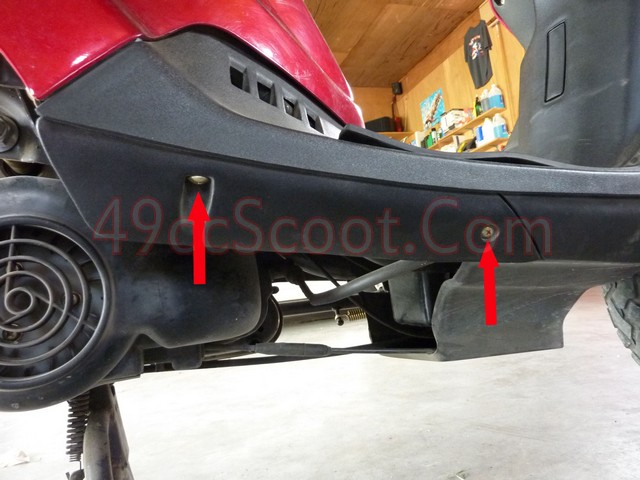
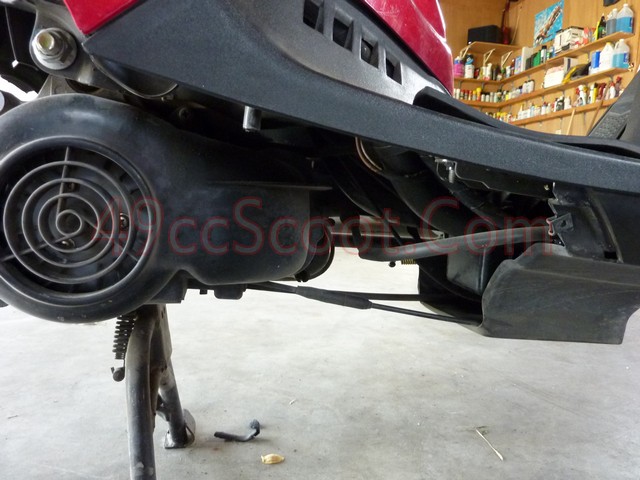
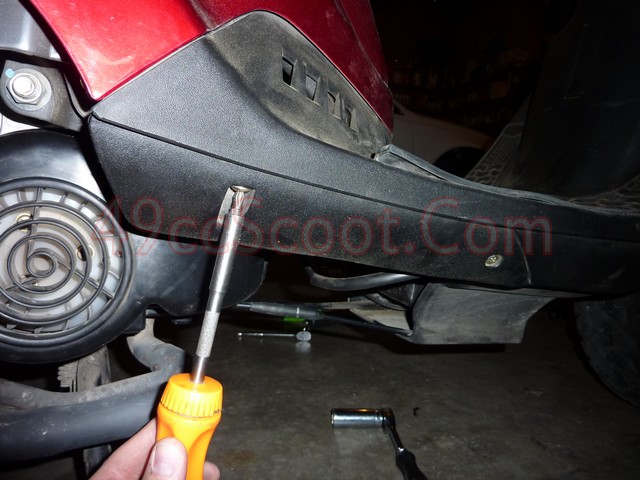
Remove the three bolts holding the cooling fan shroud. These are usually 8 or 10mm hex or phillips head as shown.
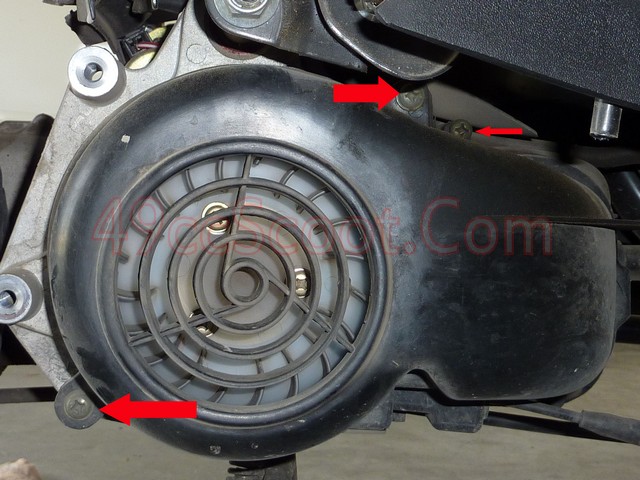
Rotate the shroud toward the ground and free this clip holding it to the other side of the shroud. Carefully remove the shroud. There are oil lines and cables running into the area behind the shroud, so take your time and make sure you don't pull anything loose.
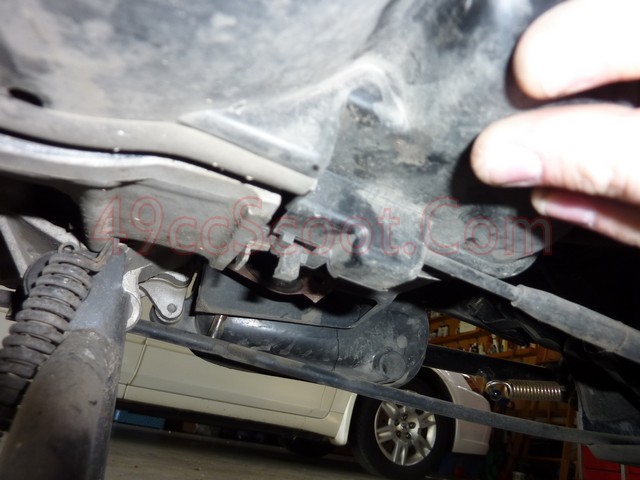
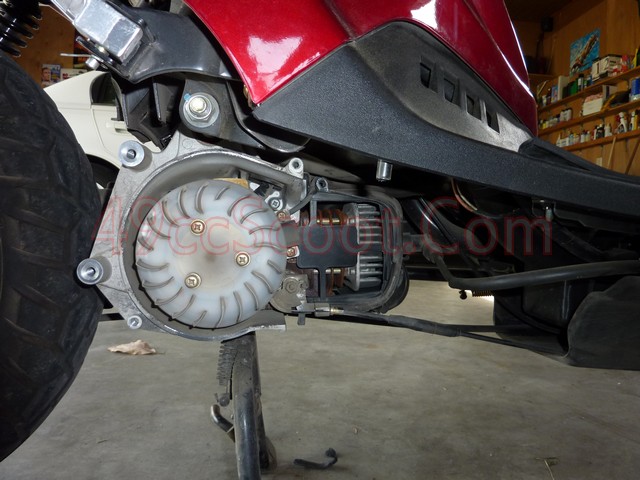
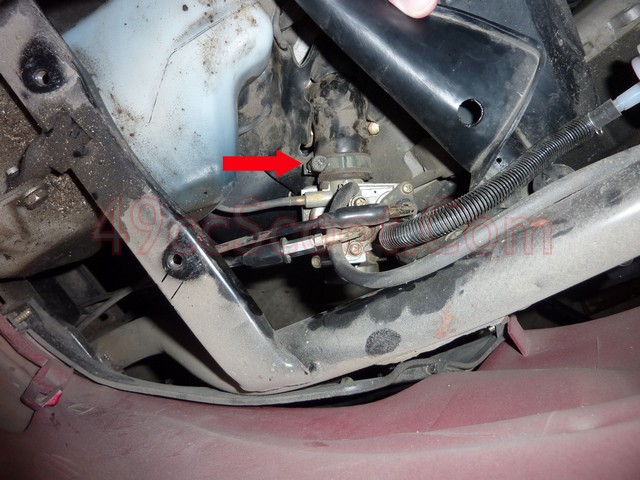
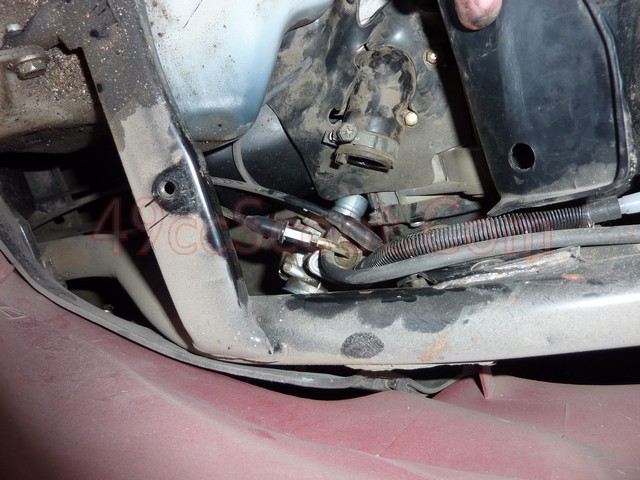
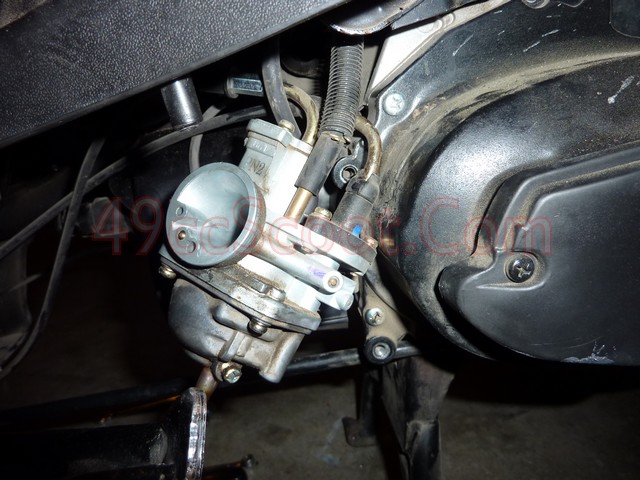
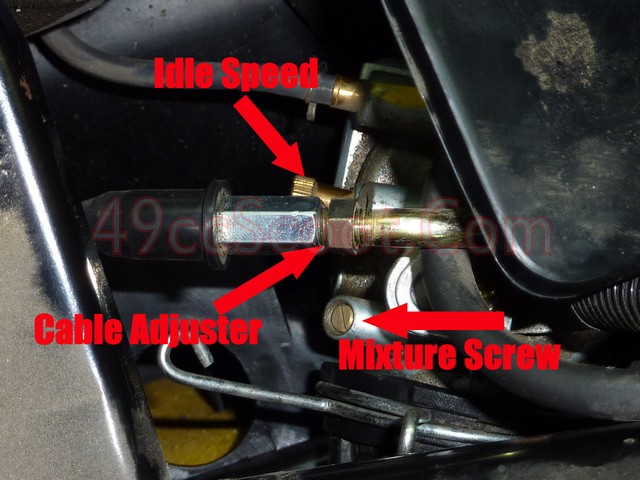
You should see an adjuster on the cable that runs to the oil pump. I believe the majority of Chinese 1E40QMB engines have this adjuster, but I have heard that some genuine Yamaha scooters do not.
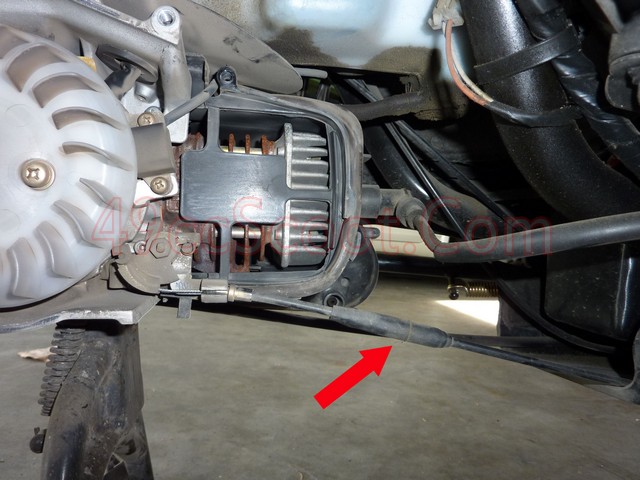
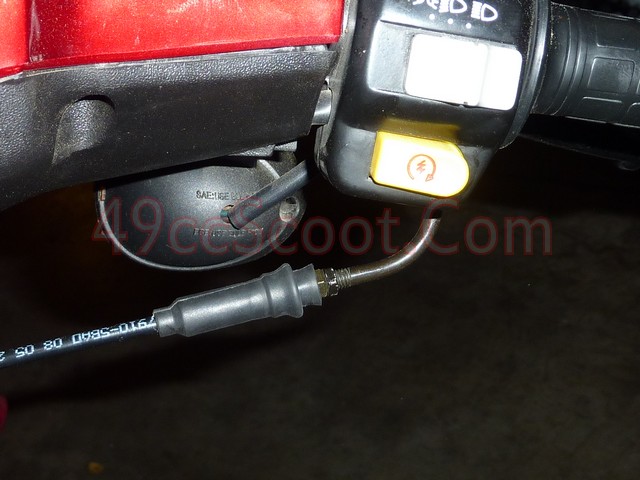
Pull back the covers to reveal the cable nuts.
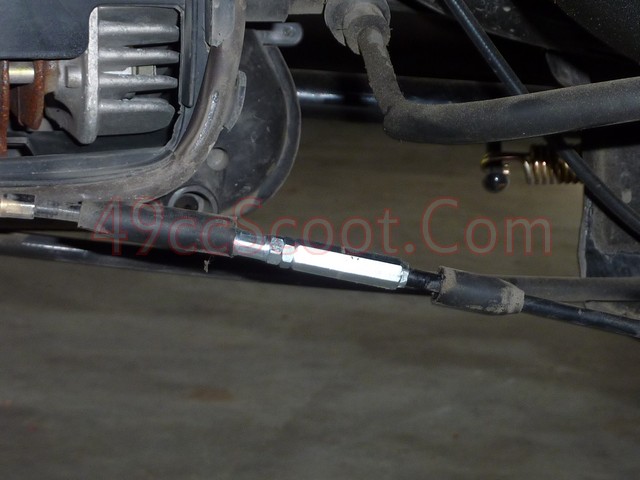
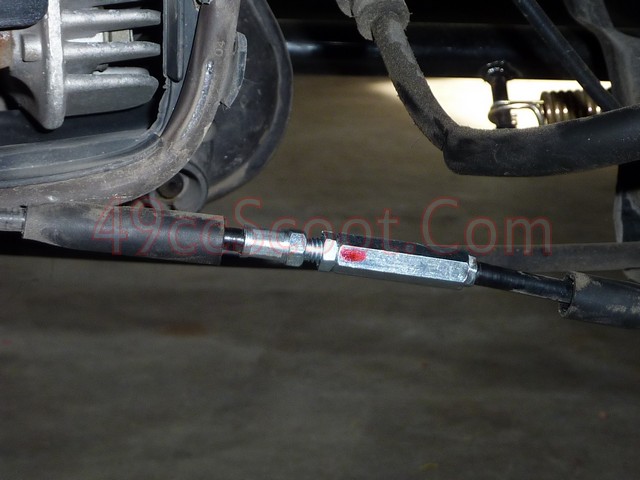
I like to use a marker to mark one of side of the large cable nut as shown. This helps me keep track of how far I've turned the cable.
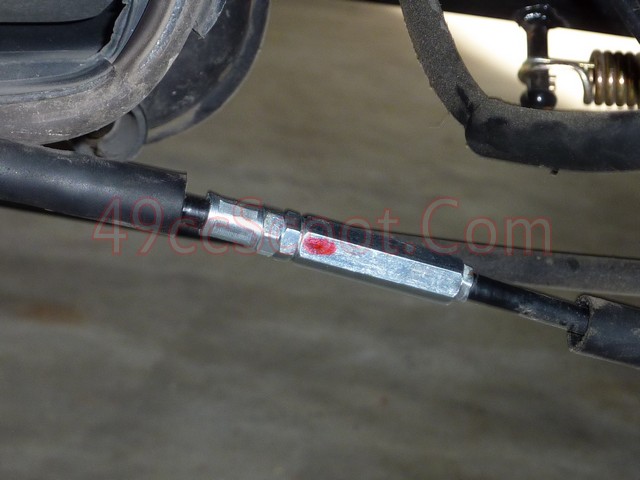
Loosen the cable nuts, in this case requiring two 8mm wrenches or adjustable wrenches, and turn the large nut 3-4 turns out. You should notice the tension being taken up on the oil pump cable. This adjustment is made to get the stock oil injection system to deliver more oil for your larger cylinder.
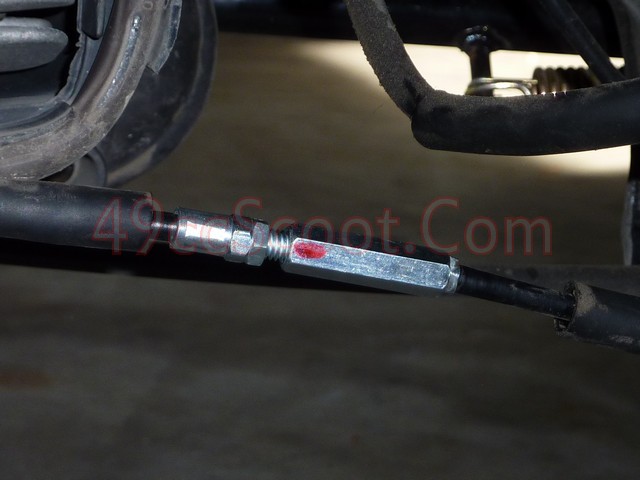
Tighten the nuts against each other to assure the cable stays in the same position and slide the covers back over the adjuster.
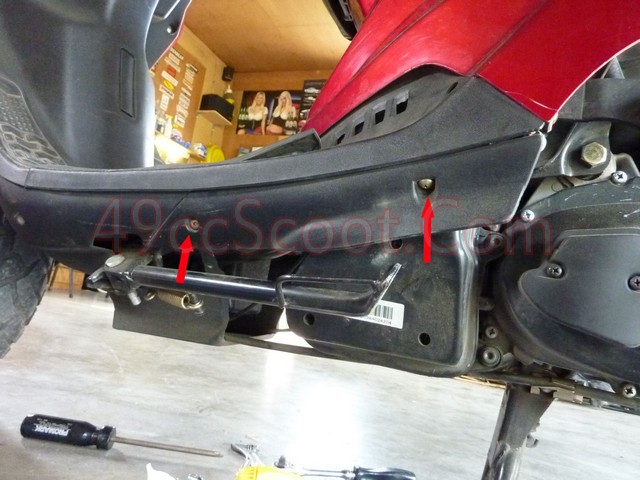
Move to the other side of the scooter and remove the two screws securing this access panel and remove it.
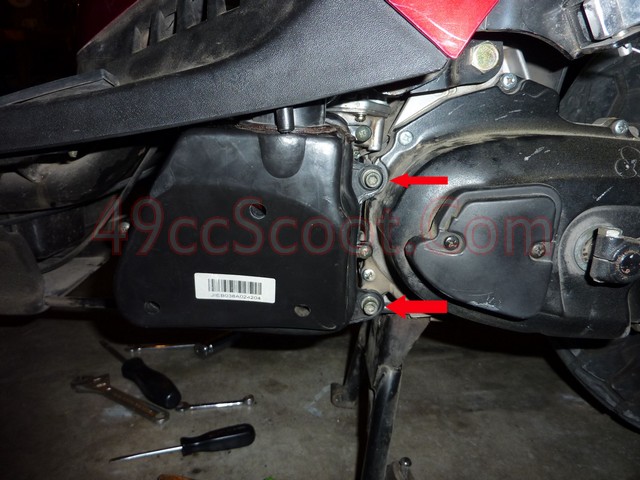
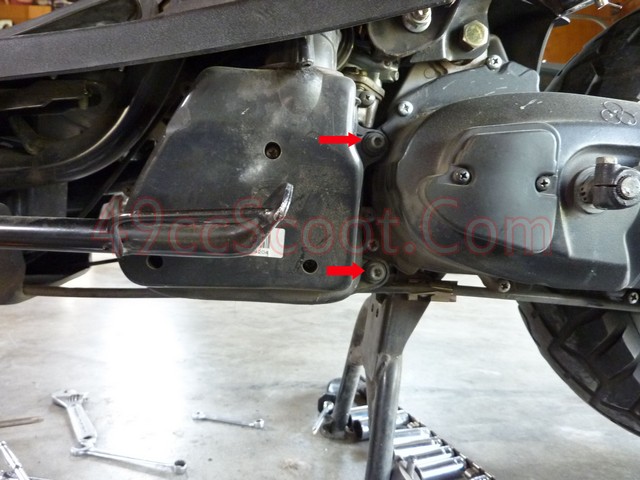
Remove the two bolts that secure the airbox to the CVT cover. These are commonly 5mm allen, phillips headed screws, or 8-10mm hex.
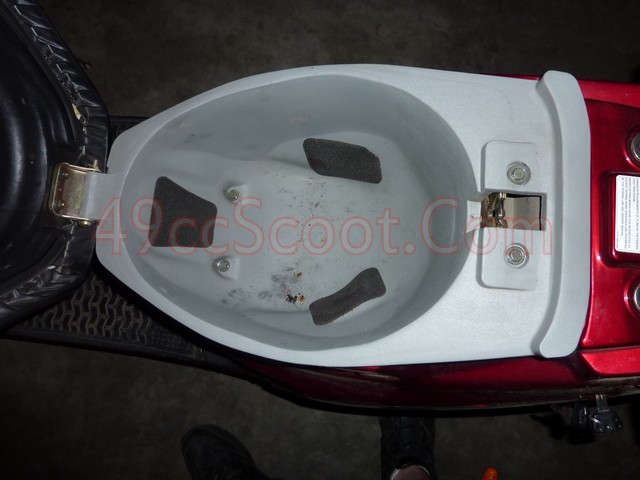
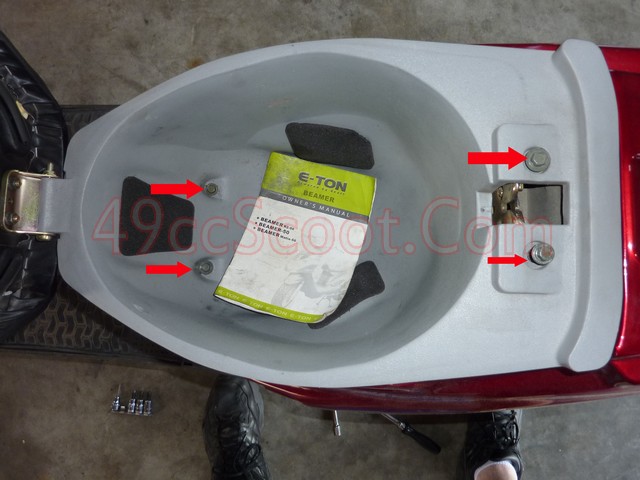
Open the seat and remove the 4 bolts shown here so you can lift the seat and storage bucket out of the scooter for better access.
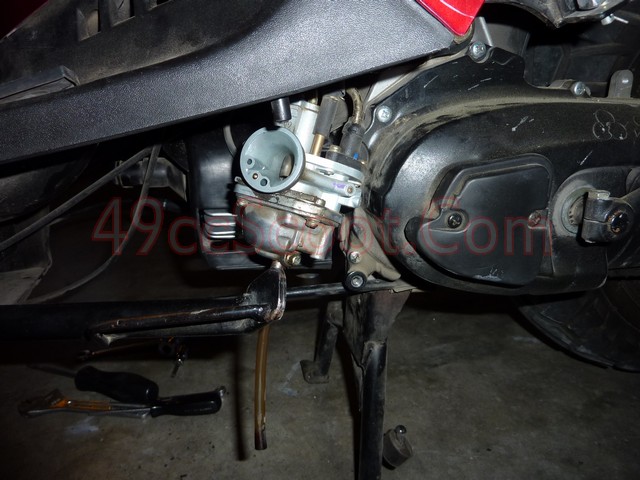
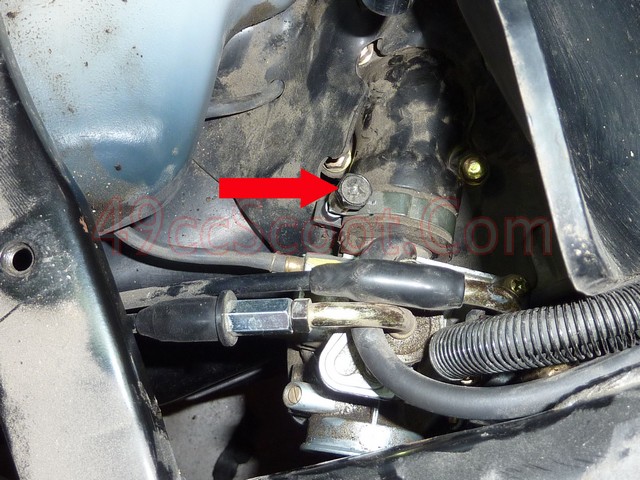
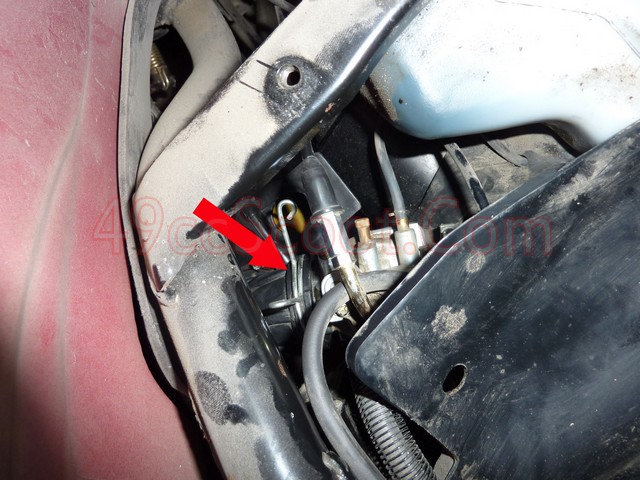
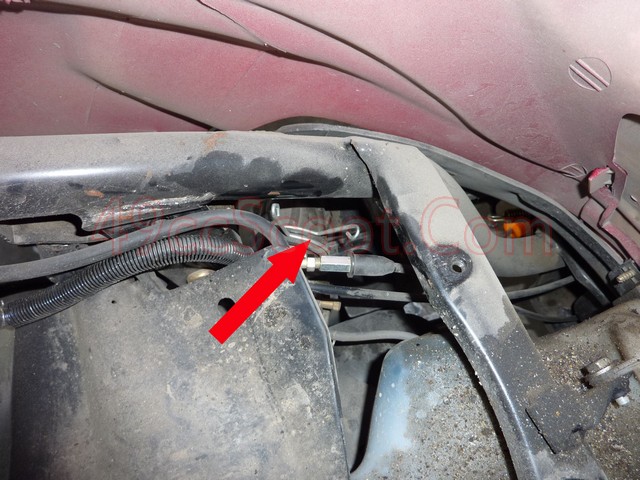
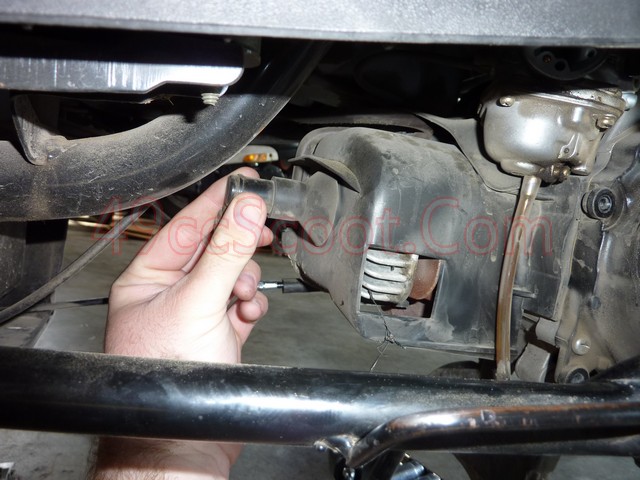
Reach down and squeeze the handles of this clamp together and pull the airbox off of the carburetor.
Remove the spark plug wire.
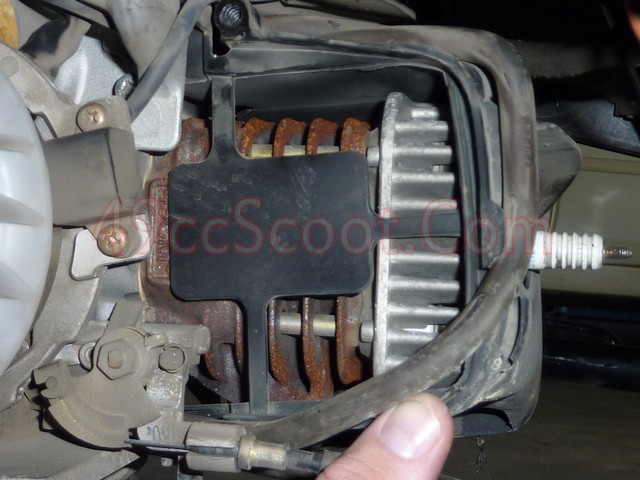
Use a flat screwdriver to gently pry the cylinder shroud's tabs from their receptacles.
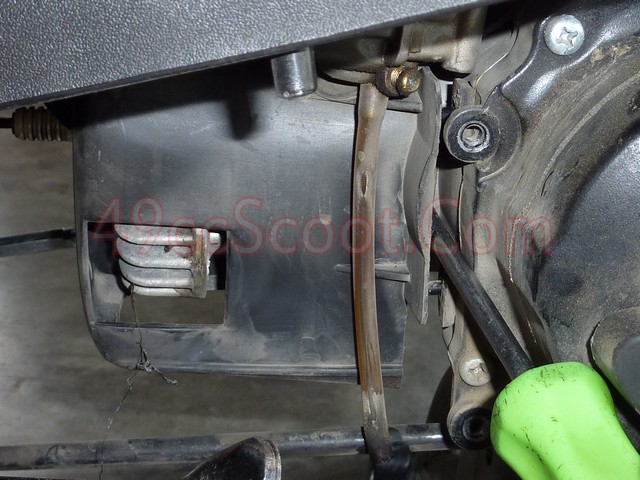
Move to the other side again and gently pop the oil hose out of it's groove in the cylinder shroud. Then the shround can be maneuvered off of the engine.
Remove the four cylinder nuts shown here. These are usually 10mm or 12mm hex nuts.
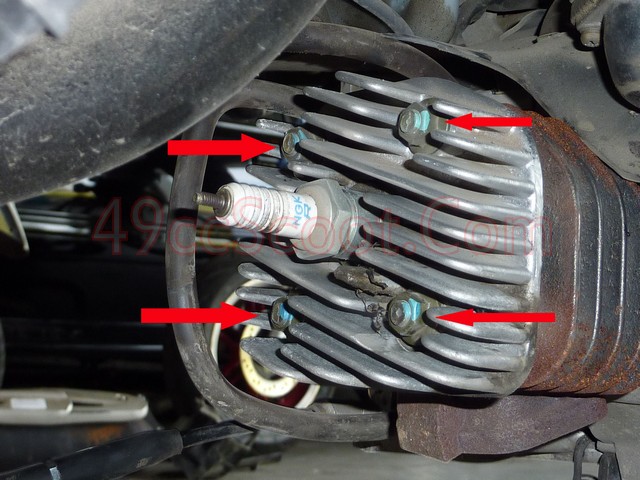
Slide the cylinder head off of the studs, being careful not to snag the oil hose that runs near it.
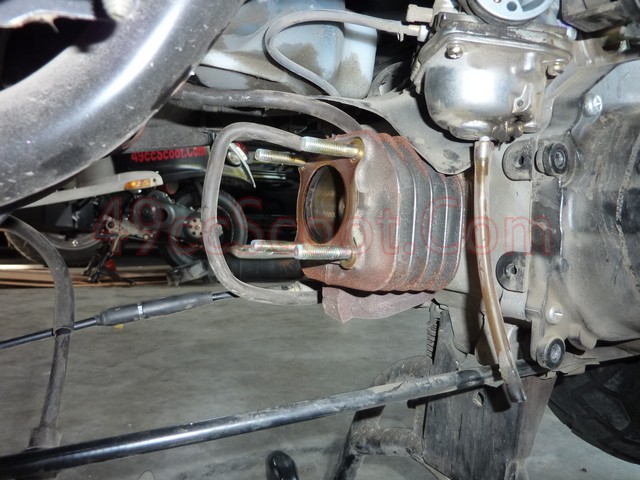
Remove the old head gasket.
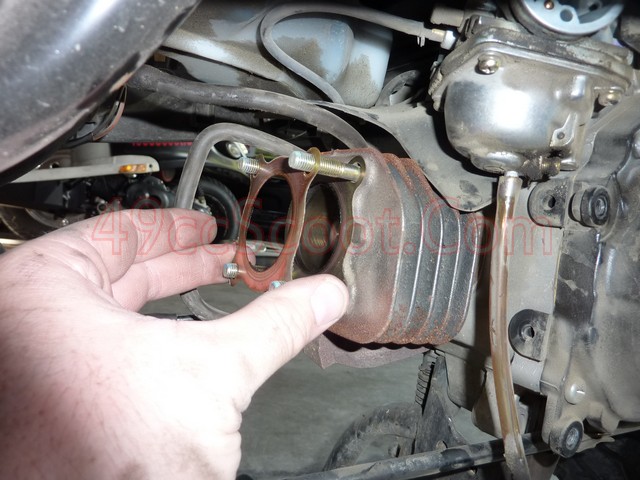
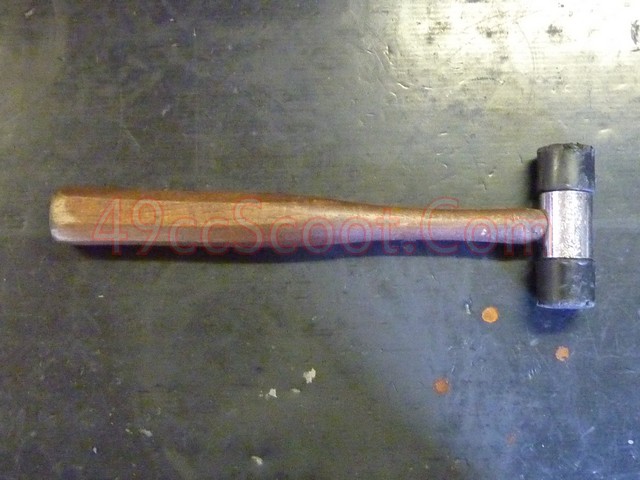
Remove the cylinder by sliding it off of the cylinder studs. Sometimes the cylinder won't budge and needs a few light taps near the base with a small rubber mallet to free it up.
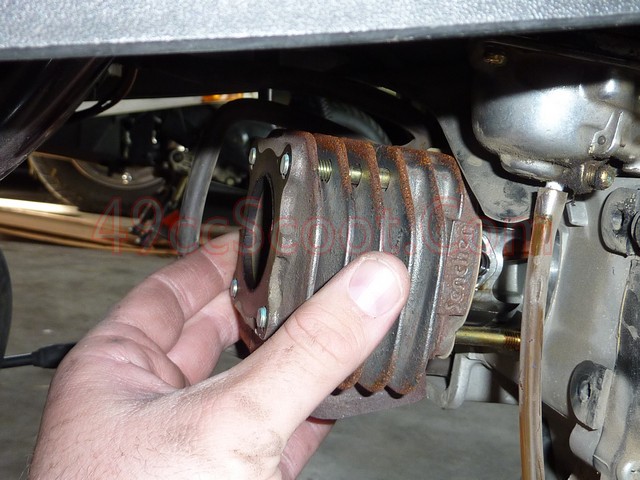
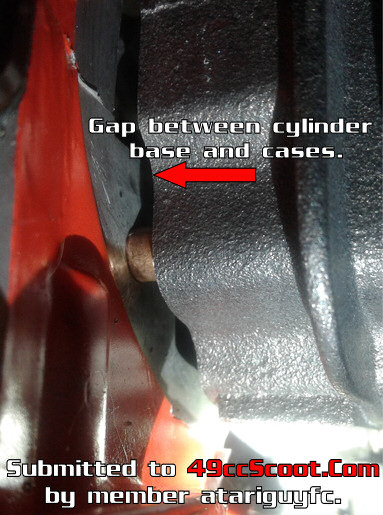
If you're lucky, the base gasket will come off with the cylinder and leave you a clean surface. If not, remove the base gasket from the cases. If the base gasket is stuck, pry it off gently. Be sure not to scratch or otherwise damage the cases.
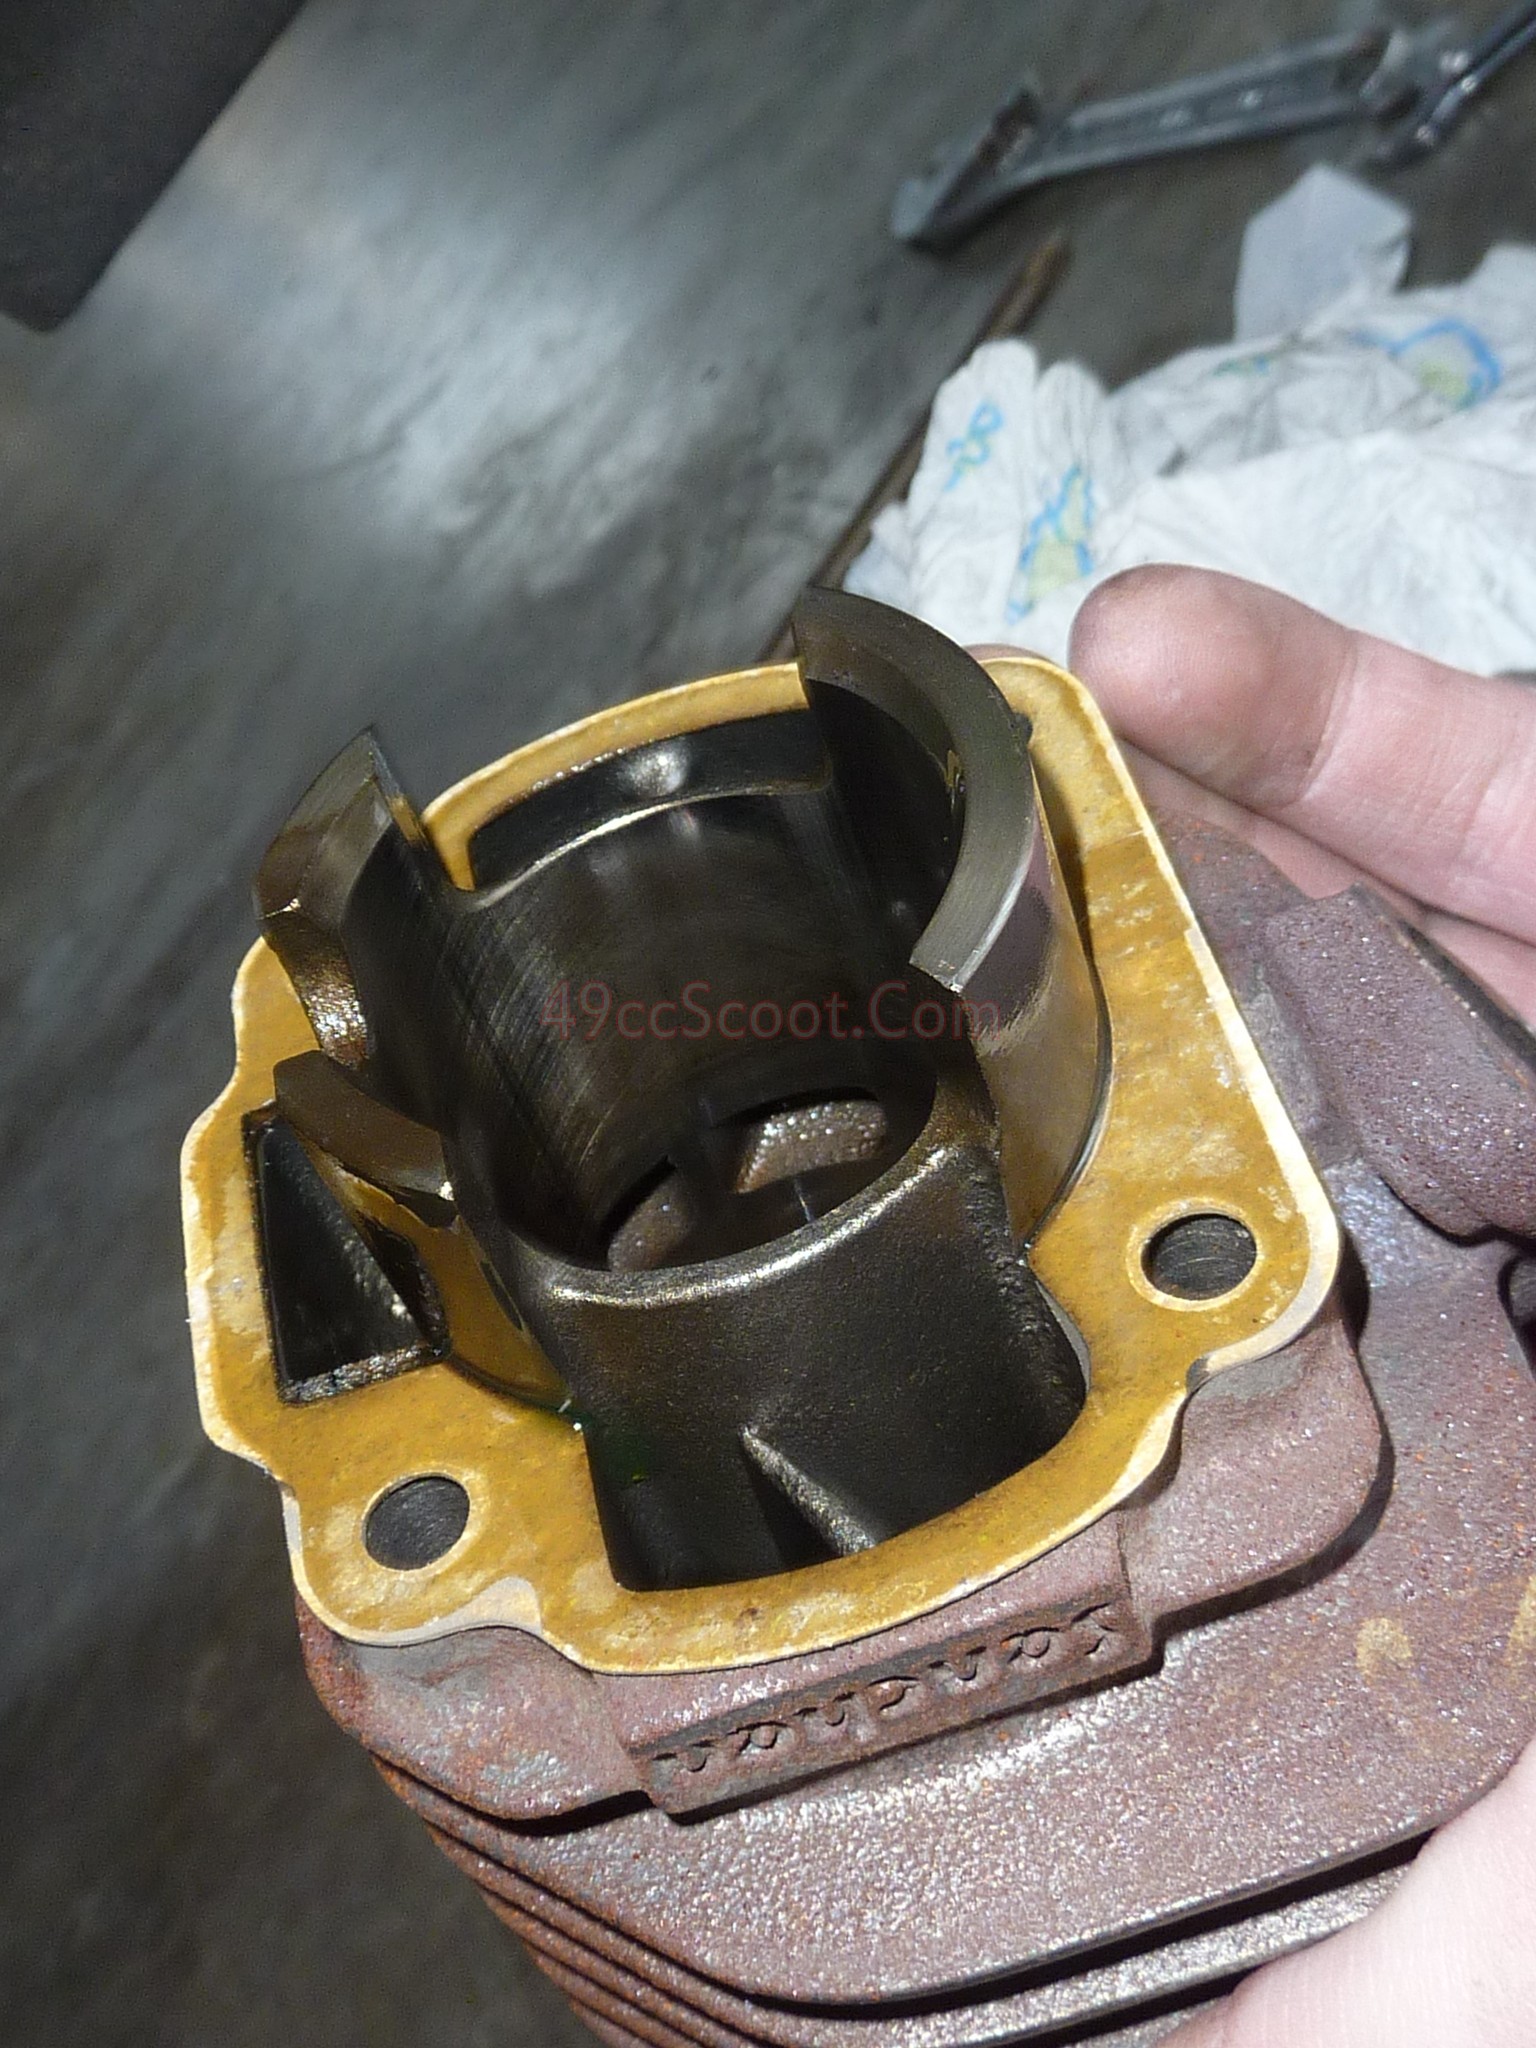
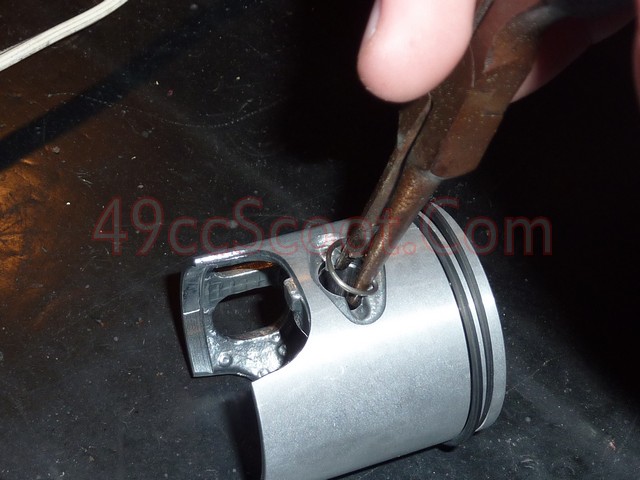
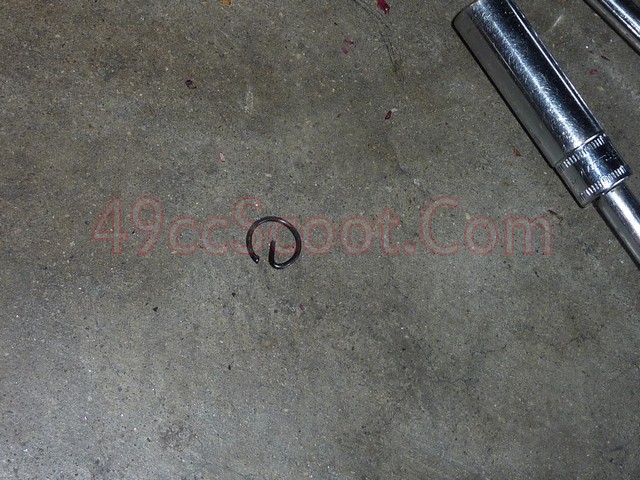
Now you need to remove the circlip from one side of the piston.
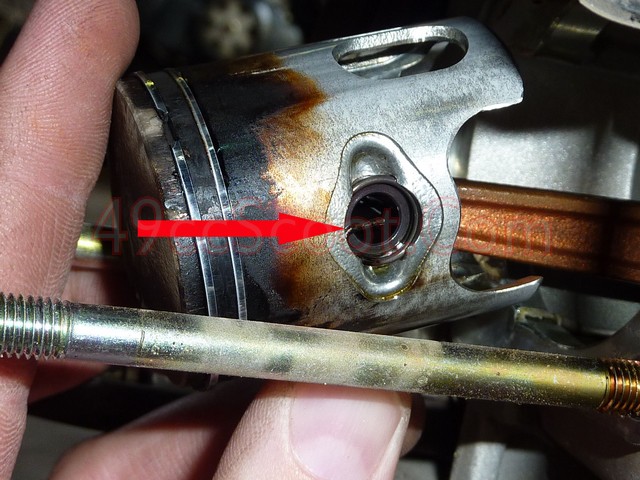
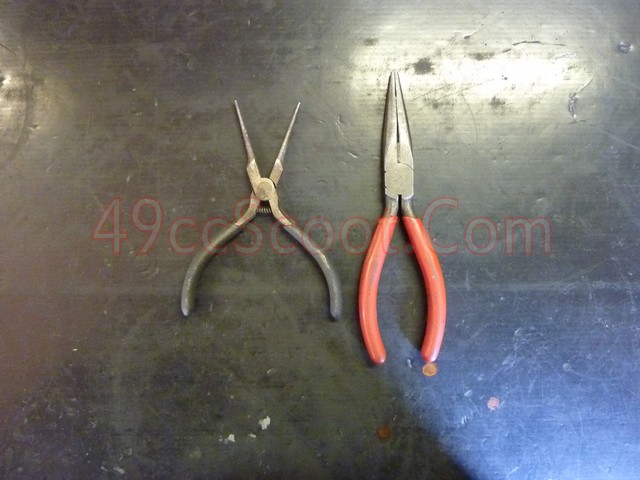
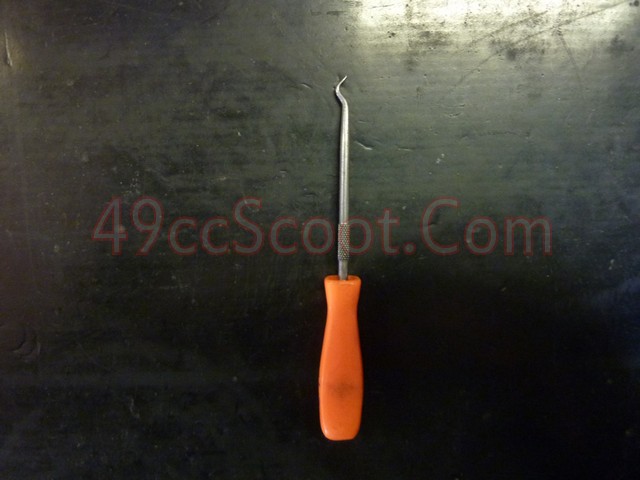
You can try to use a pair of needle nose pliers to squeeze the clip and pull it out as shown in the first image, or use a small pick to pop the clip out gently as shown in the second image. It's a good idea to stuff a rag into the open crankcases to prevent the clip from finding it's way in there.
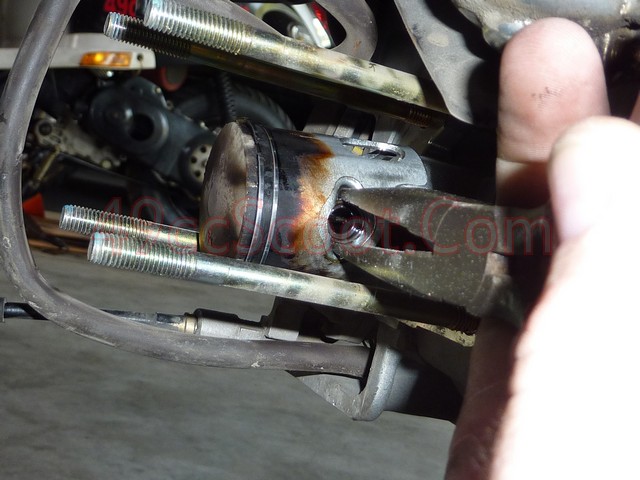
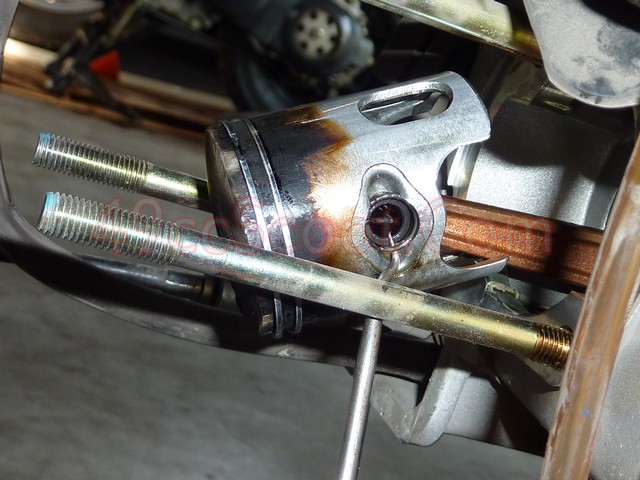
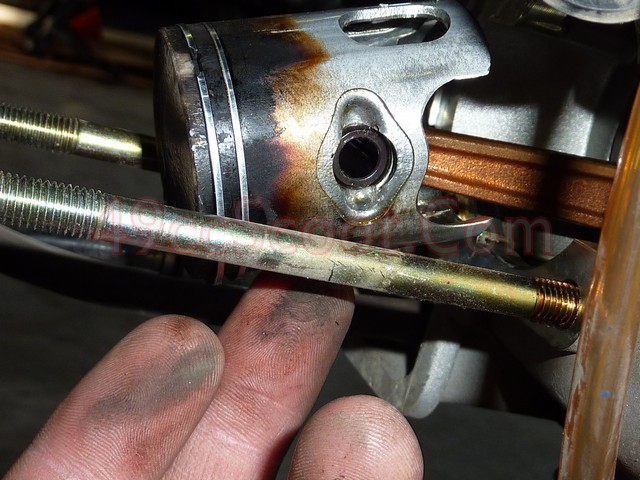
Move to the other side of the scooter and use a small screwdriver or other object to push the piston pin out of the piston.

You may not be able to push it all the way out easily. If not, move to the other side and pull the pin the rest of the way out by hand or with pliers.
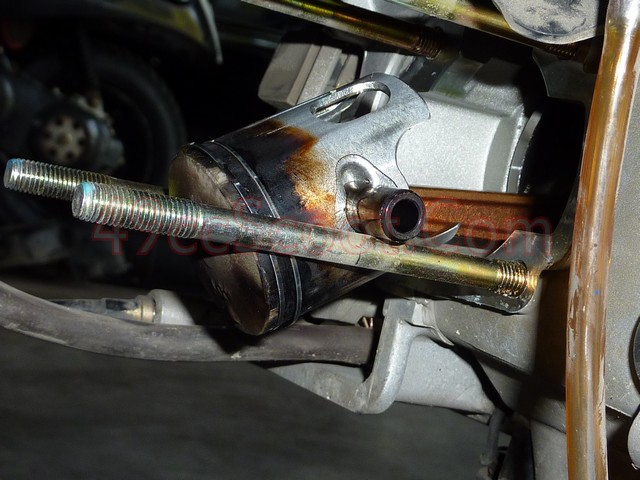
Keep your hand on or under the piston as you remove the pin, because it should fall off of the crank. These cast pistons will often break if you let them hit the floor.
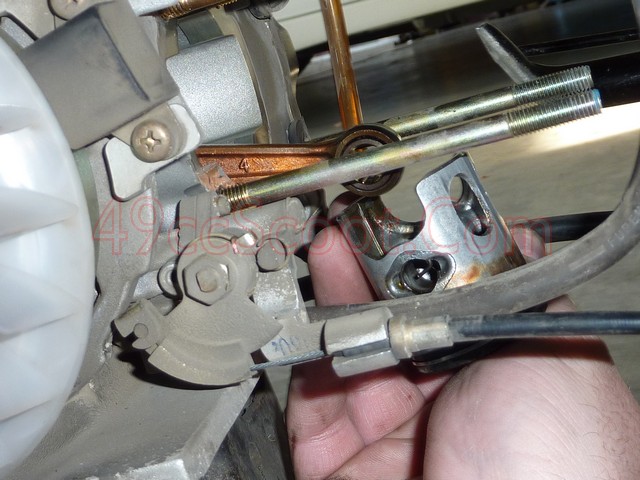
Remove the wrist pin bearing from the end of the connecting rod.
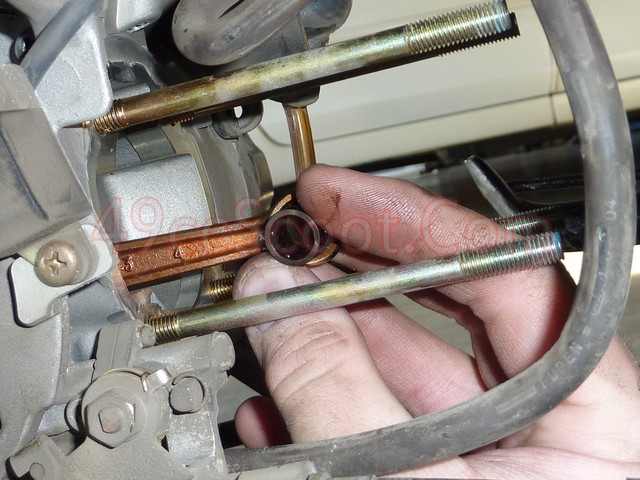
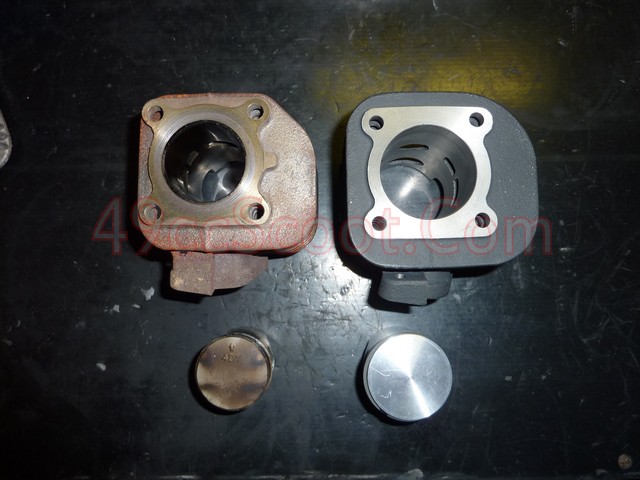
Now that the old top end is removed, it's a good time to place it next to your new parts and laugh at how small the stock bore was.
Alright, break's over. Crawl back under the scooter and clean any leftover base gasket material off of the cases where they meet the cylinder. Use brake parts cleaner on a lint free rag to assure there is no oil or residue left over.
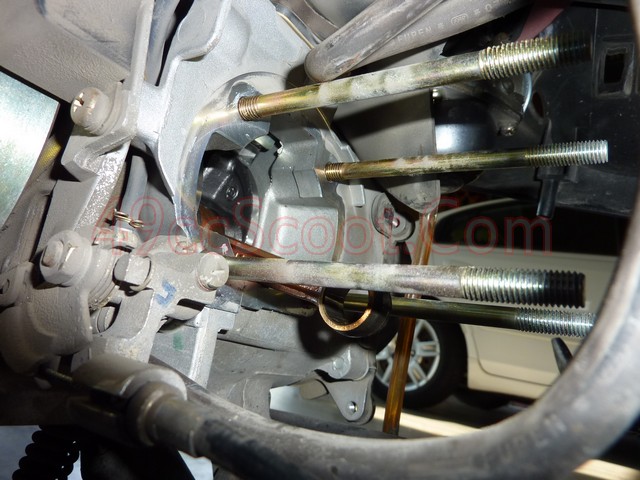
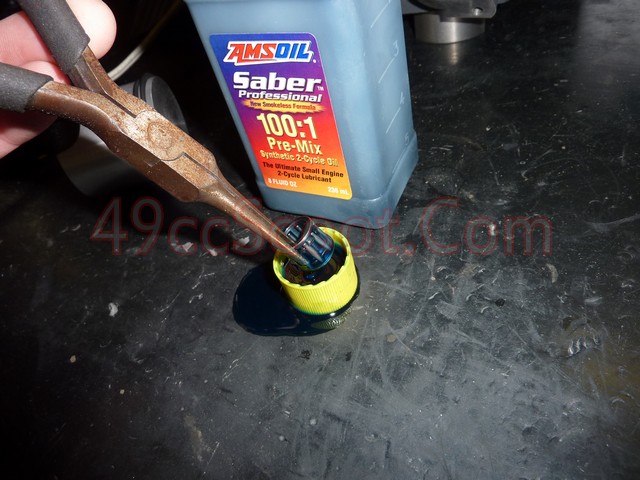
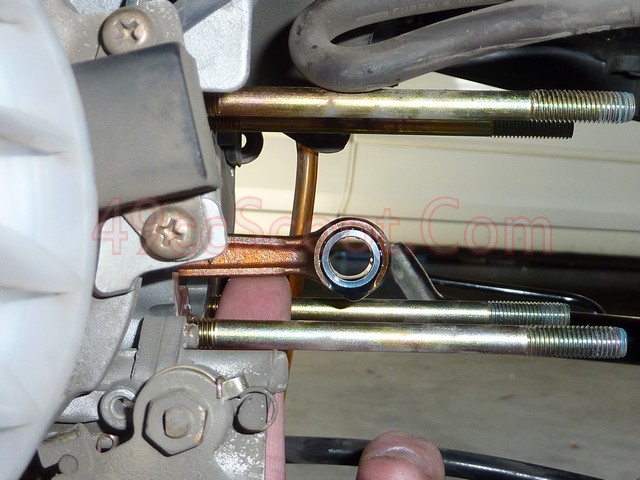
Dip a new wrist pin bearing in your favorite 2T oil and then slide it into the connecting rod.
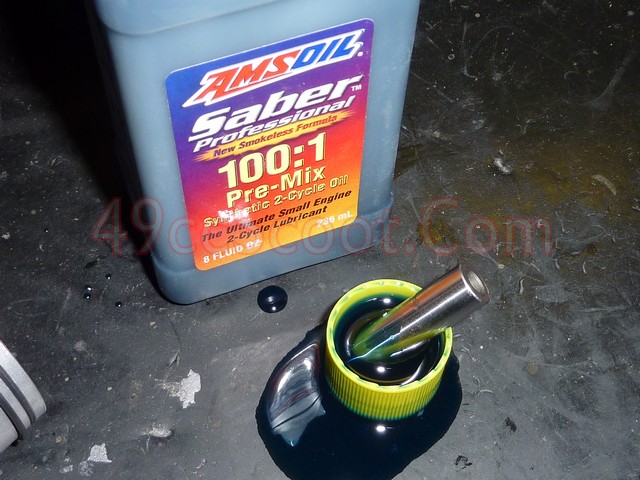
Coat the wrist pin with 2T oil as well, and slide it partially into the new piston.
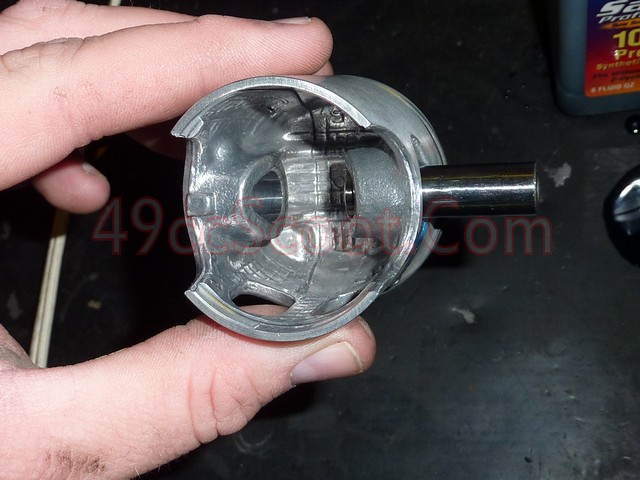
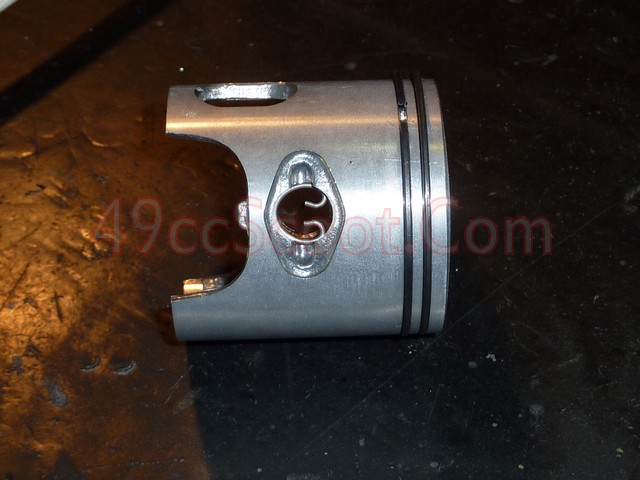
Line the wrist pin up to go through the wrist pin bearing, and push the pin in gently until it rests against the circlip you installed earlier while doing prep work.
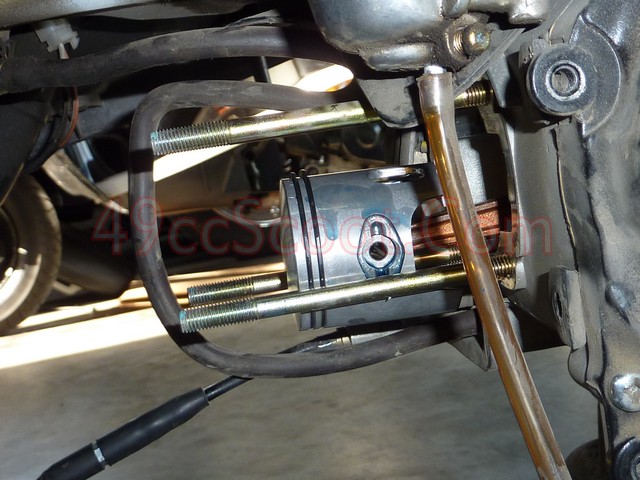
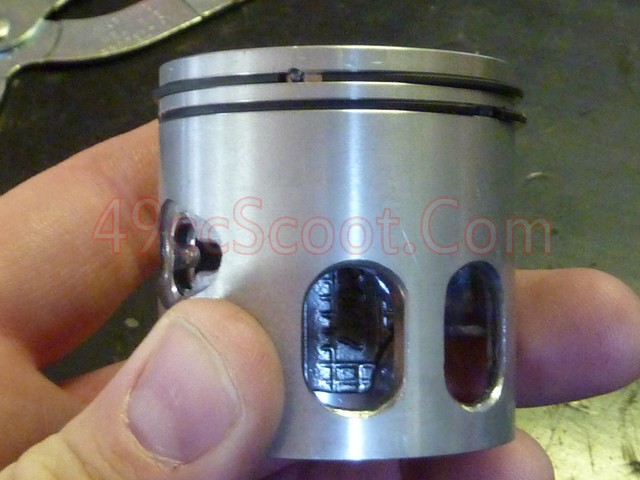
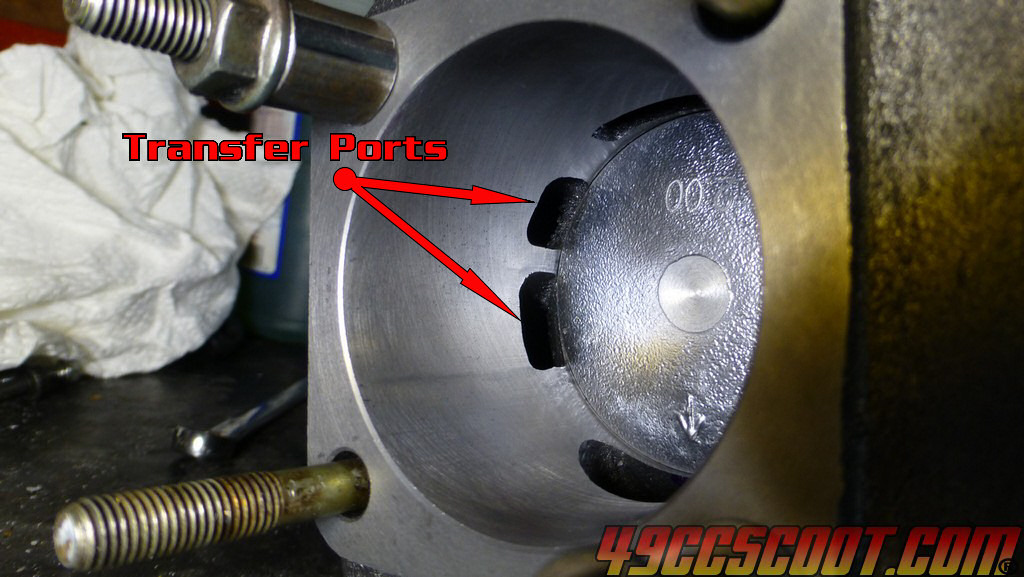
Make sure the arrow on the crown of the piston is facing down, toward the exhaust port. If the piston is not marked, the ports in the piston should be facing up, toward the boost port.
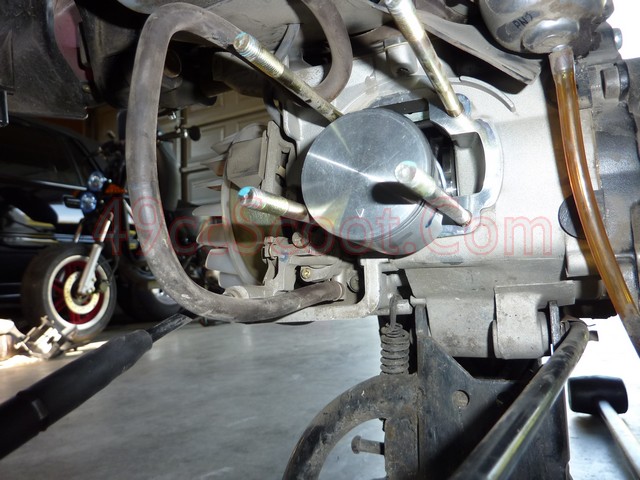
Make sure your crankcase's opening is filled with a rag and install the circlip into it's groove in the piston. It's a bit trickier when you're under the scooter, that's why I had you install the first one while it was out of the scooter. Just be patient and don't lose the circlip.
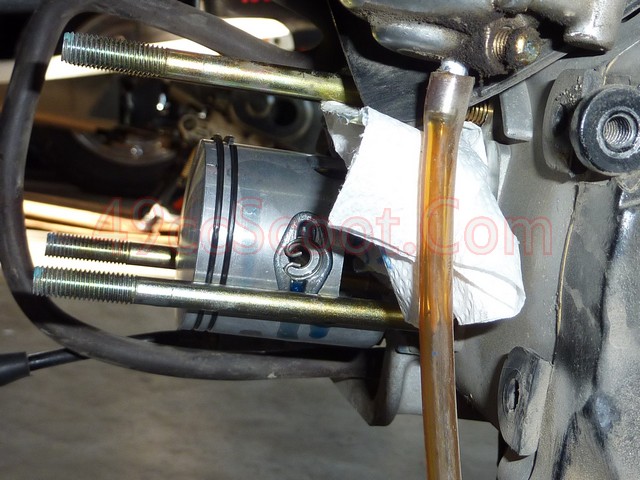
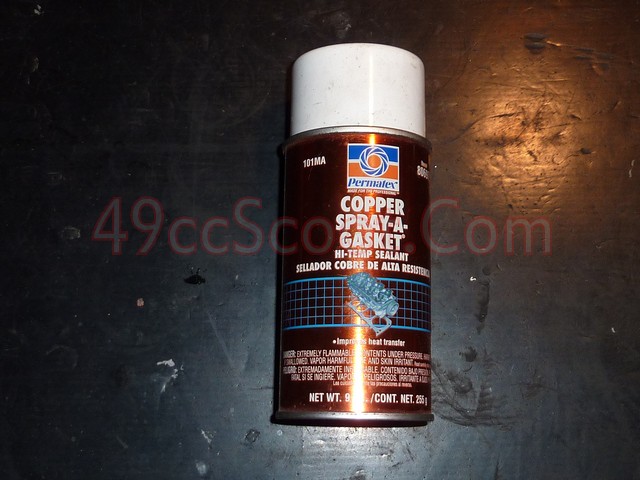
With the piston secured, you can slide the base gasket over the studs and into position against the cases. It may not be a bad idea to apply a very thin layer of sealant to the base gasket as I mentioned early in this article in the parts section.
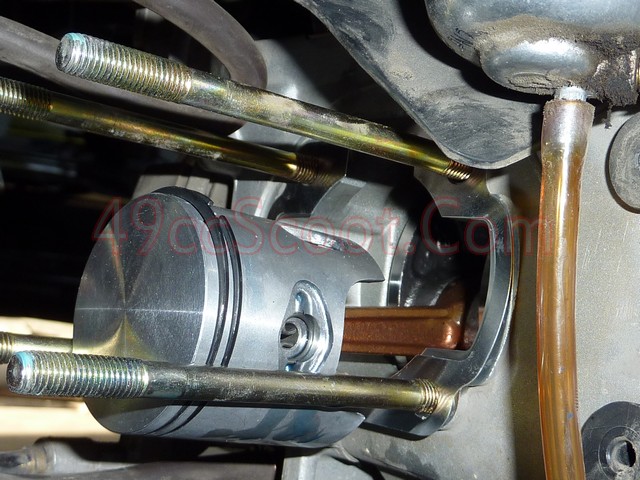
Apply plenty of 2T oil to the inside of your new cylinder. Be careful not to get any on the base though, because it could prevent a proper seal.
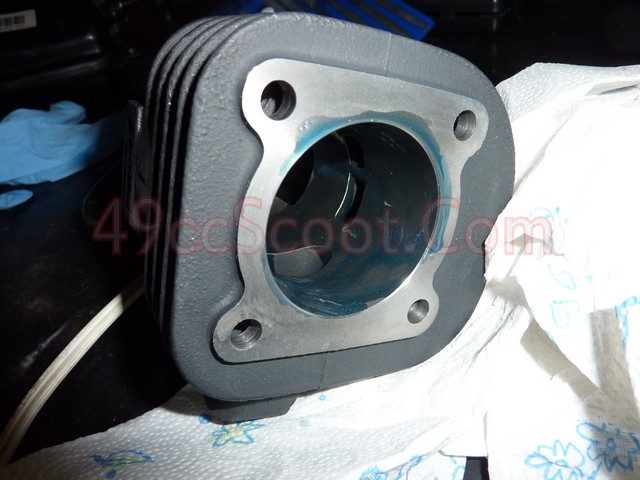
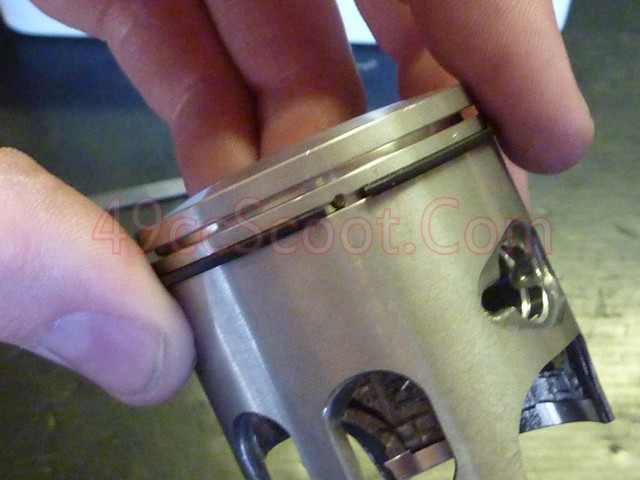
Make sure your piston rings are positioned properly around their locator pins. Slide the cylinder into place, being sure the exhaust port is facing the ground. Be very gently and make sure you are moving the cylinder evenly. You will need to use your fingers to press the piston rings into their ring lands in the piston. Don't force anything here. If a lot of force is required, your piston rings are not aligned properly or something is wrong. Take another look and go slowly and gently.
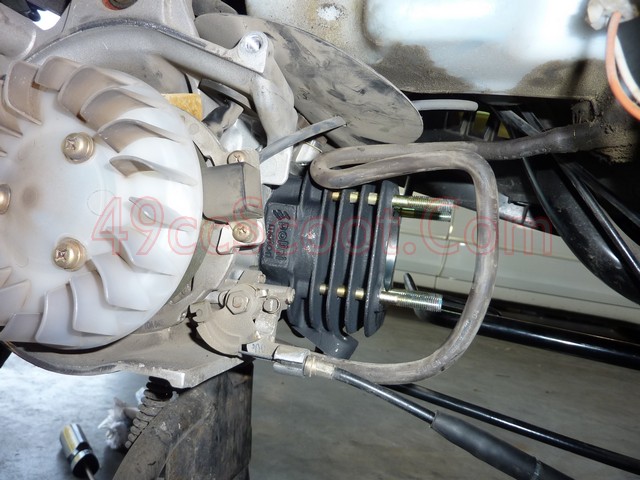
Use a rag with some brake parts cleaner to remove any oil from the cylinder's deck, where it will mate with the head.
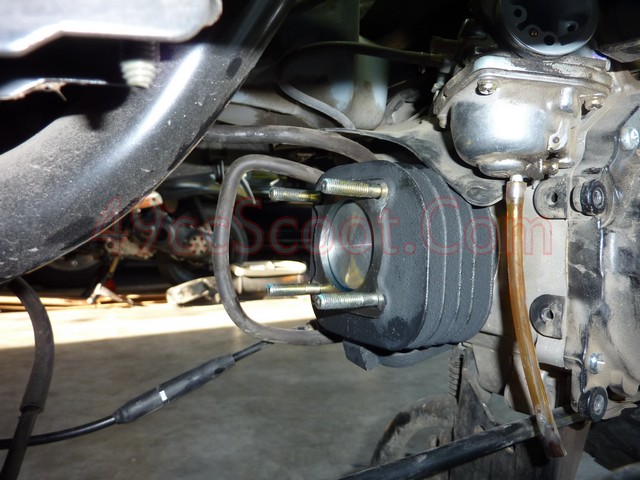
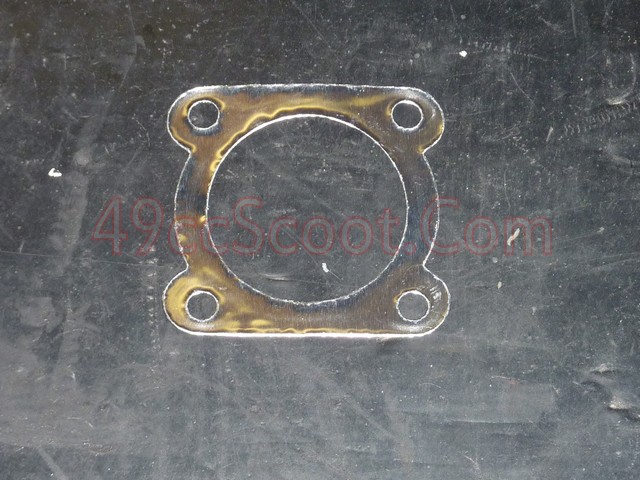
Insert the o-ring into the head's reciever groove or install the head gasket over the cylinder studs, depending which your kit is equipped with. As I mentioned in the parts section, it may be a good idea to put a thin coating of copper spray in the o-ring groove and mating surface of the cylinder head to assure the o-ring stays in place as you install it.

Slide the cylinder head over the studs and onto the cylinder. You should notice that one corner of the head is kind of cut away. This should match up to a similarly shaped corner of the cylinder.
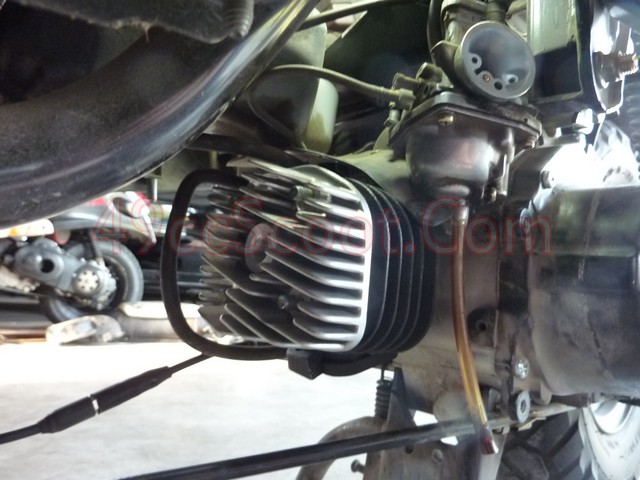
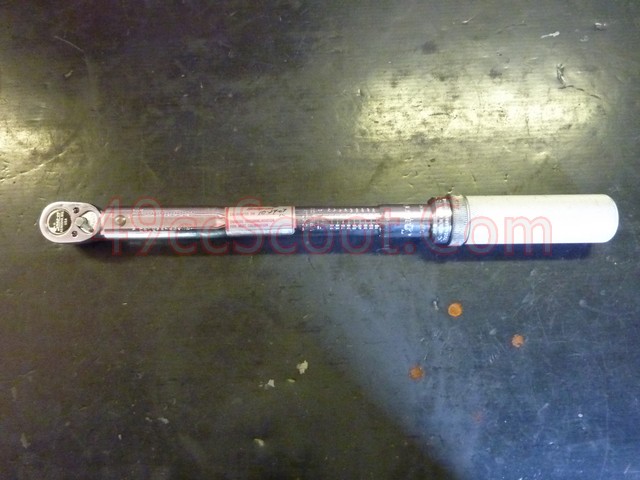
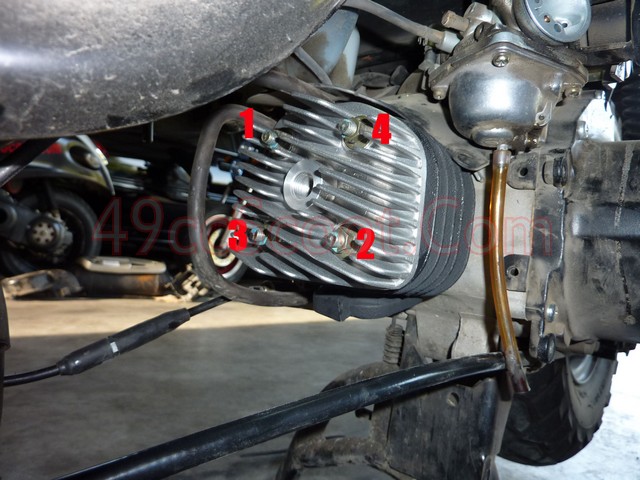
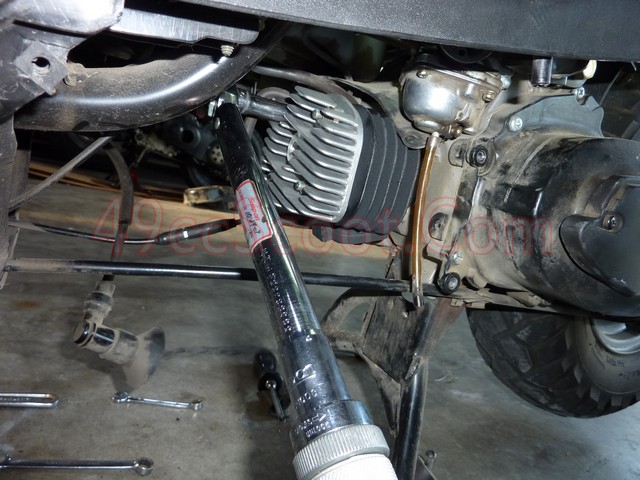
Install the nuts on the cylinder studs finger tight. Then use a torque wrench to tighten them in a criss-cross pattern as indicated by the numbers in the first picture. Which nut you start on isn't actually important, as long as you use a criss-cross pattern. Torque specs are usually 10-15ft-lbs, depending on the source. I used to use 15ft-lbs regularly, but have seen threads in the cases snap before then so it may be best to refer to a service manual specifically for your model or use 10-12ft-lbs for generic Minarelli clones. I like to do this in increments. For example, begin at 8ft-lbs, then 10ft-lbs, and finally 12ft-lbs.
Many 1E40QMB/Minarelli/Jog engines will use an NGK BR8HS or it's iridium equivalent the BR8HIX.
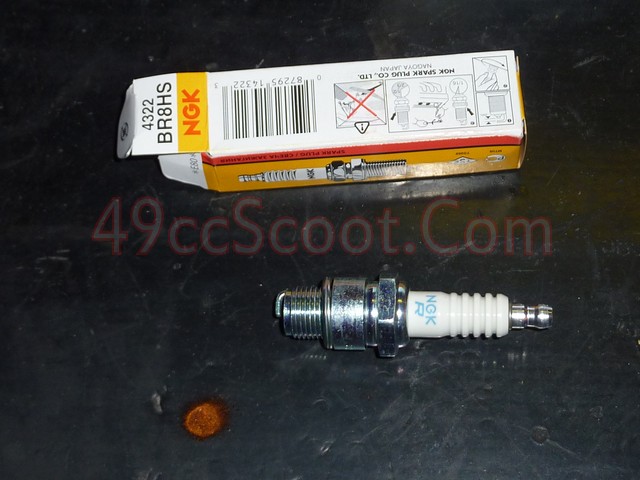
Unless you have installed a different spark plug boot, you will need to remove the tip from the spark plug shown here. It should come off easily with pliers.
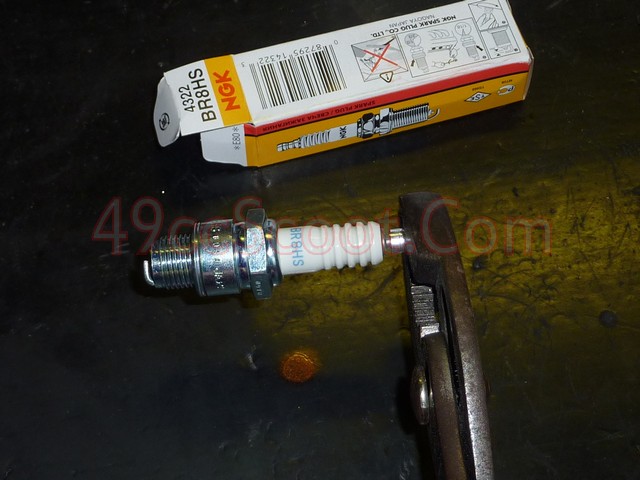
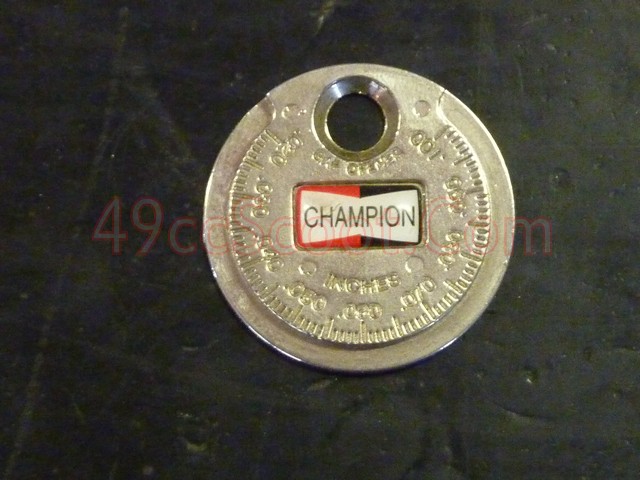
Use a gapping tool to set the spark plug gap to around .028". You cannot use a standard gapper if you are using an iridium plug. Many people suggest not gapping those. If you do wish to check and adjust the gap, you must use a tool that pulls the ground electrode rather than wedges in to widen the gap. The small iridum tip can be damaged with a standard gapper.
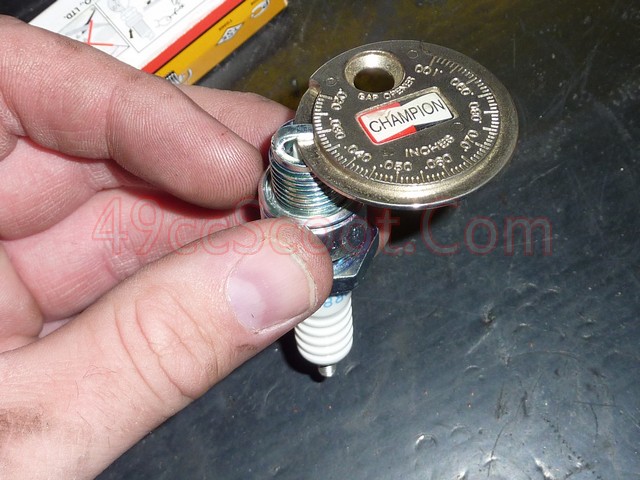
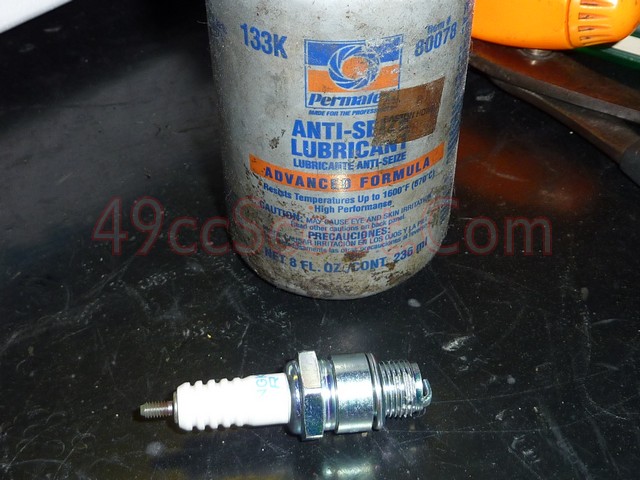
Apply a couple of dabs of an anti-seize compound to the spark plug's threads and install it into the cylinder head. It should only be tightened a couple of turns beyond finger tight until it is snug.
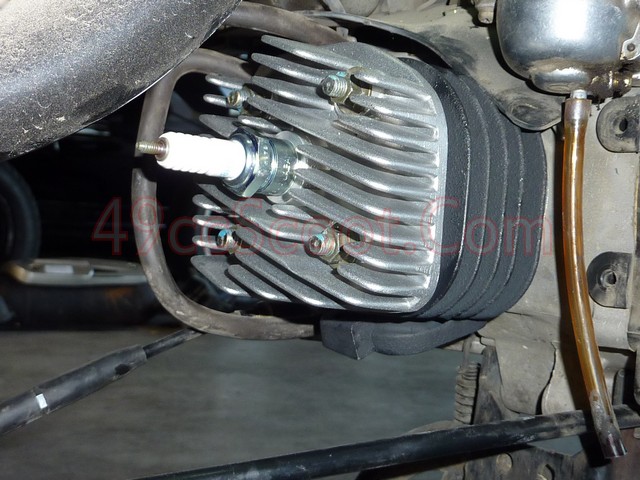
Slide the cylinder shroud back over the cylinder, being careful not to pinch or damage any wires or hoses nearby.
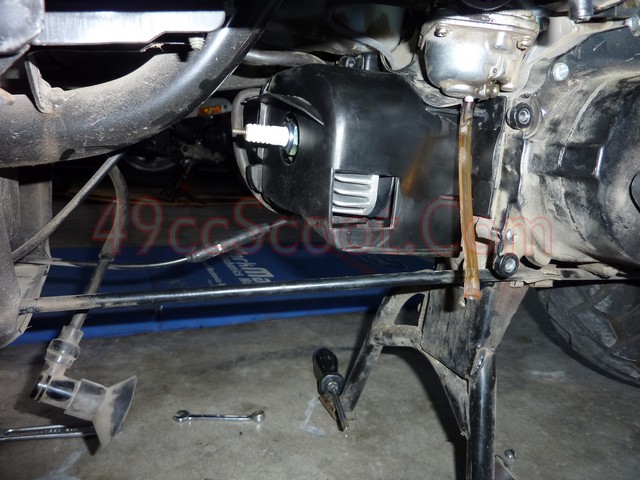
Insert the oil hose into it's groove in the cylinder shroud.
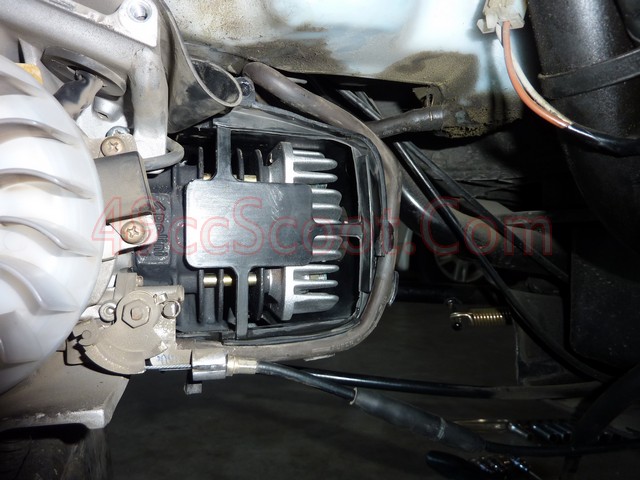
Begin installing the cooling fan shroud by connecting the tabs under the engine, being sure that the oil pump's cable is routed properly through the holes in the shroud.
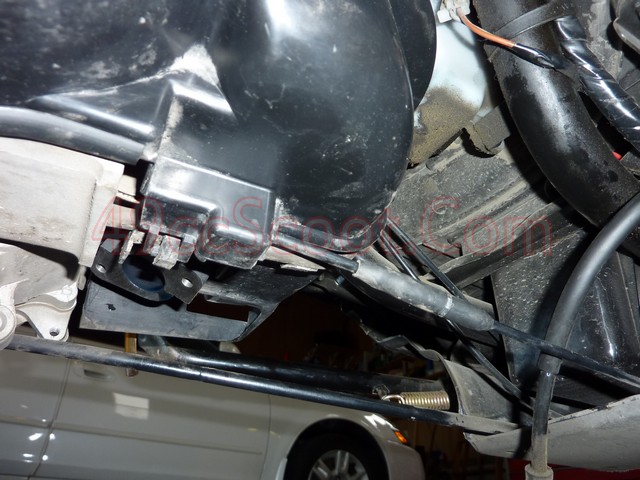
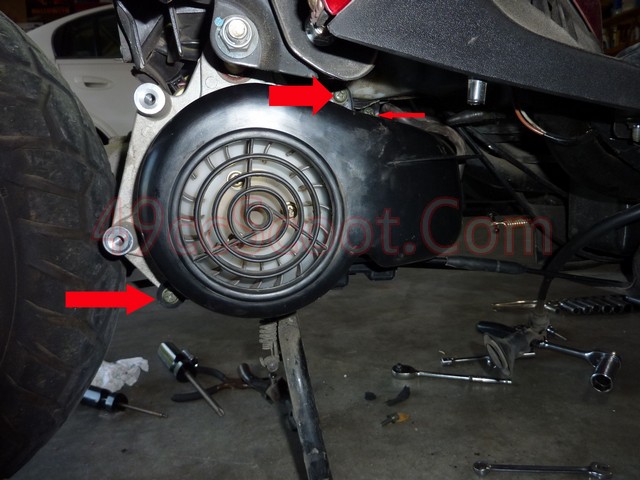
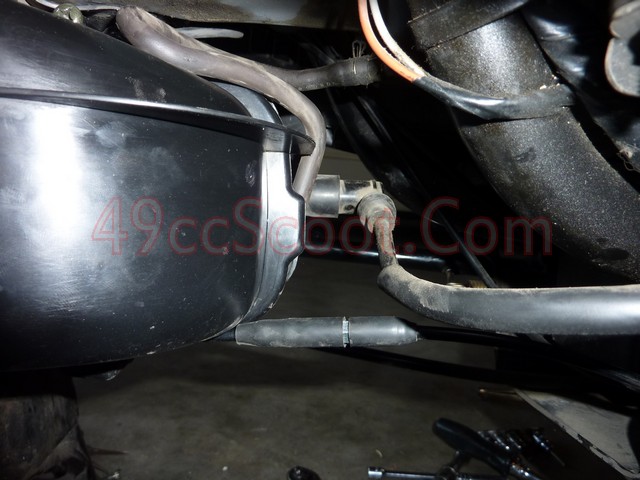
Position the cooling fan shroud to line up with the cylinder shroud. Make sure you haven't pinched any hoses and install the 3 bolts to secure the shroud.
Push the spark plug boot onto the spark plug.
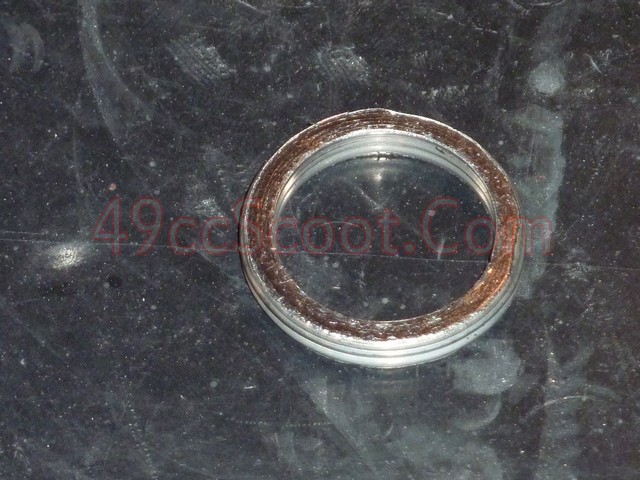
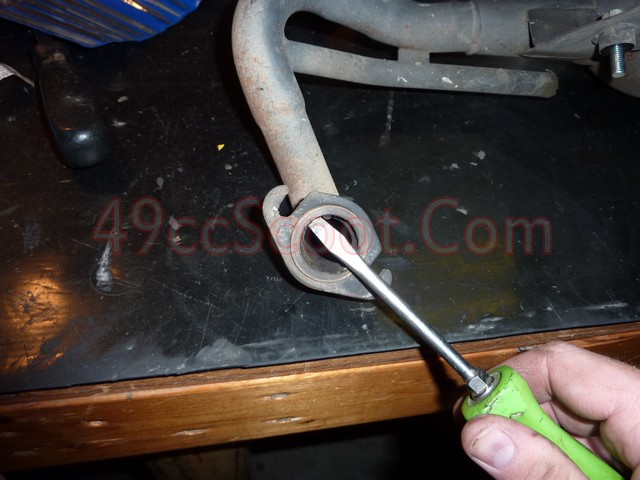
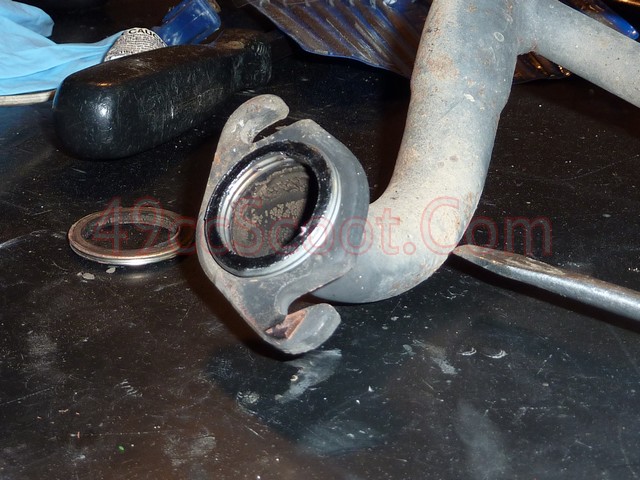
Pop the old exhaust gasket out of the header, and press in a fresh gasket.
Start one bolt in the exhaust bracket. Only thread it in enough to safely hold the weight of the exhaust while you line up the other connections.
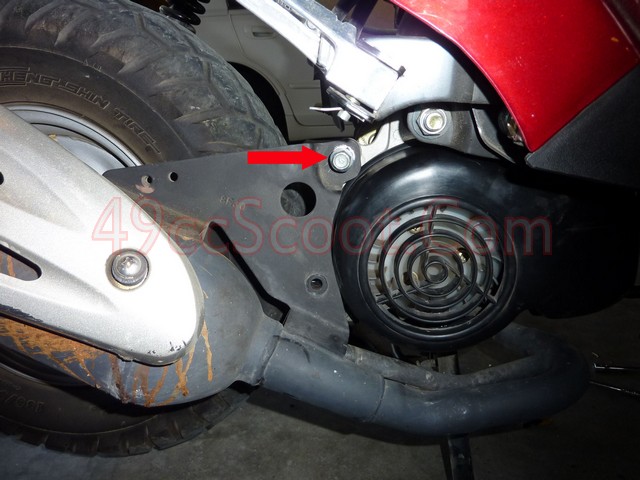
Line up, and start both header bolts. Tighten them just beyond finger tight.
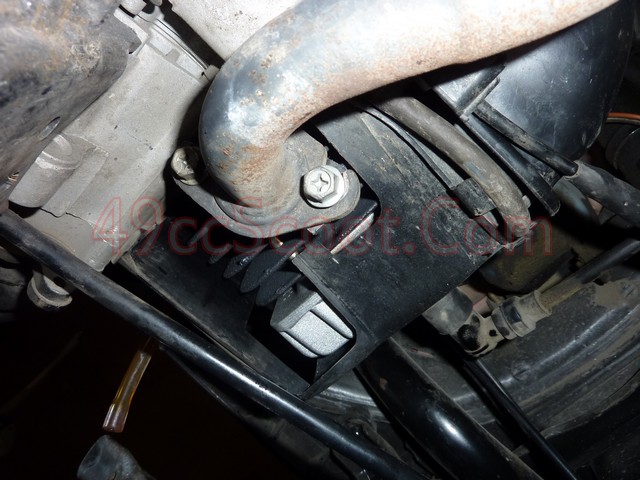
Start the second bolt in the exhaust bracket. Then tighten the header bolts and both bracket bolts.
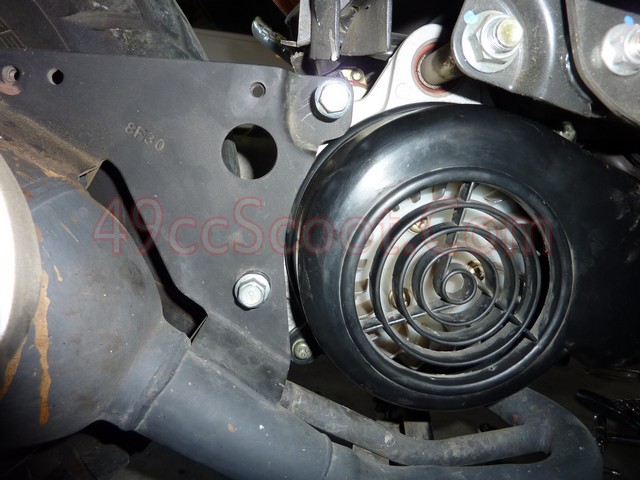
In some cases, the exhaust won't align properly with the mounting holes when using a new cylinder. If the exhaust fit well beforehand, the cause is most likely that the exhaust flange on the new cylinder is clocked different than the original cylinder's flange. This usually causes the pipe to angle either outward away from the scooter or inward toward the wheel and tire. Some try to force the exhaust into position and then secure it, but that's a bad idea. The exhaust needs to be supported by the header and mount bolts, but should not be under any sort of stress or pressure as that will very likely result in future issues such as cracks forming in the exhaust or issues with the mounting points and fasteners.
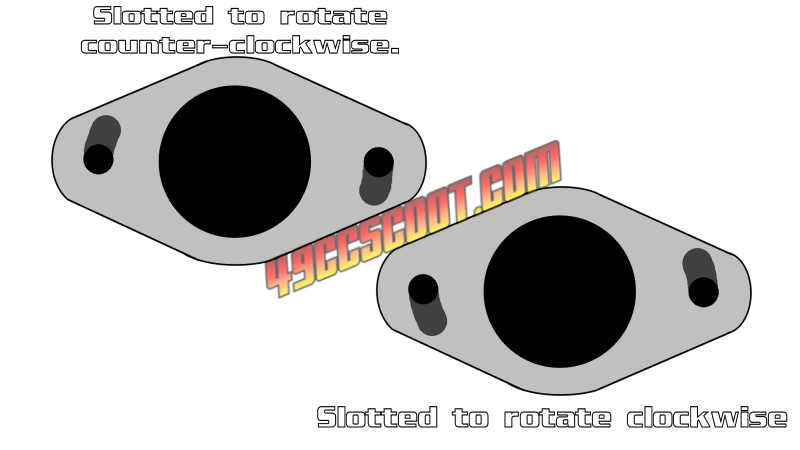
If the exhaust needs to rotate in or out, you may be able to remedy the issue by slotting the bolt holes in the header flange so that the header can rotate in the direction that you need to move it toward or away from the wheel.
If there is still a gap between the mounts and the bracket, spacers or washers can be used to prevent putting tension on the exhaust.
Minor misalignment of the exhaust bracket and exhaust mounting holes on the engine case may be solved by enlarging the holes in the bracket. Large mismatches may require bracket modification or fabricating a new bracket or adapter.


