|
|
Post by 90GTVert on Jun 24, 2013 18:04:15 GMT -5
All kinds of ambitious ideas here. Interesting to follow for sure.  |
|
|
|
Post by aeroxbud on Jun 25, 2013 5:28:34 GMT -5
Unfortunately these things happen when you are modifying things as much as you are  Don't be put off, these things are very much trial and error. Still an interesting read  |
|
|
|
Post by palezu on Jul 12, 2013 17:00:22 GMT -5
Took longer than intended but have got done something.. I bought a new piston kit. Modified it and this time I was extra careful to not to ruin it and now it went well. Then I lowered the cylinder top surface by roughly 1mm because there was unnecessary space between the piston and head because of the raised cylinder. I don't have a lathe or anything else special tools so the result is ugly but it worked and the cyl-head joint did not seem to leak. So, cyl is lowered and TDC:  Next the head went under modification. I tried to make the combustion chamber optimal, or, "optimal".. Squish band ratio is about 60%, compression ratio 13,3:1 and squish clearance about 0,45mm. I forgot to take a picture of the head when I finished it so here is a picture of it after test drive, checking that the squish is correct for sure, and it was not, in one spot piston had banged to head  Always good to do a check after first runnings. And the head WAS leaking as you see here, but after this I re-sanded the cylinder top because I was in a hurry last time and did not finish it very good and after that it didn't seem to leak any more.  New piston and rings did wonders, immediately I could notice that compression was really good, and acceleration was now noticeably better. When I opened the throttle fully, man, now it screamed and felt like now it could do some speed. Main jet was too big, with cold engine there was more power and when hot it started sputtering a bit in high rpms. But I tested speed and gps said 83,6 kph which is 52mph. Now I started to feel happy, and thought: "just a bit smaller main jet and it'll break 85 kph easily"... Next day, I went on to adjusting. Doesn't seem to change. Compression is getting worse and worse. Power getting noticeably worse. Darn. I took top end apart again. Piston was very healthy, but piston rings had gone bad in one spot. The cylinder surface is too worn in some spots and probably a lot out of round. So I put the aircooled cylinder to shelf. Didn't feel interested to re bore it and buy another new piston. Maybe someday. I already had a stock Aerox LC cylinder, which was otherwise excellent, but the exhaust flange had cracked, but I think I can easily fix it. Yesterday I got real lucky and got a radiator from a Peugeot scooter and water hoses for free! So now from a LC setup, I'm missing only the head and a water pump. One of my friends will sell the head to me. For the pump, I thought that I will try it without the pump first. I read that "thermosyphon" circulation does work, the temperature difference of the fluid circulates it. So I will try and see if it works good enough but if it doesn't I have to get a pump. Aerox cylinder. Exhaust port and exhaust duct was quite small, and it looked that it cannot be dremeled much bigger because it will go through to the water compartment, but I tried and it did not go through. But still the ex port is not very big, it has now about 182 degrees of duration whereas the previous cylinder had about 192 but this is about as big as it can safely be done. Width is about 71,5% which is more than I intended but should still be within limits.. We'll see if it is big enough.  The transfers of this cylinder are much better finished than in the chinese Benelli cylinder, but on the other hand they are smaller.. Here you see what should be still fixed..  I also chopped about half a kilo of unnecessary electronics out of the scooter. Then I have to grind the front end a bit to make the radiator fit. Will take some more pictures if I remember.. Now I just have to get the cylinder head and fix the exhaust flange to get the thing smoking again. I have high hopes of breaking at least 85 kph with the LC setup. If the cylinder ports would be as big as in the Benelli cylinder, I would expect 85 easily, but we'll see.. If the ports prove to be too small, things start getting difficult, but fortunately dremel bits and other metal removing stuff are cheap today..  At least I can say my diy ugly exhaust pipe seemed to work when the cylinder had compression. It felt now it had some real oomph in the high rpms until the rings wore. I hope the rings will now last because the LC cylinder bore is in excellent condition. |
|
|
|
Post by 90GTVert on Jul 12, 2013 20:05:33 GMT -5
Great update. Very interesting.
|
|
|
|
Post by aeroxbud on Jul 14, 2013 19:34:53 GMT -5
Should be good, but I would fit one of the electric water pumps for peace of mind.
|
|
|
|
Post by palezu on Jul 15, 2013 16:14:33 GMT -5
No, waterpump adds costs  You are right tho, it's quite scary to drive and try to trust that the water keeps circulating on its own. I got the radiator installed:  Also got the head. At first there was a small problem, the head missed the temperature probe, and the thread was some special fine thread so I couldn't just screw a ordinary bolt there, but I took and tapped the hole to M10 thread and stuck a normal bolt there. Got everything ready and poured water in. No leaks, wow. Except the carb heating hose mounts leaked a bit but that is not a big problem. I had bought new piston rings, so compression was alright again and the thing started very easily. At first it seemed that the water won't start to circulate, but I re-routed the hoses a bit and tried to make a straight upwards path for the hot water hose out from the cylinder to the radiator, and a downwards slope for the cool hose out from the radiator. Then it started working. I could feel how the heat advanced from the cyl through the hose to the radiator. After some time running, upper hose was warm, radiator was warm and bottom hose was noticeably cooler and cylinder was also cool in the exhaust side. I had read about the thermosyphon circulation a long ago, but it was fascinating to see that it actually works  Physics are wonderful. Here is a crappy video, to show you a chinarelli engine running with a minarelli watercooled cylinder: I took a quick test drive. Acceleration felt pretty much as good as it was with the aircooled cylinder at it's best. It is funny how different it sounds at some rev ranges without the normal cooling fan. With the aircooling, I never have really distinguished the fan sound, but the difference was obvious. One funny thing I have noticed, is that genuine Minarelli aircooled engines that I have seen on some scooters (yamaha jog for example) the fan whines like a vacuum cleaner. In these 1e40qmb engines it does not whine. Go figure. I didn't drive more because the exhaust is now leaking so badly that it cannot be withstood so its off to the welding corner again.. Then carburetor needs adjustment of course. But I observed how well the cooling system works, and I can say that it works beautifully. The cylinder was not even hot to touch in any point. After a bit of high speed driving, trying the radiator with hand, the bottom side almost felt cool to touch. As aeroxbud mentioned about peace of mind, I have to get a water temp gauge. I'm sorry, there would be a lot more little things to tell about the recent modifications, but it's again getting late so I just put the basic things what I have done. I try to put more details and pictures next time. But, it seems promising. I'm excited. To the next time. |
|
|
|
Post by palezu on Aug 2, 2013 16:50:58 GMT -5
As always, haven't got done much but slow and steady...? I bought a cheap flux-core MIG welder. It's not the best, but compared to the stick welder, it's a hundred times better. So now that I'm able to weld well, I went and bought some good sheet metal, not rusty crap this time:  Cut header pieces:  Not the most beautiful weld but it works  Finished product:   So I tried a new technique: hydroforming with a pressure washer. You cut two halves, bend the edges a bit, weld together water tight, weld an adapter for the pressure washer in the other end, stick it to the washer, turn the power button and buzzzzz a beautiful piece of pipe in just a few seconds. Seems to work really well and end result is at least 100x better than my old pipes. I made this header first, I will make the expansion chamber part from cut cones. |
|
|
|
Post by 90GTVert on Aug 2, 2013 19:22:09 GMT -5
Nice job! Looks like it's gonna be a sweet piece when you're finished.
|
|
|
|
Post by mopedmaniac on Aug 2, 2013 22:54:18 GMT -5
You gotta make a how too video of how to make pipes bro....it looks sweet  |
|
|
|
Post by moofus02 on Aug 2, 2013 23:05:08 GMT -5
Yes how to vid please. That turned out nice congrats on the new trick. If not a vid how bout some pics of the process
Sent from my SPH-L720 using proboards
|
|
|
|
Post by aeroxbud on Aug 4, 2013 17:15:23 GMT -5
That's looking really good  |
|
|
|
Post by palezu on Aug 5, 2013 14:41:54 GMT -5
Thank you all  I'll try to make a how to video, or at least take more pictures of the process. Got the pipe finished couple of days ago. I made the expansion chamber traditional way, cones  tack welded  finish welded, made a bracket (sturdy fit, at last I don't have to fear about exhaust dropping while driving)  I made this kind of spring loaded mount for it to the cylinder, because I got tired of the bolts and always replacing gasket. But this leaks too and that is one of the biggest problems now.. Tips are welcome   I have tested the pipe a little, but cannot really say anything yet because it is not in tune. Waiting for inspiration to get the silencer done. Also waiting for a new adjustable clutch. Hopefully I can really ride this before the white **** comes from the sky. Some more tinkering: This is the Naraku 50cc cylinder, which is gonna be my "Home Made High End" cylinder. It's gonna have a two-part exhaust port and transfer ports hogged so big that a rat could make a nest there. It's gonna have a lot of power, so the aircooling will not do. Solution: remove old fins    Signature of course. I named the cylinder "Hornan Kattila" which is finnish and means something like "Cauldron from Hell"  Still have a lot to do for it.. I don't know if it will ever be ready, but it's always fun to make something new  |
|
|
|
Post by aeroxbud on Aug 8, 2013 2:53:44 GMT -5
I love this thread. You have so many new things to try. We think we know what's going on then you surprise us with the cylinder  |
|
|
|
Post by palezu on Sept 5, 2013 16:07:52 GMT -5
Thanks :D But you should see what kind of modified cylinders some of my country mates have made. Usually there is only half of the original material left of the cylinder. This kind of diy modifying is what I like. I don't really see the point in "bolt-on" expensive parts. It's too easy to just bolt on parts, you don't learn very much. This way, by carefully thinking, measuring and trying you really learn interesting things and don't have to spend a lot of money. The best feeling is when your diy'ed poor looking ride beats someone who has wasted big money on parts but doesn't even know how to set up an engine right  But, onto the project.. Evolving slowly as always, I think I should get used to it. It's a hobby right :D Bought a couple of used carburetors for cheap, a PHBG19 and a similar 21mm. Some parts missing but I could assemble the 19mm one.   Also I finally got a adjustable racerace Motoforce clutch but forgot to take a picture. Now the clutching works as should, clutch engages at around 8000rpm and takes off like a mad. Painted the pipe and ugly spray can silencer..  We went to a local kart track with my dad and finally could really ride the scooter. On a wide track it didn't feel that powerful, but it was good considering the mild porting layout of the cylinder (timings only about 112/178). And I was very satisfied with the working of the exhaust pipe. Unfortunately I didn't get any speed data..but a little bit of power data: it fairly easily beat a Suzuki moped with a 75cc Malossi cylinder(aircooled, very low tech, though). He also had a 21mm carb while mine is 19. I smiled, now I had beaten a bolt on guy with my diy tuned 50cc scooter. His bike would have done much better though if he had had a bit taller gearing and properly tuned carburetor..how typical :D Here is a bad video(sadly not the race in video) Then, it was off to the garage again and disassembled it again and when back together, it must have double the power. Ordered some more tools from china.  Also a bicycle speedo..  Now it was time to hog the transfer ports of the "hornankattila" cylinder. My target is 130 degrees of duration for the transfers and widen the ports a bit. Here is my very quickly made dremel add-on which I call the transfer ruiner:  Metal dust flew, and I think it turned out at least good looking. But we'll see how much worse it will be compared to a stock cylinder. For comparison, here is stock transfer ports of the Aerox cyl: (there is no seizure marks above the ex port, its metal dust)  Then my diy ported lump of metal:   To Do list for the diy cylinder before first smokes: -sleeve the stud holes to seal the water compartment -make hose fittings -surface the cylinder top -make the most magical part, the exhaust bridge -re bore...:D Maybe will happen before christmas, maybe? Also started working with the Aerox cyl.. A load of spacer plates needed under the cyl, remove same amount from the top, hog the ports..darn it's a pain to make these with only hand tools..  |
|
|
|
Post by palezu on Jul 29, 2014 12:26:41 GMT -5
Long time no see.. ![]()  [/img] Surprisingly, the project is not dead. After months of planning of planning of doing something, I decided to go back to the old aircooled setup, because the DIY cylinder needs so much effort and not even sure if it's gonna work(I read that the normal steel exhaust bridge I welded on, has so poor lubricating ability that it seizes easily). And the Aerox cylinder needs work too what I haven't got done. So I ordered a new 49cc kit from ebay, cheapest I could find, was ridiculous 25 euros+20 eur postage from Germany. 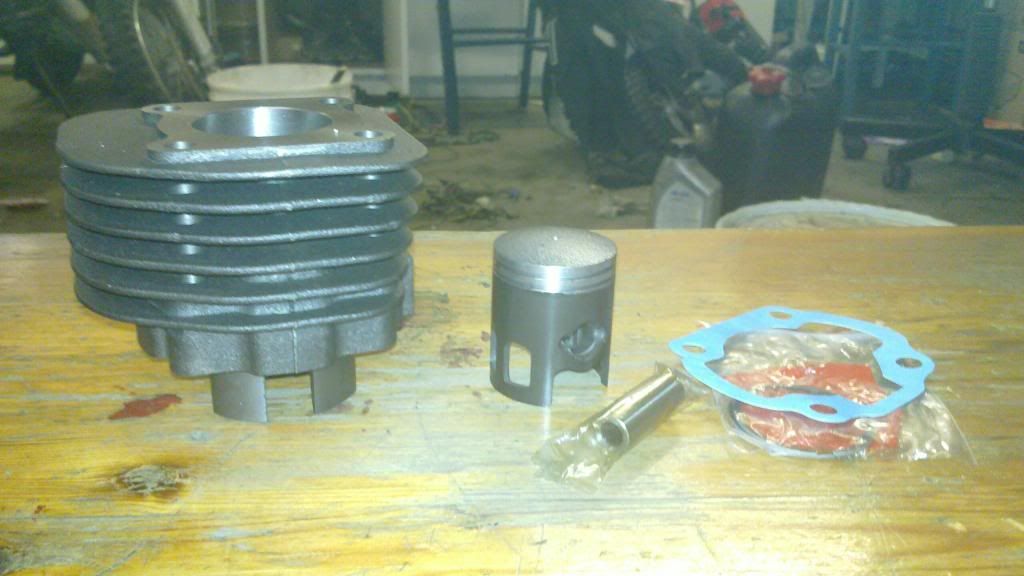 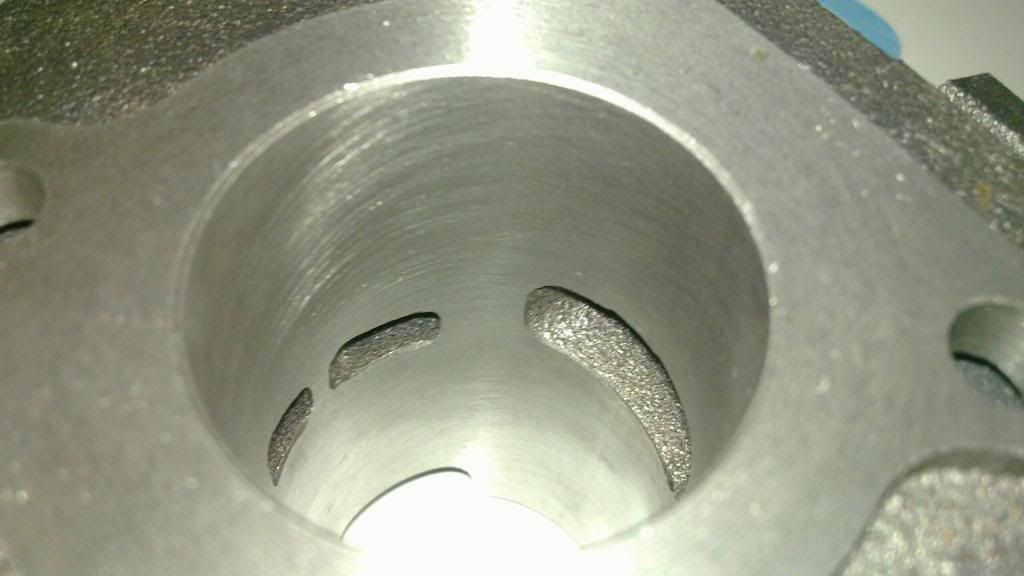 Ports were soo little so I took my tools and metal dust flew again 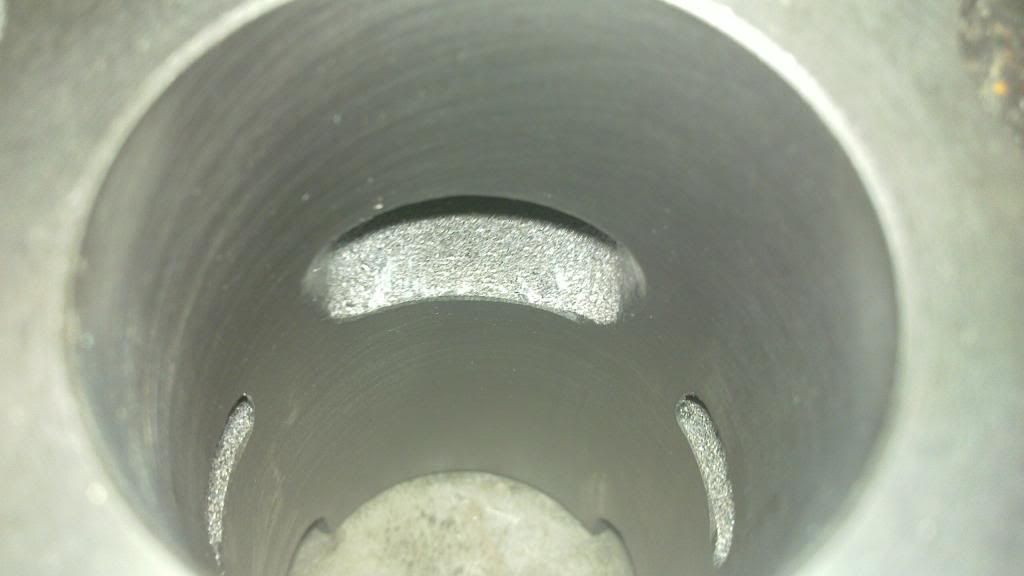 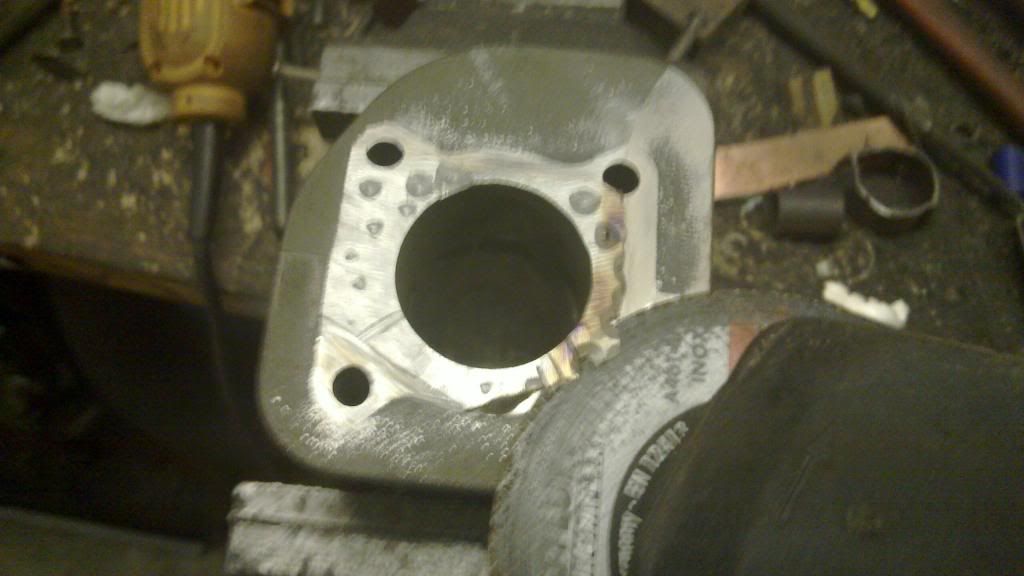 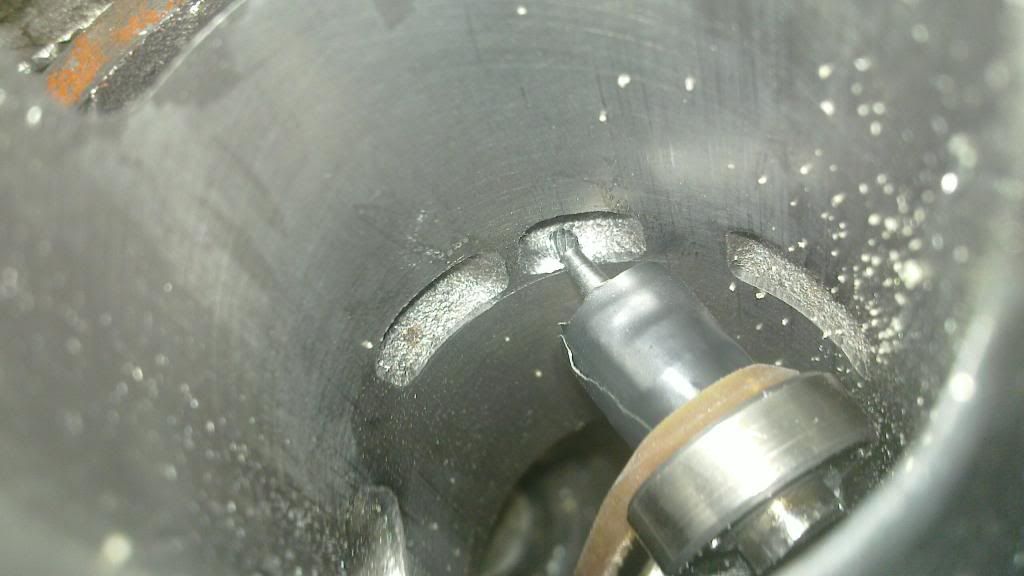 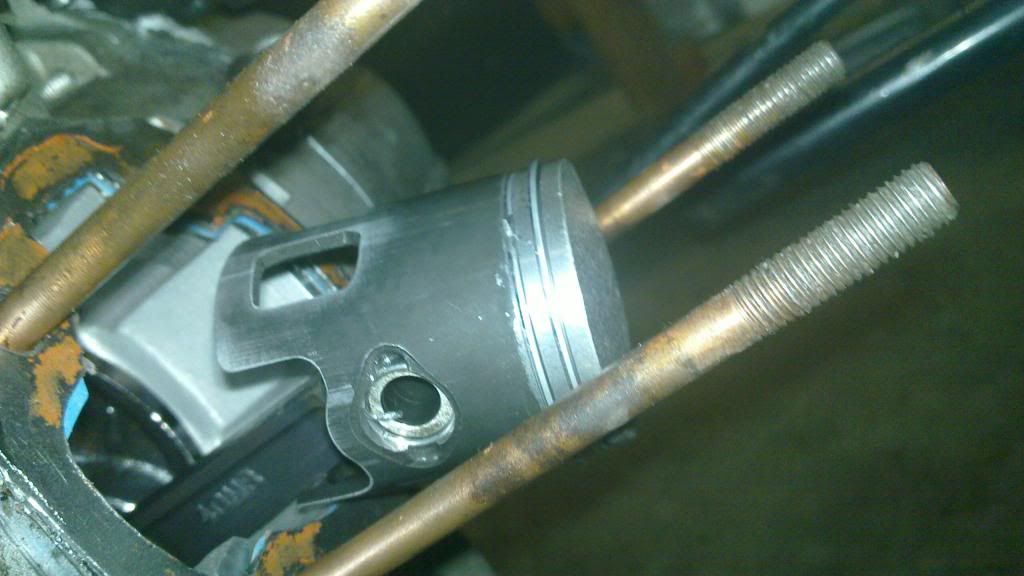 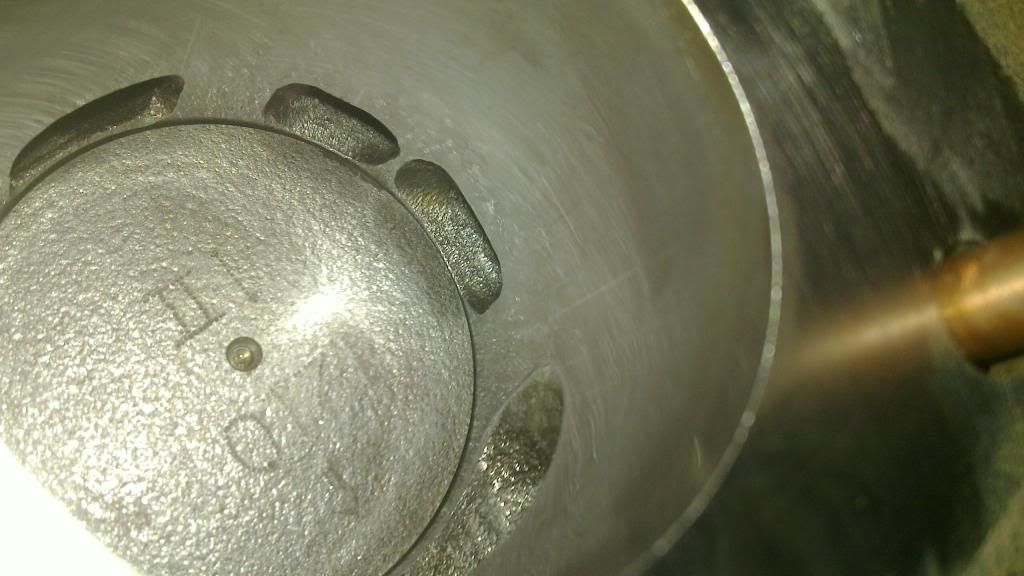 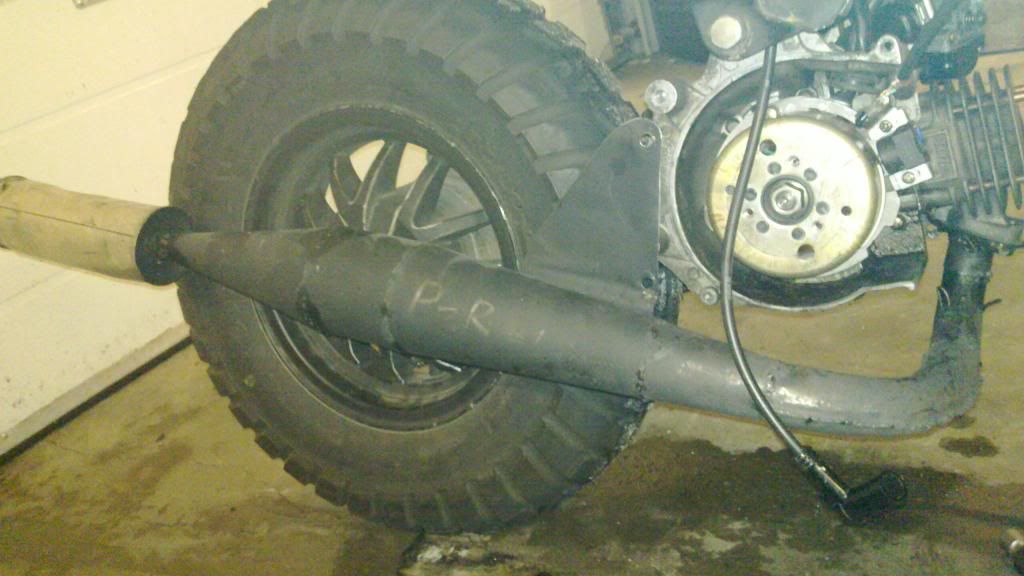 Assembled and fired it up again in many months, man the sound of my brakecleaner bottle silencer was mean. Reved it a bit and then it quit. Turned out that the CDI went. Well, then I thought I make use of my electronics skills. I made this: 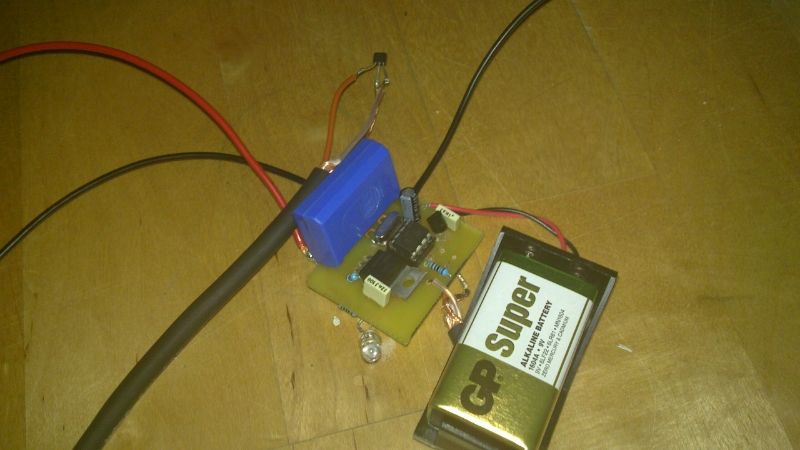 There you have a homemade programmable CDI. It's controlled by an ATtiny45 microprocessor. It takes a crank signal from a trigger sensor, calculates crankshaft speed and determines the amount of spark advance needed for the given rpm and fires the spark. To my surprise, it worked first try and revs quite nicely, over 14000 rpm in the end of the video. www.youtube.com/watch?v=gR9CbeXxR6ABut the CDI was a bit problematic and didn't have time to fiddle with it as in a CVT vehicle it doesn't give so much advantage over a normal CDI, so I dumped it for now and ordered a normal blue hyper racing CDI from China and installed that: 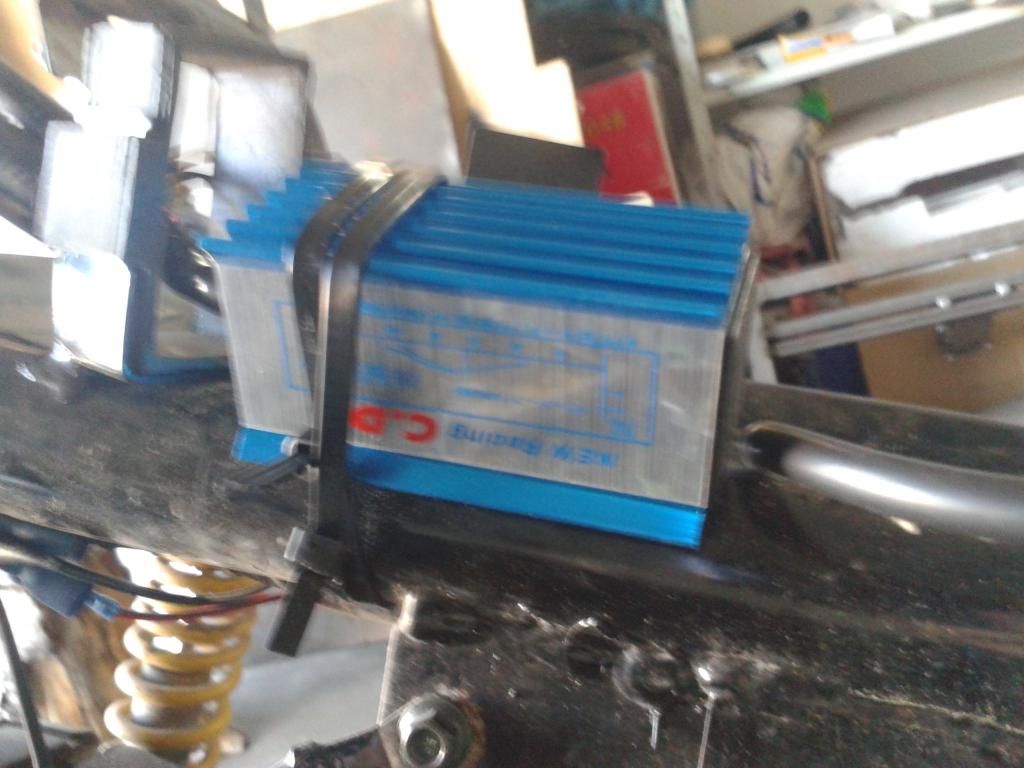 After that I finally got down to test the top speed: 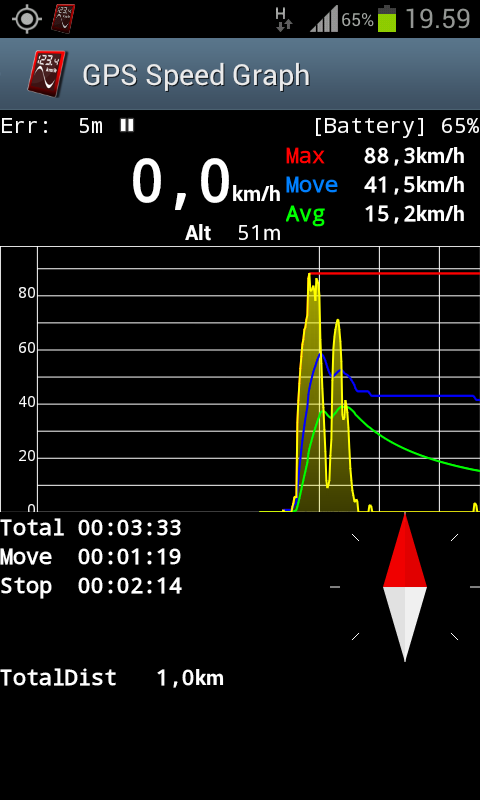 88,3 km/h, about 55 mph. At least old record is now broken, I was almost happy ![]()  [/img] Main jet was slightly too large, maybe will get a bit better by carburetor adjusting. Also next thing to do to gain more speed is to enlarge the exhaust channel, as I intentionally left it a bit smaller just to test some professional guru information I read from pit-lane.biz. The exhaust port outlet is now about 21mm, it was not bad but I still feel that it should be a bit larger. To the next time.. seems it's gonna be next year  |
|