|
|
Post by 90GTVert on Jan 9, 2010 22:50:47 GMT -5
Good choice. Take your time and it'll turn out fine.
|
|
|
|
Post by 2strokd on Jan 9, 2010 22:51:51 GMT -5
That is probably the best choice. As the guys said now is the best time since the case is apart and you can get the transfers nice and smooth  . Looking forward to the porting |
|
|
|
Post by Enviromoto on Jan 10, 2010 13:21:01 GMT -5
Mid afternoon update  This is how we got started this am. 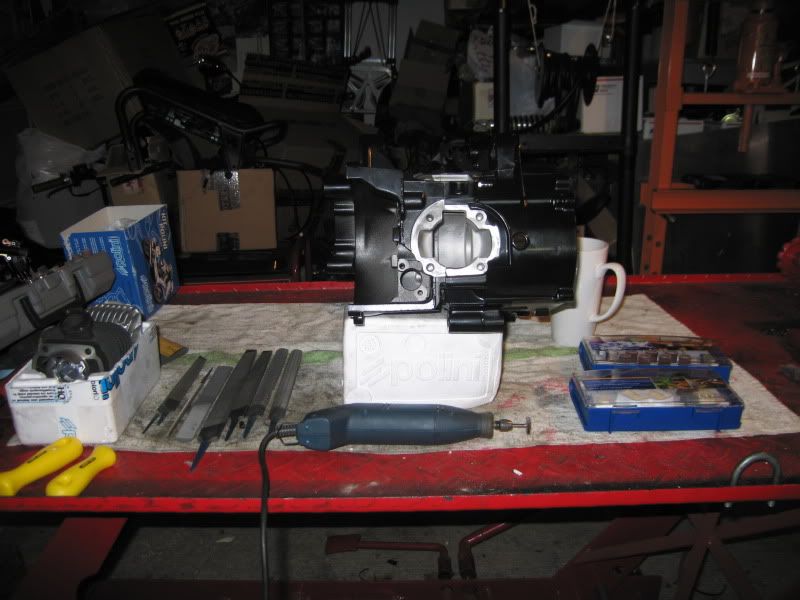 My camera just dont do a very good job of taking pictures like this but I hope you can see well enough. See the extra material that the gasket dosent cover. Thats what I removed. 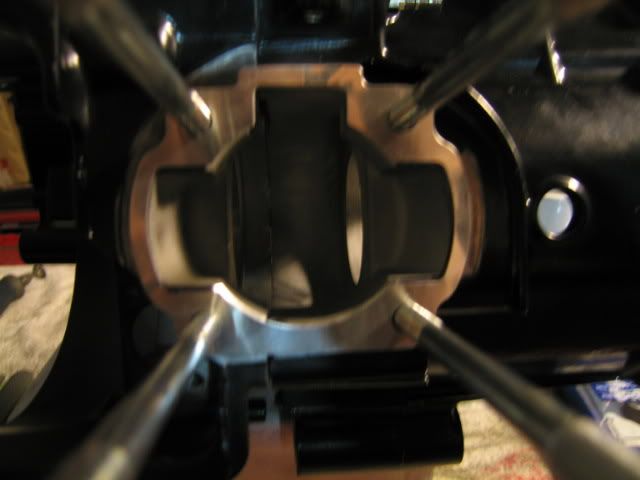 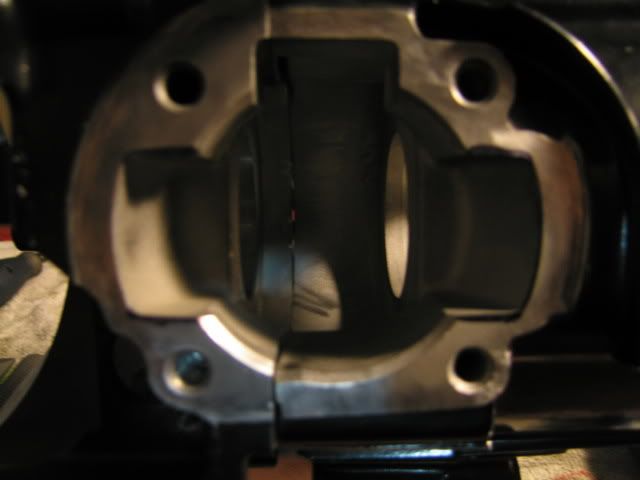 Rough cut with dremel 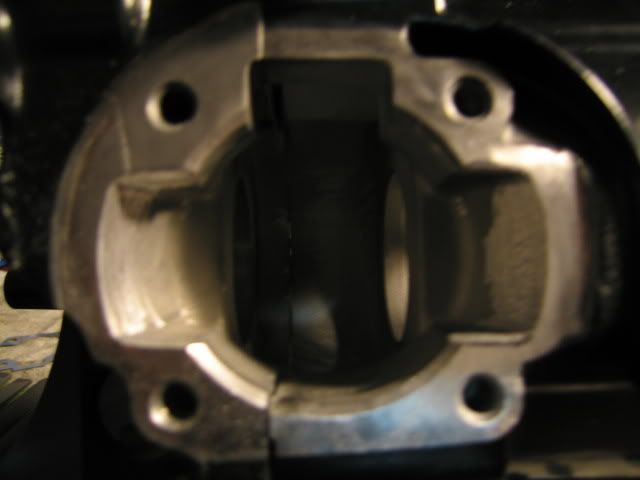 After about a hour of filing and sanding most of the material is gone. 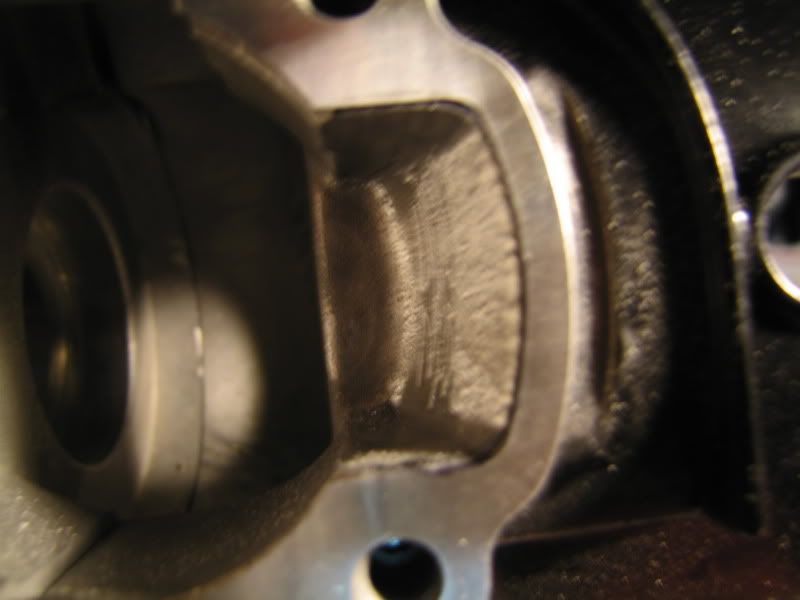 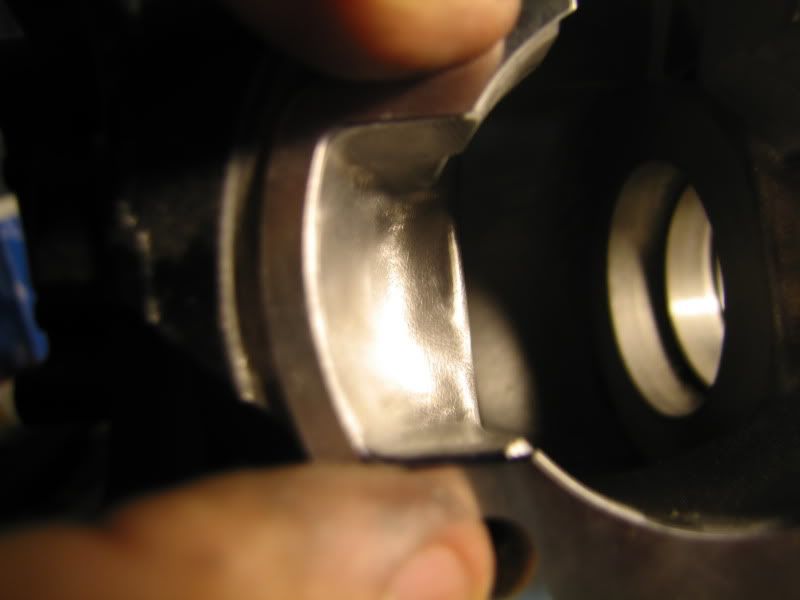 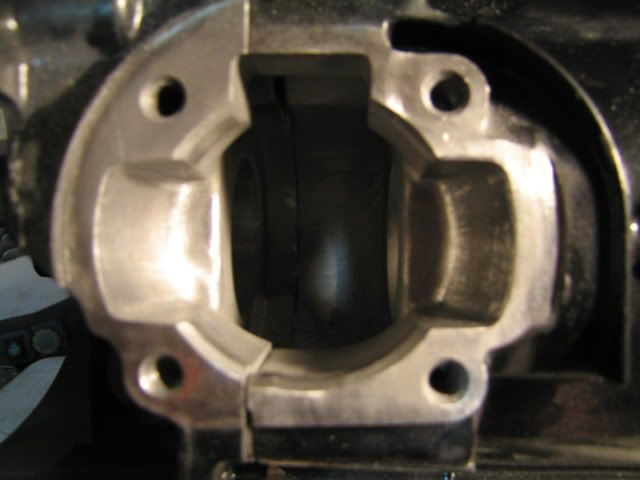 So how this looking? Should I work it some more to make it super smooth? I was told that you want it to be a little rough but I dont know how much is to much. I think Im going to leave the top end until I get a little more advanced. 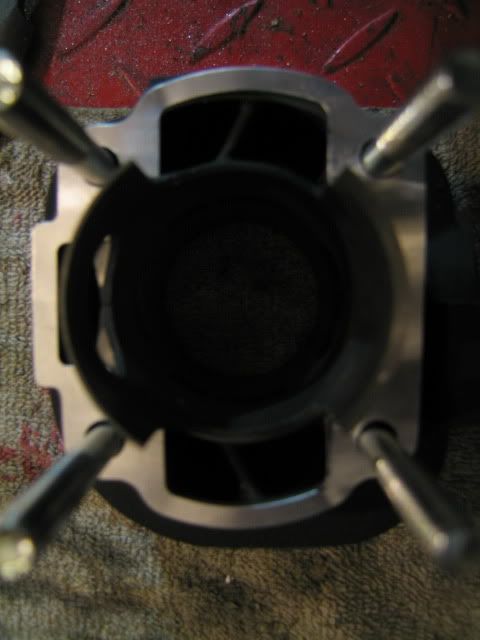 Thoughts or suggestions? |
|
|
|
Post by 90GTVert on Jan 10, 2010 17:42:46 GMT -5
Looking good J. Doesn't it make you feel better knowing it's done right? Most of the time people polish the cases there. I'm not sure that it really matters though. he mixture would be going from an unpolished area, then to the polished section, then it would enter the ports that aren't polished.
|
|
|
|
Post by Enviromoto on Jan 10, 2010 18:14:19 GMT -5
I did end up cleaning up the ports but this is the only picture that turned out.  Let me tell ya this crank is being a bear to install. I have both halves in the oven at 225 and cooked them for 20 mins and so far no luck. Im gonna leave them in for 20 more and see what happens then. Edit* I got one half on but I got to thinking. Do you guys put the crank seals in before or after the crank? |
|
|
|
Post by 190mech on Jan 10, 2010 20:37:16 GMT -5
Transfers look good!Install the seals after crank installation,be
sure to grease seal lips with a good high temp grease before
installing.
|
|
|
|
Post by Enviromoto on Jan 10, 2010 21:01:40 GMT -5
Thanks you guys gave me the confidence to go for it. Im glad you did, Ive learned a lot today.
Suggested method of seal installation? Special tool or socket?
|
|
|
|
Post by 2strokd on Jan 11, 2010 7:32:11 GMT -5
Good job J ;D. Now you can say you have dabbled around with porting a 2T  . I think you can just use a socket the size of the seal to tap them in. |
|
|
|
Post by Enviromoto on Jan 11, 2010 15:51:56 GMT -5
Any tips on removing a crank seal without removing the crank?
|
|
|
|
Post by 90GTVert on Jan 11, 2010 16:15:43 GMT -5
What in the hell are you doing? lol I'm pretty sure once you install the seals they're supposed to stay there.  I don't really have any tips for that. Just be gentle with it as usual. Try not to scar anything up. |
|
|
|
Post by Enviromoto on Jan 11, 2010 16:39:02 GMT -5
I messed up the seal so I removed the crank and now im starting over. .... again.
|
|
|
|
Post by 90GTVert on Jan 11, 2010 16:41:51 GMT -5
Wow. Sorry. Good luck with it this time.
|
|
|
|
Post by Enviromoto on Jan 11, 2010 17:13:41 GMT -5
I tell ya man this thing is a bear almost had it together but the crank must not have been cold enough as it stopped going in about 1mm before I could get the cases together.... Arrrrghh!
GY6 is much easier.
|
|
|
|
Post by 2strokd on Jan 11, 2010 18:48:44 GMT -5
Thats close enough isnt it?
Bolt it together, itll pull itself the rest of the way together.
|
|
|
|
Post by Enviromoto on Jan 11, 2010 22:26:34 GMT -5
I guess Im a scared Nancy on this project. I pulled everything back apart, ordered new bearings, and the right tool for the job. I would rather do it right than risk breaking something. I may spend time and money now but it will pay off in the long run. www.rockymountainatvmc.com/productDetail.do?navType=type&webTypeId=140&navTitle=Tools%2FShop&webCatId=22&prodFamilyId=17166On the plus side I have a really cool vintage Lambretta project in the works. Stripped it all down and sent it out for media blasting today. Hopes are that we can get a spot in Scoot! for it. I did get all the axel and wheel bearings in today so that will be enough to keep my busy while I wait on more parts...... |
|