|
|
Post by stepthrutuner on Jan 20, 2016 4:53:11 GMT -5
Careful you don't ride that "wasp" too much, lest you develop a penchant for chianti and pinching passing women on the butt.  |
|
|
|
Post by niz76 on Jan 23, 2016 15:17:58 GMT -5
Careful you don't ride that "wasp" too much, lest you develop a penchant for chianti and pinching passing women on the butt.  Hmmm I may be riding it too much already Reggie- as I do seem to be preoccupied with women butt pinching and stingers and such lol. The chianti- not so much... is it a tea?? I'm still just drinking cheap coffee that's made way too strong  |
|
|
|
Post by niz76 on Jan 23, 2016 15:42:17 GMT -5
Hey fellas! I haven't really found the time lately to get all my pics uploaded and posted here but I've been busy on the "Wasp"! After greasing up everything I possibly could that has to do with the clutch cables and mechanism this baby, it shifts real smooth now. Maybe a little too smooth! Just last night I was digging into the electrical system and trying to make sense of it, and as I was fiddling with the innards of the headlight switch on the handlebars with the scoot idling, I accidentally popped it into gear and it leapt forward and crashed into the desk and fell on it's side. Doh! Luckily, this thing is built like a tank so no damage done. Speaking of damage- I was cruising through my neighborhood in 3rd gear at about 35mph and a big chunk of the headset- where it was already cracked- just flew off! I turned around and recovered the piece that came off. It's plastic so I guess I'll just superglue it back for now and eventually give it a little bondo when I start working on the cosmetics. Speaking of cosmetics, I went and bought some material to recover that gawd awful seat until I can get a proper cover for it, but then realized it's all steel! Can't really staple anything on! I actually got into a pretty extensive little project and modded a seat off an Adly Thunderbike to fit. I think it looks pretty cool and it's super comfy! I could definitely ride all day with this seat on it. I still have to figure out a hinge mechanism for it so as of now it's only attached via a huge magnet! It fits so well it doesn't even wobble or try to come off or anything but I will fit a hinge to it somehow...  I also did a few little tweaks to the carb float as it was leaking fuel overnight and flooding the engine and making it very difficult to start- even with the petcock in the "off" position. I can tell you that it involved soldering haha. When I get all the pics and explanations up you'll be able to see how I solved that issue. Currently I'm fiddling with the electronics and trying to get all the turn signals and headlight to work. The rear tail/brake light functions perfectly so the stator and regulator seem to be working fine, it's just hard to figure out as this thing is wired up nothing like anything I've ever worked on. The way they have the rear signals wired to work on the removable panels is pure genius- they just don't currently work  Lots of updates and I've been taking pics along the way so soon you'll see a massive amount of updates and pics! Oh yes- one final thing- now that I've gotten a little more comfortable with it and not babying it so much- wheelies are super easy on this thing!!  |
|
|
|
Post by niz76 on Jan 23, 2016 17:13:32 GMT -5
Here's how she sits currently. You can see the huge chunk that flew off the headset and the Adly seat... 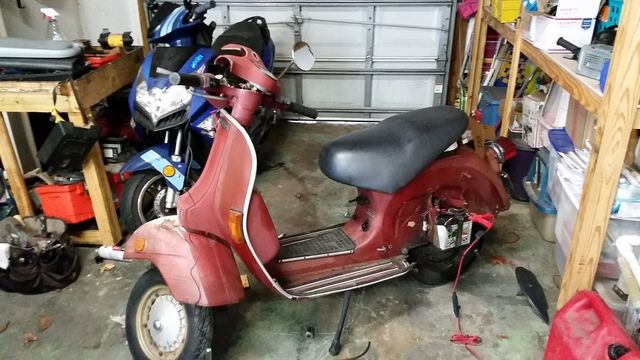 |
|
|
|
Post by 190mech on Jan 23, 2016 19:11:00 GMT -5
Hey Niz,What does the stock pipe look like?What does the 'better' pipe mentioned earlier look like?With all your spares laying about,perhaps a home brew could be fabbed...  |
|
|
|
Post by spaz12 on Jan 23, 2016 19:13:01 GMT -5
You're going to keep that seat on there?
|
|
|
|
Post by ryan_ott on Jan 23, 2016 20:53:48 GMT -5
Niz, if you have a leaky carb float seat you can clean it up with baking soda toothpaste on a q tip. Use in a twisting motion. Clean with carb cleaner when your done. Works like a charm.
|
|
|
|
Post by niz76 on Jan 23, 2016 21:35:56 GMT -5
Hey Niz,What does the stock pipe look like?What does the 'better' pipe mentioned earlier look like?With all your spares laying about,perhaps a home brew could be fabbed...  The stock exhaust is really basic and looks like the one on the bottom in this pic. 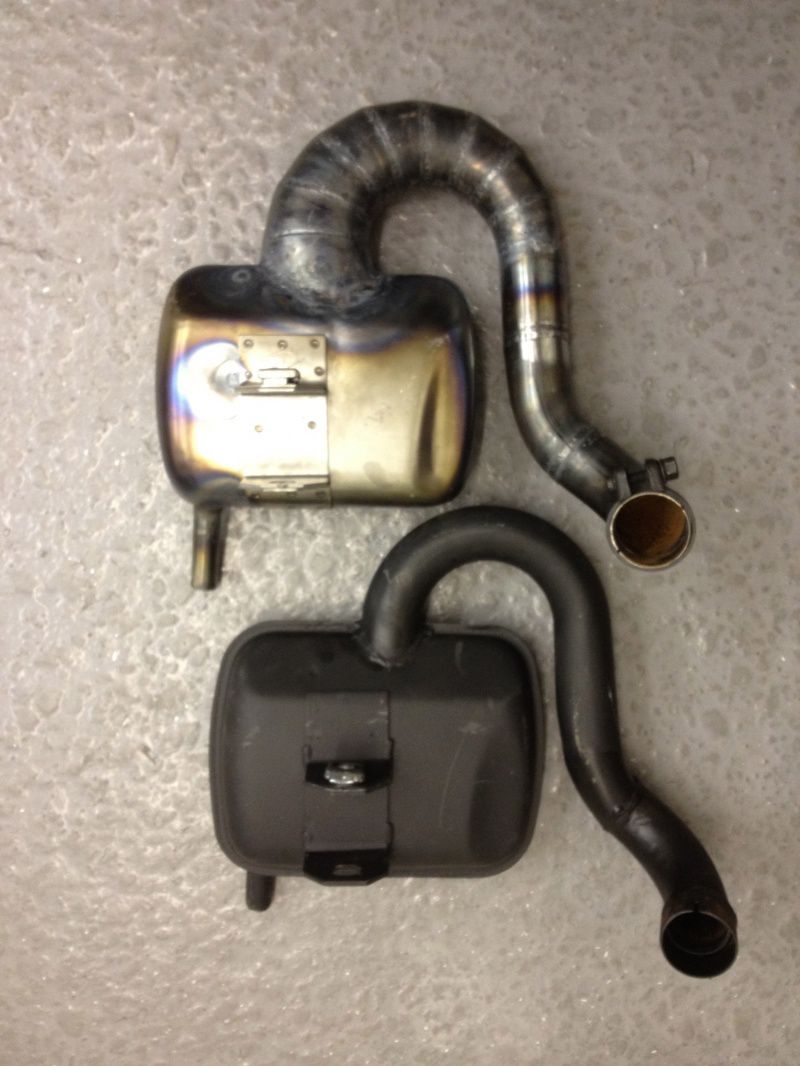 The one above it is an example of "better", and of course there's full expansions available of all sorts and price ranges! Some exit out the left hand side, some exit out the right hand side. There really is a poop-ton of aftermarket stuff for these! I've been wanting a peace pipe for so long now, but I think I may actually be done tuning on the Roketa AIR scoot and start focusing on this one.  Once I figure out what I'm doing with the setup and cylinder etc., I think my $$ is better spent here anyway! Could probably dream up a real sweet custom pipe! I may come a callin'!  |
|
|
|
Post by niz76 on Jan 23, 2016 21:43:48 GMT -5
You're going to keep that seat on there? It's certainly not permanent! I want to use the stock seat eventually, but I've seen so many cool custom ones that I like that I think I'll eventually want to "design my own" foam and then have it professionally upholstered. So the Adly seat may be on there for a while. Champagne wishes on a beer budget! I do have some better pics of the Adly seat with the side panels on it actually looks much better. I'd eventually like to get the stock seat re-done kinda like one of these: 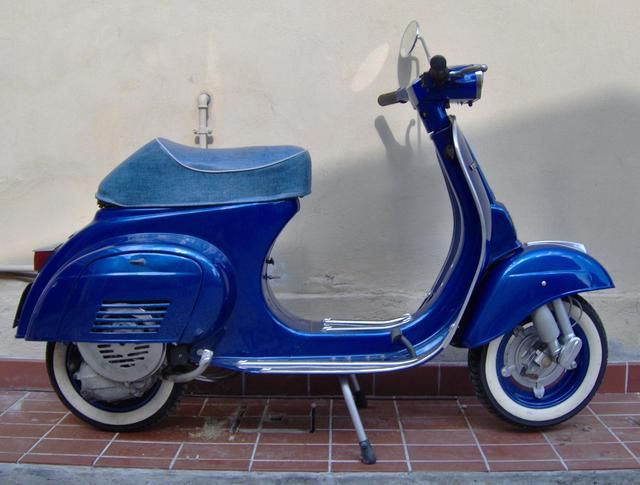 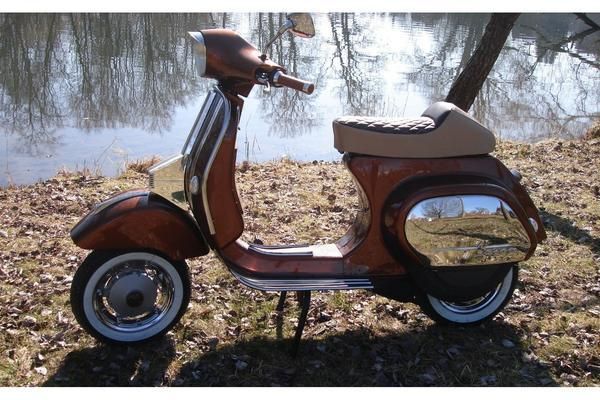 |
|
|
|
Post by niz76 on Jan 23, 2016 21:52:38 GMT -5
Niz, if you have a leaky carb float seat you can clean it up with baking soda toothpaste on a q tip. Use in a twisting motion. Clean with carb cleaner when your done. Works like a charm. Thanks Ryan! I took one of my little cone shaped dremel bits and spun it in there lightly by hand, but the little rubber tip on the plunger has a "ring" depressed into it where you can tell it got like that from sitting up in there for so long. I really need to get my pics off my phone and on to here as I have pics of all this stuff! I basically took my soldering iron and added a little solder "bump" to the top of the plunger and then sanded it get just the right fit so that it now pushes up a little harder and so far it seems to be sealing... I was hesitant to dig into this weird "downdraft" carb at first, but once I dug in, it's pretty much like the normal "side draft" carbs we're used to seeing! It's a Dell'orto. |
|
|
|
Post by stepthrutuner on Jan 23, 2016 23:15:31 GMT -5
Careful you don't ride that "wasp" too much, lest you develop a penchant for chianti and pinching passing women on the butt.  " style="max-width:100%;"] Hmmm I may be riding it too much already Reggie- as I do seem to be preoccupied with women butt pinching and stingers and such lol. The chianti- not so much... is it a tea?? I'm still just drinking cheap coffee that's made way too strong   |
|
|
|
Post by spaz12 on Jan 23, 2016 23:23:28 GMT -5
You're going to keep that seat on there? It's certainly not permanent! I want to use the stock seat eventually, but I've seen so many cool custom ones that I like that I think I'll eventually want to "design my own" foam and then have it professionally upholstered. So the Adly seat may be on there for a while. Champagne wishes on a beer budget! I do have some better pics of the Adly seat with the side panels on it actually looks much better. I'd eventually like to get the stock seat re-done kinda like one of these:   Thank god, because I'm pretty sure that's sacrilege and I wouldn't want you to risk your eternal salvation on a seat. Assuming you believe in that.  |
|
|
|
Post by Lucass2T on Jan 24, 2016 2:29:57 GMT -5
Please, remove that adly seat...
|
|
|
|
Post by triesandluth on Jan 24, 2016 5:17:45 GMT -5
Please, remove that adly seat... Yeah, I've got an old taotao seat you could throw on it instead |
|
|
|
Post by niz76 on Jan 24, 2016 16:57:10 GMT -5
Lol sorry fellas- the Adly seat will be on for a bit until I get the original re-upholstered! Looking through my pics I see I have a lot of catching up to do! Before I could even see if this thing would run and drive at all I had to deal with the fuel tank. It sat empty for 5 years but the damage was really minimal- just a light patina of rust in the tank... 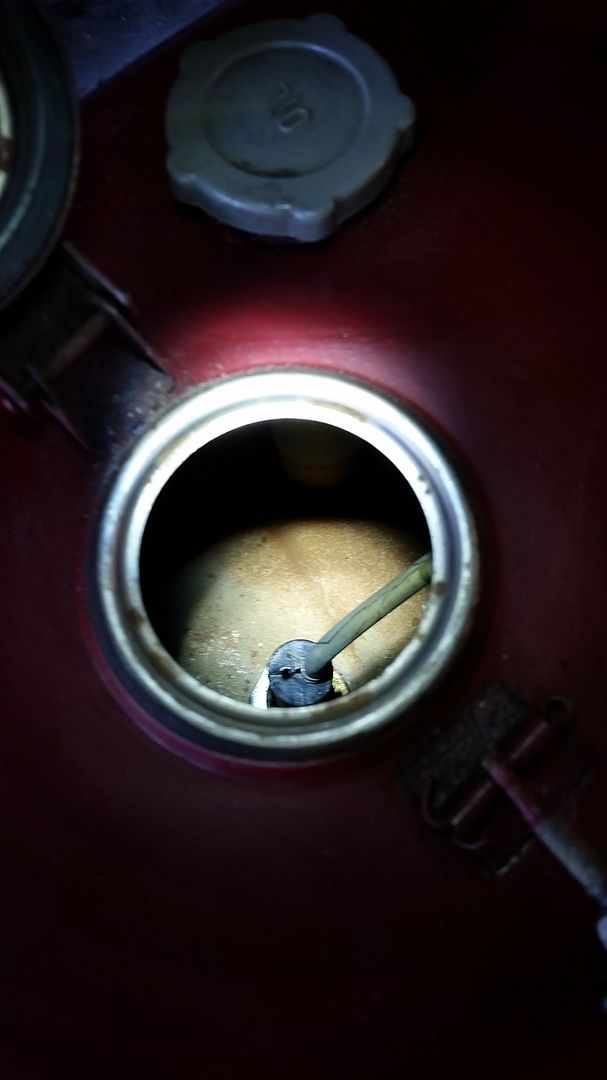 I used my trusty 1:1 muriatic acid to water mix and got her all cleaned out. There was a few tiny little specks left after swishing and swashing for about 5-10 minutes, but looking much better! 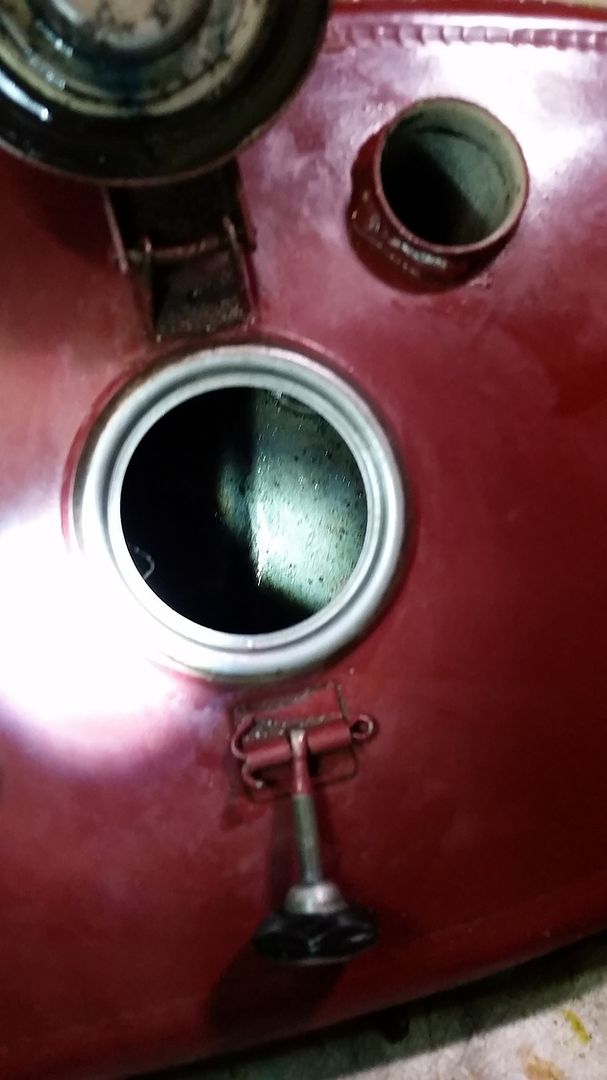 I also needed to deal with the gummy mess left behind on the in-tank filter... eeww! 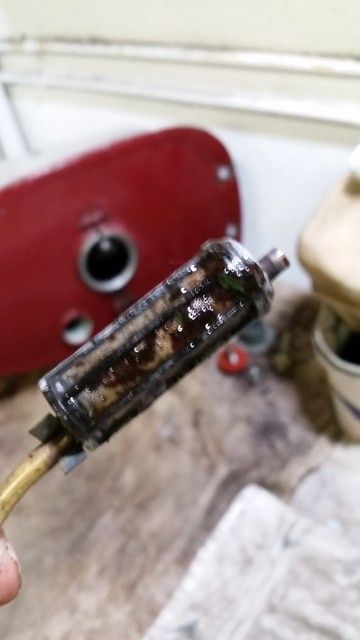 With an old toothbrush and some paint thinner, it came clean... 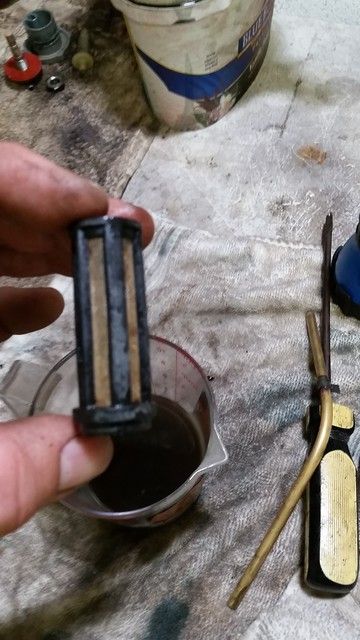 This model scoot has the oil injection- which I read in that Vespa book that came with the scoot is extremely reliable- and the oil tank is attached to the bottom of the fuel tank via a long steel tube that runs directly through the tank itself. I detached it and emptied out the old 2t oil. Here's the sight glass for the oil tank: 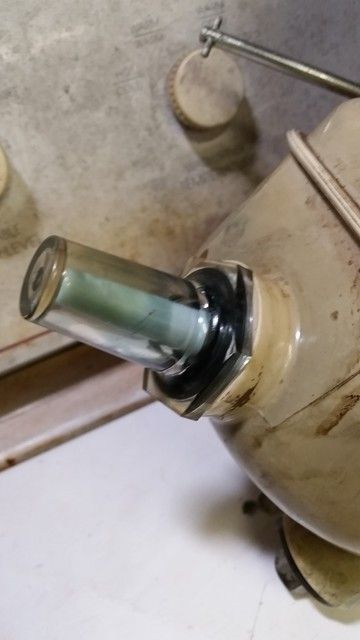 After getting it all cleaned out I now had to get it all back together. I've seen strange tool sets for sale for working on these Vespa's and now I know why; a lot of this is very difficult to get to without custom tools! Here you can see I had to string together a bunch of extensions to reach the bottom of the tube and the loose nut that connects the oil tap at the bottom. 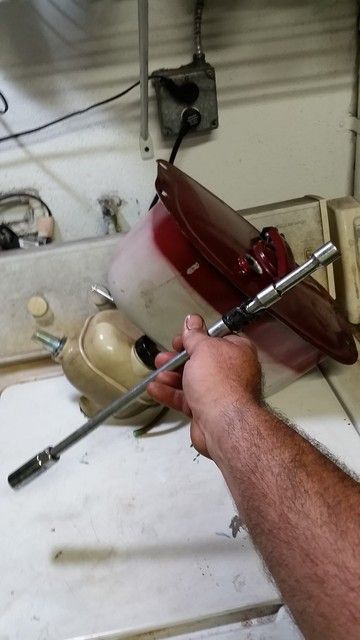 Here's the fuel/tank reinstalled minus the rubber grommets and the petcock lever... 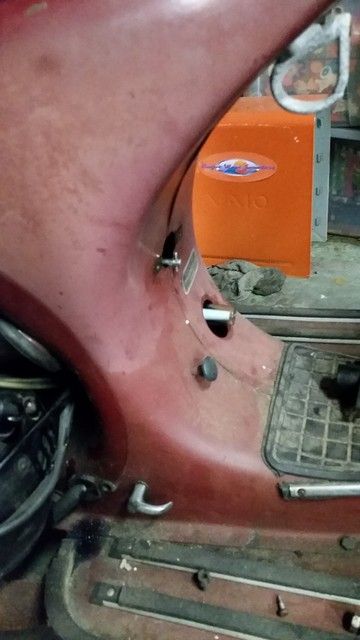 I also installed a new fuel filter and shortly after this is when I added fresh fuel and 2t oil and fired her up! |
|