|
|
Post by gsx600racer on Aug 7, 2018 0:40:54 GMT -5
Thanks everyone for all the encouraging feedback. As the saying goes "one step forwards, two step back", Iv hit a few snags. First, I decided to add water.. A leak leak here, leak leak there, everywhere a leak leak. LOL I was hoping the outer o-ring would be thick enough to copensat for the .038" shim under the head. NOPE. These are the shims I made 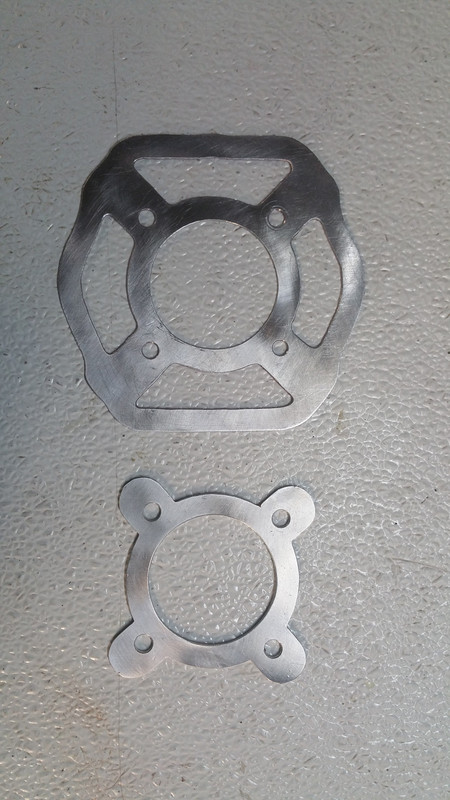 The smaller one did not work.(outer o-ring leaked) I ended up installing the larger one but having issues sealing around the cylinder studs. I have a few ideas to try out. Next was the water pump. I tried spinning it using a drill and the largest socket I had(almost 1:1 ratio) and that wasn't enough to burp the air out of the system. So that electric pump option is starting to look better. A few more pics. 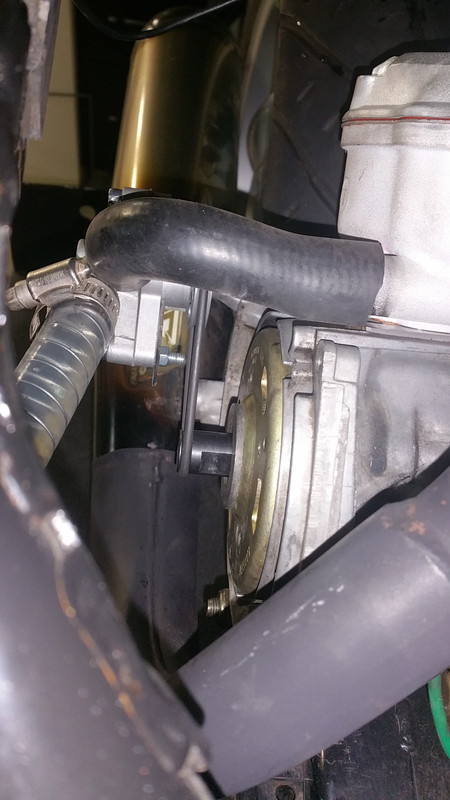 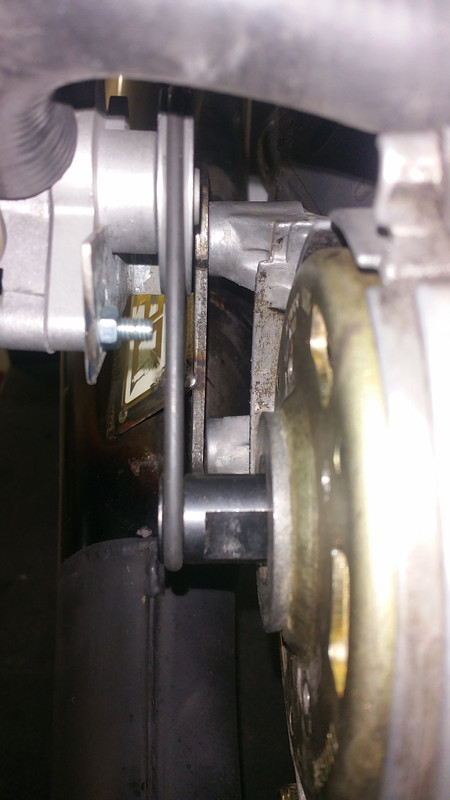 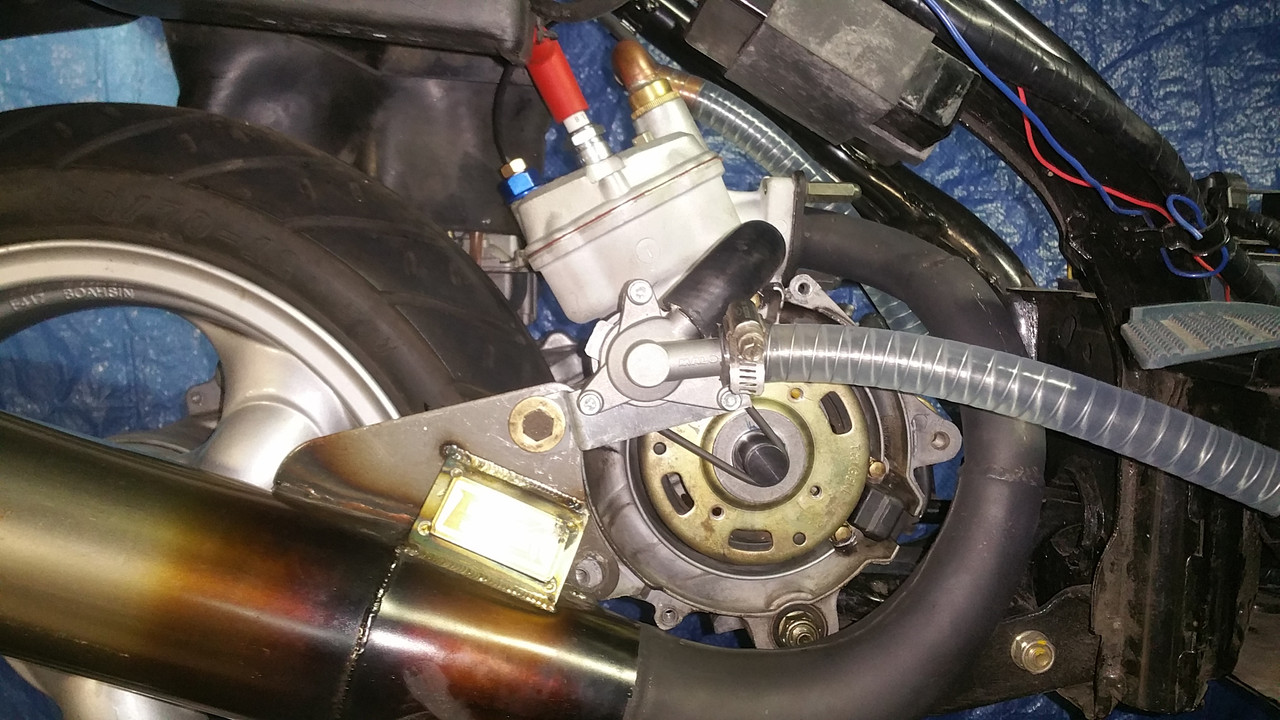 |
|
|
|
Post by gsx600racer on Aug 9, 2018 0:07:48 GMT -5
I am scraping the mechanical water pump and going with electric. I was not happy with the o-ring drive. The tiniest amount of water and it slips. A timing belt drive pulleys would be a better option.  |
|
|
|
Post by gsx600racer on Aug 15, 2018 0:32:56 GMT -5
Made some small progress. Found a location for the electric pump where it just abouts fits. Its not pretty, but for now its going to have to do. If this location works, I will end up trimming the "ears" off the pump housing foe a cleaner install. 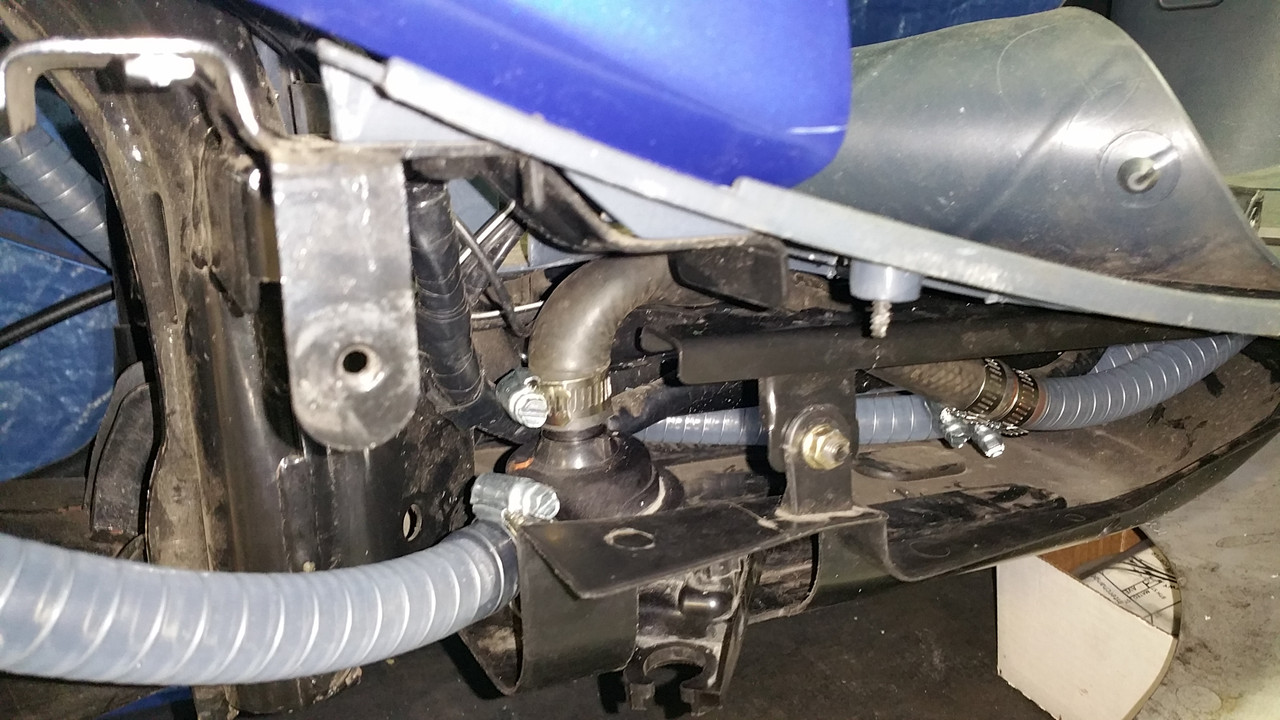 I had to use a preformed rubber hose for the pump input side. It was a tight fit. Also had to trim some of the foot rest plastic reinforcement for extra clearance.  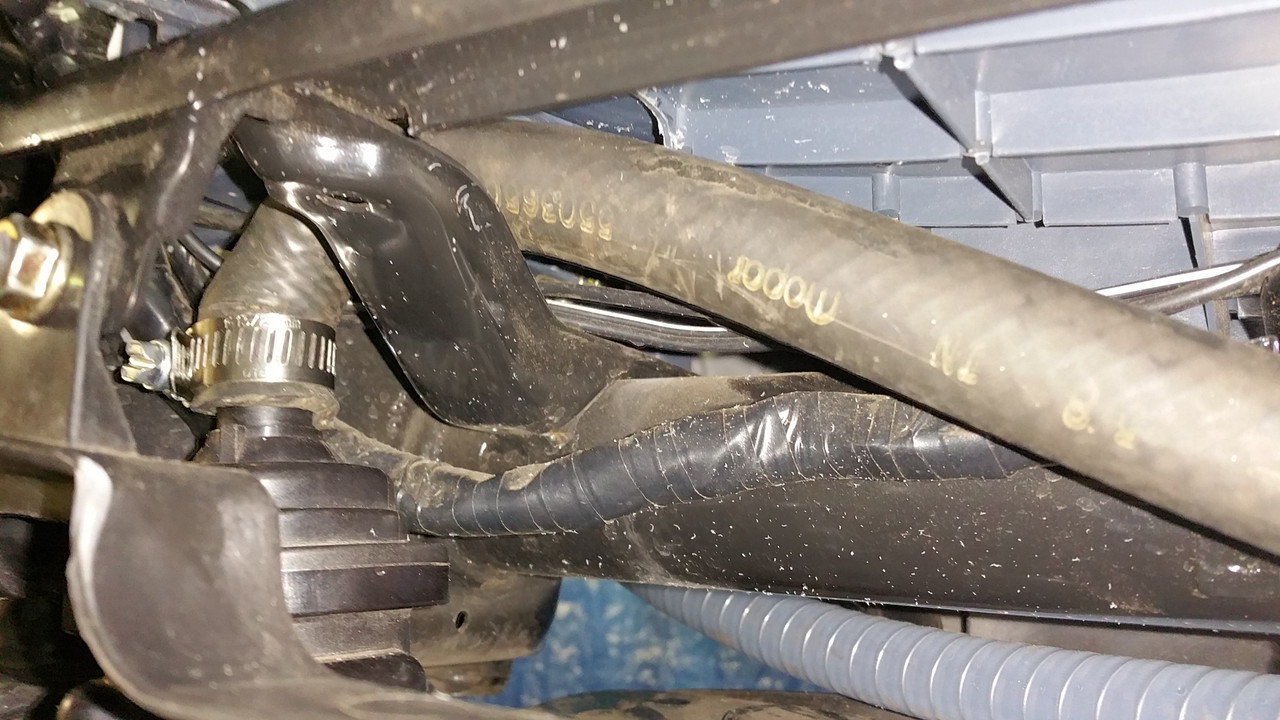 Next is wiring.  |
|
|
|
Post by ryan_ott on Aug 15, 2018 5:30:28 GMT -5
Good location, you can use another piece of hose sliced lengthwise over top for extra abrasion protection.
|
|
|
|
Post by gsx600racer on Aug 22, 2018 23:11:59 GMT -5
Good location, you can use another piece of hose sliced lengthwise over top for extra abrasion protection. It looks tighter than it really is. |
|
|
|
Post by gsx600racer on Aug 23, 2018 22:33:01 GMT -5
Well I'v been busy lately.(over the past few days) Ran power wire from battery to under front fairing. Aslo did the same for wire to (+) side of water pump. (sorry no pictures, boring stuff) I did a little shopping. 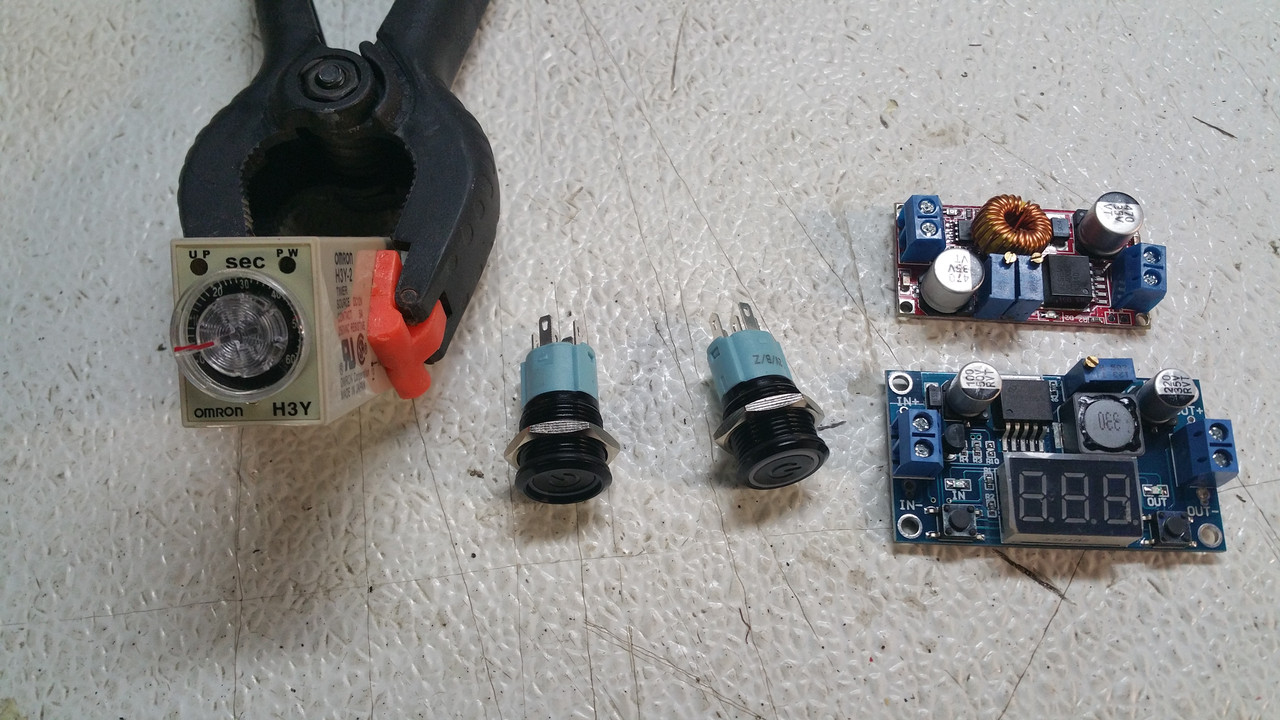 (left to right) I got a 12v time delay relay(0-60 sec) w/5 amp rated contacts. A couple 12v led backlit switches(no/c/nc or 2 way) with 5 amp rated contacts, and a couple buck converts to play with.(lowering voltage to water pump, not being used yet) Then 90GTVert offered this pump and I figured I'd mess with it and do some testing and get some real numbers. 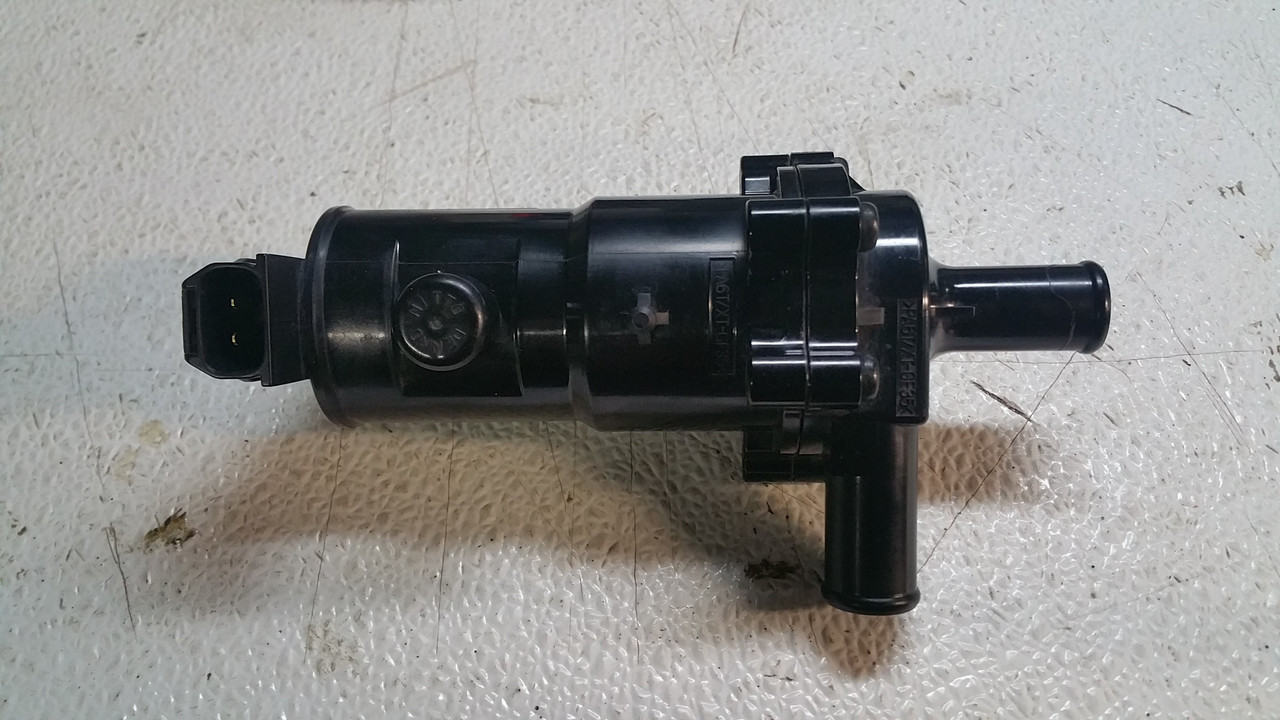 I started messing with the relay and after a couple dozen power cycles I killed it. I was under the impression with a name brand like Omron, it would if had a flyback diode installed so when the power was removed, the inductive field(high voltage spike) from the coil discharging wouldn't fry the rest of the electronics in the relay. Guess I was wrong. (explained here) Luckley the only thing that got "hit" was the switching transistor and the timer circuit was fine. So basically the relay would trigger when power was applied. I ordered replacement transistor(s9013) and also added a diode(1n4007)so this shouldn't happen again.  Diode added  Relay wired up and added bypass switch added incase relay fails. 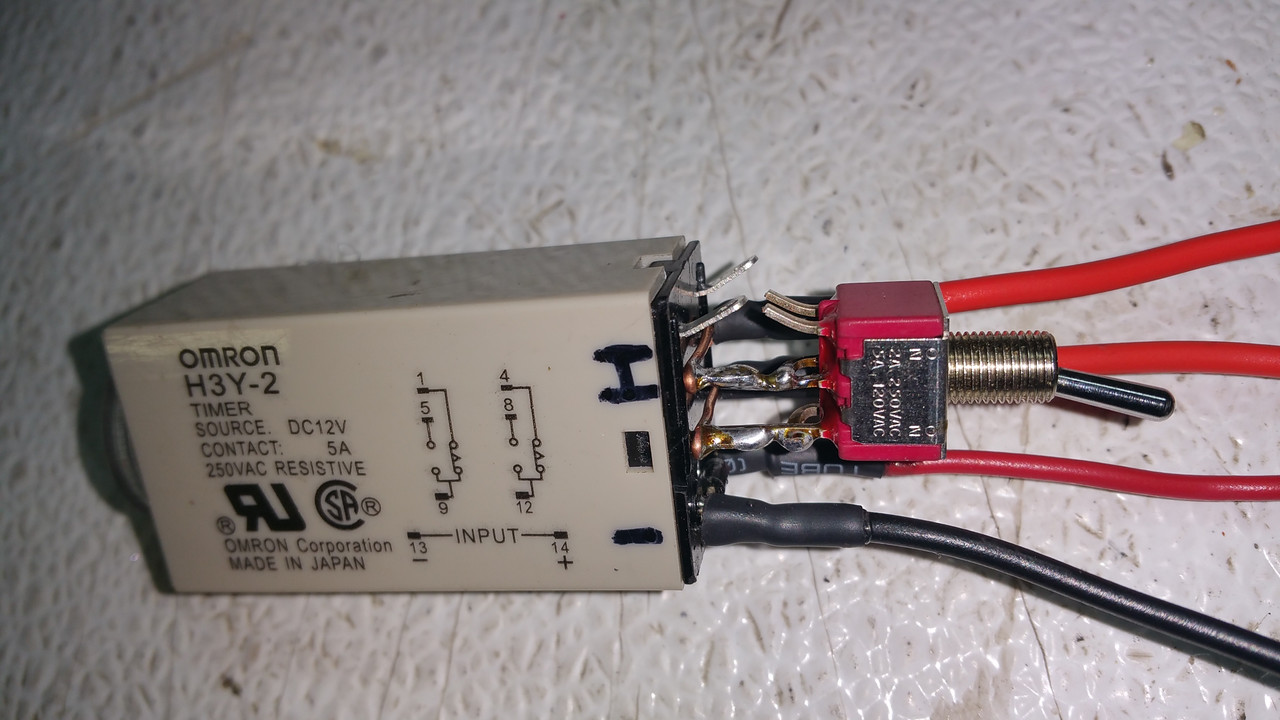 The relay had 2 sets of contacts to I joined them together(solid copper wires) for more redundancy.  I know this might be/sound too complicated, my concerns were if the pump is running while I am e-starting the engine, there will that much more load on the battery, taking away power from the starter(lower cranking rpms). The delay will give me time to get the engine started before the additional electrical load is applied to the engine. If the engine does not start, I can recycle the key switch switch(resetting the delay cycle), or override then pump buy using the button/switch to turn it off. Then I moved on to the switches and bracket.  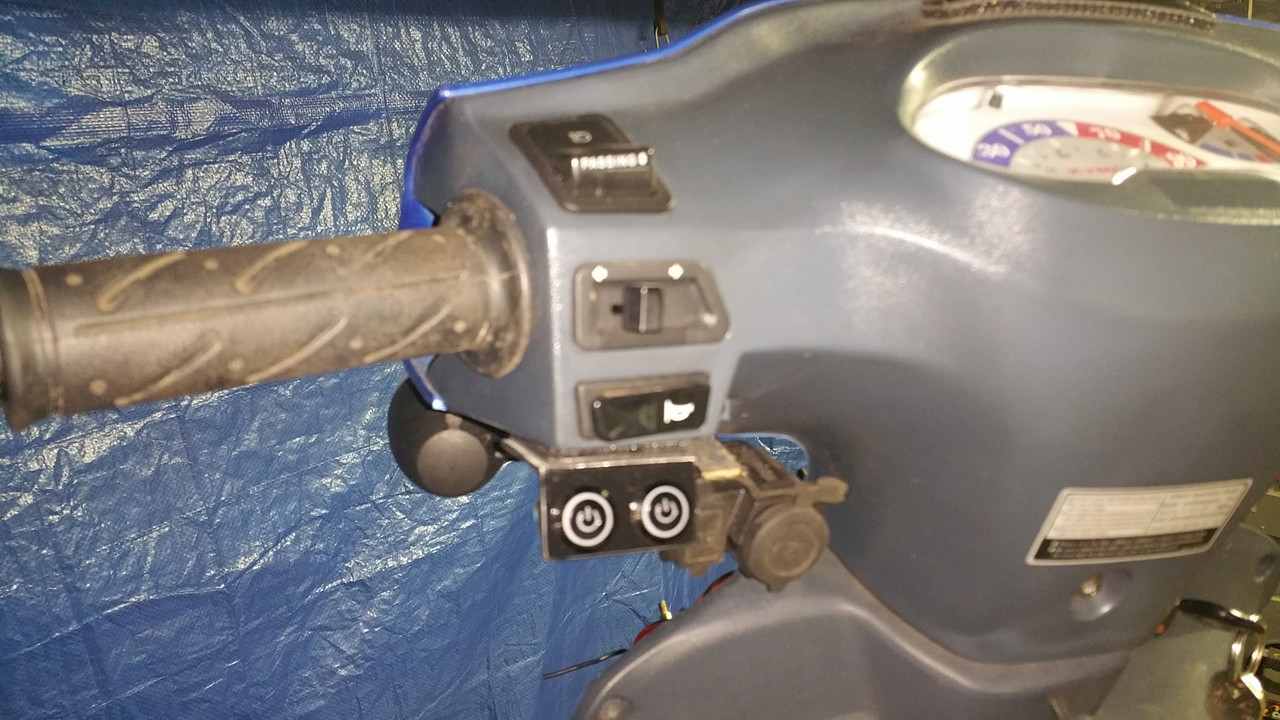 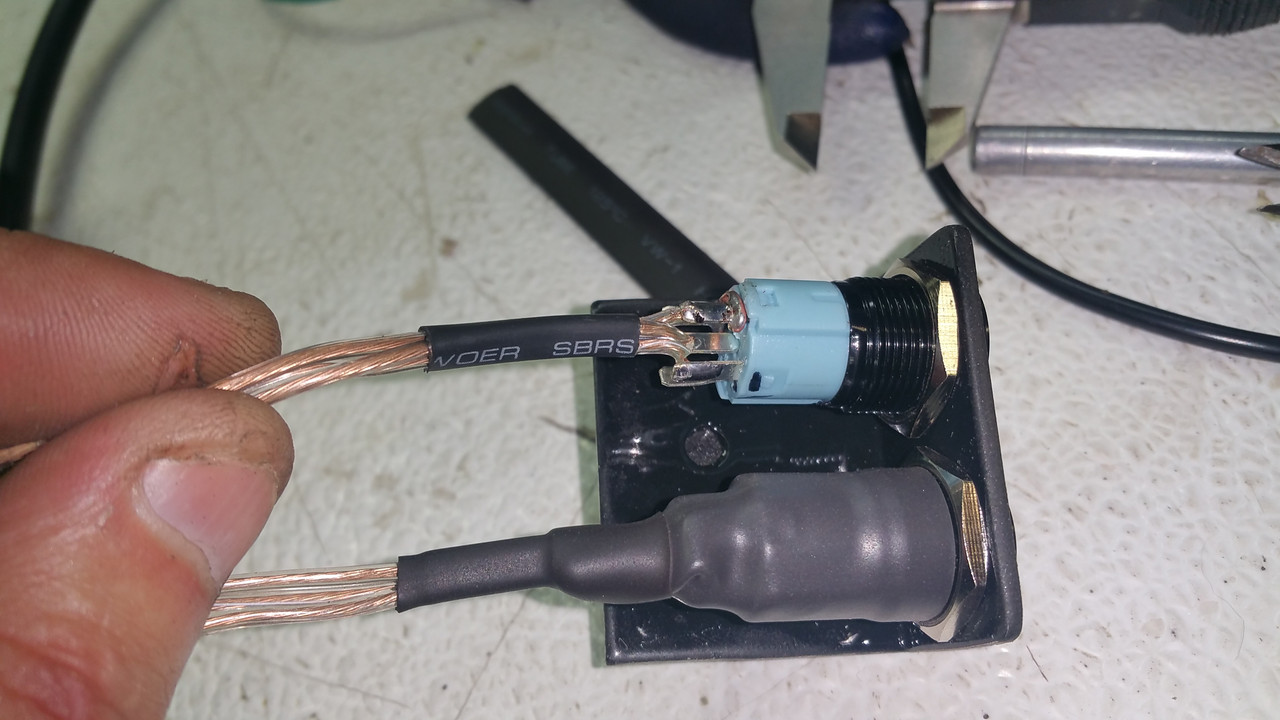 With power added. 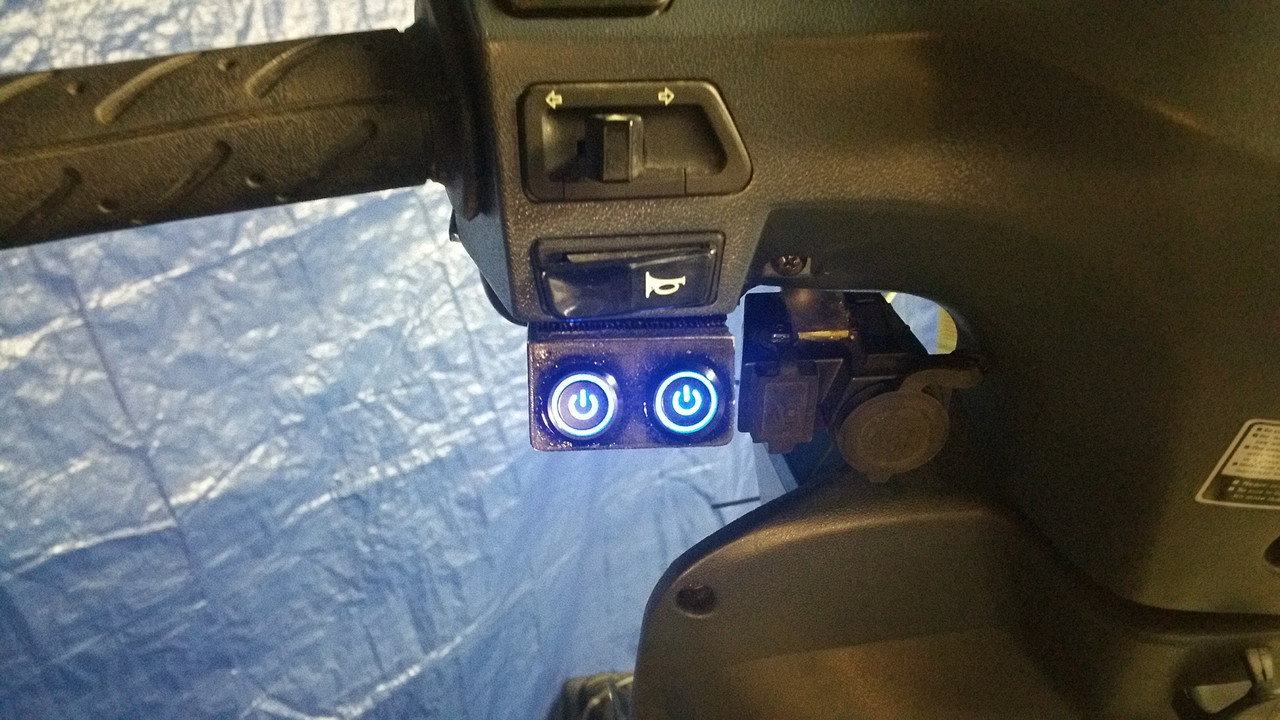 Now to the fun part, wiring everything up. Switches, not pretty but neat and practical. 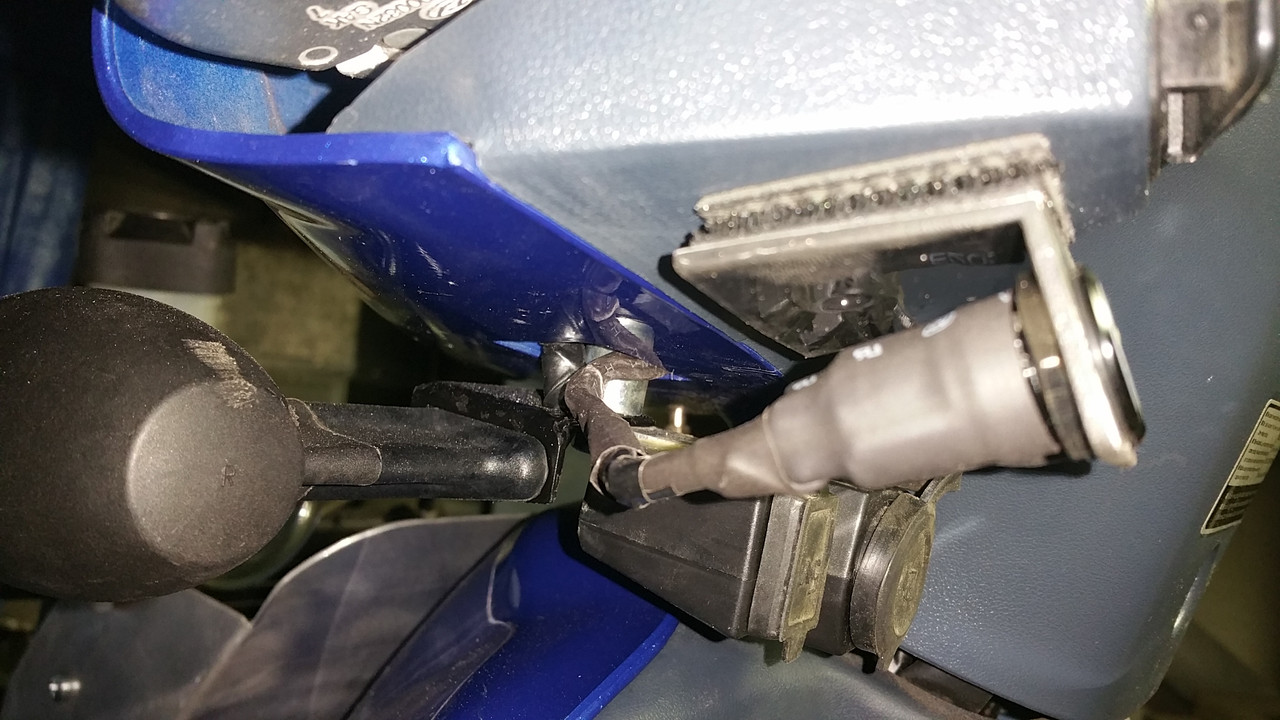 Relay location.(easy access to adjust or to bypass) 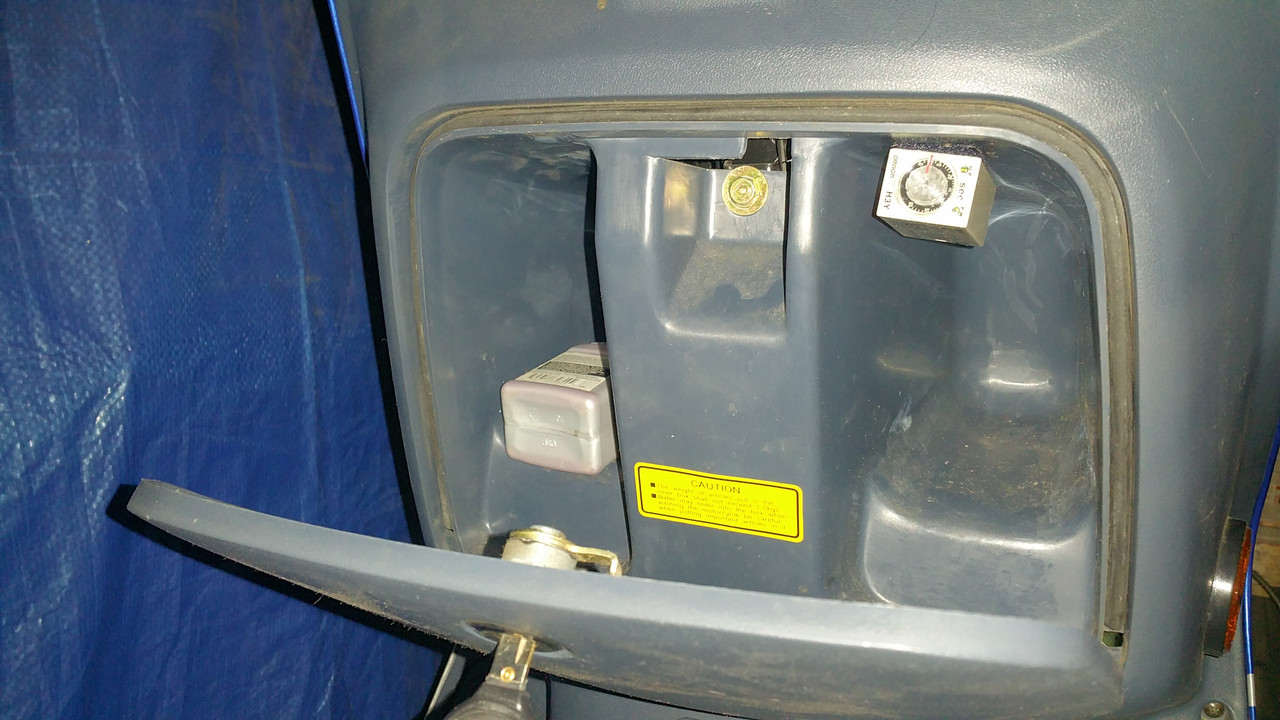 Under cowling wiring. 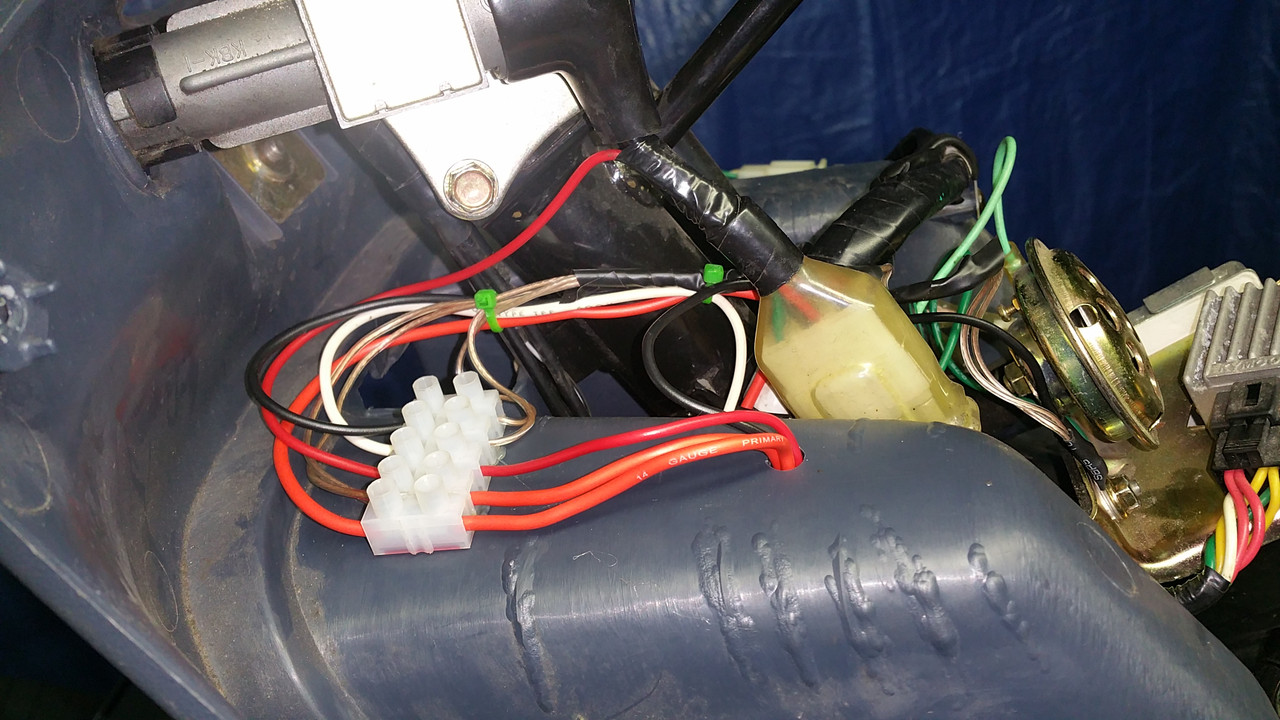 Basically all this stuff can be removed without much noticeable difference to stock appearance. A few video's. Key on, delay pump start. Key on, delay pump & fan start. Key off, enabling bypass switch. Now I just need to drag it back out of the basement and start tuning. Thanks again for everyone's input and help.  |
|
|
|
Post by gsx600racer on Aug 25, 2018 18:34:48 GMT -5
Well its off the bench and out of the basement. I was excited to get it back out into the wild, but...
After spending half the day trying to get it to run decent, I gave up. Seems it does not want to rev past 7200-7500 rpm's. It sounds like hit hitting a rev limiter.(none exist).
I tried everything that might of been a culprit. Up jetted, down jetted. Swapped coil. Swapped CDI. Tried different plugs. Threw on my YMS V8 exhaust. Checked flywheel/key.
I am running a non-resistor type plug,(plug boot supposably has the resistor in it). Going to run to parts store to get resistor plugs to try. I did notice the tach was jumping around sometimes. Will post vid tomorrow.
Think I pissed off my neighbors enough today.
|
|
|
|
Post by tsimi on Aug 25, 2018 18:52:38 GMT -5
Holy shit that sounds similar to my situation. Revs limiting and so...
And the pissing off the neighbours part too. lol
Curious to see what solution you'll find.
Did you do a leak test before mounting the engine?
|
|
|
|
Post by gsx600racer on Aug 25, 2018 19:06:29 GMT -5
Holy shit that sounds similar to my situation. Revs limiting and so... And the pissing off the neighbours part too. lol Curious to see what solution you'll find. Did you do a leak test before mounting the engine? Yup. I might consider doing it again(iv got several heat cycles on the engine) |
|
|
|
Post by oldgeek on Aug 25, 2018 20:13:32 GMT -5
Dam man, I hate it for ya. Sometimes they run great from the start, sometimes its a struggle. I am sure you will get it to wake up shortly.
What carb are you using, the 24mm? I got an experienced 19mm dell clone if you want to give it a try.
|
|
|
|
Post by gsx600racer on Aug 25, 2018 22:15:06 GMT -5
Dam man, I hate it for ya. Sometimes they run great from the start, sometimes its a struggle. I am sure you will get it to wake up shortly. What carb are you using, the 24mm? I got an experienced 19mm dell clone if you want to give it a try. Thanks, I have a 19, 21, and a 28(currenty installed) here to mess with. I was not expecting "turn key" results. I figured some jetting changes and I'd be good to go. Current 28mm carb setup, 150 main/48 pilot. This was the same setup as the polini corsa and it ran good. I went up to 170 and down to 130(in 10 increments) and no noticeable difference(rev limitation) other than it ran worse leaner. I am stumped at the moment. I didn't think my port timing #'s were that bad. Airsal l/c------------------Polini Corsa Exhaust:-----------------Exhaust: Open 87°----------------Open 89° Closed 270°-------------Closed 271° Duration 183°-----------Duration 182° Transfer:------------------Transfer: Open 115°---------------Open 118° Closed 241°-------------Closed 242° Duration 126°-----------Duration 124° Boost:---------------------Boost: Open 120°---------------Open 118° Closed 237°-------------Closed 242° Duration 117°-----------Duration 124° |
|
|
|
Post by tsimi on Aug 25, 2018 22:46:50 GMT -5
Are you running the stock Iggy?
|
|
|
|
Post by gsx600racer on Aug 25, 2018 22:56:20 GMT -5
|
|
|
|
Post by gsx600racer on Aug 26, 2018 19:24:43 GMT -5
I didn't get a chance to get a video, but I did run out to get a resistor version of the plug I was using(BR7ES). The cap is NGK 8955 TB05EM-R Plug Cap. Interesting blurb from their website. "Resistor Covers May Be Required for Power Sport Applications When Spark Plugs Alone Don't Provide Sufficient Noise Suppression. Designed to Reduce Electro Magnetic Interference and Radio Frequency Interference, Which can Interfere with Electronic Ignition Components, Causing Misfires and Poor Engine Performance." If I read that correctly, you can run resistor plug caps along with resistor plugs at the same time. I am really hoping that's my issue. Going to take the bore scope out and take a peek in the down the spark plug hole as well as into the exhaust to see if I installed the piston correctly and if I cut the "window" on the right side of the piston skirt. Reference Pic  |
|
|
|
Post by fly on Aug 26, 2018 21:34:01 GMT -5
I wouldn't run resistor plugs or cap unless it was called for.
Was the CDI originally a resistor cap? IIRC you can frizzle a CDI running resistors if they weren't meant for it.
|
|