|
|
Post by pitobread on Dec 27, 2017 22:07:55 GMT -5
is there a space for making an rotodisk intake on the honda block 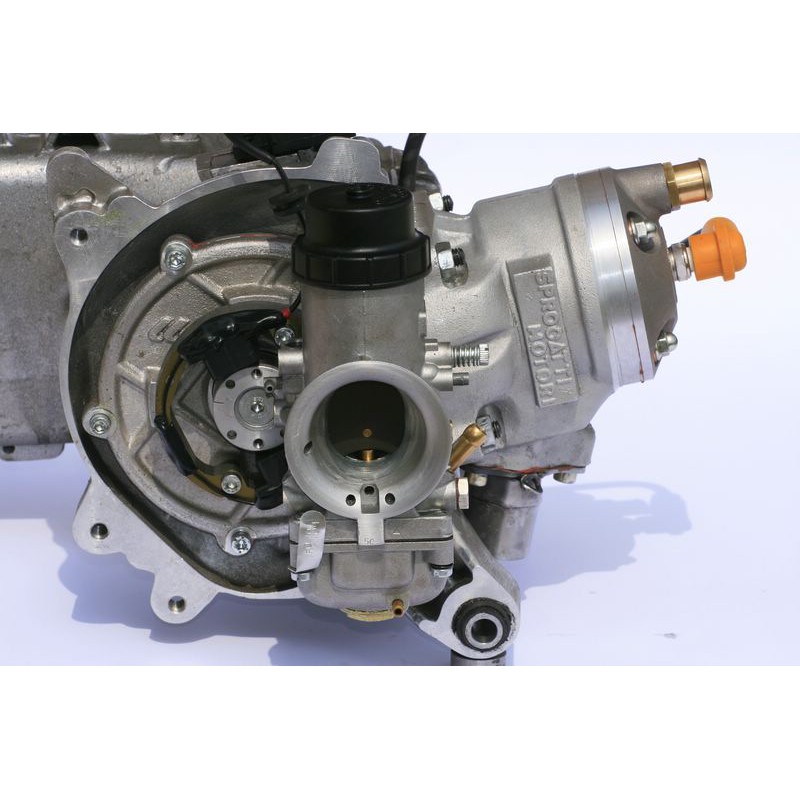 Possibly, it would be pretty tight. Probably not impossible tho. |
|
|
|
Post by pitobread on Jan 6, 2018 18:32:14 GMT -5
Well sometimes its a win, sometimes its a loss. So My CMR's wont work without some divine intervention of the machining kind. It seems that they use a 16mm crank pin VS the 18 of a normal stock crank. So my Pro-X rods wont work, luckily it seems like Taida will work. But I don't have that crank yet and the CMR look quite nice machining wise. Im probably still going to bore it out and make it work, but man. What a nuisance. I think most of the cranks that use the 2AB polished style rods use the smaller pin, which means smaller bearing etc etc. Gross. 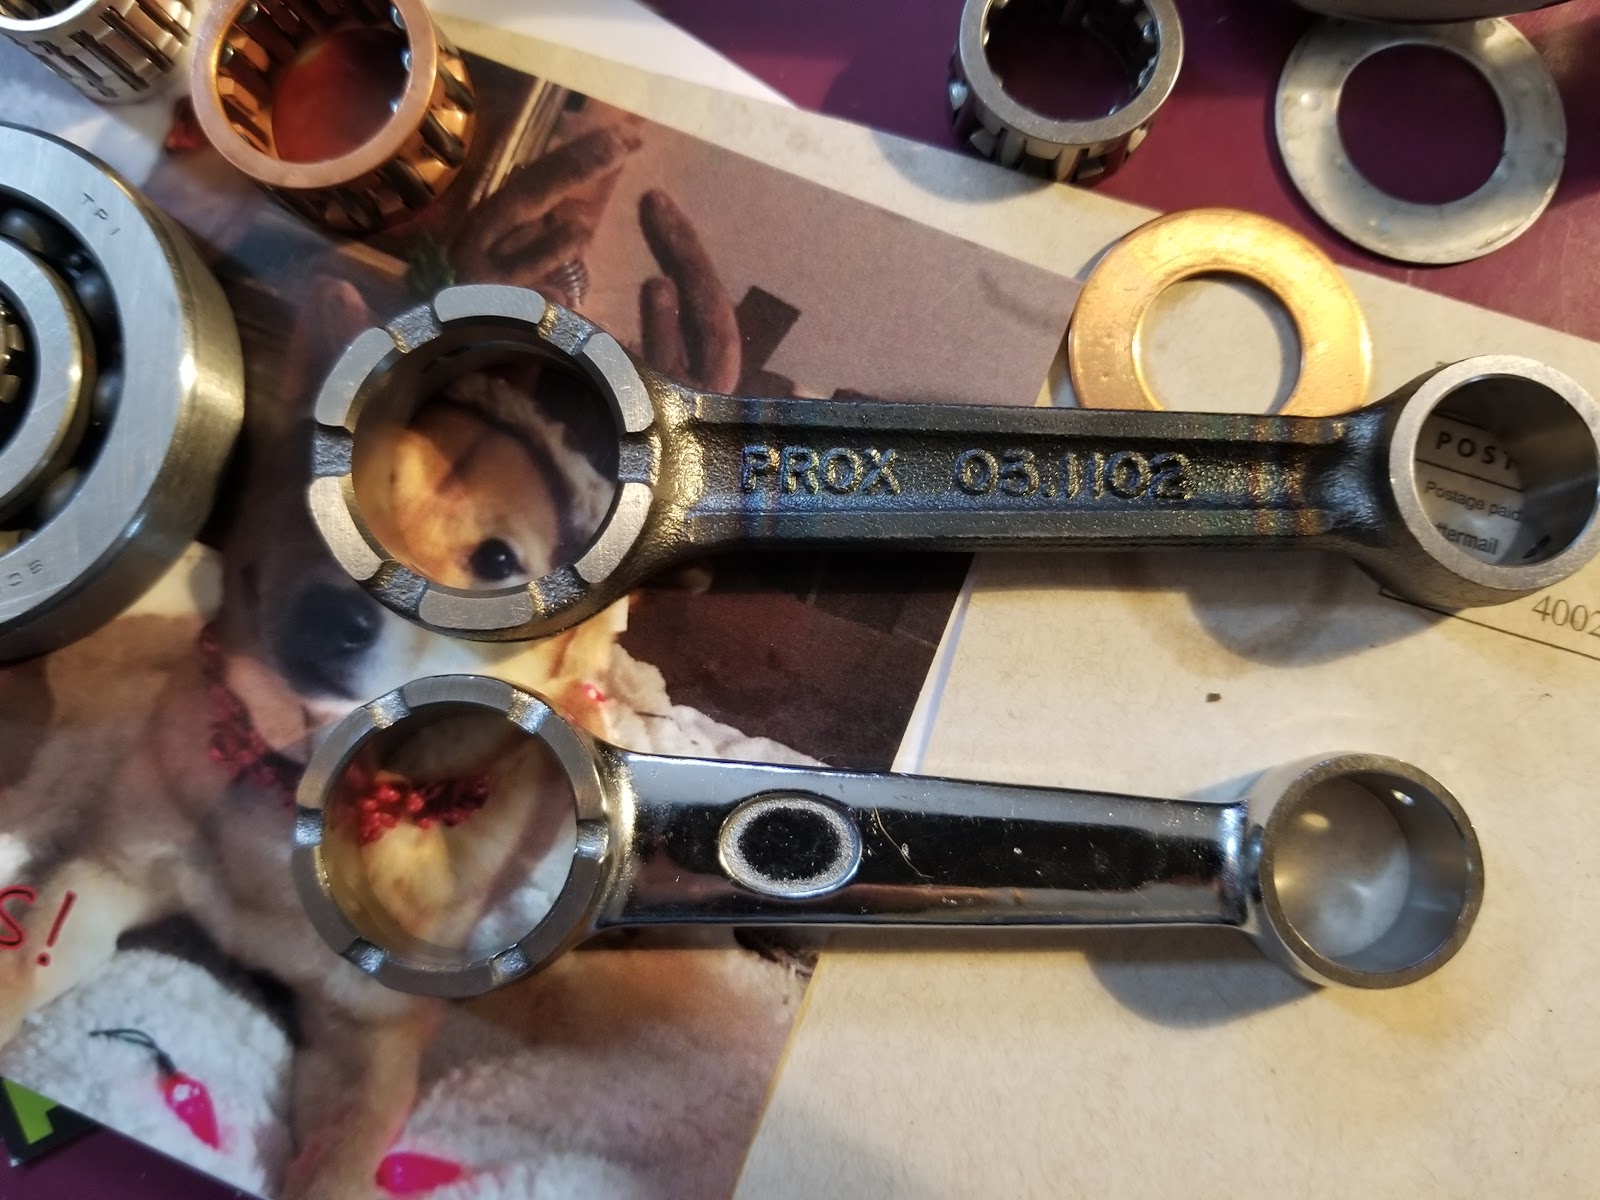 Subsequently I could also use a Pro-X 03.1005 which is the 22mm big end VS the 24mm stock Dio with all other dimensions the same. Also TKRJ make a rod that will work www.tkrj.co.jp/goods/m-BH0140B--GC8-.php I may order one but the smaller bearing doesn't give me hope it will last as long. Thoughts? |
|
|
|
Post by hppowdercoating on Jan 7, 2018 7:57:02 GMT -5
Very Cool idea.. Definitely a Money maker if you can Get everything to work..
|
|
|
|
Post by 190mech on Jan 7, 2018 10:26:26 GMT -5
Ive seen that on Mina cranks,they use a 50cc size 16 pin to create a 'drop in' stroker without regards to whether it will last long..It is shiney though and that sells!Boring the wheels will likely be a mo-fo as the better wheels are quite hard,,seen mention of using EDM to open them up if youve got access to one..I wouldnt try a 16 pin on a strong build like that!  |
|
|
|
Post by pitobread on Jan 25, 2018 1:08:18 GMT -5
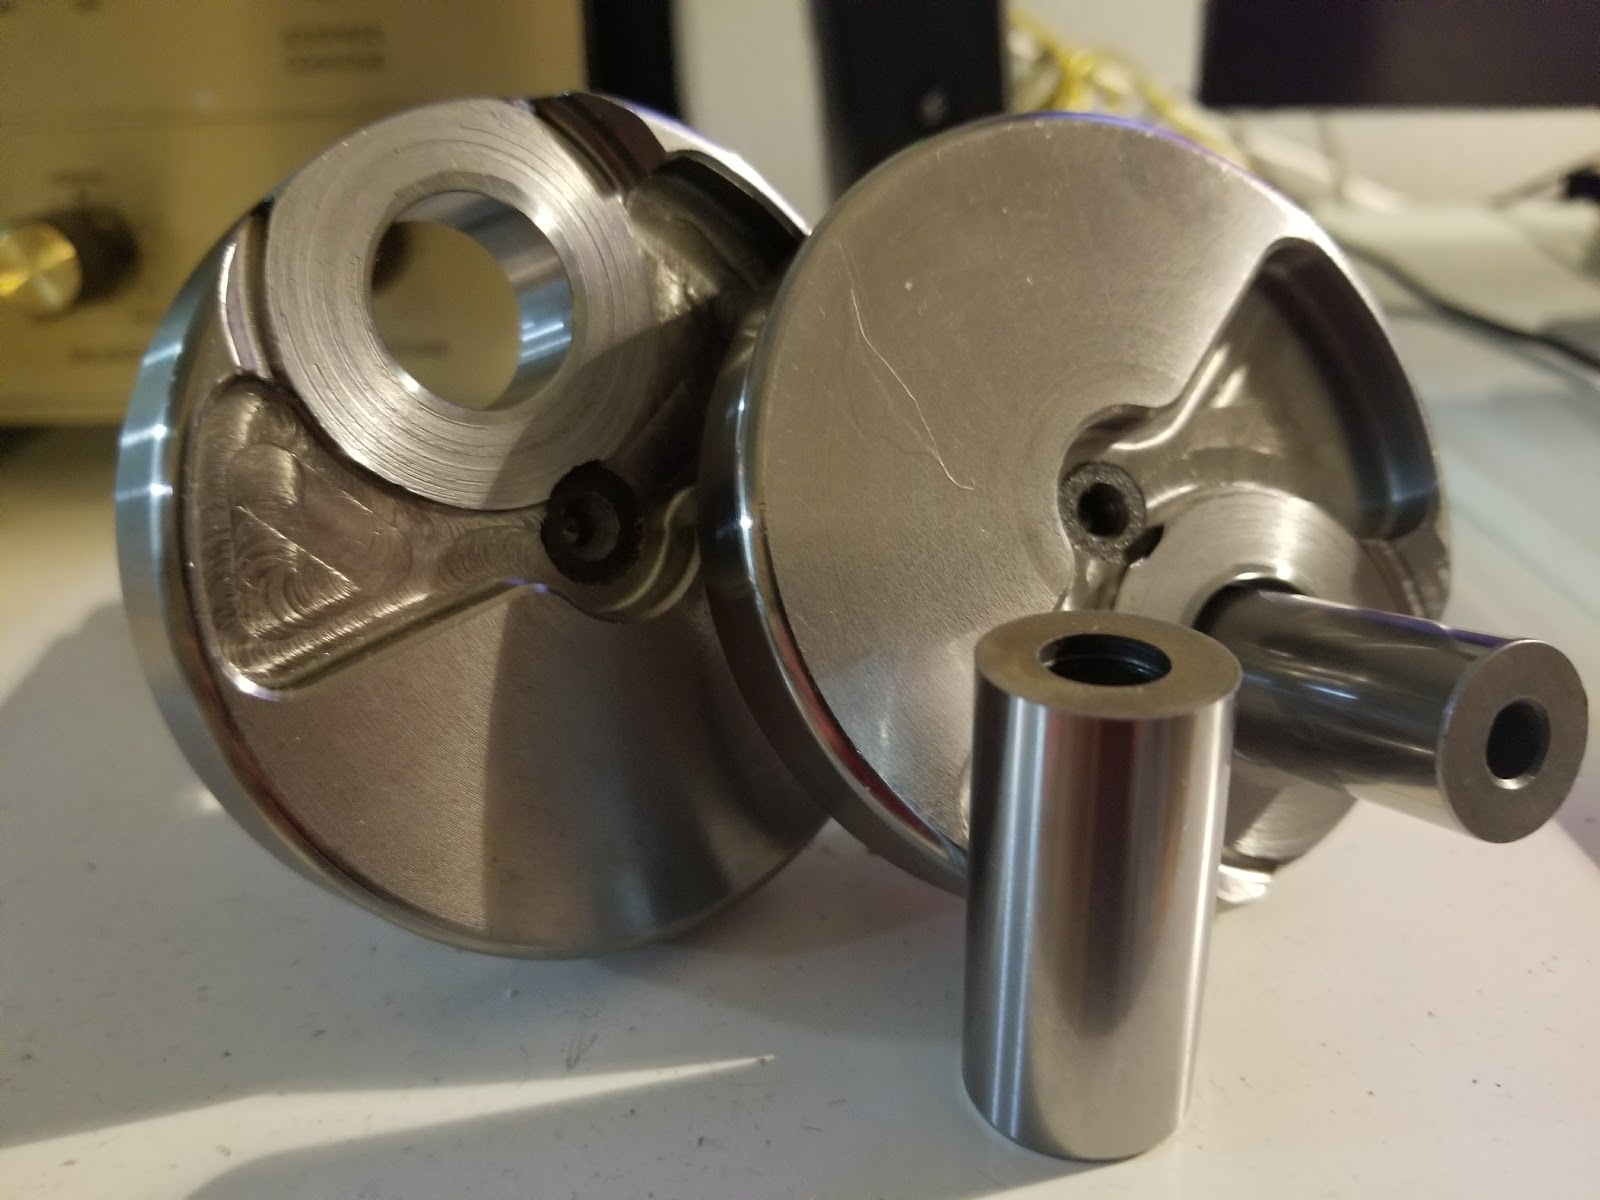 Pin hole now resized for 18mm pin (.002 interference) 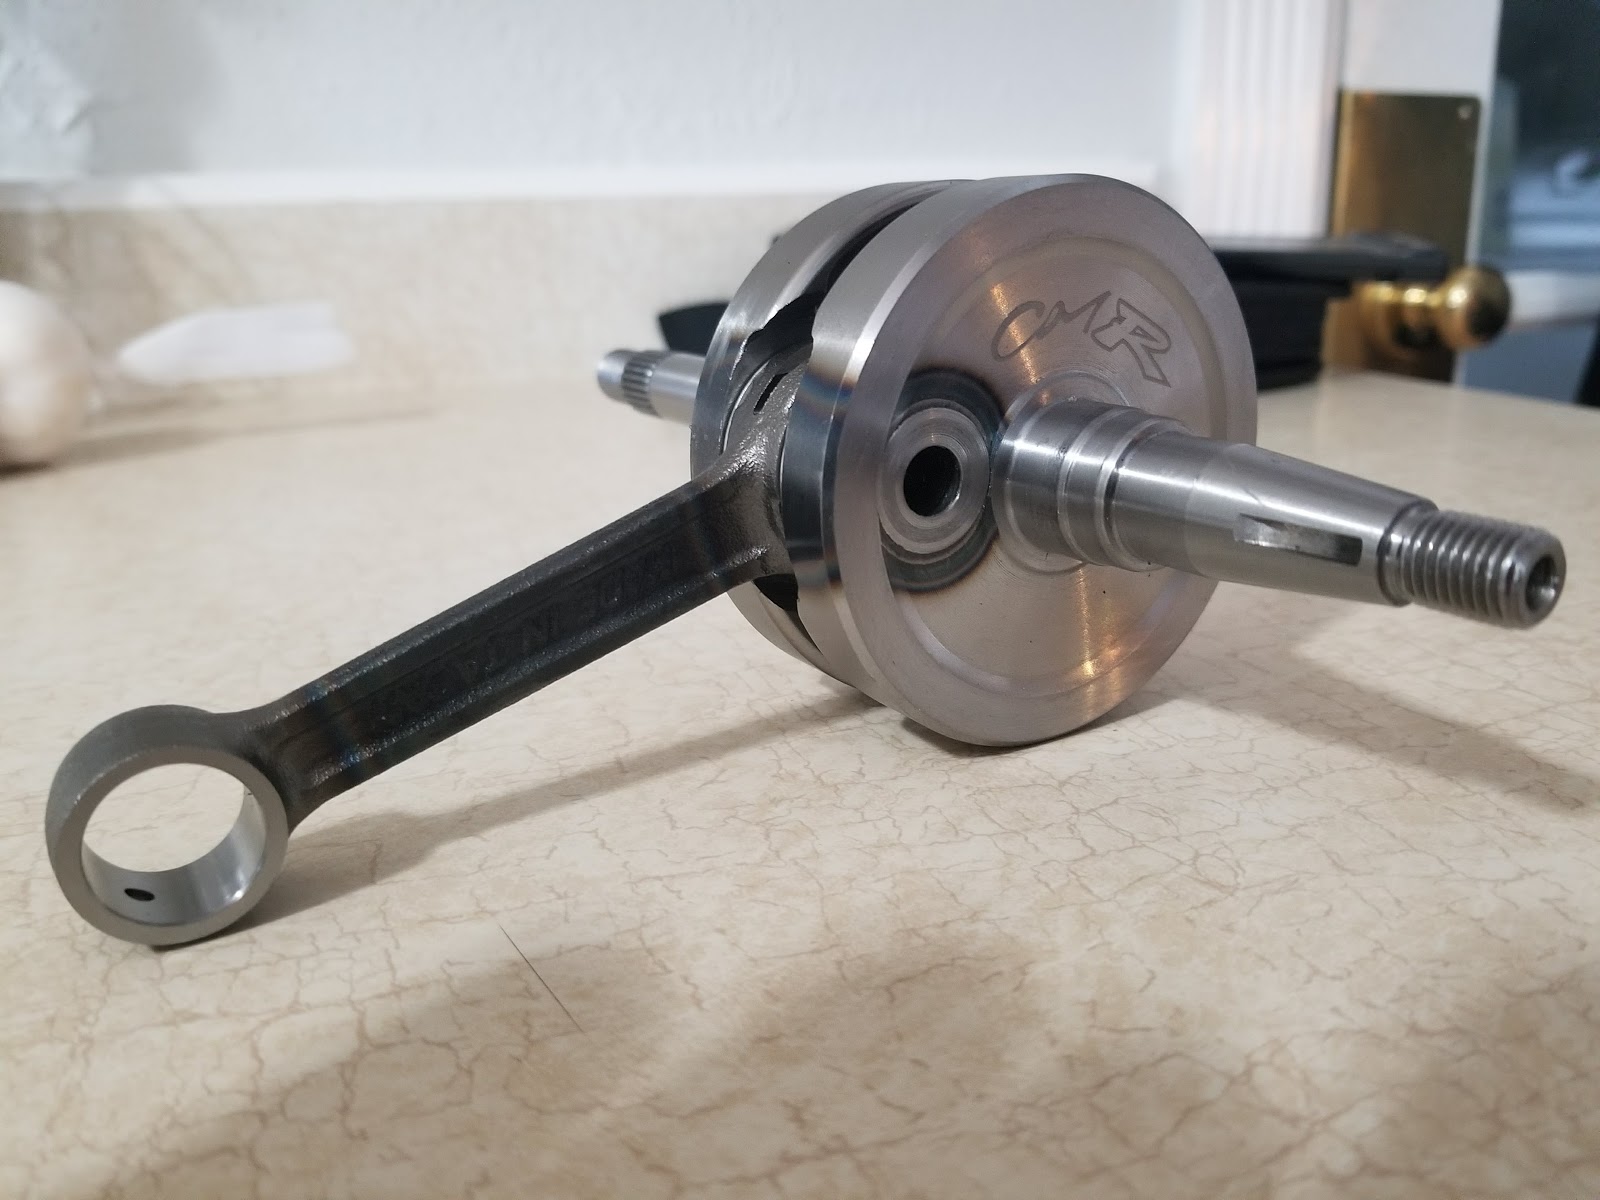 assembled but untrued or balanced. 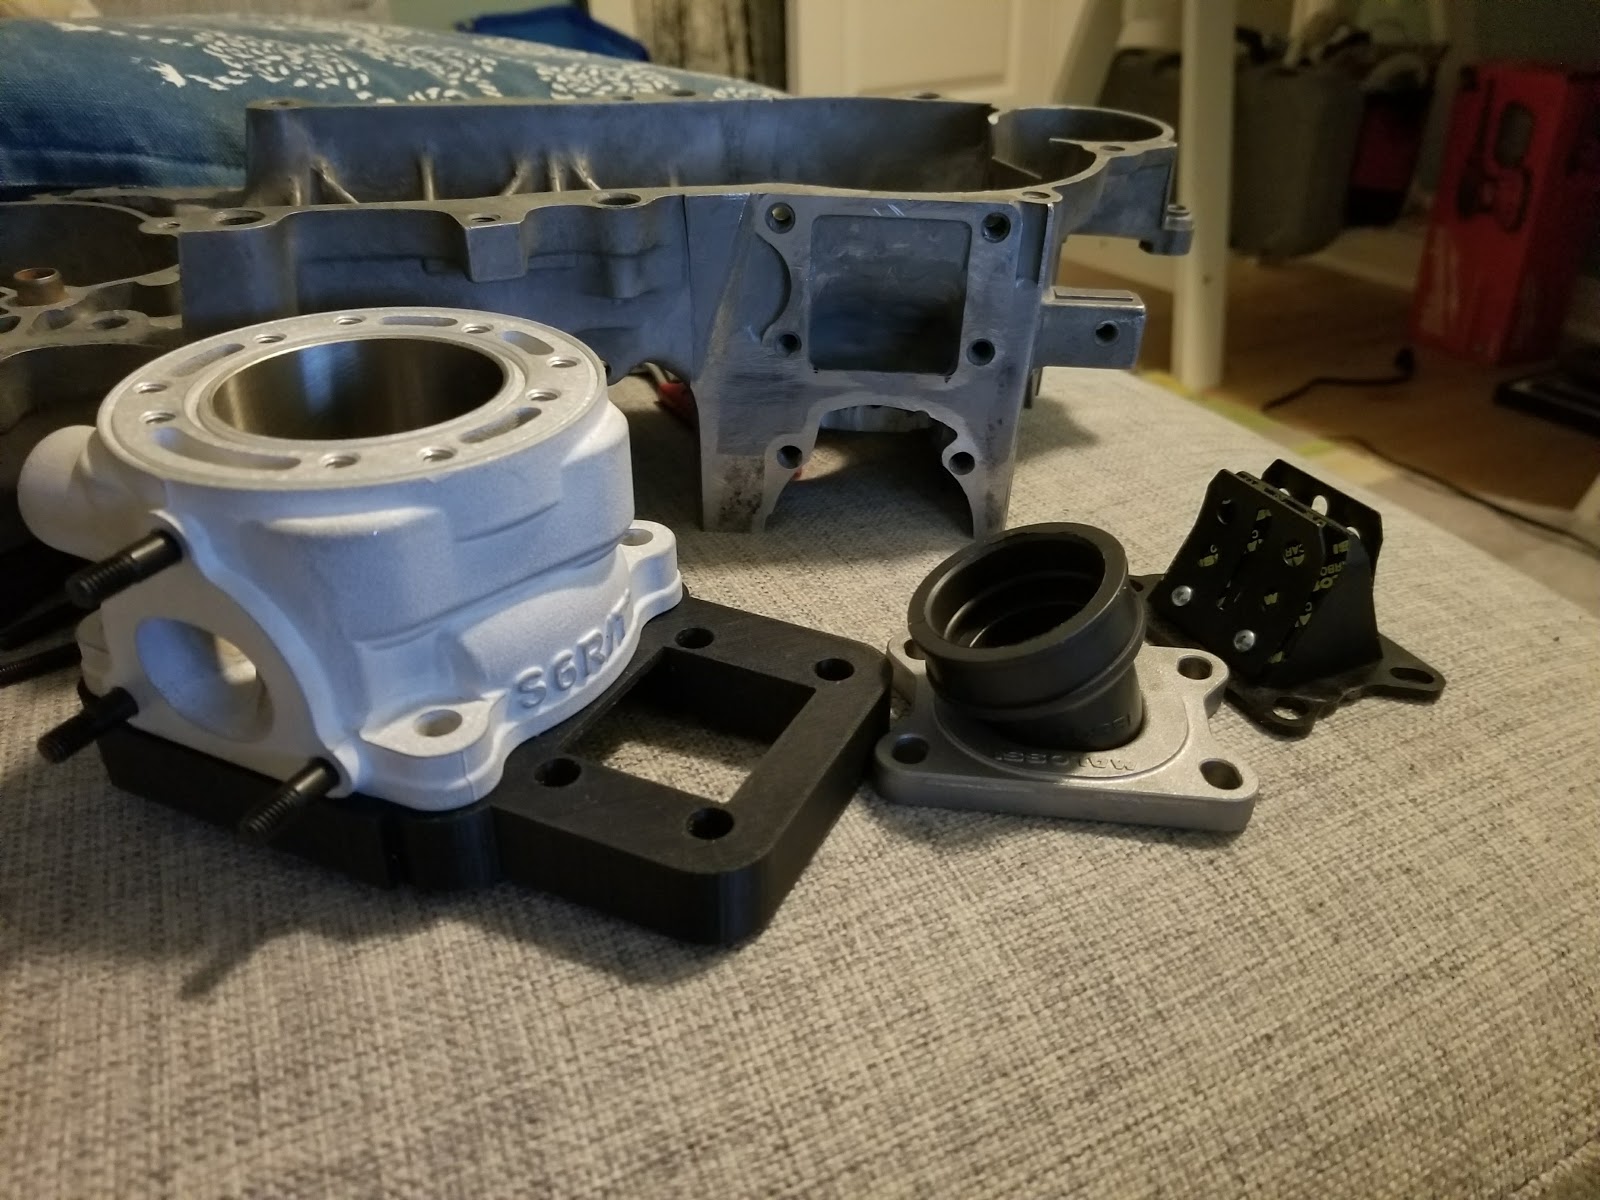 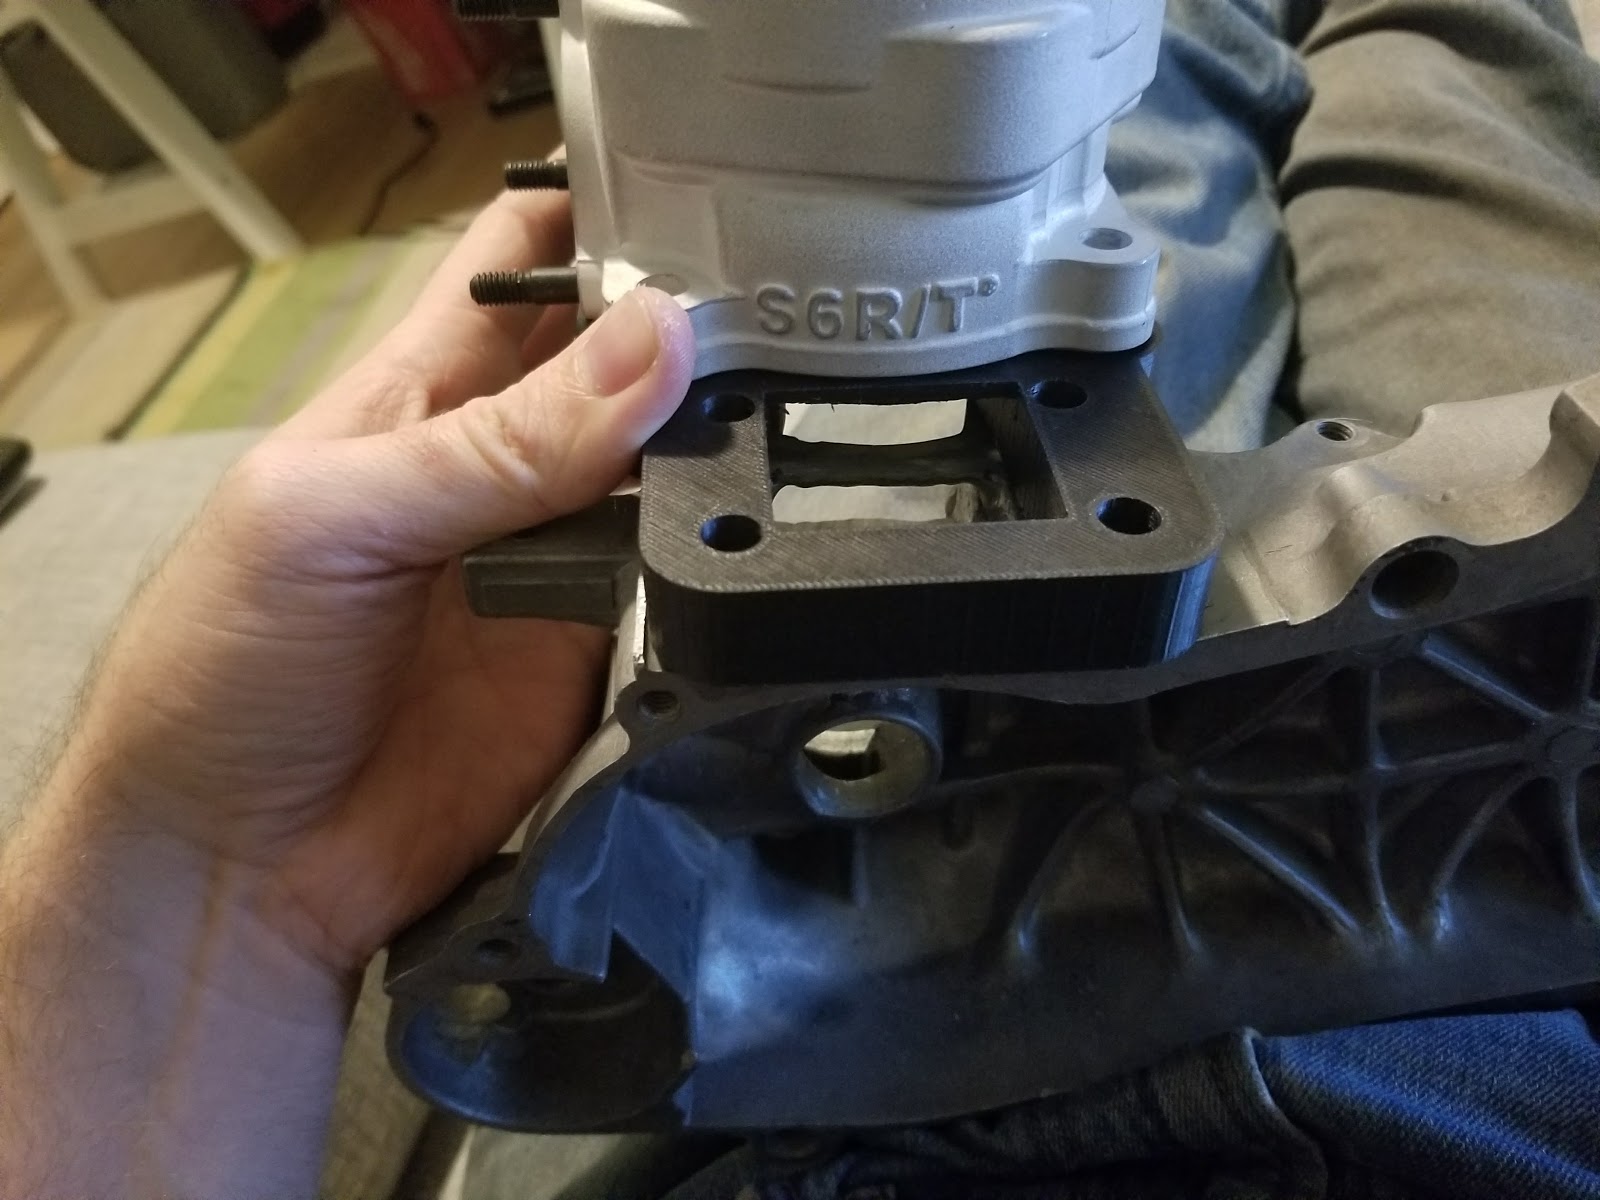 3d Printer is finally useful, for prototyping. Now I can remove the biggest restriction in the cases, the cylinder support bridge. Also making an adapter for a VL14? reed block, I forget already. Its the RC-One block. |
|
|
|
Post by tsimi on Jan 25, 2018 2:54:56 GMT -5
|
|
|
|
Post by 190mech on Jan 25, 2018 5:19:54 GMT -5
Were the crank wheels hard to cut??
|
|
|
|
Post by pitobread on Jan 25, 2018 5:21:56 GMT -5
Cut on CNC mill, it didn't complain.
(but they were a bit hard)
|
|
|
|
Post by AtariGuy on Jan 25, 2018 20:10:02 GMT -5
190 and i were talking crank mods awhile ago. How big of a press did you need for that reassembly? And can you detail your trueing/balancing?
|
|
|
|
Post by pitobread on Jan 25, 2018 20:27:43 GMT -5
Stock was .002 interference when measured, I did the same.
To true I smash it with lead objects till the runout goes away, its very crude but its pretty much the standard for 2t cranks. It also gives you an appreciation of how little it takes to knock a crank out of true. So don't ever hammer your cranks in or out boys and girls.
Edit: Sorry I'm a skim reader. You asked how big was my press, It was a small 12t hydraulic 150 dollar jobbie.
I have done them before on 2ton arbour presses as well.
|
|
|
|
Post by pitobread on Jan 25, 2018 21:36:40 GMT -5
Also I heated up the crank wheel, similar to installing bearings. I used an electric heat gun for 10 minutes or so. You also need to shim the pin too keep it from pushing thru, I just measured the gap and found some feeler gauge and broke off a small square of it and set it up under the pin in the press to keep the pin up off the work surface once pressed thru. In my case I needed .022 thou shim stock.
Once one side is done, you leave the setup the same, square up the other side and start it, then flip the work over put your same shim under the pin then press on the pin on the other side to drive it home. Check your crank width and adjust it to your final needed size and check to make sure you have some clearance on the thrust washers.
I also just used 2 1x2x3 blocks to square up the cranks and pin close enough to start pressing it. I have seen some elaborate jigs but I have done more than a few just squaring up with 1x2x3 blocks.
Then smashy smashy on your newly assembled crank till its true. It feels wrong but it is very right.
It's not rocket appliances I assure you. It is very crude and the tools to do it "right" are very easy for a home gamer to make.
|
|
|
|
Post by birdman on Jan 25, 2018 22:41:48 GMT -5
Wow. This build is way over my head, way over my skill set.
|
|
|
|
Post by 190mech on Jan 26, 2018 5:18:18 GMT -5
Thanks for the instructions!Ive done a bunch too and found that a wobbly press can get the pin crooked when starting,it goes down hill from there...  |
|
|
|
Post by pitobread on Jan 26, 2018 17:42:58 GMT -5
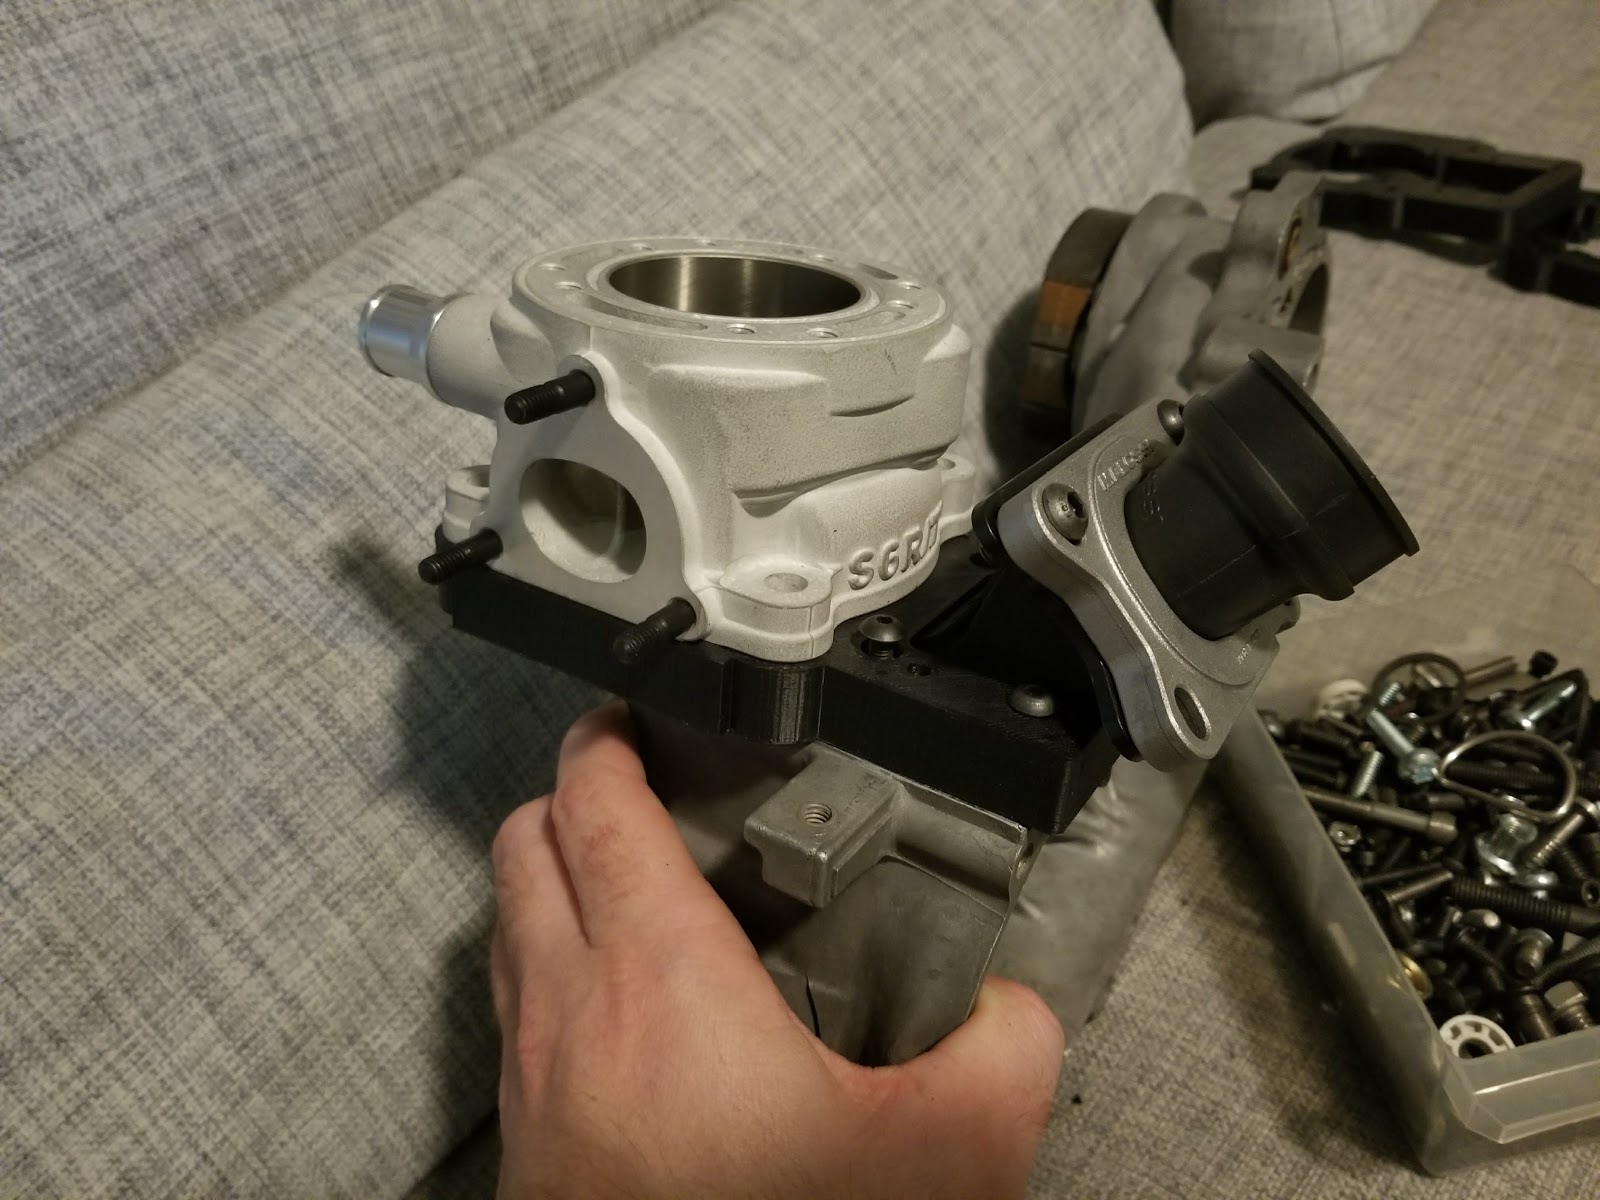 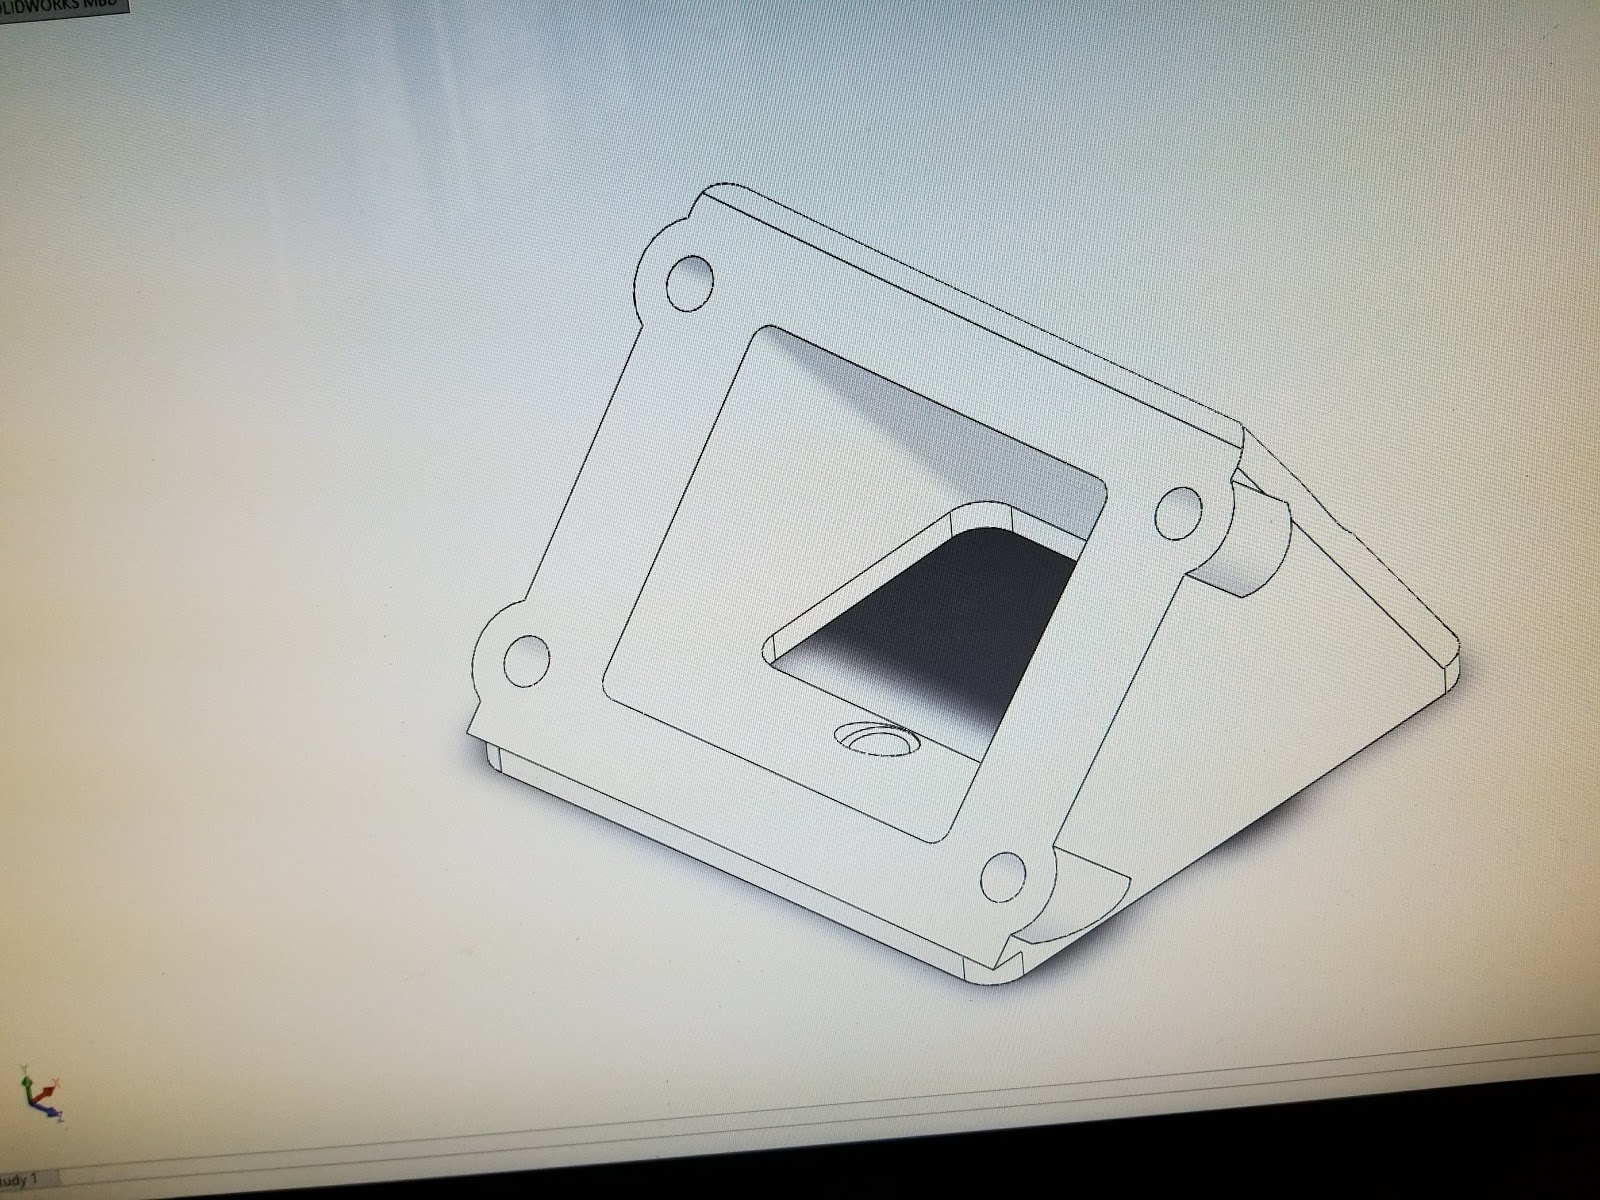 That'll do pig, that'll do. |
|
|
|
Post by pitobread on Jan 27, 2018 4:07:45 GMT -5
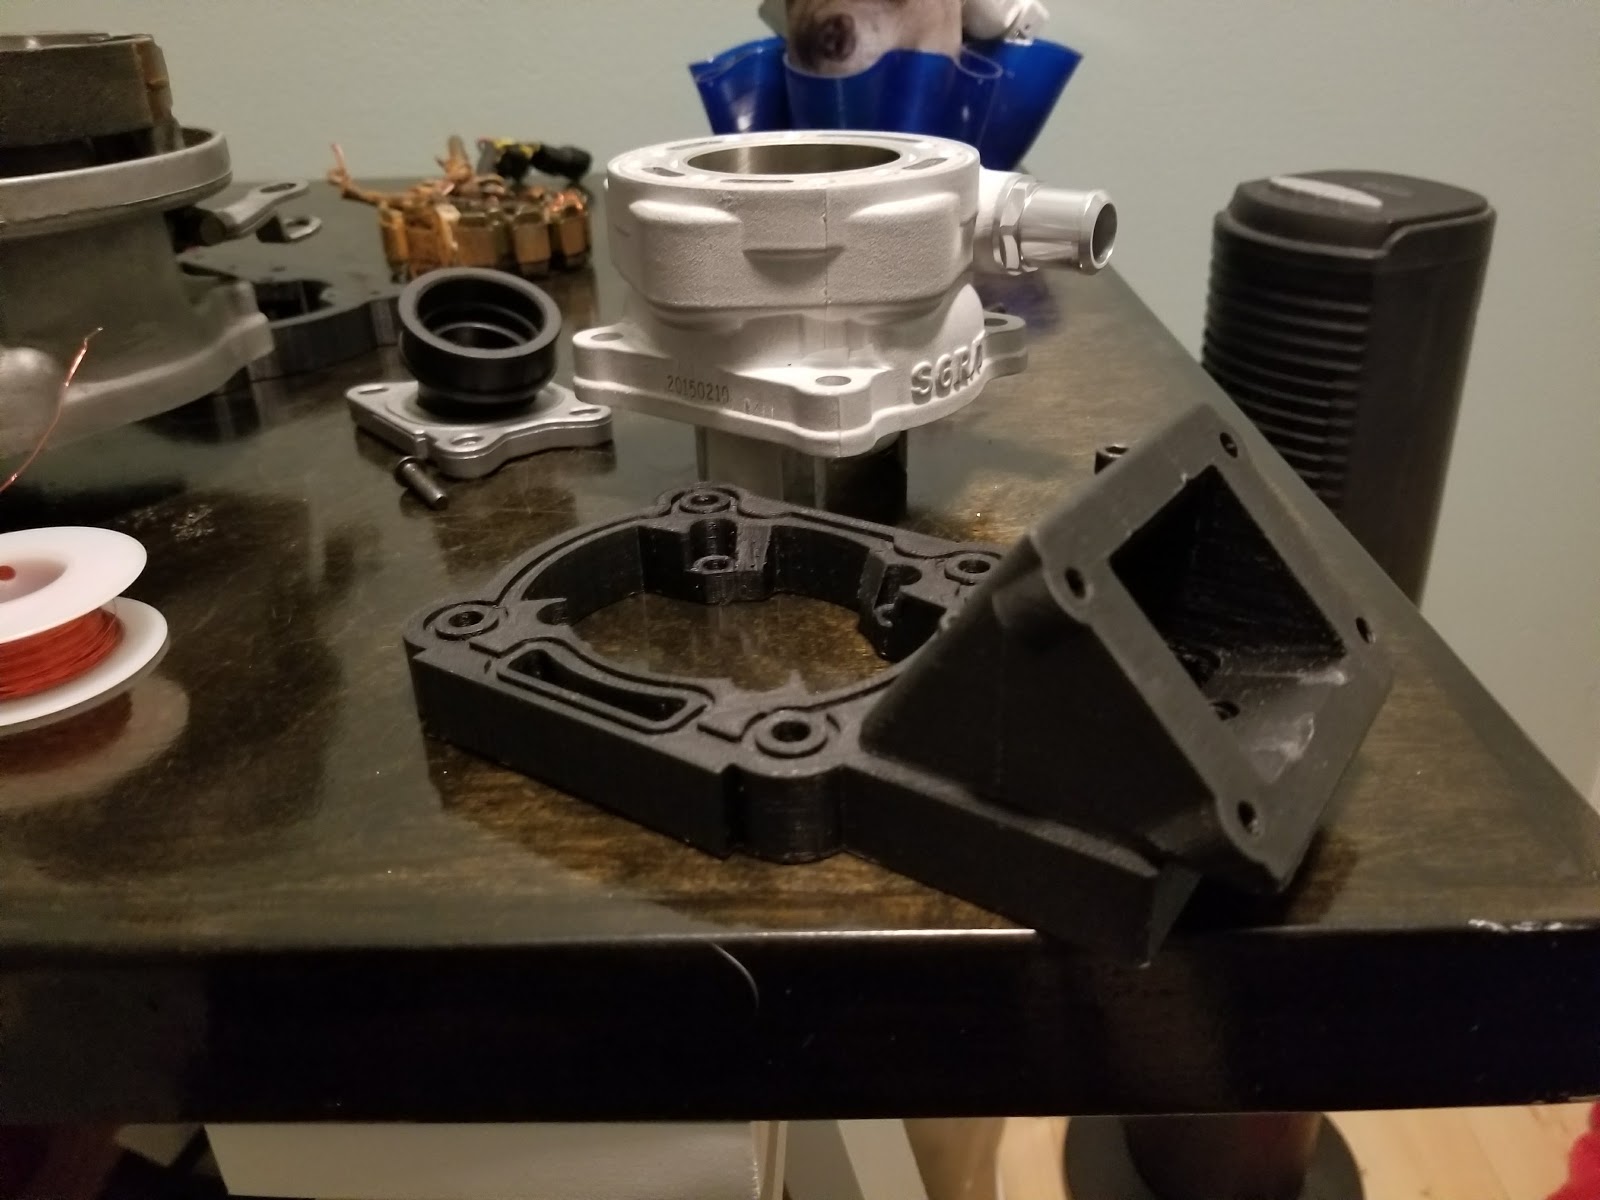 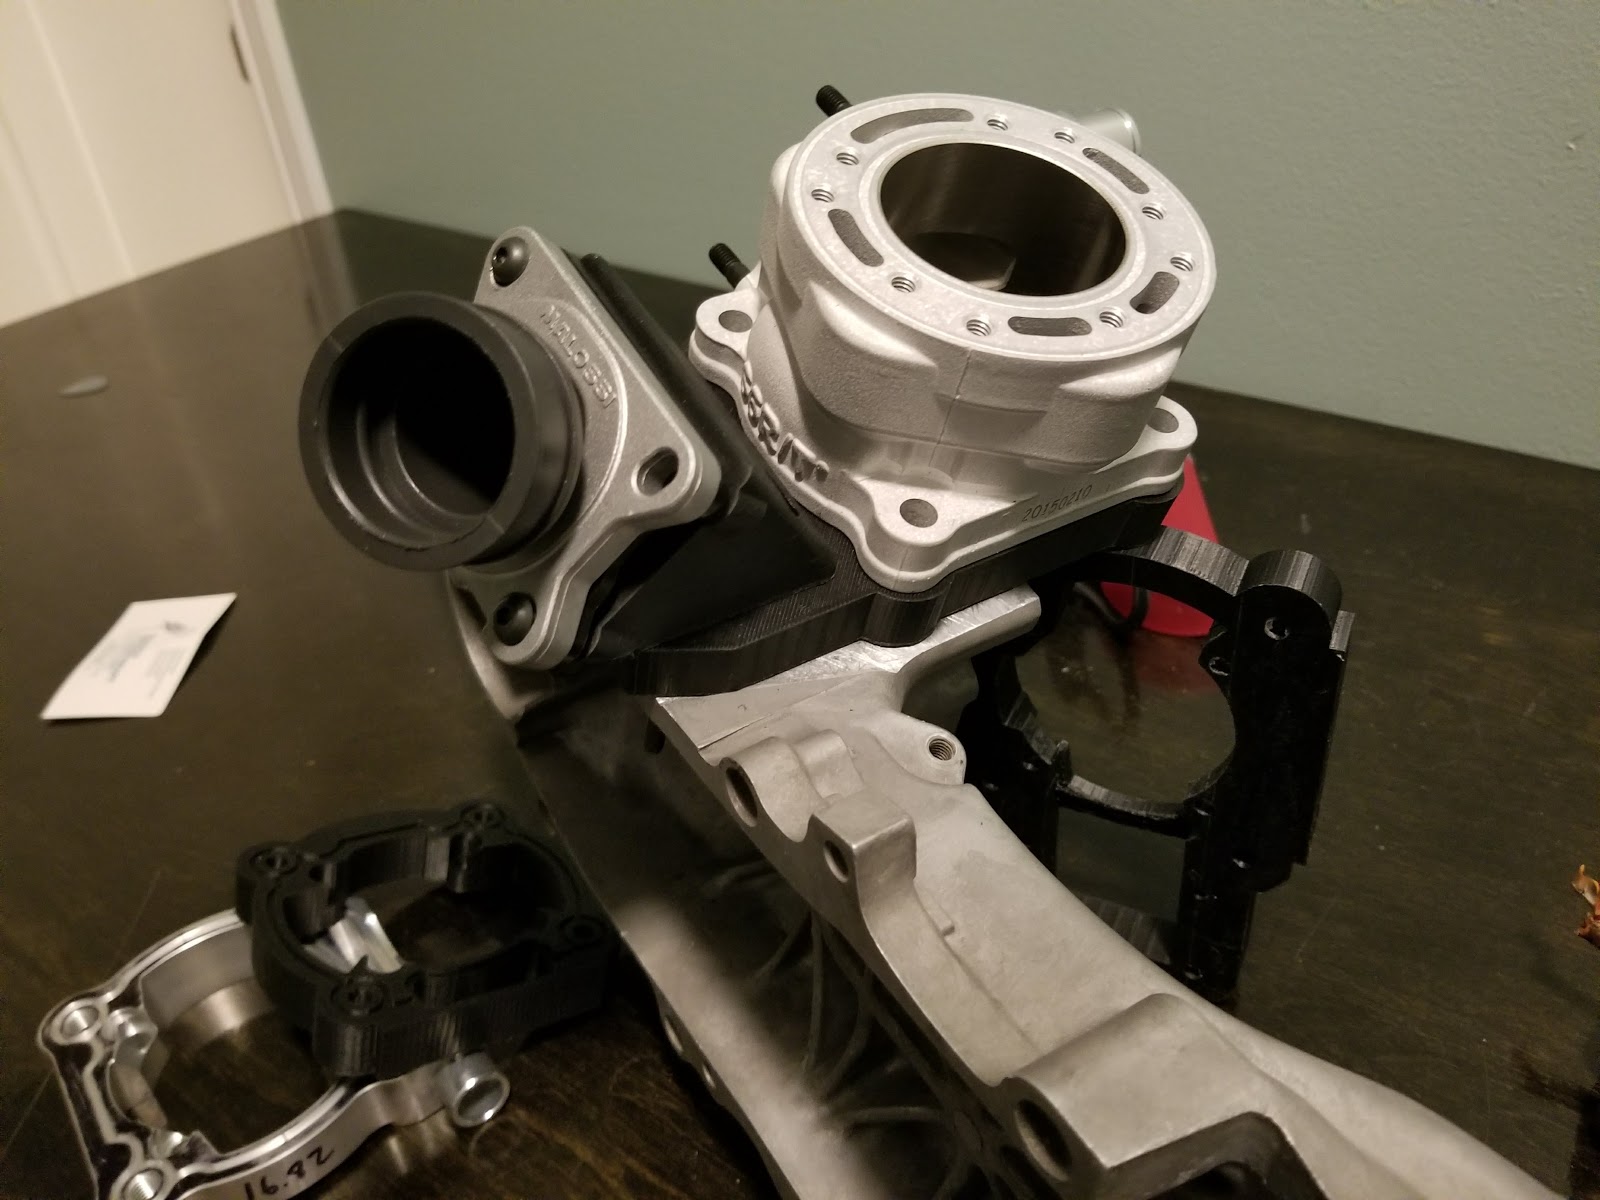 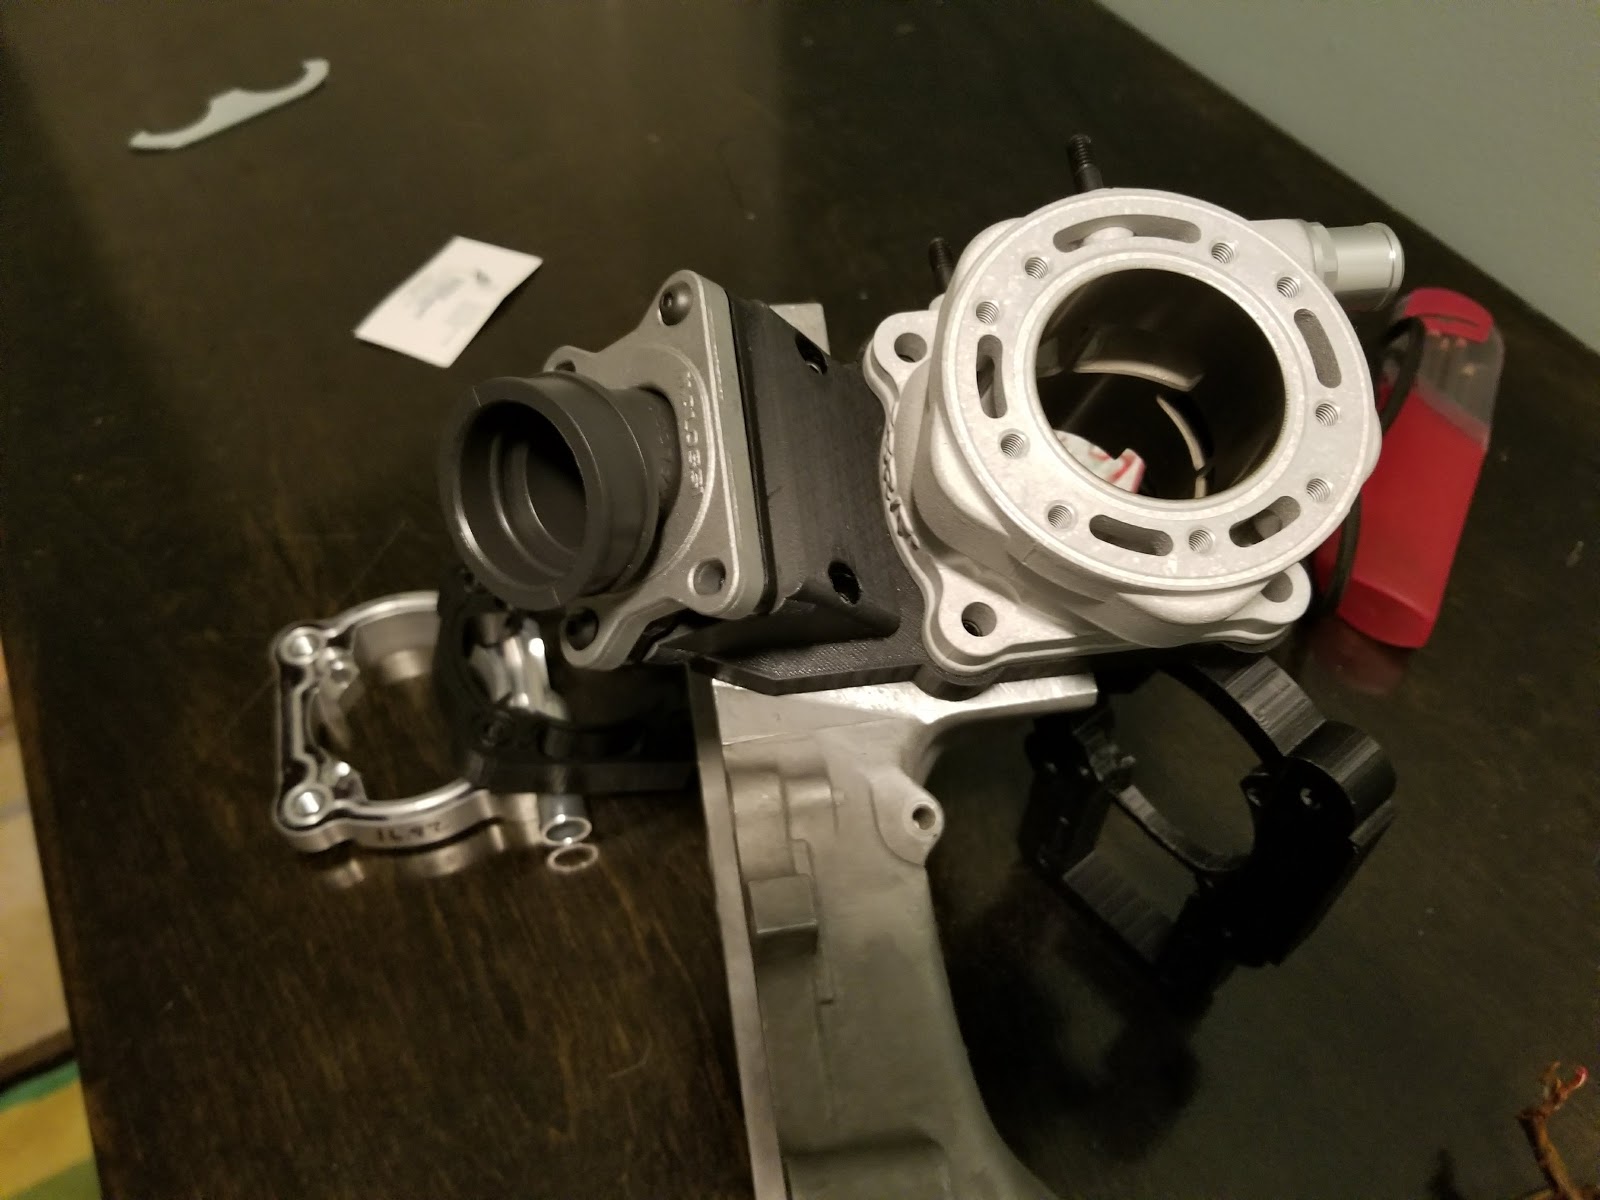 Part of me wants to assemble it with the ABS 3d print base.. But I know it would be a bad idea. Next step is transferring to metal. |
|