This post is a bit of a blast from the past. I've been asked many times about the conversion of T2 from full-fairing Triton to naked scoot. I did that almost 10 years ago, before this forum was started, so it's not covered here. I still have pics from that time, so I'm putting together this post with those and some more current updates so it's around for all interested.
I suppose I'll start with why I converted T2 to what it now is. I bought this Vento Triton as a fixer-upper for just over $60 on eBay. Most panels were in rough shape, so I bought all Triton GT5 plastics and made it something that I liked to look at.
When I brought it home.

After GT5 panels and other restoration and minor mods.

Here it is after a few more mods like using the stock handlebars naked and a frame brace.
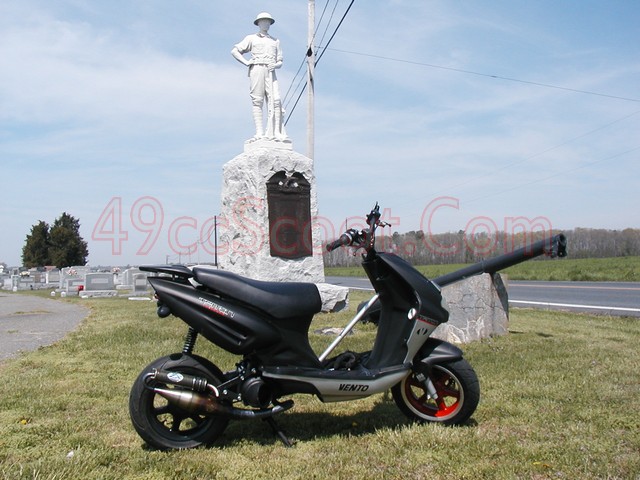
Frame brace and solid mount info :
49ccscoot.proboards.com/thread/379/frame-brace-solid-motor-mountNaked stock bars info :
49ccscoot.proboards.com/post/229726/threadRear turn signal relocation :
49ccscoot.proboards.com/thread/388/vento-triton-rear-signal-relocationBefore too long, I screwed up what I thought was a nice looking scooter by deciding to try solid engine mounts. I welded things to eliminate flex and dampening in the mount. Pretty much all that did for me was to make the scooter aggravating to ride and hard on parts. I underestimated how badly the single cylinder engine would vibrate. It was so bad that it rattled my teeth and even made my vision get blurry at times. Way worse than I ever anticipated. I think this was the worst idea I ever had for my scooters.
Standard motor mount.

Welded the mount to make it solid in the 1st pic. 2nd pic shows that I even welded the seams once it was installed to make sure it was solid.


The solid mount and transmitted vibrations ruined most of my plastics. I patched some with Plastic Welder or tried fiberglass, but it kept tearing things up quickly.


Then I was out riding very early on a Sunday morning. I was going past the hospital when the engine mount snapped and the scooter veered into the oncoming lane of traffic unexpectedly. Luckily for me, no one was really out that early so I got the scooter stopped and never crossed the path of a car. Also, I'm glad it happened at 25-30MPH instead of the 60+MPH that it was capable of. I called my father to get a ride home for the scoot and I and that was the end of me playing with a solid motor mount. The scoot came apart so I could cut the mount out where it was welded and return to the standard mount. BTW, that's the first and last time that I ever broke a mount on any scooter. I'm sure it has happened to others somewhere, but under normal conditions with a vibration damping mount it's not something that you should live in fear of.


After examining my body panels filled with cracks and repairs, it was at that point that I decided to make a change to T2. I was ready to go naked. I thought it would not only be more unique, but more importantly it would be easier to work on and I shouldn't have to worry about much plastic damage for any reason in the future. I tore it down to the bare frame so I could cut out the solid mount and check that area out.


I knew I didn't want the scooter to be truly naked, with no panels at all. I wanted to keep enough of the plastics to help me hide wires, switches, and other components and to shield me from anything thrown up from the tire or road a little. A front fender would have helped a lot with shielding, but I didn't like the look as much as the open wheel. I never have been a big fan of rear fenders and that was already gone, but it would have helped some too if used.
I wasn't sure what exactly I wanted to do, so I put T2 on jack stands and mocked it up to try to come up with a plan or at least the beginnings of one. I spent quite a bit of time walking around it humming and hawing, both from uncertainty of what I was after and doubting that it was a good idea all together to go chopping up the black panels that were the only ones left in decent condition.


I didn't think it looked too bad with just a seat and no panels in the rear, but the floor and leg shield were clearly too wide for an otherwise naked scoot IMO. I decided to cutaway the sides of the leg shield to narrow the front, while still being wider than the front tire for some protection there. I marked it out with a tire crayon so I'd know where I wanted to cut. You may notice two sets of marks. Initially I was considering making the panel very small, but settled on the larger of the outlines.

I opted to keep just enough of the floorboard to hold the battery, and marked that out as well.


With a plan beginning to form, I started chopping anything off of the frame that I didn't think I would need. Most panel mounts went, locations for components that I wouldn't use (like the alarm), and I cut out the floor supports. All of that made the frame much cleaner and more narrow.


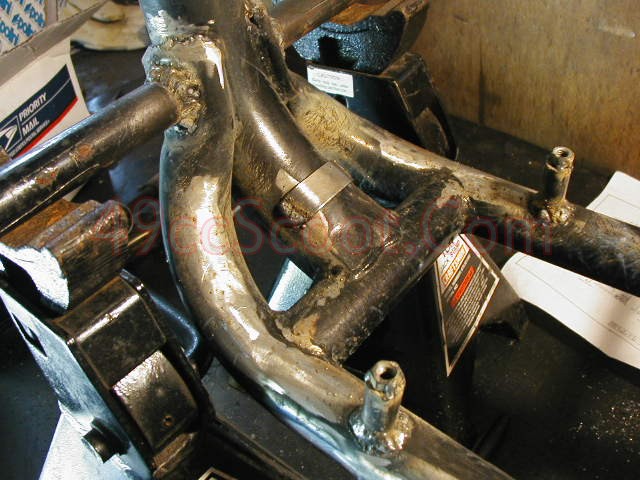
I also tried to beef up a few factory welds while it was down to the frame. I'm not sure how much difference it really made, but it didn't hurt.


The plastic panels were rough cut with a cutoff disc in a die grinder and sat on the frame so I could see how it looked. The panel edges were smoothed out later with sanding discs. The floorboard (now battery box) didn't sit right in the frame without the floor structure there, so that was something I'd have to deal with later. BTW, if you see any bits of the frame missing without mention throughout this post, there was a lot of checking to see if parts were of use and grinding them off once deemed useless along the way.


I could get the leg shield into position basically how it would end up, so I turned my attention to finding a solution for headlights and front turn signals. I did later weld a nut to the frame down toward the floor so I could have the top central stock mount and one lower mount for the shield.
I bought a pair of Navigator driving lights with 55W bulbs from Pep Boys that I intended to use for headlights. They were only single filament, so my plan was to wire and aim one as the high beam and one as the low beam. I thought that trying to use them simultaneously for a high beam, totaling 110W, would be too much for the electrical system. I have since used as much as 97W total with different light combos and it has worked.
HERE is an example of one of the Navigator driving lights compared to a 42W LED spot light and how they work together, which is my current setup.


The lights came with small brackets, but I didn't want to just mount them to the frame and I wasn't sure if they were even robust enough to hold up long term. I wanted to come up with a way to have my headlights and turn signals mounted in one assembly.

I used 1/2" square steel tubing to make up a dual headlight bracket that would bolt onto the frame.


Then I test fitted the headlight assembly and welded a couple of nuts to the frame to hold the bracket. BTW, I use M6x1.0 for most things like this on my scooter because that's the most common bolt size already on the scooter. It makes keeping spare hardware around simple and calls for less sockets/wrenches to work on the scoot.


I ended up adding an arm on each side with a flat plate on the end to hold turn signals secured with double-sided mounting tape.

I drilled holes to allow the wires for the turn signals to pass through the bracket and wired things together so the lights used a common ground to save on wire connections and added a connector so the whole assembly could be unplugged easily if it had to be removed. The single connector didn't prove terribly useful. Mostly, it's important to make it easy to swap components (bulbs/housings).

I was already using an LED tail/brake light before the naked conversion (shown
HERE), so I didn't do much to the rear lighting at that time. I just switched from the stock turn signals relocated to aftermarket LED turn signals.

I ended up finding that the tail/brake assemblies didn't hold up long for me. Being mounted to the scooter rattled their internals to death sooner or later. I tried eBay units like the one shown above, a Kawasaki Ninja replacement assembly, and some other solutions without a whole lot of luck. Then I made a panel to bolt onto the back of the scooter out of 1/8" steel that would hold a dual intensity LED truck/trailer light as well as the turn signals. The truck/trailer light uses a grommet for mounting so it's very well isolated from the vibrations of the scooter. They're also easy to find in truck store or even places like Wal-Mart if needed quickly.
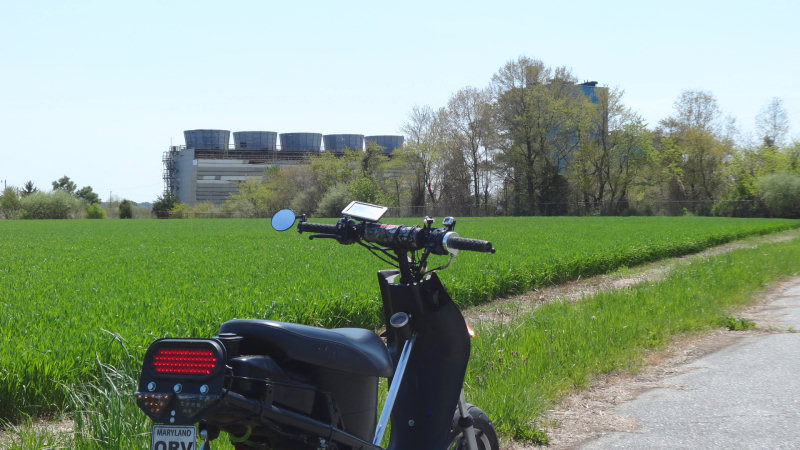
Once again I mocked up the scoot to see how everything was working together and work out more details.


While it was mocked up, I sat on the scooter to figure out where I'd want my feet to be. I decided to install 2 sets of foot pegs so I could reposition my feet. This turned out to be a great feature on long rides. The ability to place pegs where I wanted them and have them lower than the original floor also made more leg room to increase comfort.
I used 5/8" black steel pipe welded to the frame because it had 1/8" walls which made it strong and created a 7/8" outside diameter that allows 7/8" handlebar grips to be installed for better foot grip. It may be safer to use folding foot pegs.


Then I started trying to find spots for electrical components like the rectifier, coil, CDI, and flasher relay. Some stock mounting spots were cut away, others were just to try to hide them a little more. Some people mount a box or move components under the seat to protect them from the elements.


The turn signal relay should fit here.

I stripped it back down to the frame so I could weld on bits and pieces for mounting components and panels. Shown below is a steel strap welded to the frame that a hose clamp goes through. I can slide turn signal flasher in and clamp it down so it's not too tough to replace. BTW, don't forget to use an LED approved flasher if you're swapping to LED signals. I've had far better experiences with 3 wire units than 2 wire flashers.

The section of plastic left from the floorboard that holds the battery needed to be raised off of the frame to fit with the leg shield properly. I welded pegs onto the frame with M6x1.0 nuts at their tops to make bolting it on simple.

After I was sure the frame mods were done, I cleaned the frame and then primed and painted it. Initially, I just used a standard flat black paint. That didn't take abuse very well for me. Now I tend to use Duplicolor satin black wheel paint that holds up to chemicals and abrasion better. I've also used Eastwood Chassis Black that worked pretty well, but was kind of expensive compared to the wheel paint. Any of them have eventually worn down from my shoes rubbing the frame and things like that and needed to be re-coated. Powder coating would be great if you could afford it or do it yourself.
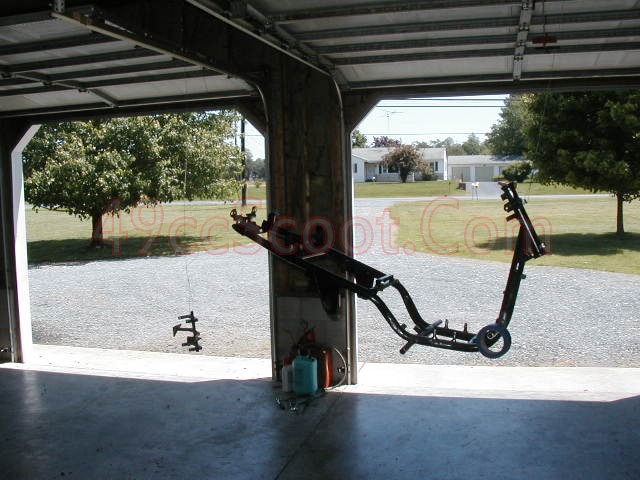

Once paint dried, I started putting T2 back together.


I cut anything that was not used out of the wire harness and re-routed wires to relocated components. Wires were wrapped in electrical tape before being reinstalled and secured to the frame. Connectors should have dielectric grease placed on their contacts and be sealed with clear silicone to keep moisture out. I later built a harness totally from scratch. If I were to do it all over, I would consider using waterproof connectors. Initially I used the original connectors because they attached to components easier. It may be worth the extra effort when parts have to be swapped out to have good waterproof connectors though.


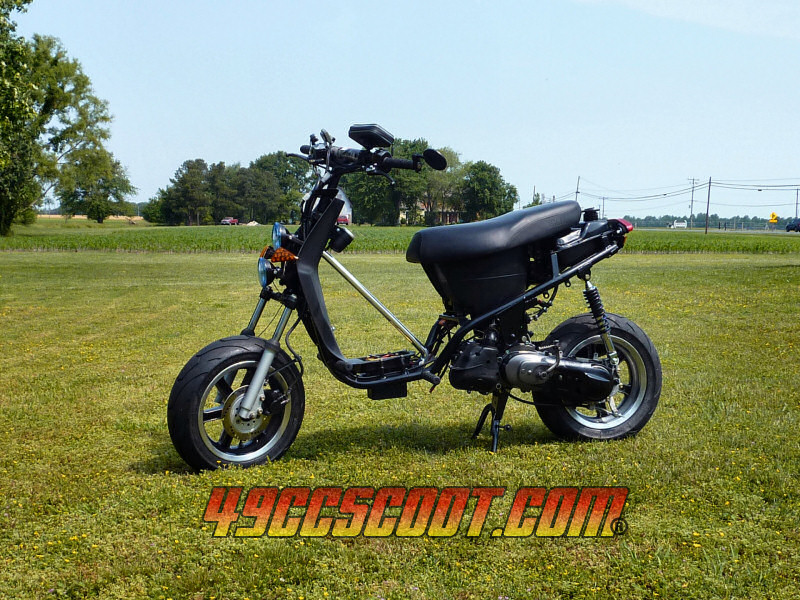
Finally, here's what it looked like when it was first finished.


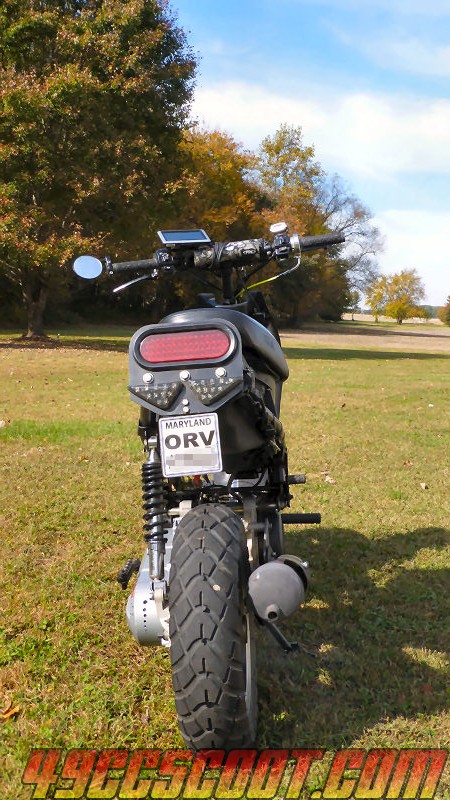
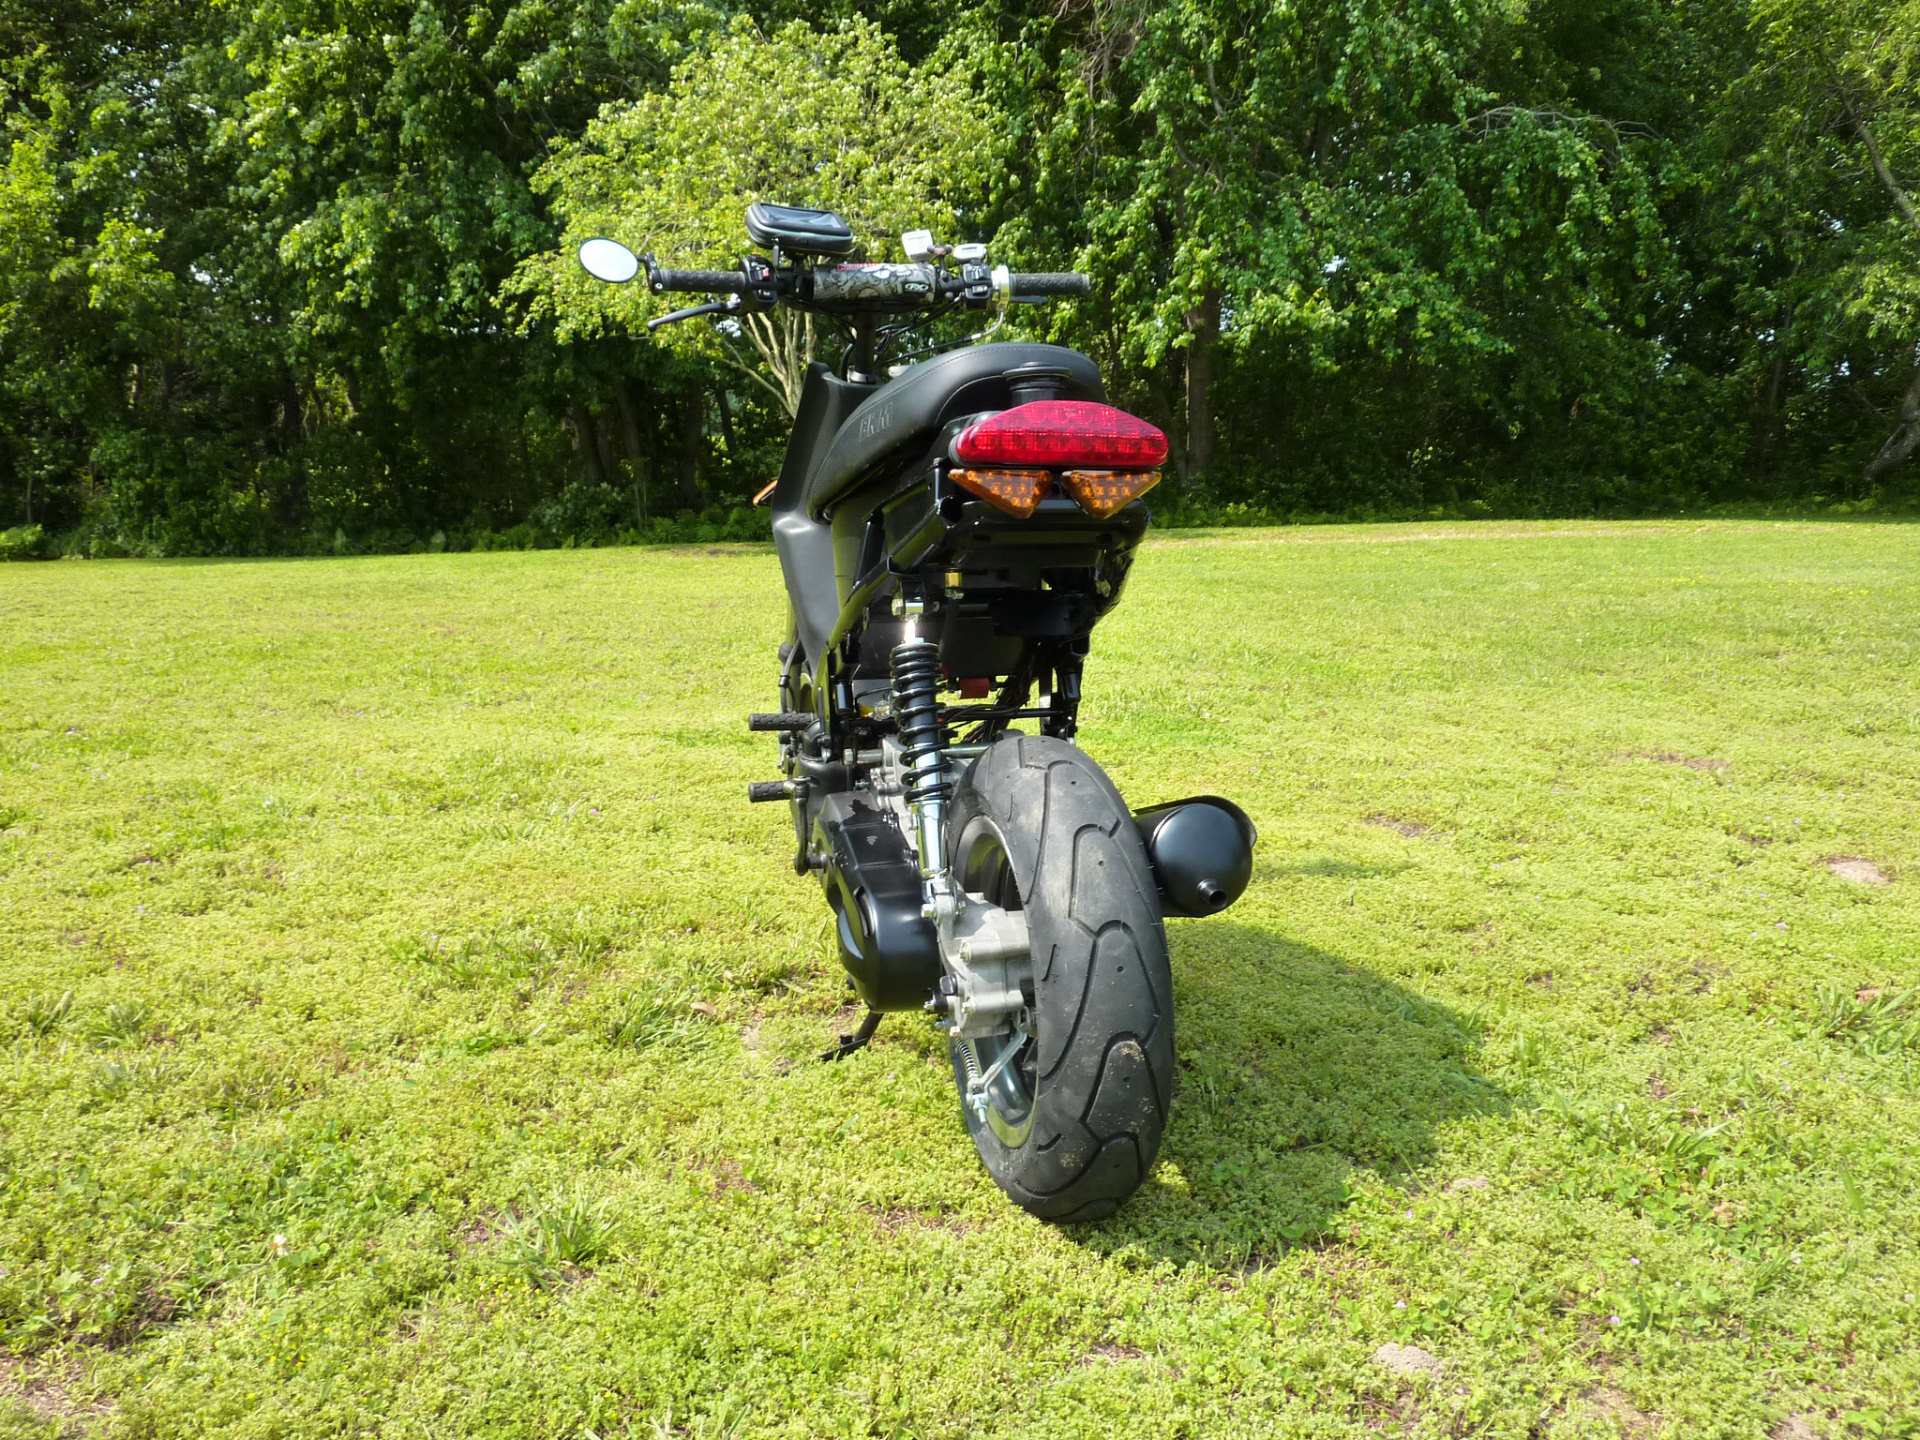
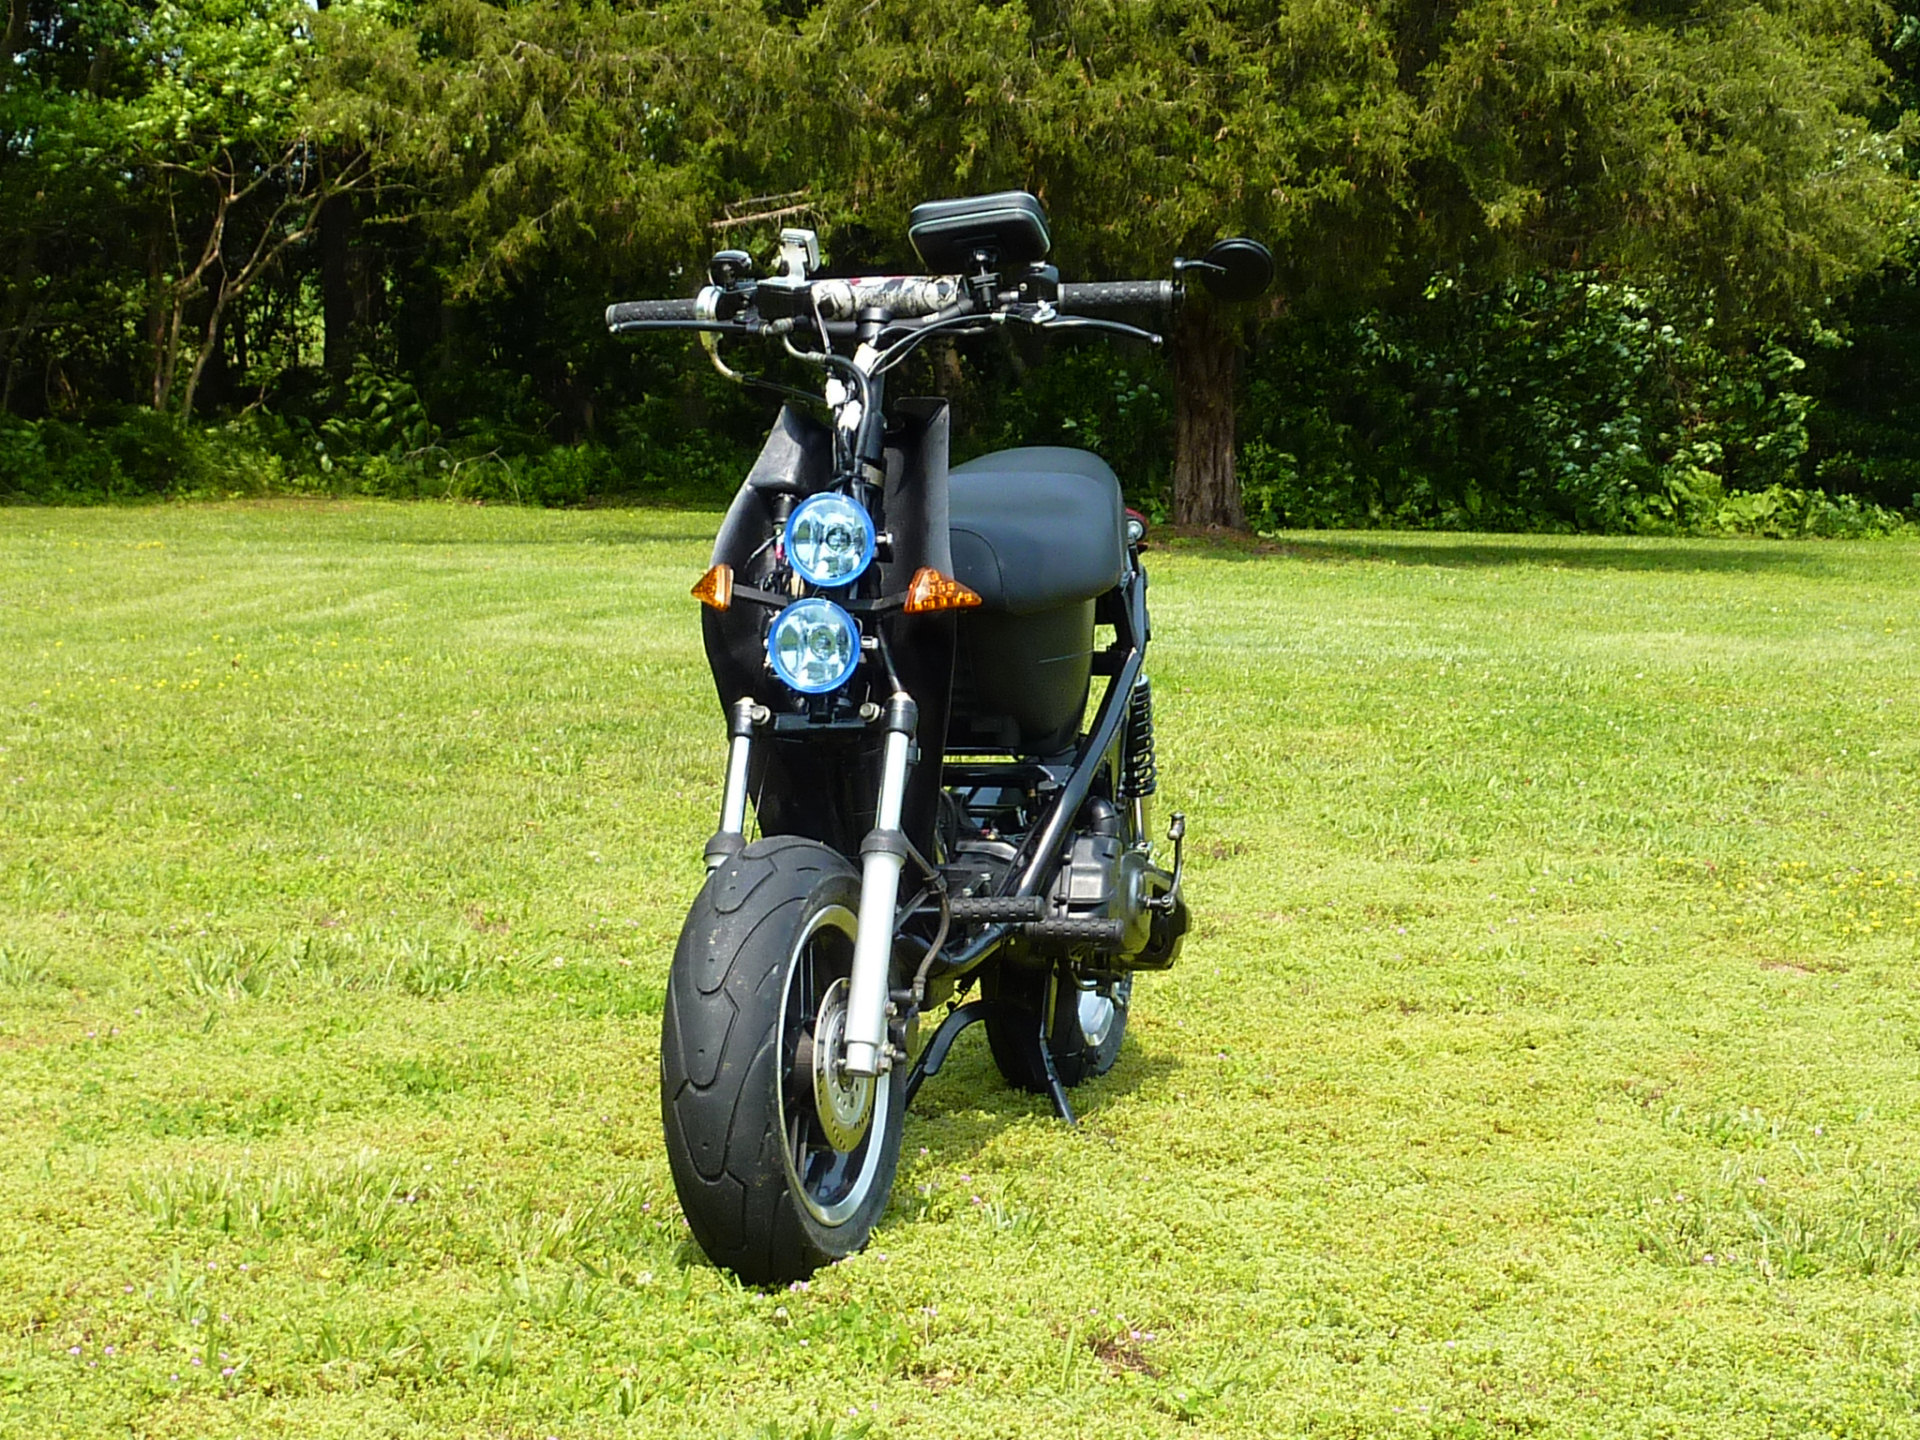
Here are some pictures of it later on.
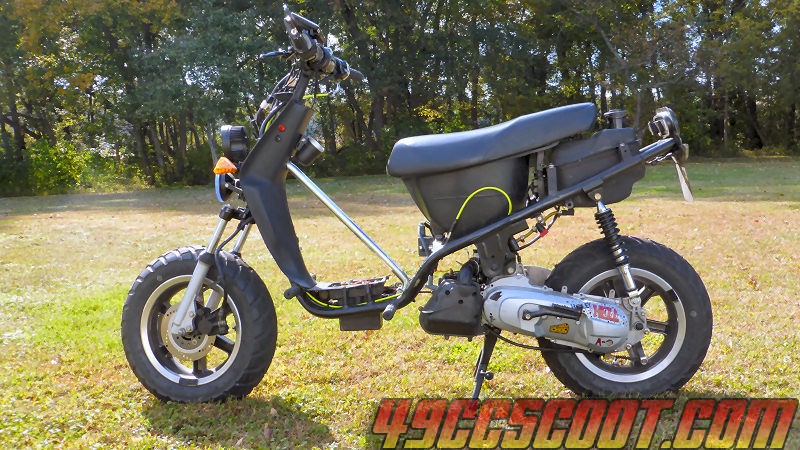
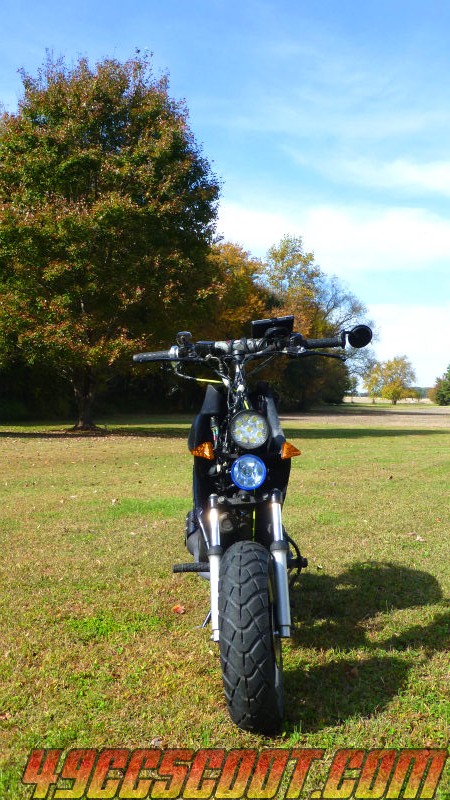
Hopefully that's of some use to anyone interested in their own naked scooter conversion.