|
|
Post by joeorange on Jan 5, 2016 12:08:54 GMT -5
Ouch, thats way too much for a pipe, even if they are beautiful pieces of craftmenship.
|
|
|
|
Post by oldgeek on Jan 5, 2016 15:15:06 GMT -5
It looks like you're losing quite a bit of crankcase volume with that reedblock. Are you planning to do something with that or leave it as is? You mean gaining volume right? What else could be done to decrease volume back closer to what it was? I already filled what I assume is an oil path for the oil pump gears with epoxy since I am going premix, and I have the space filling oil pump plug to install. The only other thing I can think of is adding additional filler in the area where the oil pump drive was. Since I have no clue as to what is optimal I am wide open to suggestions.  |
|
|
|
Post by Lucass2T on Jan 5, 2016 15:18:39 GMT -5
Yeah those prices are just downright ridiculous en everywhere from realistic...
The price of a good 2t pipe doesn't come from its looks but from how it performs. You can have 3 or 4 pipes made by hand by a respected pipe builder with even some developments in between designs for the price of one of those taiwanese things.
It's just not realistic because you just don't 'buy' the perfect pipe for a specific engine...
The price 'could' be justified if you'd get hours of testing on the bench and all the pipe modificiations for a perfect tune along with it.
|
|
|
|
Post by Lucass2T on Jan 5, 2016 15:23:44 GMT -5
It looks like you're losing quite a bit of crankcase volume with that reedblock. Are you planning to do something with that or leave it as is? You mean gaining volume right? What else could be done to decrease volume back closer to what it was? I already filled what I assume is an oil path for the oil pump gears with epoxy since I am going premix, and I have the space filling oil pump plug to install. The only other thing I can think of is adding additional filler in the area where the oil pump drive was. Since I have no clue as to what is optimal I am wide open to suggestions.  I dunno but that was the first thing i noticed. You're adding a significant extra volume to the crankcase with that reed housing. I would liter out the crankcase without mods and again with mods and see what the procentual difference is. If it's too big i would try to fill up that reedhousing with epoxy. I have no idea from which point you're really starting to see the effects of increasing or decreasing crankcase volume...But i would say don't go over 10-15% over stock. Or try to figure out what the ratio between crankcase volume and displacement is with high performance engines is and compare that to your engine. |
|
|
|
Post by oldgeek on Jan 7, 2016 21:45:33 GMT -5
........I have no clue as to what is optimal I am wide open to suggestions.  ..... I would liter out the crankcase without mods and again with mods and see what the procentual difference is. If it's too big i would try to fill up that reedhousing with epoxy. I have no idea from which point you're really starting to see the effects of increasing or decreasing crankcase volume...But i would say don't go over 10-15% over stock. Or try to figure out what the ratio between crankcase volume and displacement is with high performance engines is and compare that to your engine. Good ideas, but too much work/effort for me! However I am going to attempt to fill up the area where the oil pump was, hopefully better than the oil pump delete plug I purchased does. I have no clue whether it will help boost performance or not. This also gives a good look at the damage the PO caused by removing the crank WITHOUT first removing the oil pump. They trashed the crank in the process too. 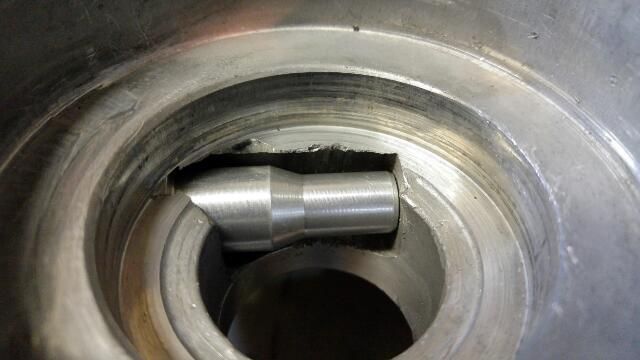 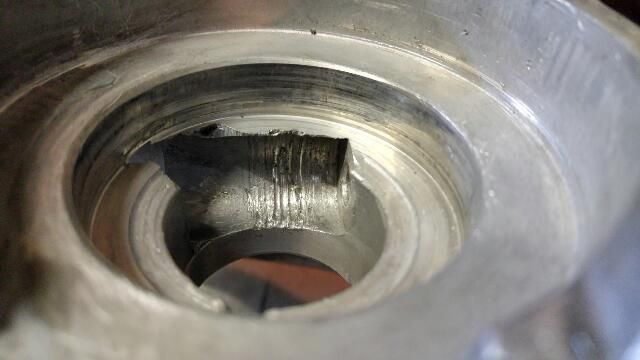 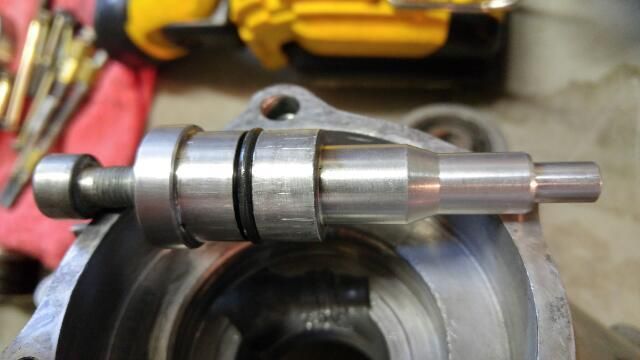 I think I am going to cut the plug off at the first shoulder below the O ring, and fill the rest of the area left with JB Weld. I have also been cleaning up the intake tract a bit by smoothing hard edges on the intake manifold and the carb. |
|
|
|
Post by oldgeek on Jan 9, 2016 11:47:07 GMT -5
I got the plug cut where I wanted it. 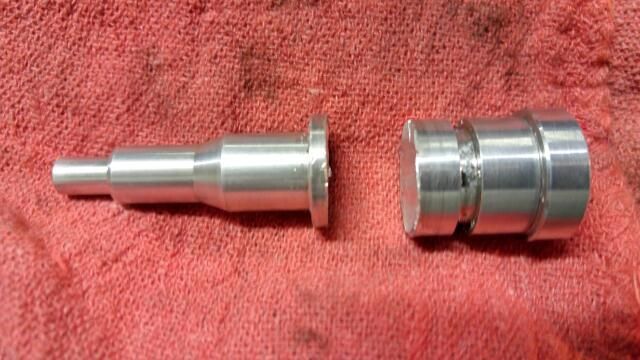 I used some foil tape I had to build a form to hold the epoxy in place. Then I leveled the case up where it was sitting, mixed up the epoxy and poured it in. 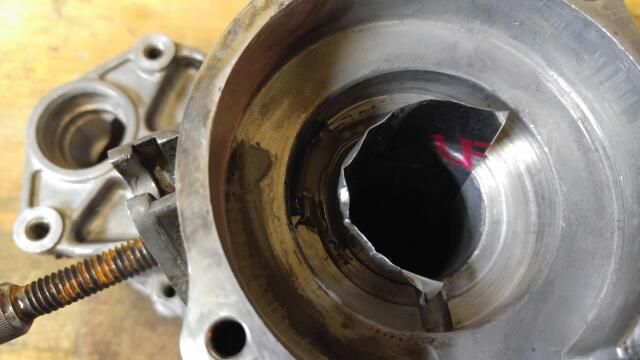 |
|
|
|
Post by oldgeek on Jan 9, 2016 18:25:29 GMT -5
Since i have to wait a day or so for the epoxy to fully cure, before I can clean that area up, I decided to put the bearings on the crank and take a picture. I used the hot/cold method to get the job done. 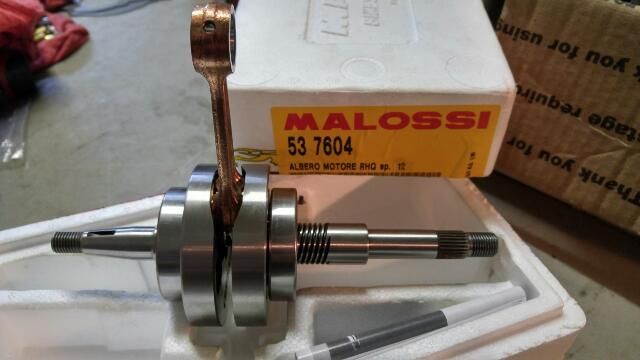 |
|
|
|
Post by oldgeek on Jan 10, 2016 11:22:44 GMT -5
The epoxy cured enough overnight to work with, so I removed the tape and cleaned it up. A final bath for everything and its assembly time! However I have some work that pays the bills to go do today, so I don't t know when I can get back to this. 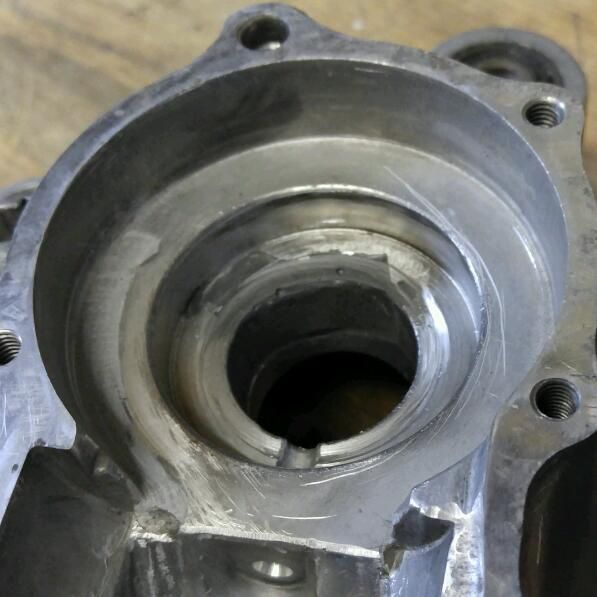 |
|
|
|
Post by oldgeek on Jan 10, 2016 15:31:50 GMT -5
It ended up that I did not have to go to work and that's fine with me! I installed the crank in the small half of the case using Loctite 603, since that is the side that the bearing basically slips in and out by hand. Unlike the horizontal minarelli, this motor uses a paper gasket to seal the case halves together. So I put some ultra gray on the small case half flange followed by the paper gasket then more ultra grey. I rigged up my heat gun to blow on the big case half bearing area while I used freeze spray on the crank bearing. I slapped it all together and tightened up the bolts holding the cases together. Of course the crank ended up being a little hard to spin, so I used to my tusk crank puller to pull the crank into the large case half just a little more, and now it free spins nicely. 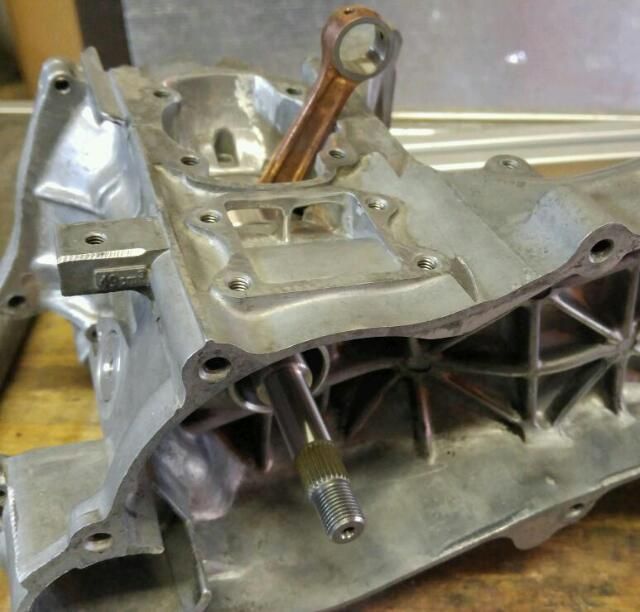 Time for the degree wheel! 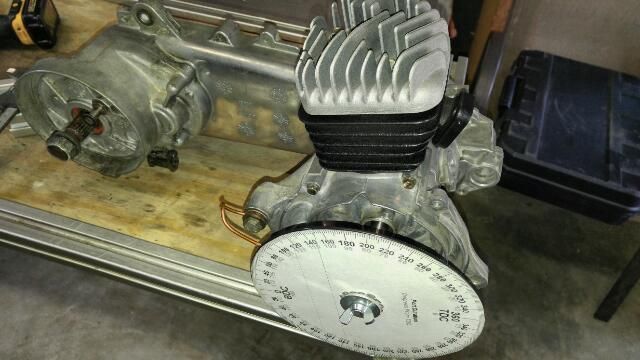 I set it up without any gaskets at all first, just finger tight and got the following: Transfers 131 Exhaust 186 Squish .60 As you can see in the pictures, TDC and BDC looks great. Just like it is it should match the mild V8 pipe I have pretty well I think. It also looks like it would be fairly easy to increase exhaust duration if I had a decent pipe for it.  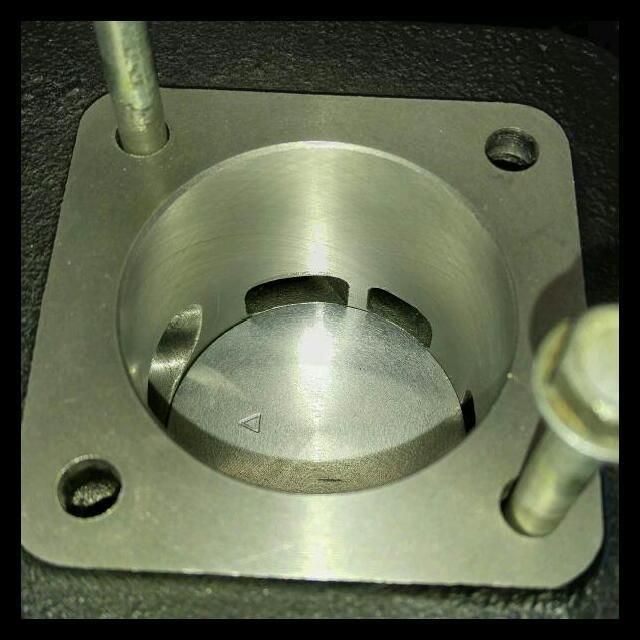 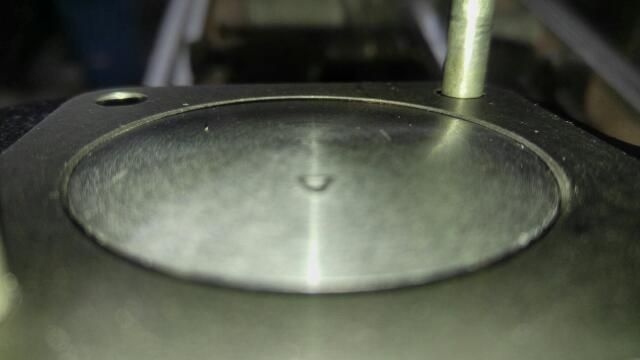 |
|
|
|
Post by birdman on Jan 10, 2016 17:32:40 GMT -5
  This is going to be sweet. I still dont know to to use a degree wheel or how to read the numbers or what they mean lol good job cant wait til you get this thing ripping again. |
|
|
|
Post by oldgeek on Jan 10, 2016 18:00:45 GMT -5
  This is going to be sweet. I still dont know to to use a degree wheel or how to read the numbers or what they mean lol good job cant wait til you get this thing ripping again. A degree wheel is easy to set up and use, there are a couple ways to use them outlined HERE. My problem is knowing what the numbers mean, and knowing what pipe to match them to. I would love to have a nice expansion pipe to use with this build, I would raise the roof of the exhaust port and get its duration to about 194? I think. LoL! |
|
|
|
Post by birdman on Jan 10, 2016 18:06:17 GMT -5
Ill read thru that later tonight. the more I learn the more I realize I dont know jack squat
|
|
|
|
Post by niz76 on Jan 10, 2016 21:56:45 GMT -5
Hell ya I'll bet she's a strong runner!
|
|
|
|
Post by ryan_ott on Jan 10, 2016 23:04:59 GMT -5
This is coming together nicely!
|
|
|
|
Post by Lucass2T on Jan 11, 2016 5:09:08 GMT -5
I think the durations are very good. 186 exhaust is somewhere between sport and midrace i would say (my metrakit has 130-190). Raising the port to 190 degrees will get you into Yasuni c16 territory. But the question is if you want that with that dual ring piston. Anyway I wouldn't change the durations. You can probably make max power at around 10k rpm with the right pipe.
One thing i would do is pay a lot of attention to the head. Get the squish as tight as possible (0.5/0.6mm). With that malossi crank thats no problem. Measure compression and if needed have a machineshop mill out the combustion chamber. Don't go bigger on squish to lower compression! You don't have to make that compromise you know! Just take the head to a machine shop and have some cc's milled out of the combustion chamber.
A bigger combustion chamber can hold more mixture which makes more power! You can safely get a tight squish without detonating the sh#t out of your engine AND a tighter squish adds even more to detonation prevention! And since you're not effectivly lowering compression scavenging of the ports will stay the same. So you won't have any flow losses.
|
|