|
|
Post by fly on Aug 10, 2022 17:36:26 GMT -5
All right, well you saw here first folks, straight from Malossi S.p.A. HQ. This is the boss that will be released in September to fit the MHR team 44/90 crank for horizontal minarelli, 16mm shaft. The "normal" boss for the 2022 variator is 42.77mm, the one to fit the crank is 44.64mm. there's no calculus to the grooving and cross drilling. both are grooved dead center of the boss. Malossi FedEx'd it to me the day they were closing for August. it took several weeks of pestering, but I'm glad to have it. they should be available in September, or that's what they are saying. I can only conclude that the ramp plate included with the crank is the same one they will provide with the kit, as they told me simply they were going to send the boss I needed. I had brought up the ramp plate, but they made no mention of it. I'll call it good. hopefully that will be the end of my early adopter woes. pic of the what I will presume be the part number on the bag. 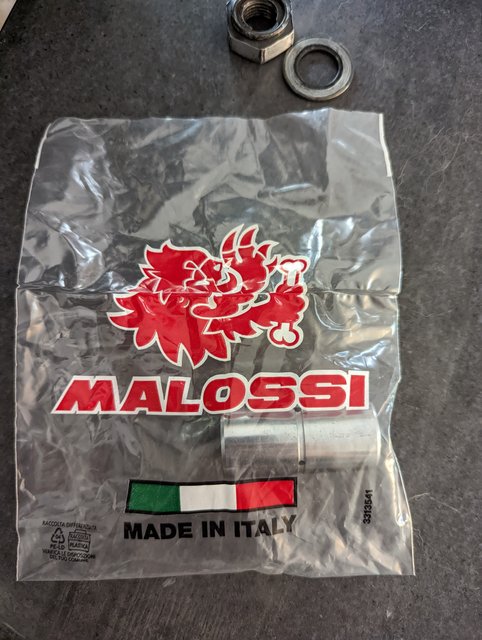 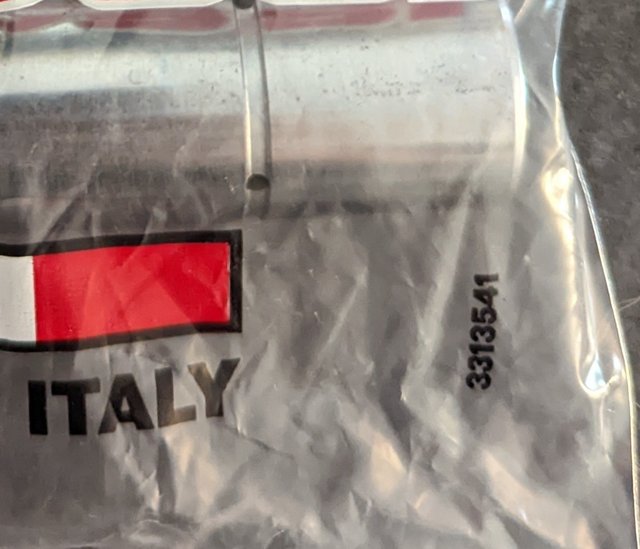 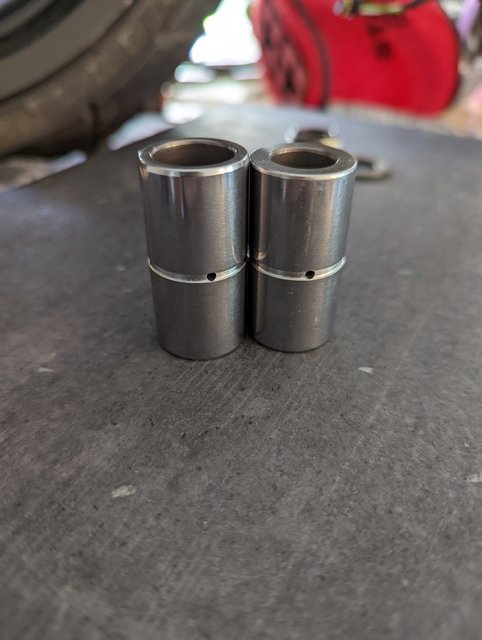 |
|
|
|
Post by fly on Aug 13, 2022 19:05:01 GMT -5
I had a post written I must not have hit submit on. 😅 whatever, here's two things then. first, a disappointment and a waste of time. it's so pretty, right? I'm going to have to rip off the canards, smart guy here forgot to account for the screw cap. it's a super bummer because I was digging these things and brazing them on was a pain. whatever, I'm over it, but let it be known that once upon a time this thing was kind of neat, albeit totally frivolous. 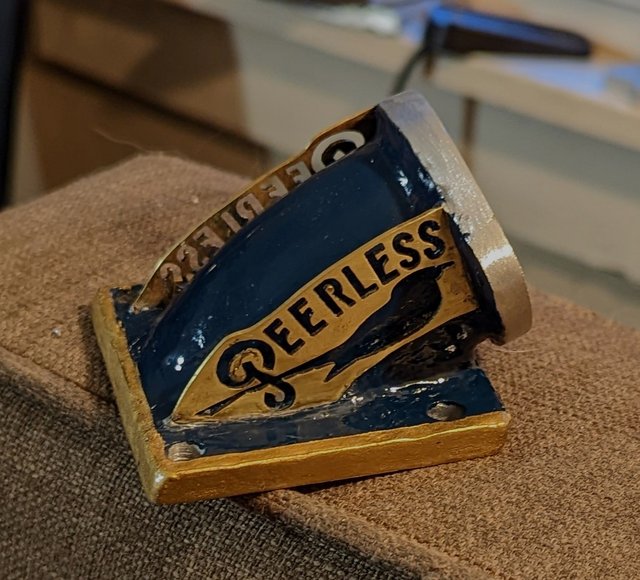 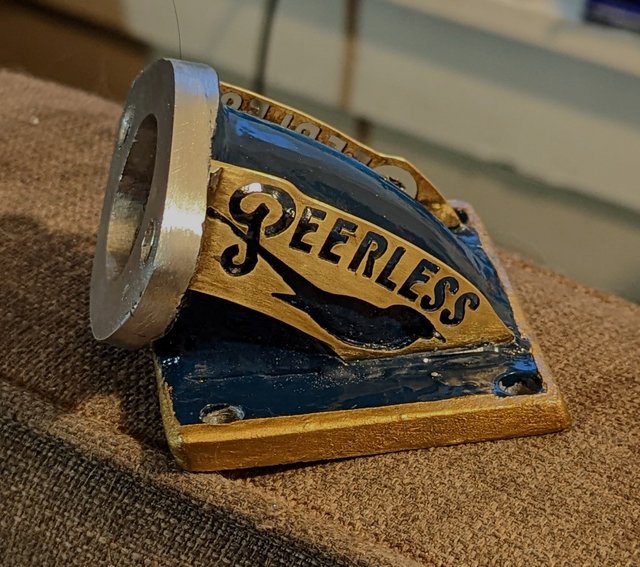 in more happy news, my Heidenau K80 SR's came in from Germany after about a month, real pleased about their birth date. going to run the MB99s I have to start with. they're still L rated, I know how they ride, and I'm sure I want to get some burnouts out of the way. then I'll mount these up, and I'll see if I want to explore the top end. 😳 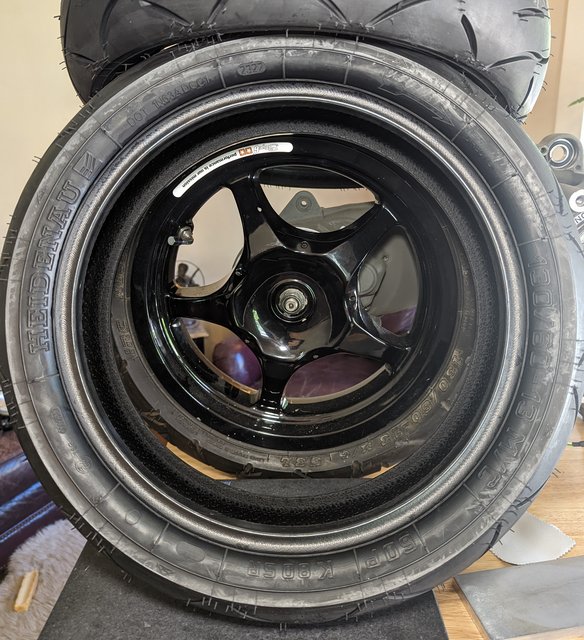 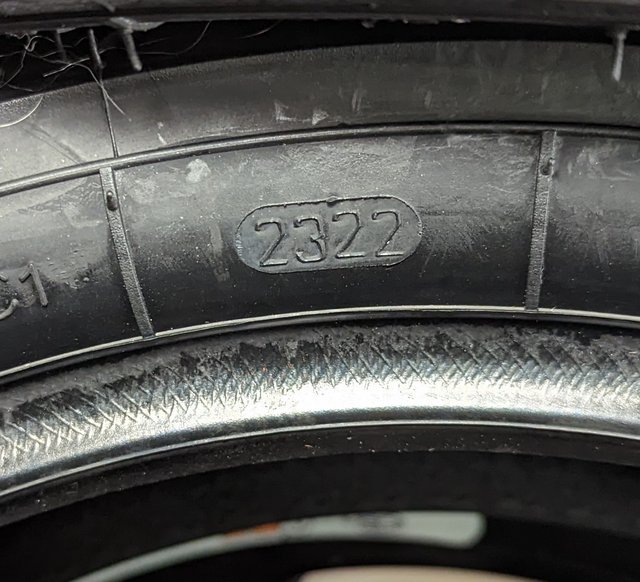 well, I'm off to rip these canaries off. they were meant to fail first should my brazing have not been up to par. as it turns out I have 100% confidence in the brazing (practice makes perfect), so they wound up just decorations that in the end won't even happen. 🤌🙌🤘 they would have been cool though. got an extra set, maybe I'll be able to incorporate them somewhere. they weren't going to fall off eventually anyway from galvanic corrosion. I've been looking at the dang things two nights trying to figure out a way to save them with the boot this whole thing was designed around, it's a no-go. but for posterity once upon a time it looked like this. |
|
|
|
Post by fly on Aug 13, 2022 23:49:21 GMT -5
so that's where it's sitting, as of now. I have about ~50mm of length from the center of the carb outlet to the center of the reed valve aperture. Under the reed valve I have 20 mm of spacers. Looking at it, The intake seems a bit long. It might just be because I've been looking at it without the boot attached. but I am worried between the 28 mm carb and the longer than it really needs to be intake that I am negating the effects of the KX85 valve. looking at it, I'm sort of thinking this setup would be a little bit more tapered coming on the throttle, and would pull real hard up to the higher RPMs, but that I might not get great throttle response up there. and I'm probably robbing myself of some peak power running a longer intake than I need to. not sure. not sure what I want to do about this. I know it looks like a lot of obsessing about a seemingly simple part, but IMO the intake is a largely overlooked tuning aspect in general. at least in scooters. if anybody sees this and knows of an intake that uses 45x55 mm bolt spacing, LMK. it would be nice to have something to swap out real quick that was shorter to see the difference if I'm not happy. I can't really tune something that isn't even running, so I'm ahead of myself. I suppose I should just order one of the FKM tubes for one of the x360 systems and make up plate to fit the bolt spacing if I can't find out one that already has 45x55 spacing. yeah I'm tired braim not working great. input welcomed 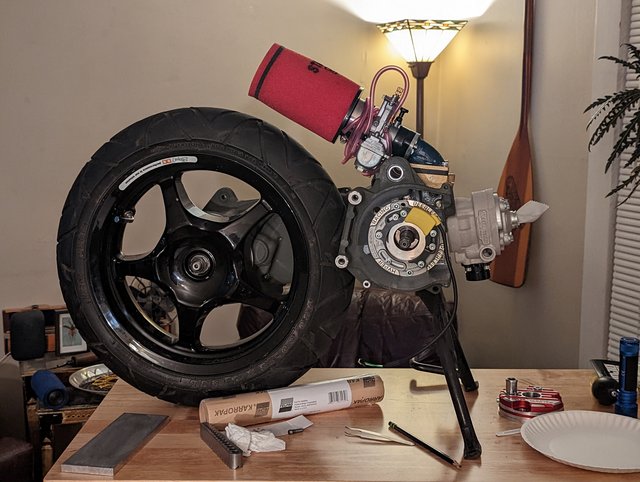 |
|
|
|
Post by fly on Aug 21, 2022 0:02:57 GMT -5
so cylinder is on and squish is 0.56 to the t on both sides of the piston. every time I've done a check it's always been dead level, I'm very proud of how flat I managed to keep that deck milling it with the freaking wood router and a framework made out of angle iron. 😅
to get that squish I wound up with no base gasket, just the spacer. I'm hoping I won't have a problem with a good seal, the narrow margins really do sketch me out.
The intake is stuffed with hy-poxy alumbond. I went for an ovoid shape that matches the orientation of the reeds. it's hard to get a gauge on exactly the width, but it seems like it works out to around 26 to 27 mm at its narrowest, with a long gradient constriction. widens out to the size of the aperture in the reed valve.
I keep looking at the spacer and wondering if it's too much. The reeds could be a little bit lower. But I remind myself they are VF3 reeds and a normal reed block would be sitting lower anyway, and that my positive hope for a better A/F mixture is not misguided. again, nothing for it except to see.
there was the MXS intake listed for sale in the classifieds, but I got no response. I was thinking maybe I should pick it up just in case. 😅😅😅
timing is set! stupid easy with that MHR team 2!
somehow I got this far without ordering the spec'd spark plugs, they should be here midweek. 20 ever loving dollars a piece. phoof.
The thing now is getting the subframe in the frame, fitting the radiators, I've got to get the bucket on there and see how things fit before I make the battery insert, figuring out the plumbing which is new to me. Still plan on putting the pump in the battery box, seems like a good spot. just not a fan of the look when they are straight off the cylinder head.
I will more than likely have some stupid questions about the plumbing.
But in a roundabout way things seem like they are coming together. I'll have to nab some photos of the completed engine in the sun. I can't believe I have to put that thing on the dirty dirty ground. 😅😅😅
|
|
|
|
Post by fly on Sept 3, 2022 2:49:37 GMT -5
Battery insert is being made. The cells will sit on a foam cored carbon fiber tray in the seat bucket that will insulate them from the heat. It's shaped and I've started laying up the fiber. The top will sandwich the cells, it's best they're confined but not compressed. A simple Daly 4S LFP BMS, but instead of using it's passive balancing I am using an active balancer. It's only getting a basic meter for now, though I may get a bluetooth enabled one in the future if I feel like it'd be useful. It's gonna be a 25Ah LFP, so that's a lot more useable Ah's than any SLA or AGM.
I picked up one of the Stage 6 gauges. Looks straightforward enough. Not sure which of the 18 million ways to set up the tach I'll use lol. Does anyone know if the bugeye fuel sender is PnP with the Stage 6 gauge? I haven't looked the manual over very thoroughly, but I doubt there's a more widely used gauge other than the TT Vapor.
Have some 50mm ID pipe to split, ready to mount the rads!
|
|
|
|
Post by fly on Sept 4, 2022 1:22:04 GMT -5
A layer of 2x2 twill cf and this'll do the trick. Humidity is 91% at the moment, not a good time to lay it on but I might. Batt sits on that sandwiched between another piece that matches their profile to keep them confined. it'll be three cells side by side and one in front. it's not a super ideal arrangement, but I'm not running a plane or a house off it, and the draw will be low. 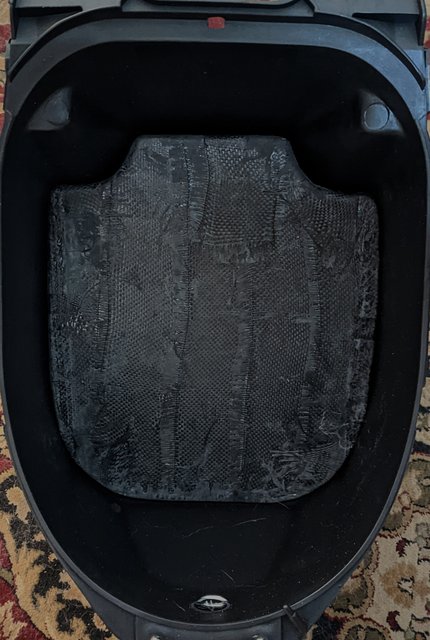 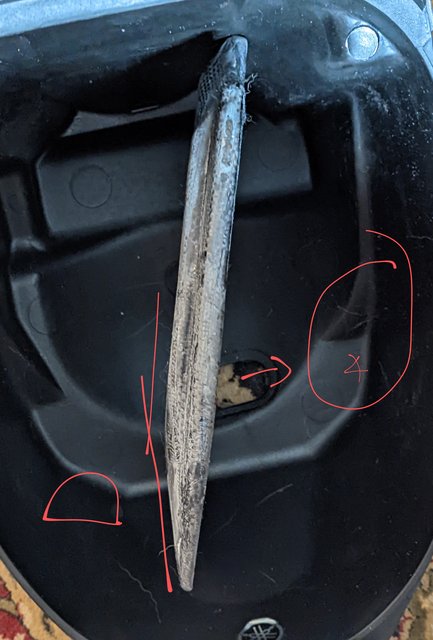 |
|
|
|
Post by fly on Sept 7, 2022 20:11:50 GMT -5
Got a few spot need fill coat, sand down. Put all three parts on a scale, should come in about 7lb. My 10Ah AGM 5L weighs 5lbs, so for 4x the effective power that's not bad! Should look cool, too. Twill looks good: 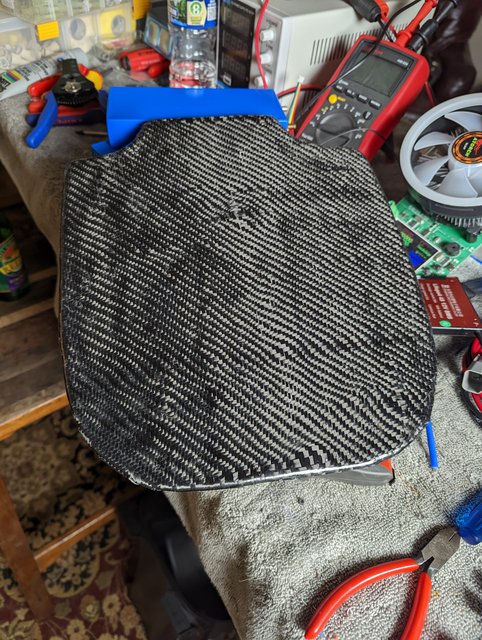
ETA: Got this fabric off ebay and they folded instead of rolled it, so it upset the pattern. NBD. It's strong AF and this part of the insert only weighs 5oz and it's overbuilt. |
|
|
|
Post by fly on Oct 17, 2022 0:43:13 GMT -5
Things are still moving! Had travel, work, life, etc., but things *are* getting done!
It's on the S6 subframe beautifully. I ground down a bit, and then I used my favorite tool to make sure the mounts are perfect. Favorite tool: c.1950 40oz Plumb ball peen hammer with original takeup screw. I took off minimal material from the subframe and metal eye of the bushing, but no rubber/poly was removed from the bushings at all. Very much way more beefy than the stock subframe.
I'll have to document the subframe, it fits just so good with some "massaging." It's very easy to get it in there too tight so that it's functionally deleting the bushing/entire point of subframe - which some may want. The key is to make sure you're square in the frame mounts and leaving ~1mm of bushing eye in order to allow the subframe to flex.
Battery is done (*overdone)! 25Ah of foam cored carbon fiber and kevlar water pump and lights power. New bars installed, Pro Taper SE - the KTM 50SX profile is analogous to what I see sold by scoot companies. Domino grips. Seat bucket is cut to fit over carb/air filter. The S6 drag filter hits the side of the stock shock ever so slightly. Waiting to see what rear shock I wind up with before addressing.
Got a 250mm S6 R/T rotor! Glad I don't have to reuse the old one. And one of their new paddock stands! Mine fits fine, saw some ppl having clearance issues with other scooters.
The entire scooter is inside! For wiring, plumbing, fitment. I'll nab pics asap!
|
|
|
|
Post by Lucass2T on Oct 17, 2022 7:34:23 GMT -5
We want pics!  |
|
|
|
Post by repherence2 on Oct 19, 2022 16:31:56 GMT -5
i spy an outrigger canoe paddle hanging on your wall in the background (right) of this picture.
have you paddled in an outrigger canoe?
|
|