|
|
Post by fly on Jan 24, 2022 22:19:21 GMT -5
Let me preface by saying I've never done a build thread before. So I'll have to pay attention to keeping this updated. I tend to not like taking pictures of processes for the distraction, but I'll try to take pictures in between steps. The build: Converting my already AC built 08 bugeye into a LC 94cc monster. I'm doing this build on stock cases as an idealist attempt to push the original NA bugeye without a swap. Subject to change if my idealism fades to pragmatism. I've never been one for shiny, sporty looking bikes. I'm a matte black rattle-can, mad Max type builder. I've had a hell of a time riding the scoot AC for many years, but it's finally time to shake things up. The setup: Pretty much Malossi. I've never been a Malossi guy, but the way things have shaken out I guess I am now. New Parts: 94cc Testa Rossa cylinder Matching Malossi 94cc pipe Malossi Team II ignition Malossi MHR 44mm stroke, 90mm conrod crank Malossi Energy Pump Rads are for an ATR-200 Vforce3 reed valve for kx85 28mm Keihin PWK Already running and will retain: Stage6 forks Stage6 caliper w/240mm disc Aerox 100 wheels Malossi overrange (older version) Naked Bars S6 billet controls Doppler 15/50 gears (will change) All LED lighting (with on/off switch for headlights) Maybe other stuff I'm forgetting lol Here's a pic of the fly before super-izing it: 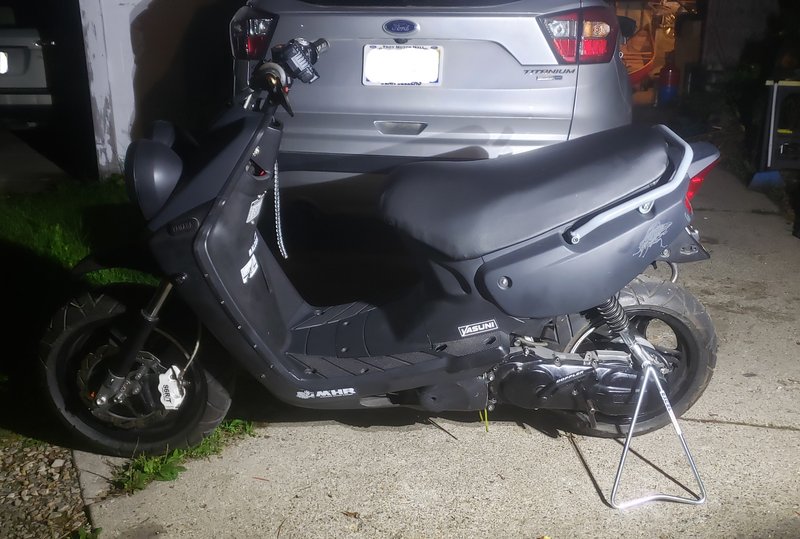
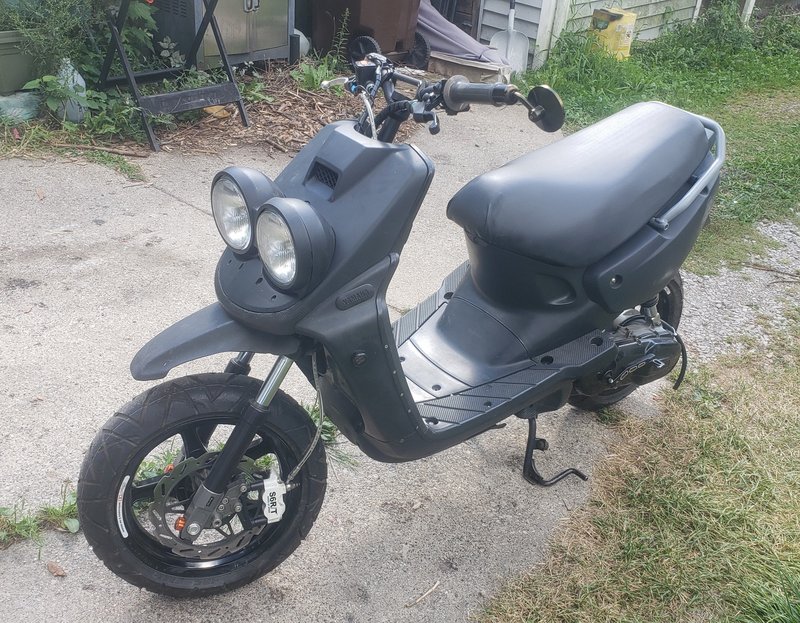
Editing to add some better pictures I found. 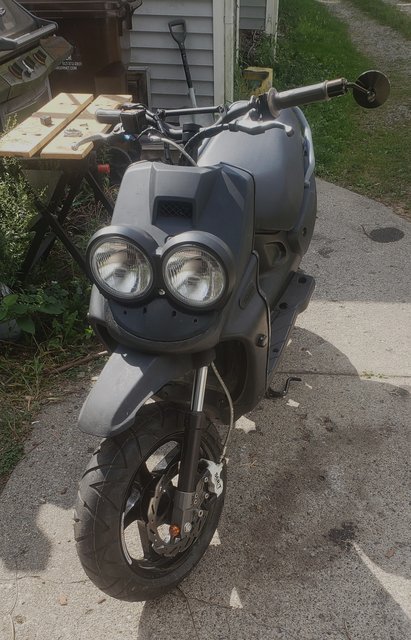 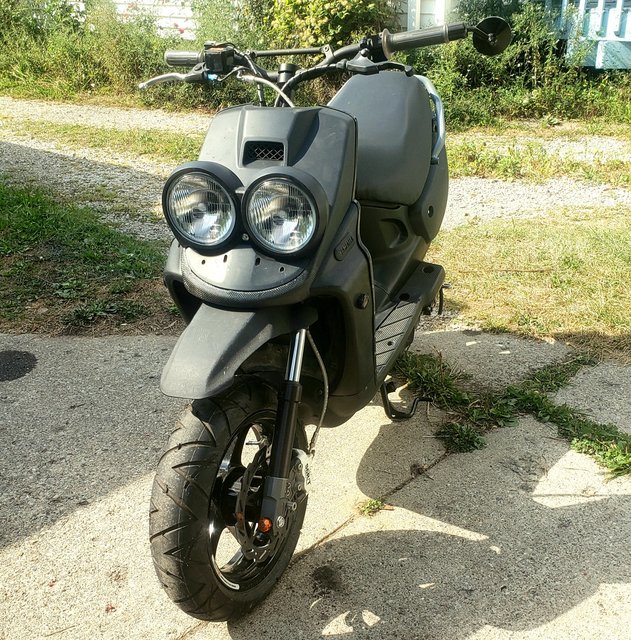 |
|
|
|
Post by fly on Jan 24, 2022 23:48:17 GMT -5
I've pulled every bearing and seal and have replacements on hand, all SKF as I recall. The cases are wirebrushed raw, and will get paint after various filling operations. Speaking of filling operations! I'm doing a little experiment to bolster the crankcase sealing area with JB Weld. This is currently in progress. As most of you know, on the NA bugeye cases the mating surfaces of the crankcase are kind of reduced about a millimeter before you get to the actual mating surface. It creates a groove you can notice with the halves together. I wanted to take advantage of that area to add more mating surface after the cases are cut to accept the crank webs. This will be backing the case material, strictly reinforcement, but it should help. If it works... 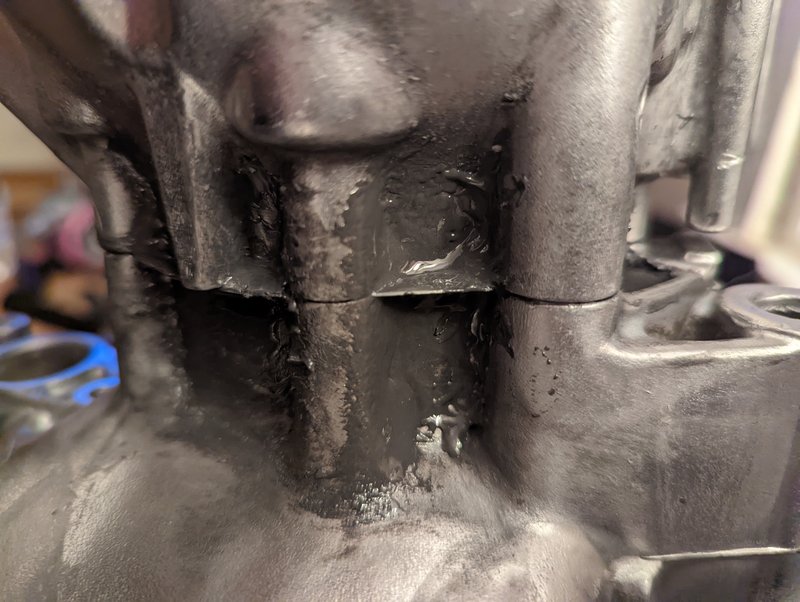 What I've done is clamp screw the case halves together with a piece of PE plastic in the middle. Then I filled the groove with JB Weld. Lots of excess that will have to be cleaned up. BUT, the theory is the JB weld shouldn't adhere all that well to the PE plastic. What I should have is those grooves filled perfectly flat on either side of the plastic. So I'll (hopefully) gain some more mating surface for the case halves. There's probably a tiny spot or two where the JB touched both sides of the crankcase. Nothing I shouldn't be able to knock apart easily. I'll share pictures of the result. I may lay on even more if it looks good to go. The cases are also brushed raw. They'll be getting matte black (go figure) high temp paint. They do look cool brushed, a la "The Mandalorian." But matte black is it's destiny. The color scheme will remain black and grey! I need to brush out some oxidation in the deeper crevices, then backfilling potential break-through areas is the next step. |
|
|
|
Post by fly on Jan 24, 2022 23:59:26 GMT -5
The pipe! One of our members hooked me up with a very lightly used pipe. I'm not sure whether he cares to be identified or not, so I will withhold names for now. The only thing was a bit of surface rust, which was mostly caught in the clearcoat. That stuff is tenacious! I wirebrushed it all off and re-torched the seams. It looks pretty good! It'll just be a pipe I wipe down after use, I don't think I want to coat it with anything. Nothing seams to hold up all that well for long, anyway. Just has a light coat of Gunzilla on it for now. (It's inside and Gunzilla smells good and not too strong). 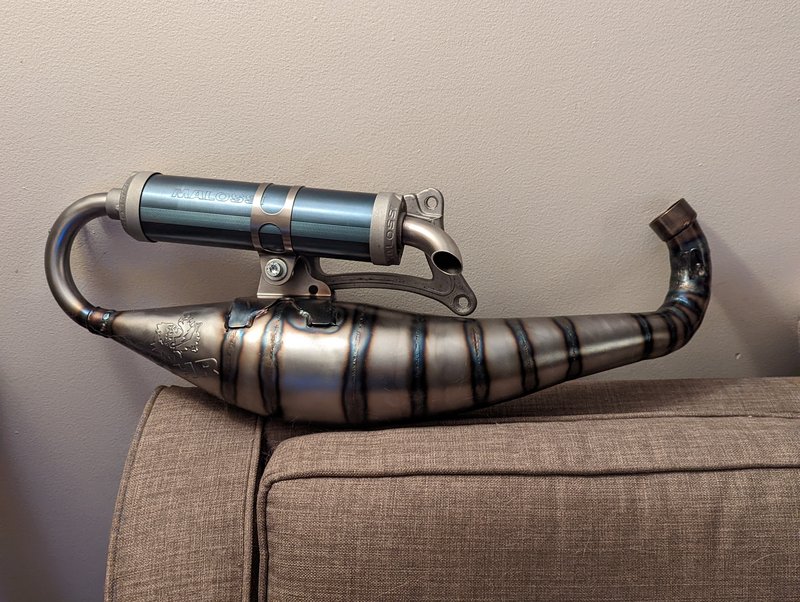 |
|
|
|
Post by aeroxbud on Jan 25, 2022 5:33:24 GMT -5
Will be very interesting to see how your experiment works out. Certainly worth a try.
|
|
|
|
Post by fly on Jan 25, 2022 16:47:48 GMT -5
Well, here you go! Cases came apart with no resistance, JB didn't adhere to the PE at all. A few small voids that I can fill. The cases rest together with zero light. Cool beans. Only about 1.5mm of that will remain, mind. A lot of that surface area is where the JB abuted the plastic as in the pics above. I think I will lay in more behind that lip while it's there and maybe keep about 2mm of JB. Pleased with the outcome! 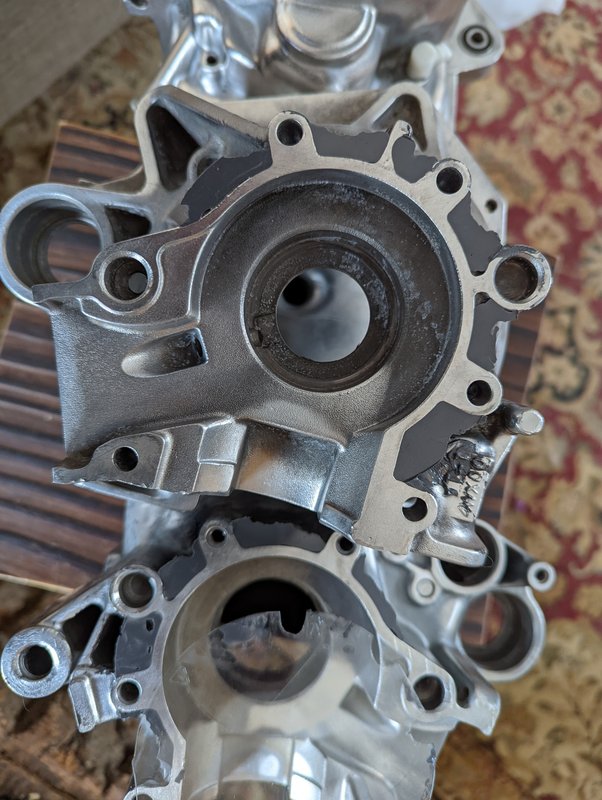 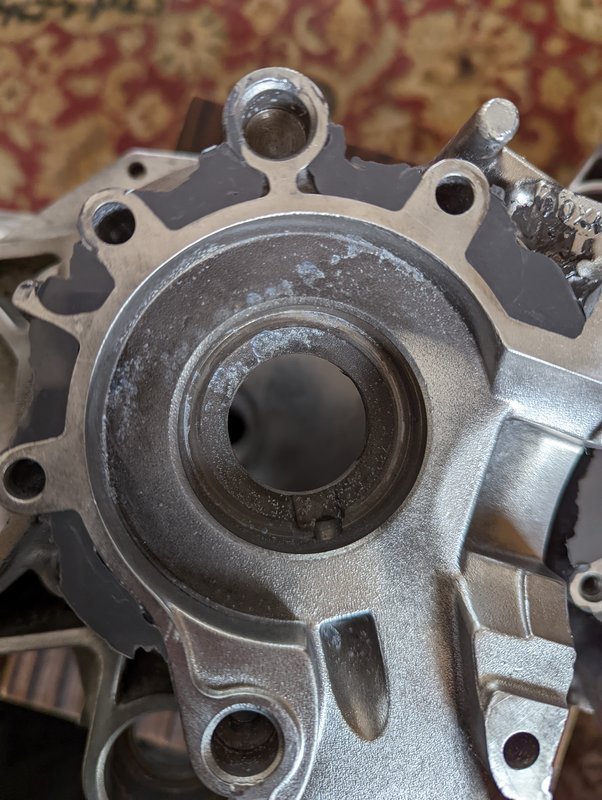 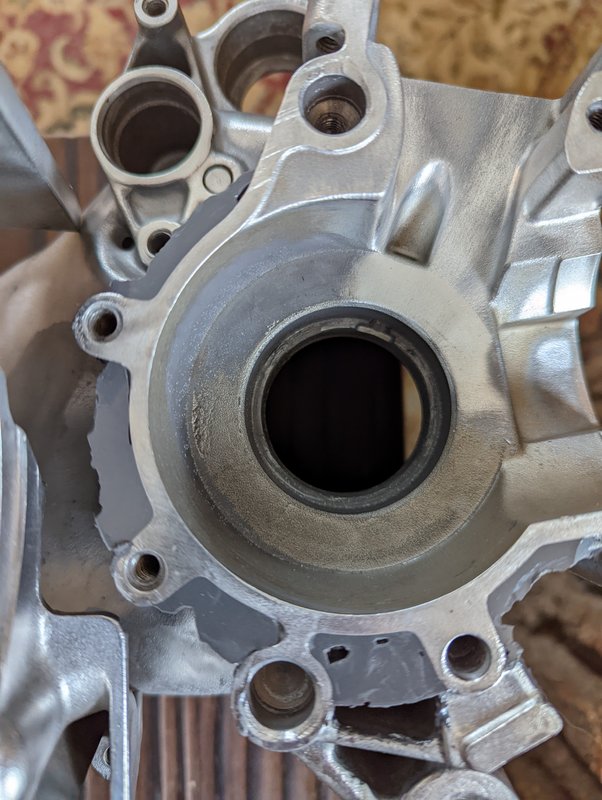
Edit to add: The oxidation in the cases is from their ride through the dishwasher! Treated surface were thoroughly prepped! |
|
|
|
Post by 190mech on Jan 25, 2022 19:16:15 GMT -5
|
|
|
|
Post by fly on Jan 25, 2022 20:04:21 GMT -5
Yes, I've seen those posts. I know they've been fit in European Yamaha cases, which have less meat than the North American ones. Especially with this modification I'm not anticipating any problems. This is only the first of several case bolstering processes planned, as well.
|
|
|
|
Post by fly on Jan 25, 2022 20:26:45 GMT -5
I'll expand. My stock cases measure 74.5mm ID, with 3.5mm wall thickness *at the seal*. The case is actually substantially thicker just past the mating surfaces. This crank calls for the cases to be opened to 76.5mm, which means I'll be taking 1mm out around the circumference to achieve a 76.5mm diameter.
The JB reinforcement will more than make up for that. At this point I can easily put on an extra 2mm+ if I wanted. The JB is also going to be covered with aluminum bar to protect the case bottom from bonks.
As mentioned, the cases will be painted. If there are any thermal expansion differential issues that compromise the JB Weld, I should see the paint cracking. That'll be a good indicator! I'm not too worried, people have been stuffing and filling all sorts of engines with JB Weld for decades without problem.
|
|
|
|
Post by fly on Jan 27, 2022 22:19:57 GMT -5
The cases are built up well around the mating surfaces, last night I was able to clean it and backfill the right side case. Tonight I'm hoping to get the left side done.
Some cool bolts I ordered for the cases came today. 10.9 nickel coated hex bolts by "Nickel Wurx." Pretty neat. Also replaced the screws on the PWK with SS hex socket caps. I've got aftermarket hand adjustable idle and mixture screws for it that should be here soon.
The problem I have coming up is removing the locator dowels from the final drive housing. When I was breaking down the cases I thought, "hey these will pull right out. Every time I've taken the final drive cover off I've been careful to make sure they didn't fall out if the case, dowels always being easy to lose. Well, I never knew they were stuck in there like a billionaire with no prenup in a bad marriage.
I yanked on it, which deformed it. Then I was like, "uh oh." There's a mangled mess to be dealt with, I'll try heat first. Punching from the back did nothing. What of a nightmare. Leaving the other dowel tf alone. Lol.
Guys: Bad idea - but did you know 3" is almost 76.5mm? 3"=76.2mm... A 3" hole saw to open up the case is awfully tempting, so tell me all the reasons it's a horrible idea. Because I know it is, but also I'm tempted. Maybe I'll test run a hole saw on some scrap Al and see how accurate I can get it (on the drill press). Tell me not to do it. I have a bunch of saw sets, if with normal runout it's not at 76.5 I could adjust the set easily. See why you need to tell me not to do it?! Cause I'm thinking about it.
I like the kind of purpose built fly cutters y'all have come up with. I've got a bunch of ideas. Who knows which one I'll go with. You'll see which and the outcome!
In the meantime, anybody else grapple with those final drive dowels?! So unexpected.
|
|
|
|
Post by fly on Jan 27, 2022 22:48:01 GMT -5
Actually, I've drilled some awfully deep holes in Al before with a forstner bit, too. My brain is being dangerous.
|
|
|
|
Post by fly on Jan 27, 2022 23:02:15 GMT -5
Y'all see what I'm dealing with: 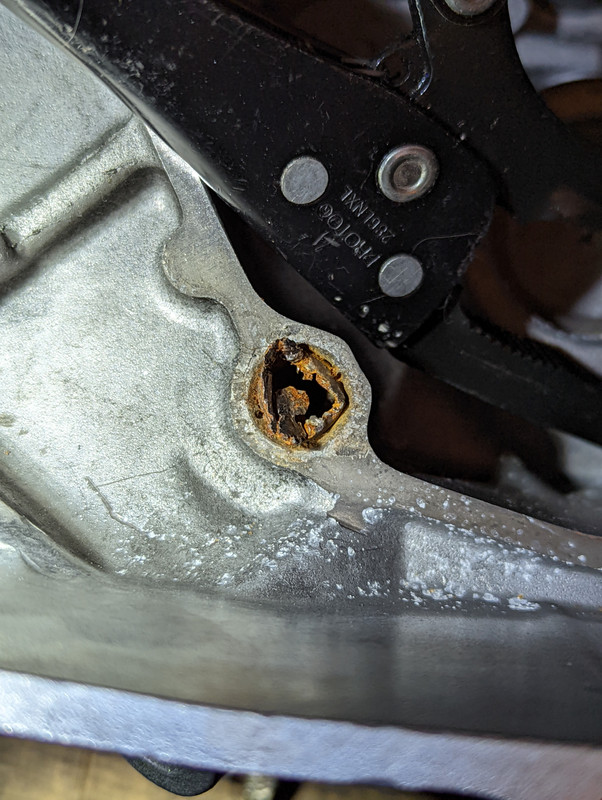  |
|
|
|
Post by fly on Jan 28, 2022 0:50:44 GMT -5
3/8" bit got it out. The other one is definitely being left alone. Jiminy merry motherf***ing cricket.
|
|
|
|
Post by aeroxbud on Jan 28, 2022 5:01:45 GMT -5
That was pretty corroded. 😬
|
|
|
|
Post by fly on Jan 29, 2022 3:20:16 GMT -5
Not too much, in spite of appearances it was purely superficial flash rust. That corrosion was also from the trip through the dishwasher. Dishwasher powder is really strong stuff! The rust on the other one brushed right off.
The cases are brushed bright inside and out thoroughly. Both sides are backfilled. The outer lip is all built up, just needs to be shaped.
I've ordered some 10mm SS tube with 1mm walls to make a new dowel. I may have at the other one, as well.
There aren't many options already extant for bolstering the final drive with North American final drives. 5-6x factory power is a lot to ask for six 6mm bolts and a couple locator dowels. I've already got yammy OE bearings that are a mix of TPI and NSK for the final drive, and I've got another full set of SKFs. But I'm thinking about taking a page out of the euro aftermarket final drive covers and using roller bearings in certain locations.
Malossi makes a set of 14/42 gears with an extended shaft that's made to be retrofit into Aerox variator covers with a supporting bearing. Like one sees in the OJ Jogs shortcakes.
I was already planning on doing something like that with a long nut, like you see on the wheel for use with a Torsen arm. But stumbling across that is happy, it will make for a much better solution.
I have always planned to fab an arm for the right side. That should be fairly straightforward, actually.
Next up is opening up the cases for the crank webs. After that, matching the cylinder and kx85 intake.
If I'm not mistaken in my math, a 28mm carb has an outlet area of 615mm². The intake opening in the actual case is 1800mm². My kx85 reed valve is apparently lost by FedEx and late by over a week, so I haven't had a chance to look at it's inlet area. But I do believe after breaking in I'll probably wind up going with a bit bigger carb.
I talked to the owner of gforcemx (had the Lectron sale). He's said the 30mm Lectrons, at least, are metered like 10 points too high on the main. He said people (ATV ppl) have overcome that by using MRX02. Personally, I have no desire to run anything beyond the 110 I purchase locally at Speedway.
|
|
|
|
Post by aeroxbud on Jan 29, 2022 5:22:45 GMT -5
Have you got a link to the rear support bearing kit? Sounds like a nice idea.
|
|