|
|
Post by 90GTVert on May 11, 2015 17:42:09 GMT -5
I cleaned the CVT parts up and reinstalled them, but with 10g sliders to start with. The 19x15.5 sliders are shaped different than the smaller ones (pictured below by a 16x13), but it looks like the shape should match up to the vari and ramp plate well. 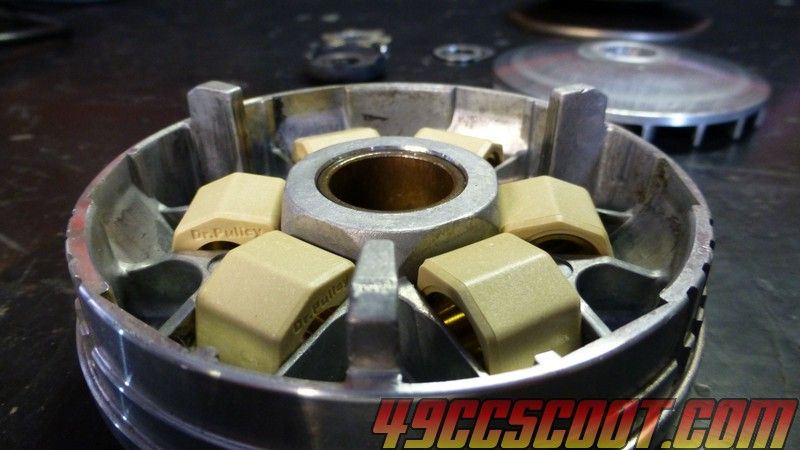 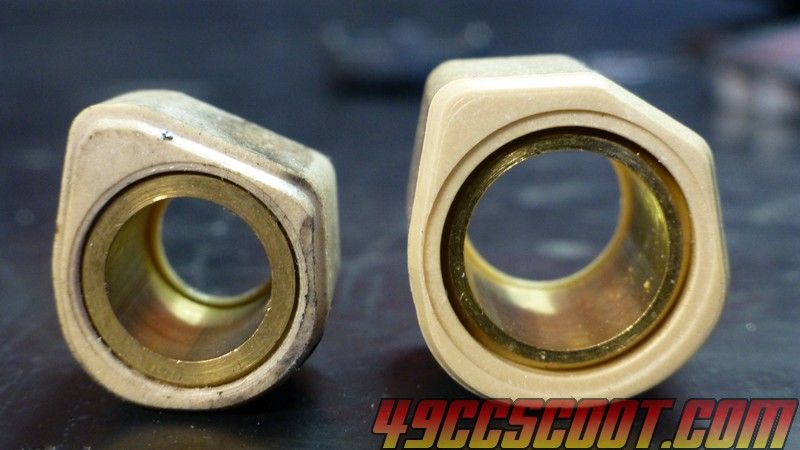 |
|
|
|
Post by 90GTVert on May 11, 2015 21:40:44 GMT -5
The scoot is back on the ground and fired on the 3rd decent kick. I really need to replace the kick start pinion gear. The kicker has been slipping a lot lately and it takes a few tries to get a decent kick. I replaced the pawl on the crank with a new spare today and made sure it was spaced out as far as it could be on the crank, but that didn't accomplish much. Prob doesn't help that the floating crank slides back when pressure from the kicker is applied. Ordered the gear from PFS just now. I have no e-start so if the kick fails I'm kinda screwed.
Now I need to get the Trail Tech installed, but the extension won't be here till Thursday according to the tracking number.
|
|
|
|
Post by 90GTVert on May 12, 2015 18:22:26 GMT -5
So much for the scoot being back on both feet. 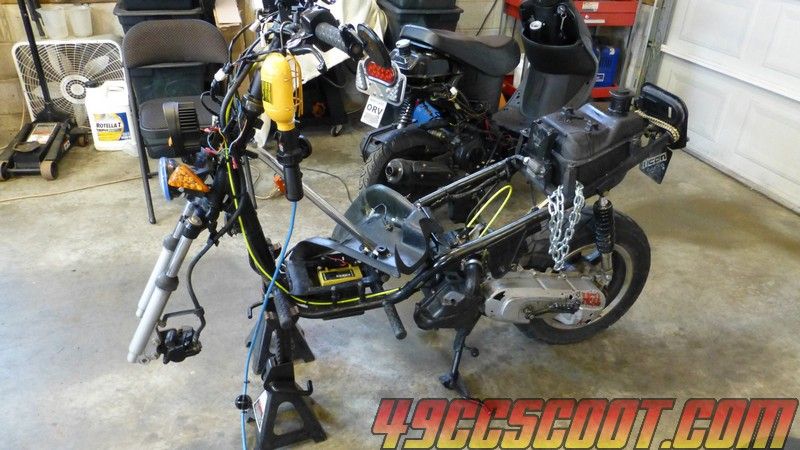 Worked on the Vapor a little today. Well, worked on it a while but I was taking some vid and didn't accomplish much actual work. I may or may not put any sort of video up eventually about install. Not really sure because there are so many ways to install these with different scoots, different senders, and so on that it's hardly possible to really cover the process IMO. Only considering it because I've had many people ask me about it. At any rate, I prob would be done the install in the amount of time I've spent so far, but instead I'm barely started. Here's the Vapor mounted to the handlebars. I just used the supplied mount, but I'm thinking of an upgrade later. It's not flimsy, but it's not sturdy either. It'll have multiple connections to the scoot and be right in front of me so at least if something does fail it shouldn't get lost. 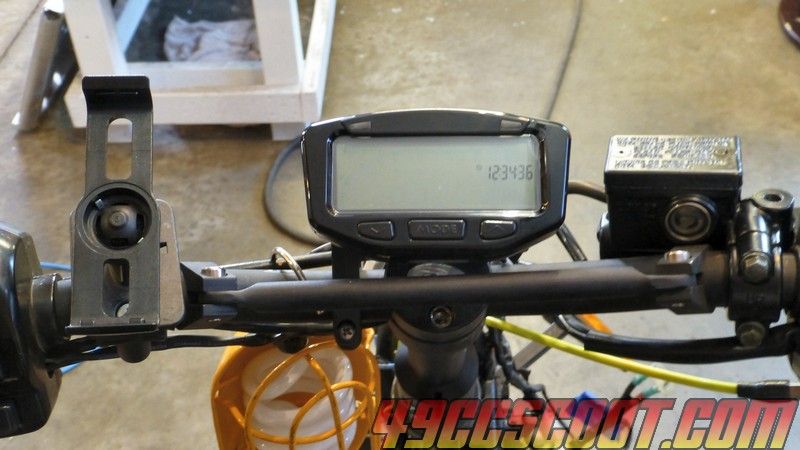 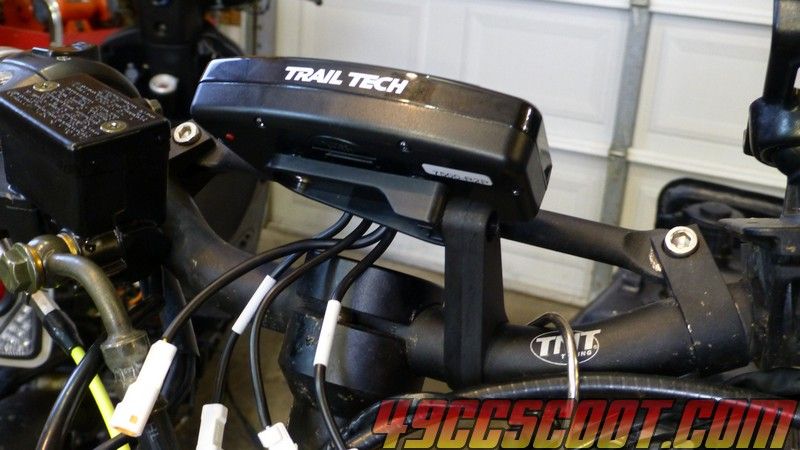 I ordered the exact same kit that I used on the TaoTao, but I got a different speed sender this time. Turns out this is what is supposed to come with the kit. I guess maybe last time I researched what I wanted but took so long to open the kit and install it that I prob didn't even think about the difference in senders. Last time I bought new but open box so someone must have swapped senders or it was returned because the wrong sender was included.  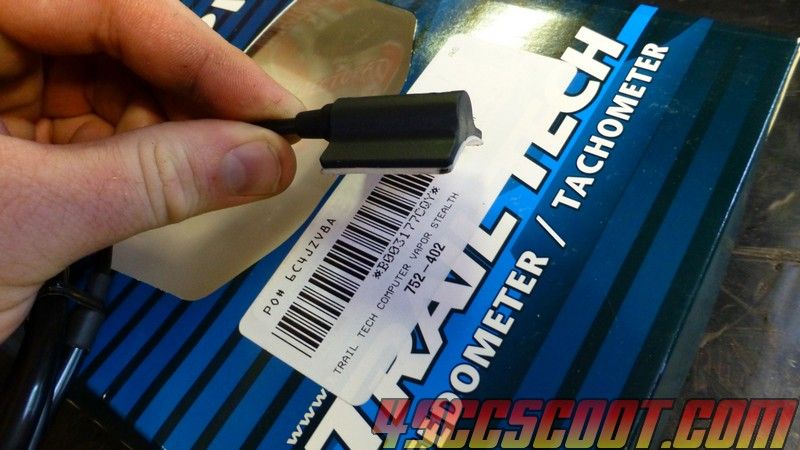 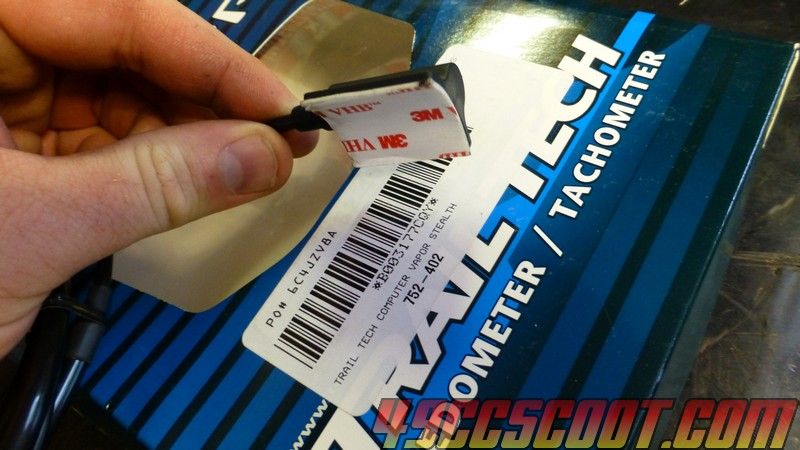 I'm going to do the easy mounting method like I've done for bicycle speedometers in the past. I'll mount magnet to the wheel and the sender to the fork. It's not as clean of a look as installing a magnet into the brake rotor, but it's simple and it works. I took the front wheel off so I could JB Weld the magnet on. I've done it in the past with the wheel installed but it's much easier to have it level so the magnet won't slide down while it's setting up. This could be done much more cleanly, but I decided to smear JB Weld all around the edges. It's worked in the past for me so I didn't want to change it and only use a small amount under the magnet. 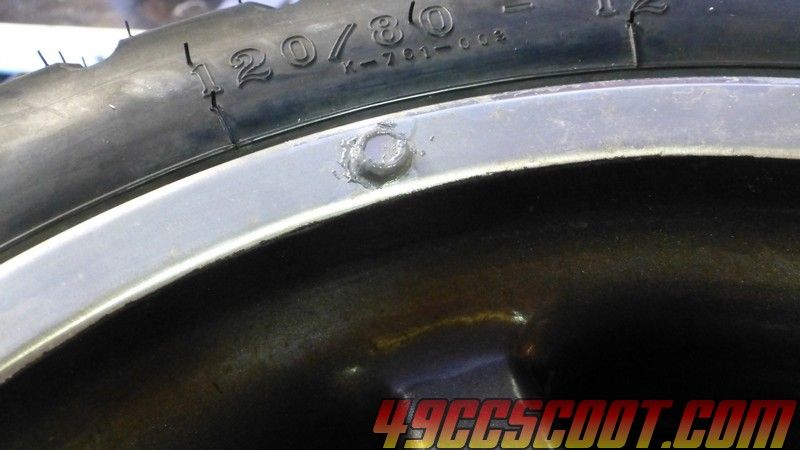 I dunno WTH is wrong with me but I broke two fluorescent bulbs today... 3 actually but one was already out and being replaced. First I put the drop light by me to weld up a mount that broke years ago that I've never fixed and spatter hit the bulb and cracked it. Next I was sweating and frustrated trying to get a vid shot of something and 2 stink bugs were flying in circles over my head. Tried swatting at them with a roll of paper towels beside me, but the ceiling is too tall. Got the bright idea to throw the paper towels at them since they were together in a tight circle. Missed, hit the CFL on the ceiling and rained glass and dust down on myself. Genius. |
|
|
|
Post by 190mech on May 12, 2015 19:26:07 GMT -5
Seems like one of those "bad hair days",maybe tomorrow will be better..  |
|
|
|
Post by ryan_ott on May 12, 2015 20:55:43 GMT -5
I've used the supplied mount on my atv for years without issues. The kit for a 400ex has the magnet that replaces one of the brake rotor bolts, I have not tried but they look the same diameter between scoot and atv. An option for the future
|
|
|
|
Post by ryan_ott on May 13, 2015 19:30:57 GMT -5
|
|
|
|
Post by 90GTVert on May 13, 2015 20:14:39 GMT -5
Thanks for the info. My Vapor has all sensors working now. Still have to tie up some wires and put the front panel back on and then do calibrations. 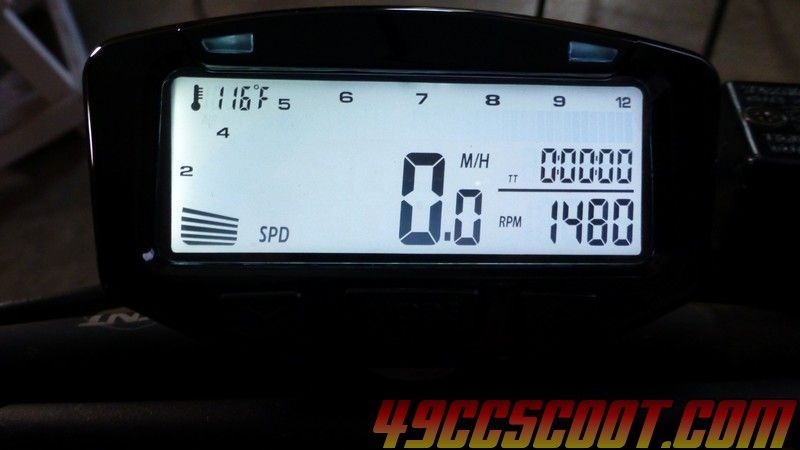 I'll see how it goes, but it looks like the vapor is going to vibrate a lot using the supplied handlebar mount. Hopefully it won't do it so bad while riding that it makes it harder to read. |
|
|
|
Post by oldgeek on May 13, 2015 20:51:34 GMT -5
So it looks like the kit for the 400ex (752-4015) will work on the Vento clone?
I am finally going to bite the bullet and order one of these, I promise! LoL!
|
|
|
|
Post by iwiketuddlz on May 13, 2015 21:00:31 GMT -5
I used teh supplied mount with my vapor and it doesn't vibrate at all... It seems like it would be floppy bit isn't...quite sturdy IMO
|
|
|
|
Post by 90GTVert on May 14, 2015 19:03:16 GMT -5
I started out today by wrapping up the wiring, just tying stuff up and putting panels back on. Then I did the tire size and other settings and took a ride. According to the GPS' GPX file I went 10.6 miles. According to the Vapor I went 10.5 miles. Pretty close for an initial calibration just using the tire size calc on the calculators page here and multiplying by 25.4, which said 1561mm for my 120/80-12. I ended up changing it to 1571, even though the calcluation method shown below from Trail Tech says I should be at 1576. I'd prefer to be slightly on the low side if off at all so I'm not claiming I can do anything I can't. Really the GPS and speedo were basically right on with each other as far as MPH with even the initial setting. 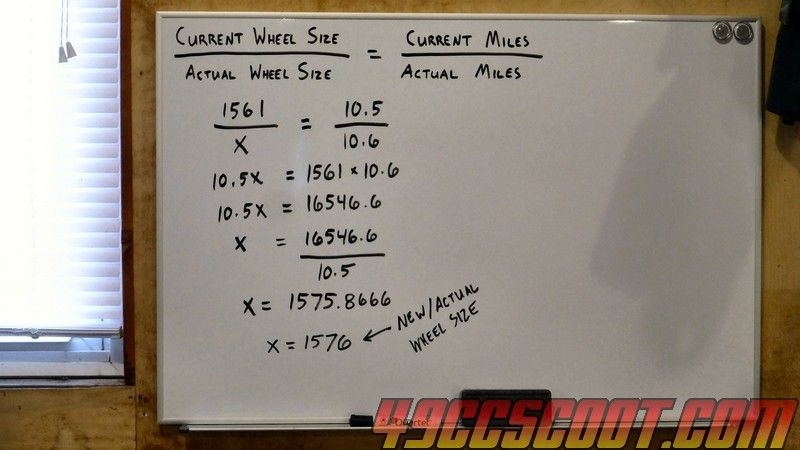 The first run was a little slow at 55MPH @ 9000RPM. It felt alright, but just didn't do anything past 50 or so. I suspected that I needed heavier weights because RPM increased more quickly right at the end, as if belt travel was limited. Unfortunately I was already using the heaviest sliders I could find, 10g. I stuffed the sliders so they all weighed 11g. 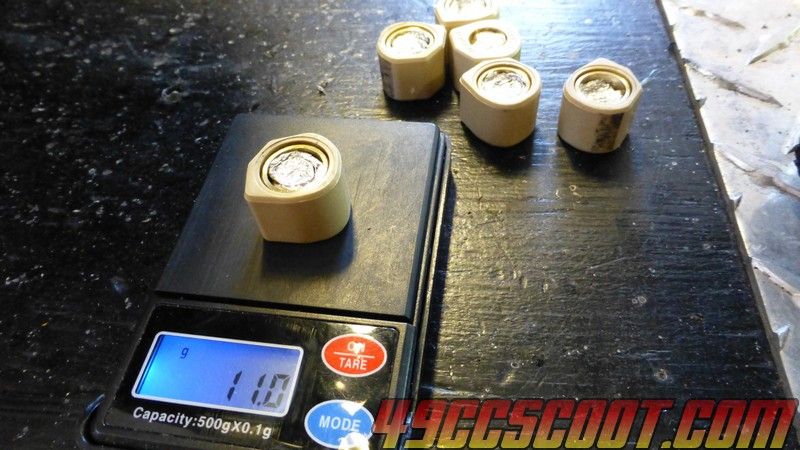 As I got ready to head out I realized my CHT was displaying "---F" and it should have been above 100 degrees at that point. I looked down to see the wires were no longer attached to the thermocouple. Made it 1 ride.  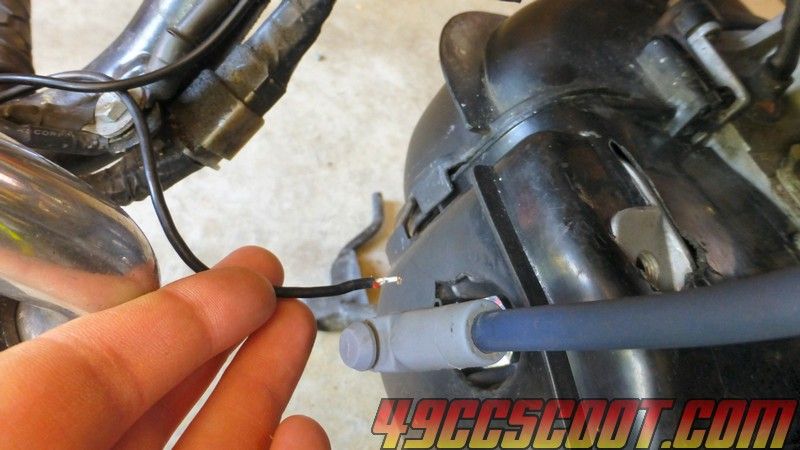 At first I thought it must be burned or damaged because it's such a tight fit in the Hoca head. Here are a couple of views of the thermocouple in the head. Snug to say the least. 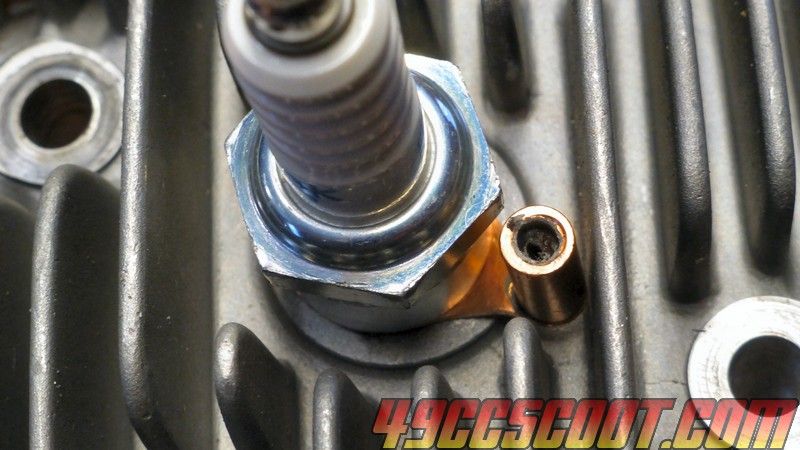 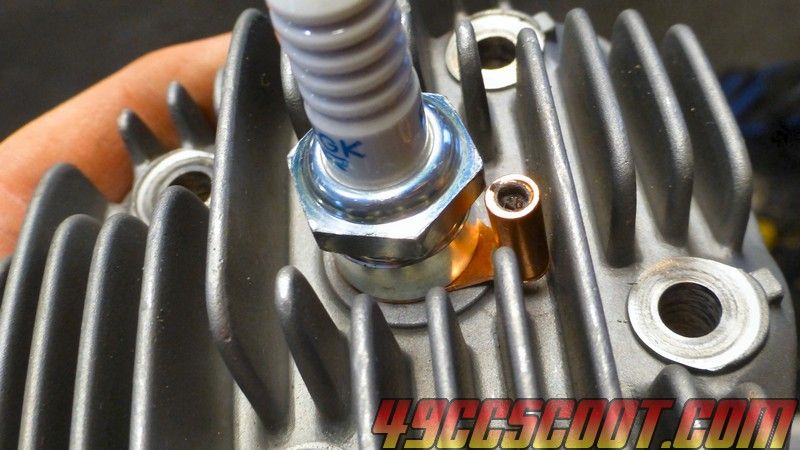 I looked it over and even pulled the shielding off and it wasn't damaged. There was evidence of contact on a fin of the head, but minor, and contact from installing the plug with a socket. That was just on the rubber outer shield though and neither seemed like they'd have anything to do with the wires being pulled out. I know there was slack in the wires too, and even have it on video so that shouldn't have been a problem. I'll prob contact Trail Tech and show them to see if they'll replace it. 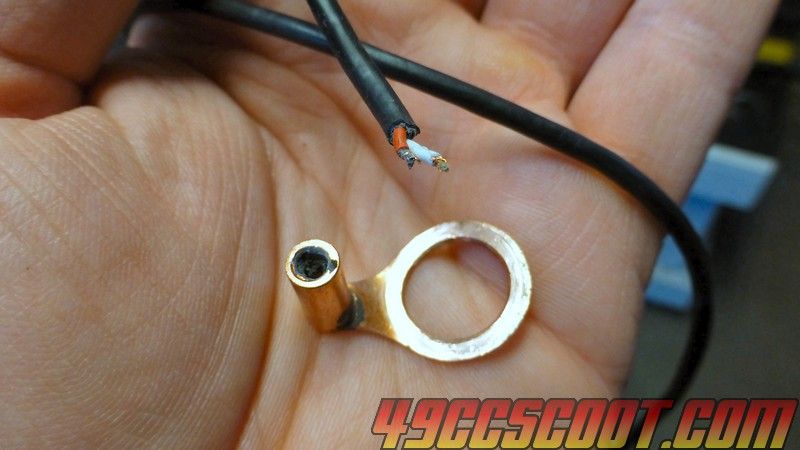 I wanted some sort of CHT so I used the 10mm sender that this kit came with and an 1/8"NPT fitting to attach the small thermocouple similar to how my old CHT was setup. 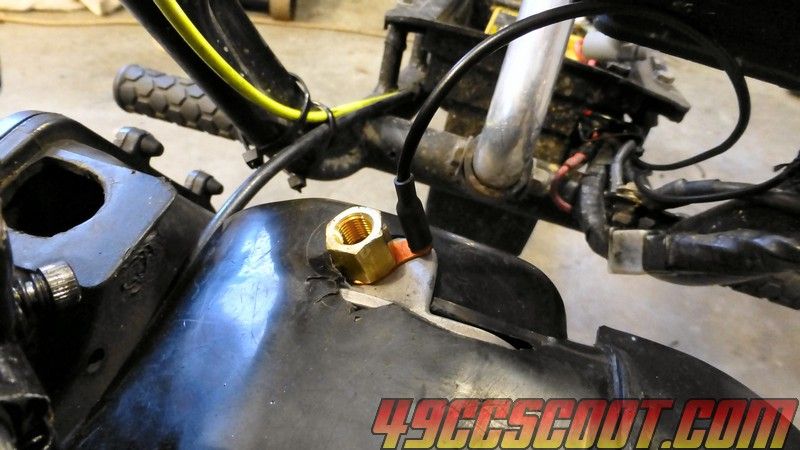 I took it down the road to test the new CHT method and 11g sliders. The 11g sliders did get my speed up to the upper 50s at ~8800RPM max. Possibly a little heavy, but not far off. The CHT was not such a success. In 2.7 miles WOT temp reached 210F or so. When I shut it down it rose to about 300F and then fell again. On a few more runs it was about the same so this method kinda sucks. I suppose it's too open there and not meant to operate the same as the thread in senders from other CHTs. I tried a larger 102 main jet next, but there was a minor drop in speed and a 2-300RPM drop so I went back to the 100. About this time the new kick start pinion arrived from Parts For Scooters. It didn't look a lot different, but after installing it the kick starter works normally again. 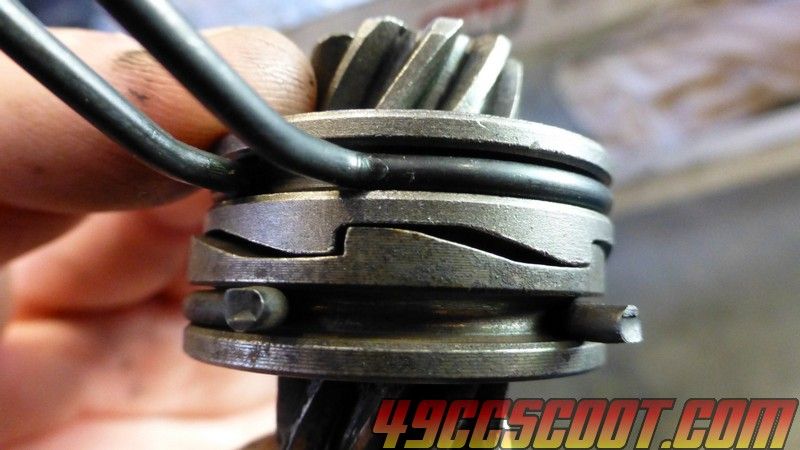 The next thing I wanted to tackle was why there's an awful racket when the clutch engages. It's a loud metallic clatter right as the clutch is engaging or before, but once the clutch is engaged it goes away. I was going to swap bells, just because it's a quick swap, but noticed that the primary drive shaft would move in and out and it should not. The wobble is normal in these gearboxes, but not axial play. I just can't keep this damn thing on 2 wheels. 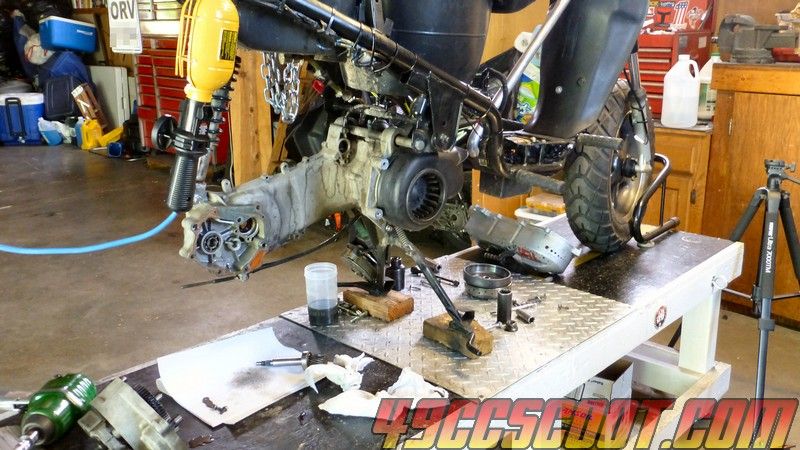 As I expected, the shim I put on the drive shaft last time was no longer in place. Part of it was crushed up against the gear and part of it was lying in the case. 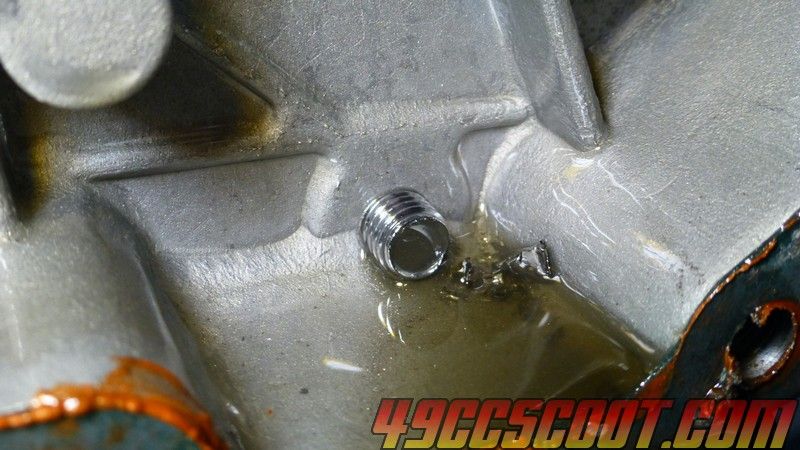 After about 4-5 tries I finally got a shim back on there to some degree. They were fighting me today and it definitely did not go on as I'd like, but it is on again and I can't move the bearing. If I wasn't trying to get ready for a long ride in a day or two I would have prob came back to it later, but I just wanted to keep moving along. The clutch still made noise so I swapped springs first. No luck. I noticed the clutch had a lot of clearance to the bell, so I put in a different one. No luck. At that point it was time to cook dinner so that's as far as I got. I'll try the bell tomorrow, even though I don't really think that's what it is. I'm starting to wonder if it's something to do with the sliders because I don't recall it happening before them and all I did was clean the CVT and install sliders. Doesn't make a lot of sense to me why they'd completely coincide with what the clutch does, but if all else fails I'll put rollers in and see if it stops. |
|
|
|
Post by 190mech on May 14, 2015 20:08:28 GMT -5
Ever notice when you have places to go,everything turns to sh**?A thermocouple is 2 dissimilar metals wires twisted together and soldered(silver or lead depending on temps),into the probe.You can likely repair it for the ride by drilling out the wire/probe socket so the twisted wires fit real snug then soldering the mess back together(lead solder melts at 600+ dergees)..Hope this helps you achieve another Epic 90GTVert ride!!!  |
|
|
|
Post by 90GTVert on May 14, 2015 21:42:45 GMT -5
Thanks John. I'll prob try that tomorrow. Once you said it I felt kinda dumb knowing the basic idea and not just trying to fix it. Not like I can make it work less than it does now.
Route 50 in Easton, MD... the major highway to the beach ~65-70 miles away... looked like a car show when I was there Wednesday. Supposed to be 80s and mostly sunny for the weekend, when usually half of it's rained out. Hopefully I can get this thing straight. Not so sure I couldn't take it as-is, but I would really like to know where this noise comes from.
|
|
|
|
Post by Fox on May 14, 2015 22:39:20 GMT -5
How old is the bearing in the belt cover that holds the end of the input shaft?
|
|
|
|
Post by 90GTVert on May 15, 2015 6:26:12 GMT -5
I replaced that a couple of weeks ago and it doesn't seem to be making any unusual noises or resisting too much when turned by hand.
|
|
|
|
Post by iwiketuddlz on May 15, 2015 11:44:07 GMT -5
How do the sliders compare in the OR? Im thinking of buying some for my OR as well
|
|