|
|
Post by 90GTVert on Nov 16, 2013 16:24:43 GMT -5
May be able to heat the case and get it to pop out.
|
|
|
|
Post by waltinhawaii on Nov 16, 2013 17:28:59 GMT -5
just ordered the bearings from Parts For Scooters, for those interested, the bearings are part numbers 6203 for the primary and 6202 for the secondary, and they were $4 and $5 respectively. Also got a jetting kit while ordering. They had a Gates powerlink belt that was 818x20 for about $34, which is close... was tempted to try it out, but I'm getting ahead of myself here plus that belt is a little thick. Are the powerlinks kevlar? |
|
|
|
Post by waltinhawaii on Nov 16, 2013 17:38:24 GMT -5
Brent, I think I will have to weld a rod to the bearing (not reusing it, so does not matter if I destroy it taking it out) and put a big weight on the rod to slam it out of there, then heat the case to expand the boss to let it go while I slam the weight upwards. seems a lot of work just to get it out, though. anyone take one out without working so hard?
|
|
|
|
Post by kevin55950 on Nov 16, 2013 19:40:07 GMT -5
That's what I did and it worked.
Borrow a blind hole bearing puller at Napa or else, it will be way easier.
|
|
|
|
Post by waltinhawaii on Nov 16, 2013 22:46:18 GMT -5
While waiting for my bearings to come in, I thought I'd start on the intake side. The stock reeds look pretty pathetic, but the V Force carbons for the minas is kinda pricey and still uses the same intake tract, which looks a bit cramped. So I found a used set of katoom reeds and bought that (for a 85cc bike). It will have to go on (I think) something like this position (have to fabricate a box for the reeds): 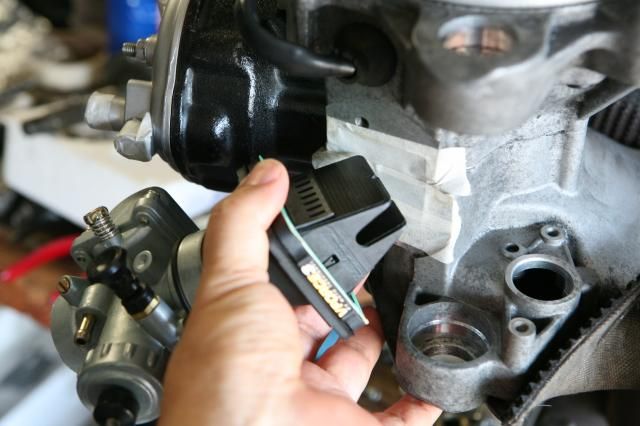 Tracing out a piece of 3/16" alum sheet for one end to bolt onto the engine case, using the stock cage as a pattern: 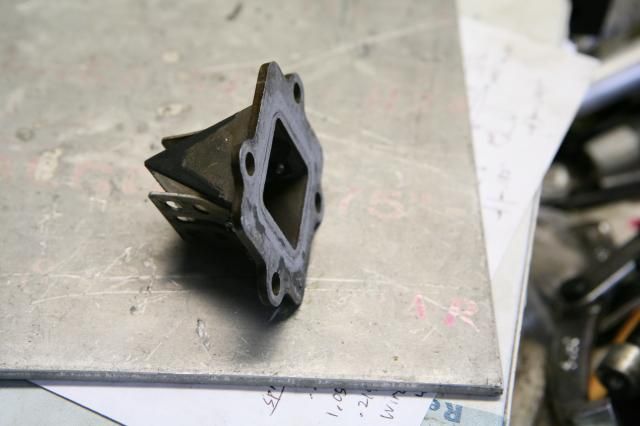 have to do some other work on the lathe right now.... will finish cutting the pattern tomorrow, then have to start on the 4 sides for the reed box. |
|
|
|
Post by 2strokd on Nov 18, 2013 7:23:29 GMT -5
I like this idea!!! Tuned in!
|
|
|
|
Post by 190mech on Nov 19, 2013 5:37:08 GMT -5
Dont forget the stupid engine mount hanger that fills up the area behind the reed box!There is an aftermarket hanger that is built for clearance when aft facing carbs are used..   |
|
|
|
Post by ryan on Nov 19, 2013 11:30:24 GMT -5
i use the vento zip subframes they do the same job with a little mod but they had backwards facing carbs so it works well frame wise
|
|
|
|
Post by waltinhawaii on Nov 19, 2013 11:44:30 GMT -5
Yeah, saw that the mounting bar was pretty close to the reed box. I don't like the carb poking out in front, seems pretty exposed and easy to bang it on something but couldn't get it to face backwards with the bar in the way. So they have a subframe, huh? Didn't occur to me to cut the bar in half. But now you mention it, makes sense; then the carb can be centered and face backwards through the tunnel you create. And remain close to the crank, no long tube. Looks complex, though. Can it dice carrots too?
|
|
|
|
Post by 2strokd on Nov 19, 2013 12:50:27 GMT -5
190 moved the bar on a stocker mount for Skeedr. Helped clear out set-up  |
|
|
|
Post by 190mech on Nov 19, 2013 15:17:43 GMT -5
Yes,it slices and dices,also makes perfect french fries!!Looks kinda farm implament to me and am going try a simpler mount on my next race build.The aft facing carb is much better for flow!!
|
|
|
|
Post by waltinhawaii on Nov 24, 2013 22:57:05 GMT -5
No one seems to have one of them used subframes around? The guy at the local shop here told me the aerox subframes would not fit the Oliver due to the Oliver having an offset mount or something. Not having ever seen an aerox, I have no idea if he's right. The 2 bearings for the trans came in... so I had to take out the old bearing from the blind hole. I found a used barrel lying around, the hole in the bearing was about .589" so I cut the end of the barrel about .588" and it tapped in very nicely: 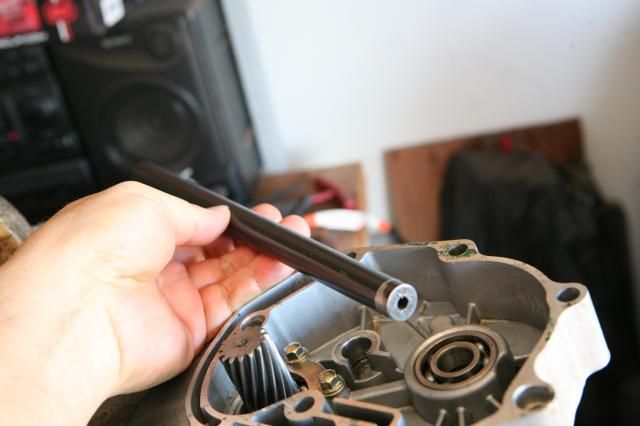 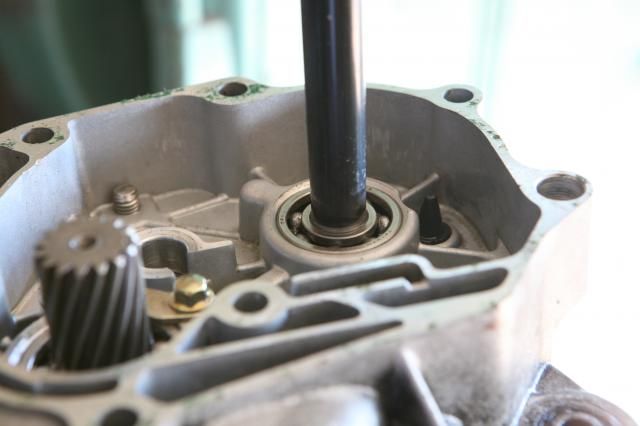 Next I had to look around for something heavy to put onto this puller bar. I found an old piece of cast iron that I bought as scrap from a military auction a long time ago... it is actually a valve guide for a very, very large engine. You should see the valve itself, the diameter of the poppet type valve is about a foot across and the valve stem measures 1.500" 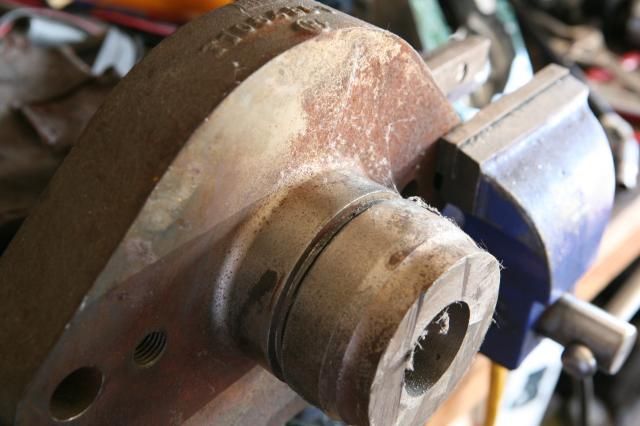 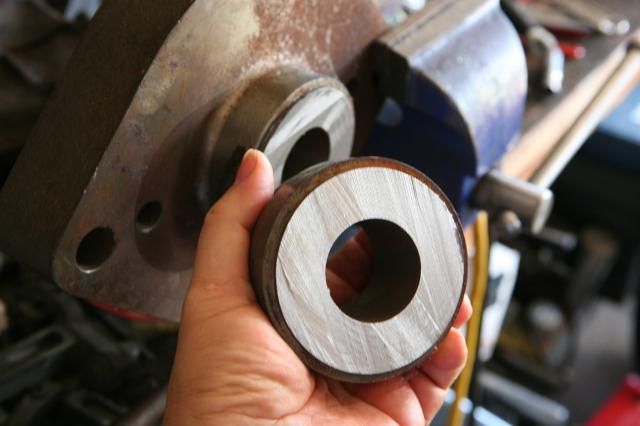 I put the weight over/around the the barrel and tack welded the barrel into the bearing, then welded a thick washer to the top of the barrel: 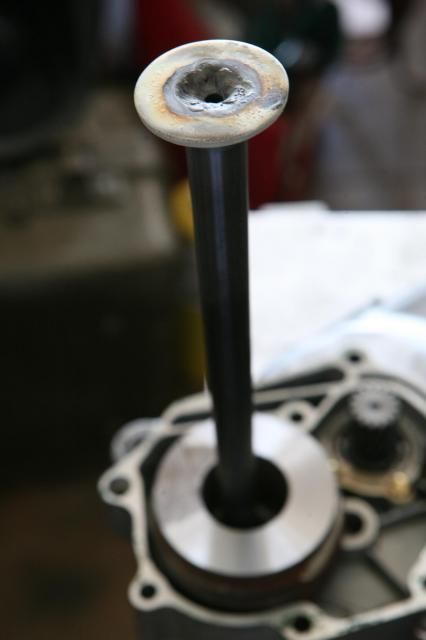 It only took 3 or 4 taps with the weight to drive the bearing out. This thing is waaaay too big and heavy for this job, overkill! I probably could have gotten by without welding the washer onto the barrel/rod. I might have been able to just use a vicegrip on the rod and hit the vicegrips upward with a hammer to drive the bearing out. 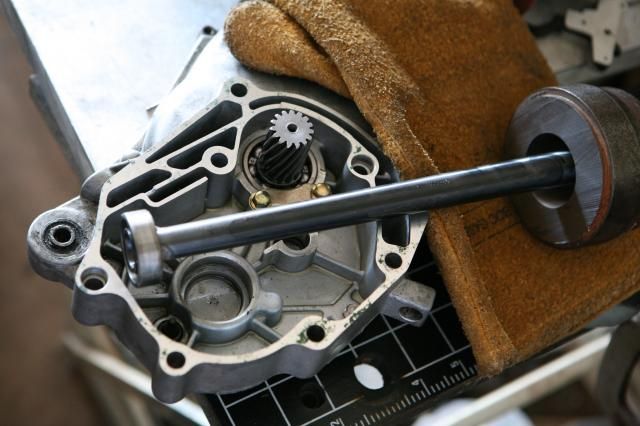 Still have to do the intake. Just thinking about it makes me tired  Reassembly of the trans was ok. The new bearing was tapped in with a plastic mallet. The other bearing gave me a little trouble as being too deep would make the input shaft a little gritty when it turned, I had to adjust the depth a couple times. Does anyone know the oil viscosity for the trans? normal gear oil I presume? |
|
|
|
Post by 190mech on Nov 25, 2013 5:23:38 GMT -5
100cc's of 80W90 gear oil for the CPI,other companies spec motor oil..
|
|
|
|
Post by 90GTVert on Nov 25, 2013 7:27:40 GMT -5
I haven't had great luck with anything but synthetic gear oil. I use Mobil 1 75W90. Whenever I use anything else it turns dark quick, grey or black. Mobil 1 always comes out basically like new with my change intervals.
|
|
|
|
Post by waltinhawaii on Nov 25, 2013 21:53:24 GMT -5
I believe ya, Brent. I think black usually is an indication of microscopic metal/wear of metal parts. When I had the old gears in, I could 'clock' the gears back and forth quite a bit, they had really worn themselves in. The new gears in the same case can just barely be clocked back and forth with hardly any hint of movement. Big difference. The service history is unknown so I can't say if regular oil changes happened and I don't even know the proper mileage of this thing. All I know is, I'm replacing bearings like a madman here. I will go see if walmart has a quart of synthetic and hope it don't cost an arm and a leg.... AFTER I first use regular gear oil. I think I probably left a little rubbish and crap in the case, too lazy to clean it really good, so I will just use regular oil inside at first and then do a real quick oil change in a couple miles to get the big junk out.
|
|