|
|
Post by pitobread on Jun 6, 2018 1:15:24 GMT -5
Well my new RS24 shock leaks. I tried to contact Malossi via their website and their instagram feed and got nowhere. 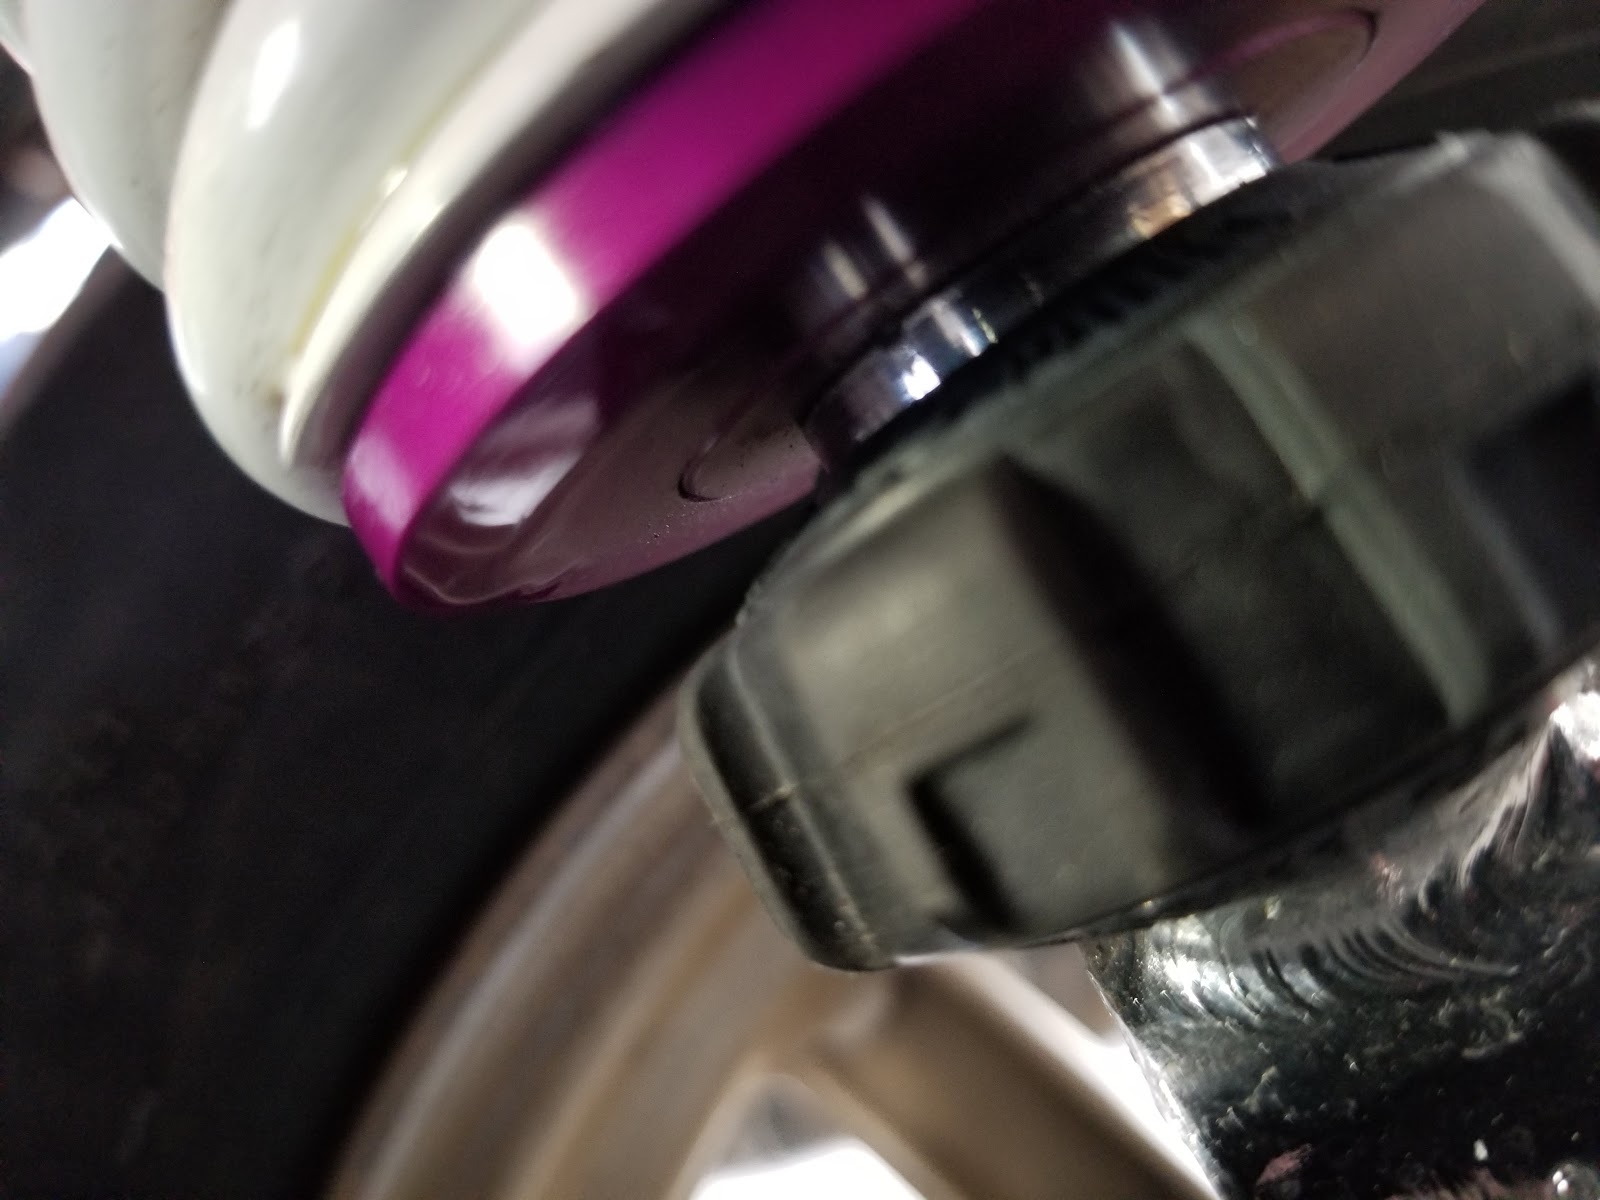 That is pretty disheartening considering I hold their products in pretty high regard to literally not hear back from anyone even to say they won't warranty or fix it. So I took it apart, It is a "non serviceable" shock. It has no provisions to refill the nitrogen once it is released. I however am just going to add the provision to do so via either a needle fill or a schrader valve. So lets look inside! Disassembly was medium difficulty. Inside the top eyelet is just the gas chamber, using an electric heatgun to soften the thread sealant it opens up to nothing, also nothing can come out this way either. There is a step preventing it. Also if you shock has pressure this is the end you have to be the most careful with. either drill a small hole you will later use for your fill valve or turn slowly. Malossi Charges these with 10 Atmosphere of nitrogen, it will make a big pop if you let it out at once. So you have to take the bottom yoke, again using the heatgun method to soften the thread sealant. once that is off you have to pry the decorative cover off the bottom that also houses the dust shield. Once that is out of the way you end up with a circlip and washer, then the seal head and all the oil and the valve will slide out. So I couldn't see where mine was leaking from, but after some head scratching I think I figured it out. I think the seal head or the shock body are mis machined. 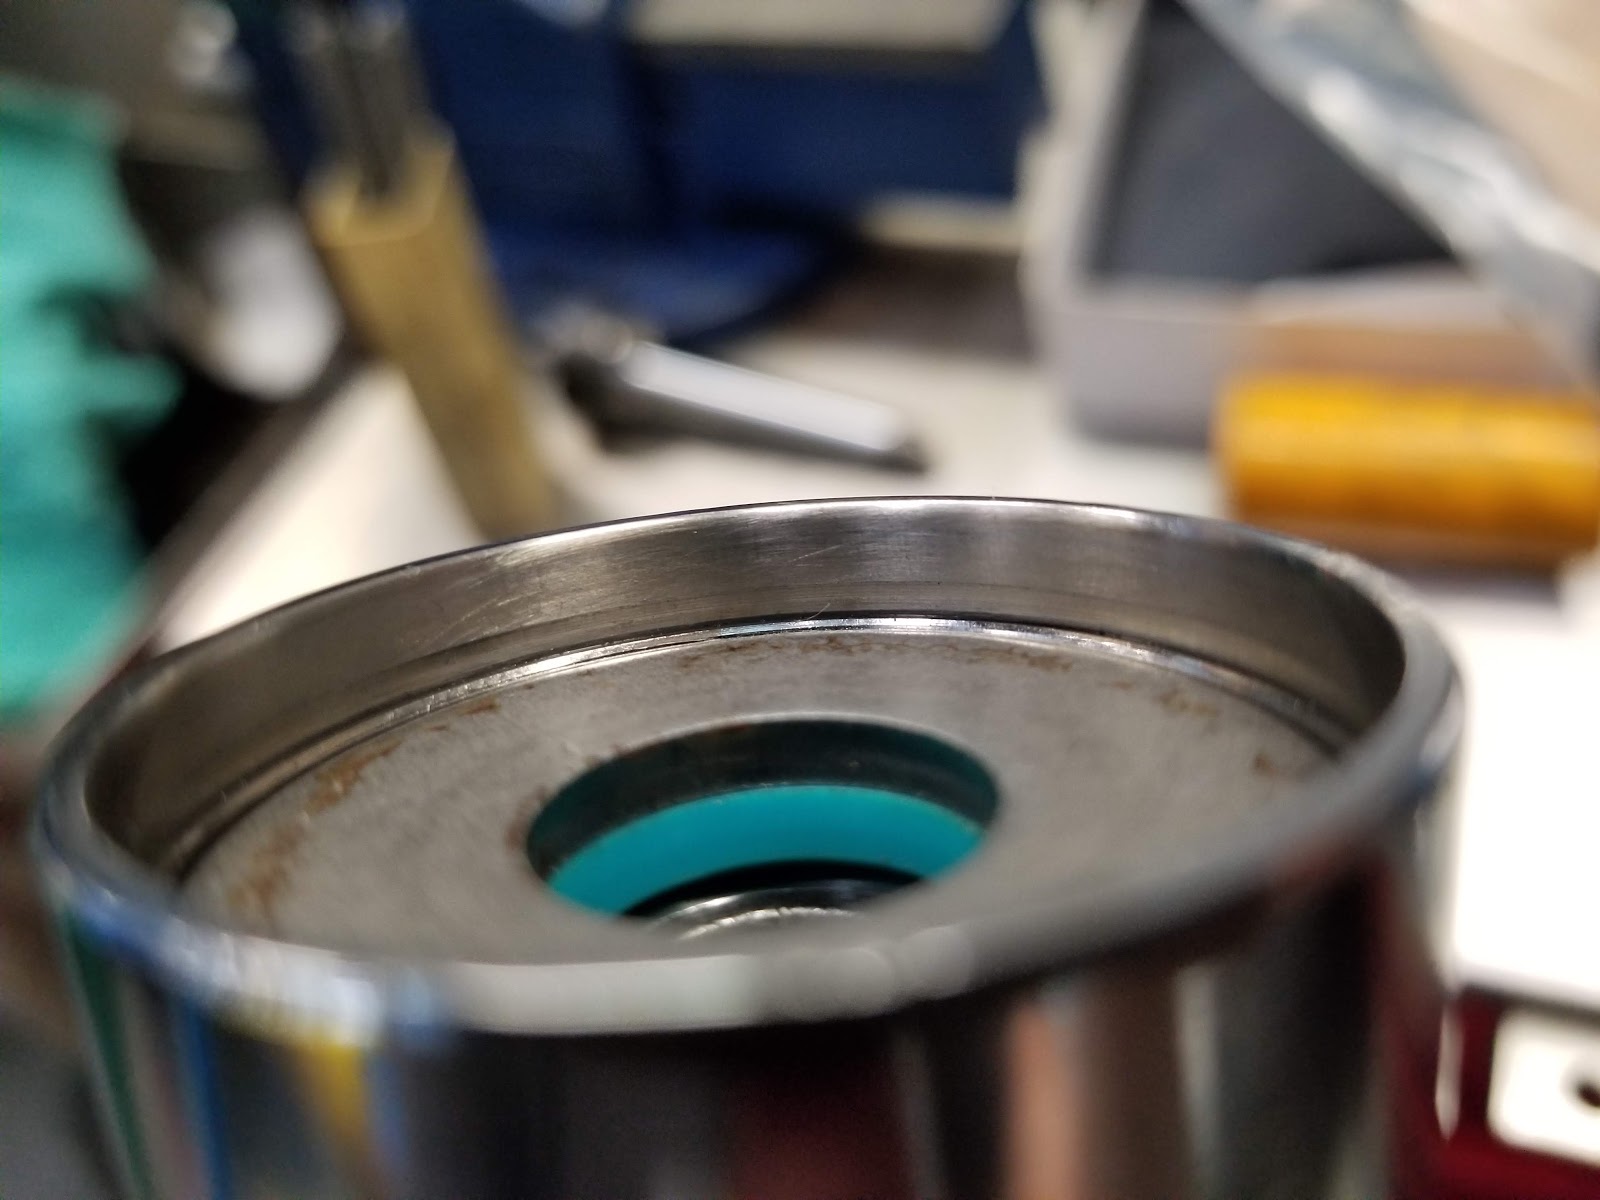 So the washer should have a positive engagement on the seal to keep it in place and the pressure from leaking behind it. But as we can see there is a gap. So I machined up a new washer 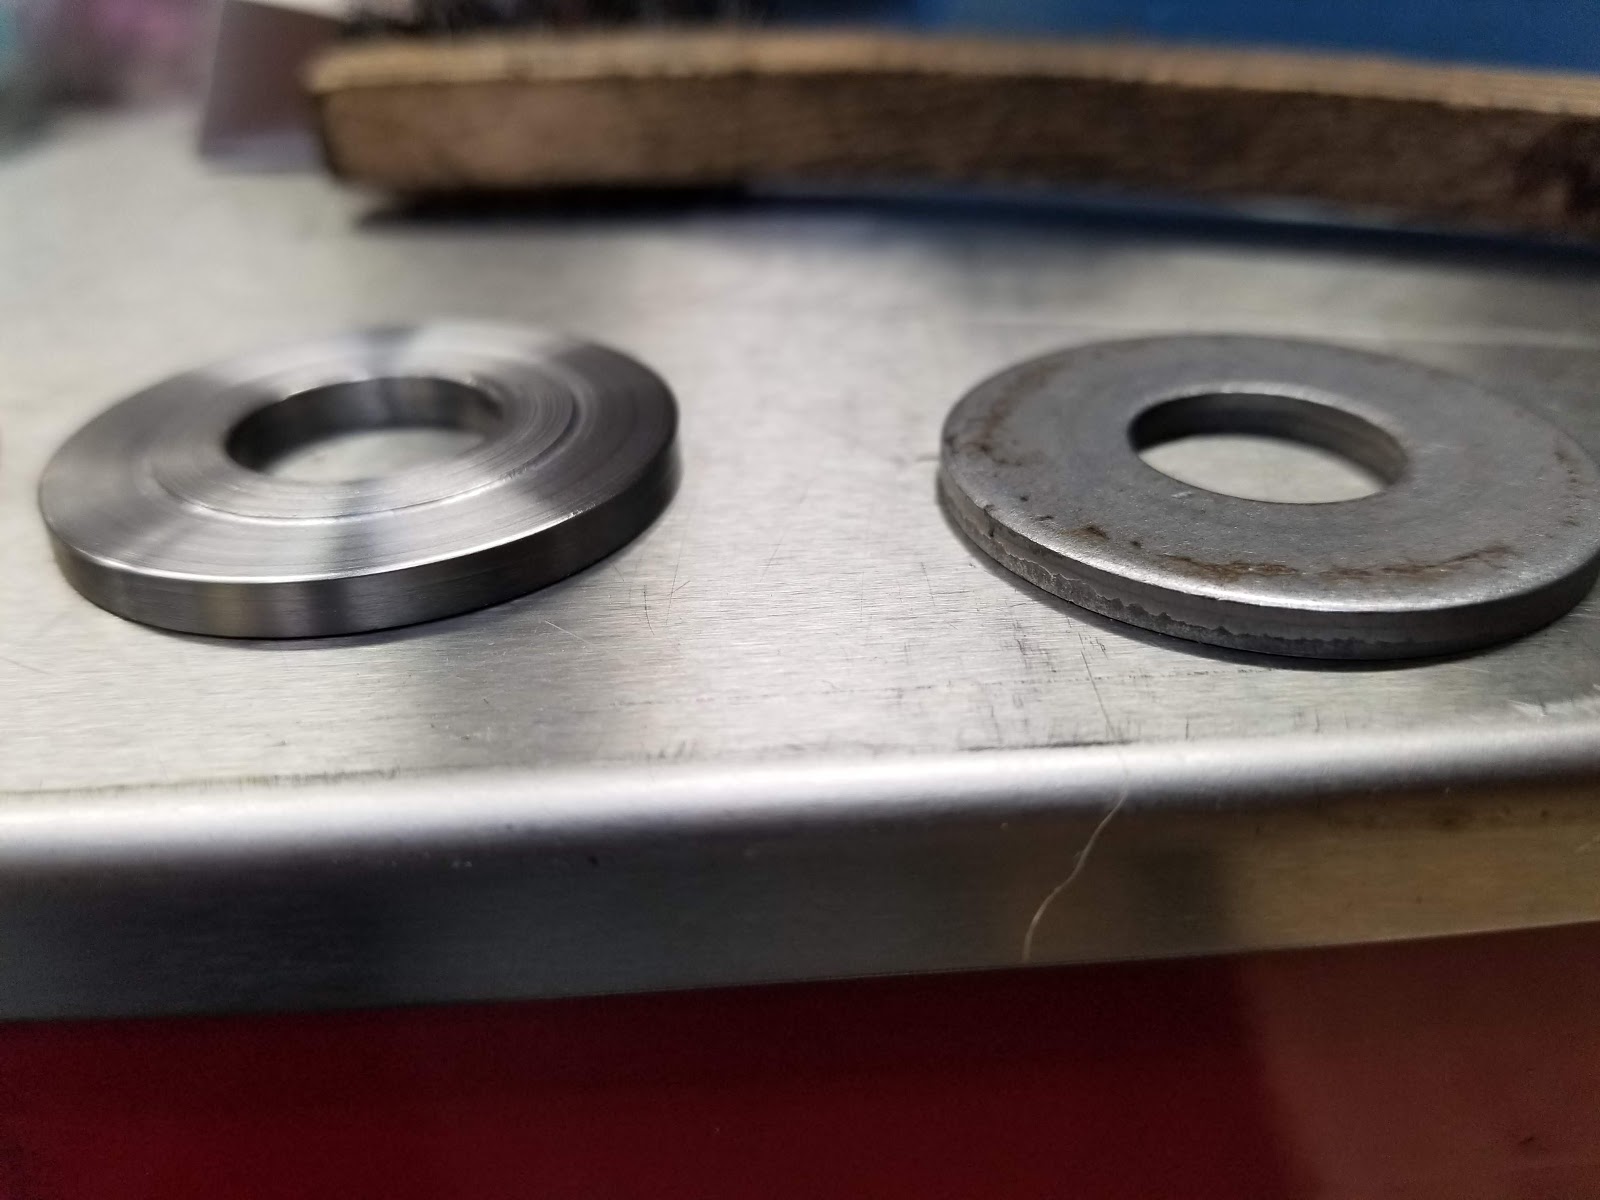 It actually requires you to push the seal in slightly when you install the snap ring. 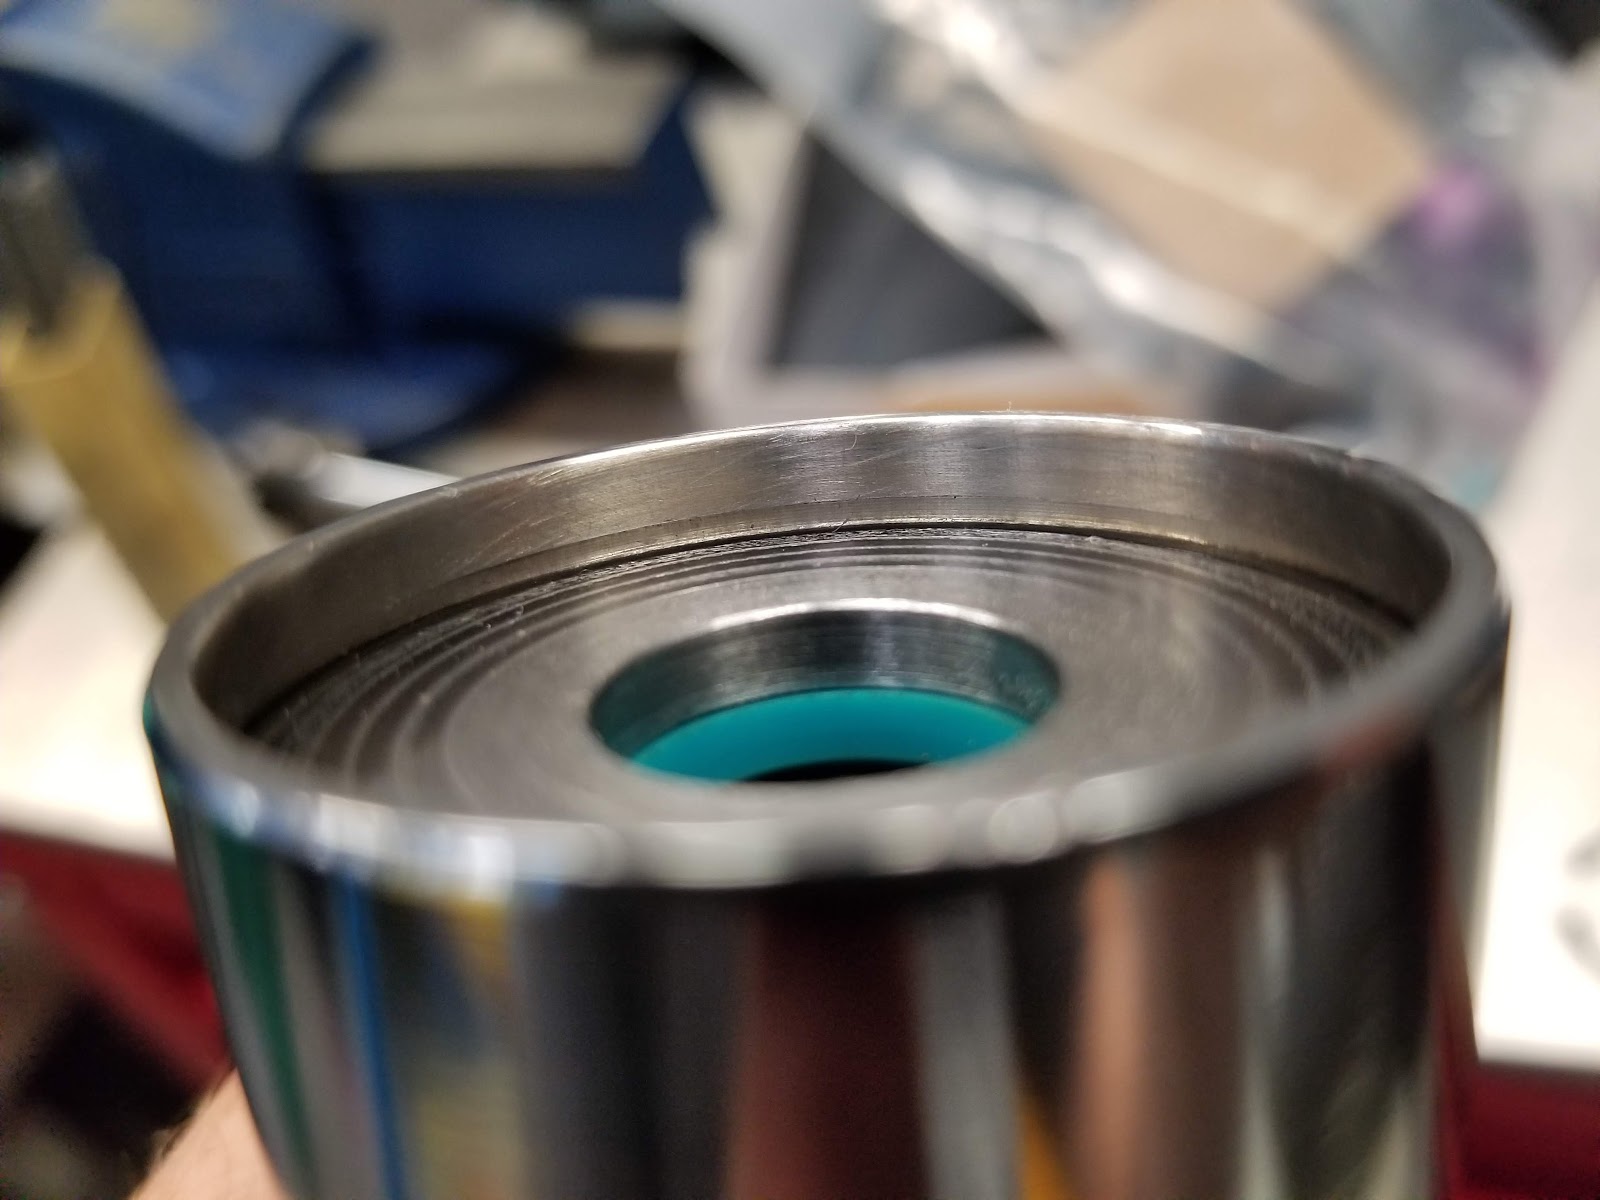 I installed new orings, and installed the gas chamber piston in at a height of 22mm.. kinda an educated guess. 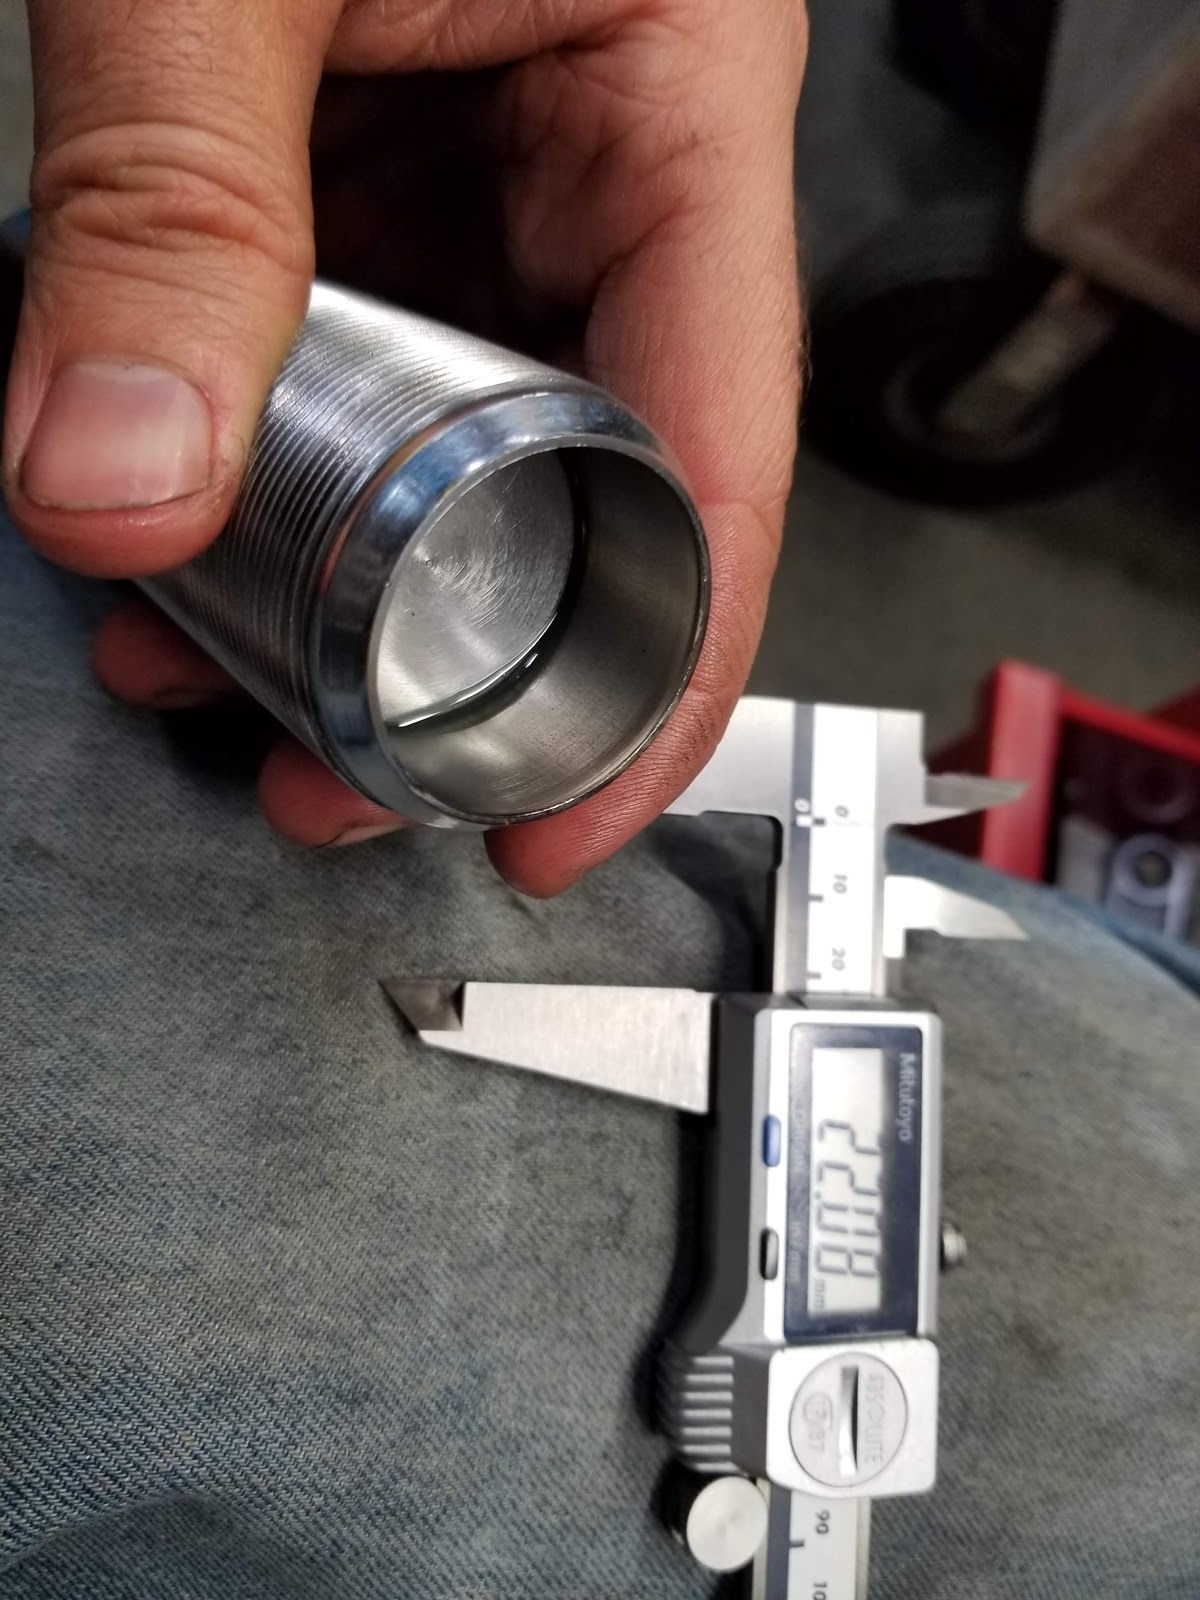 Then taped the threads to keep from cutting the seal and installed the seal head and seal 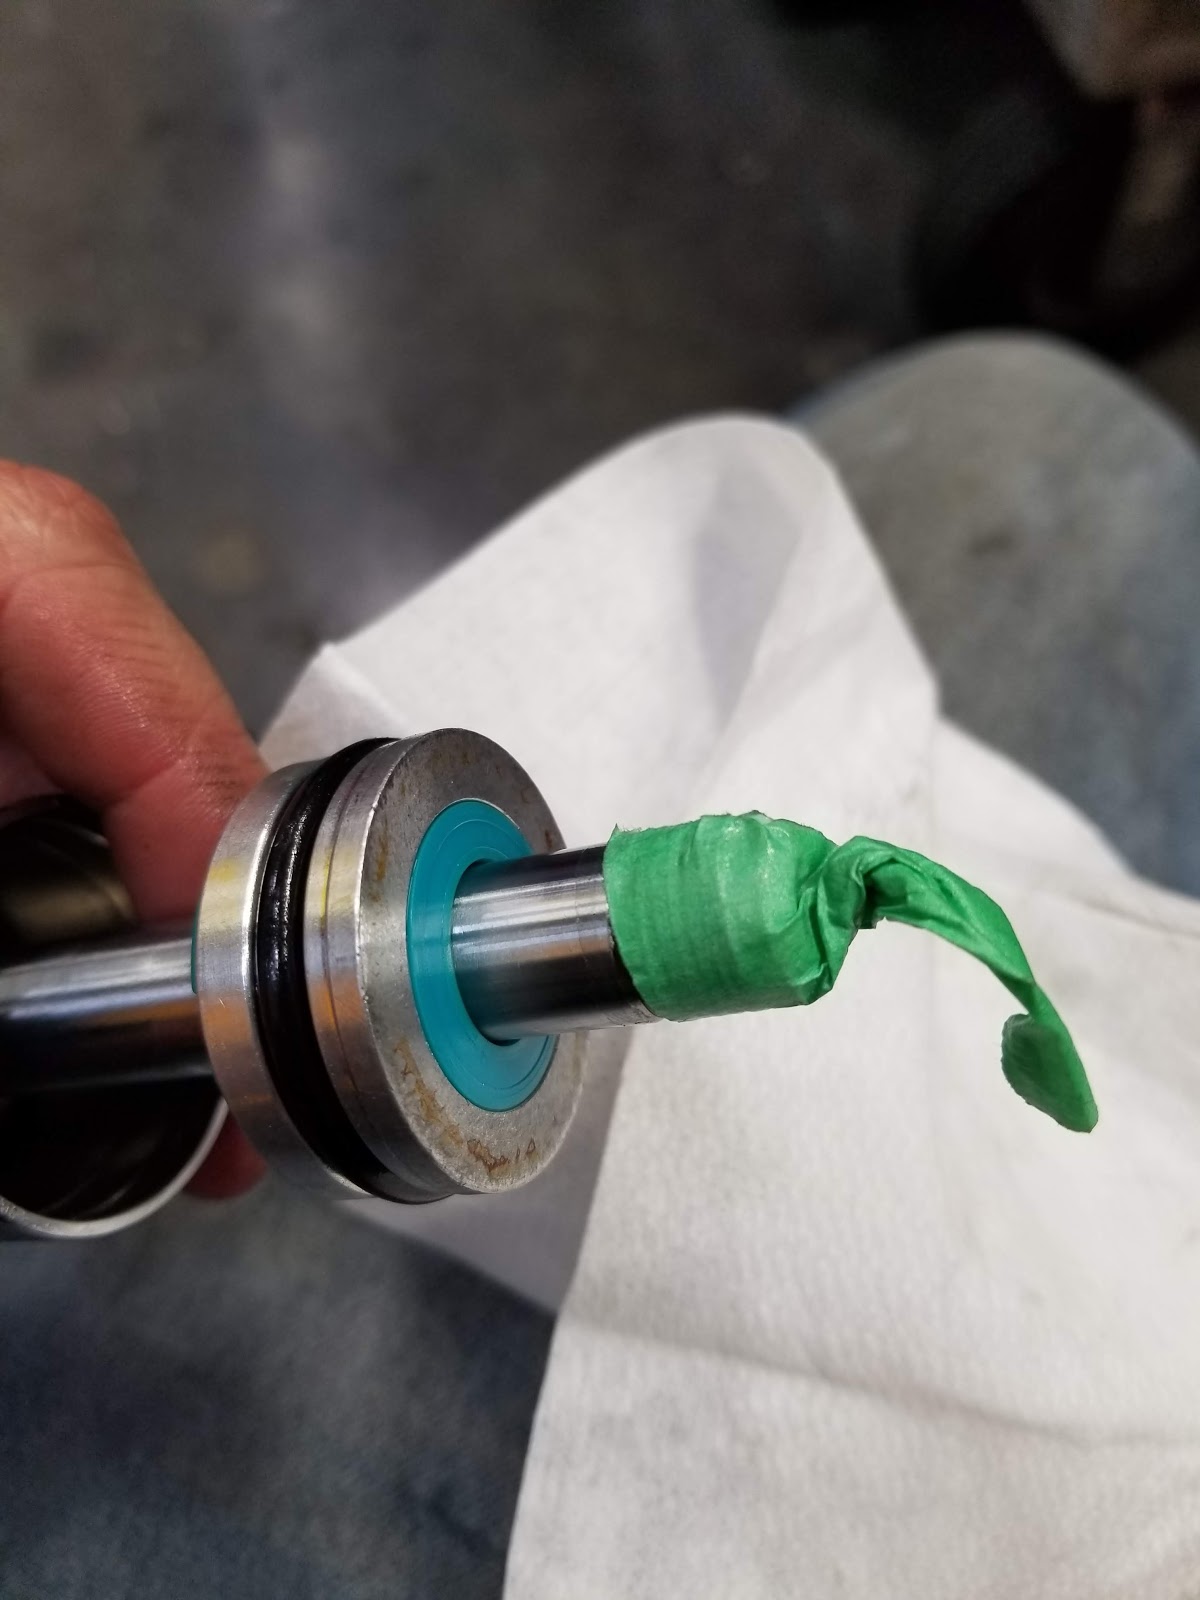 Next up is adding the fill in the top cap and adding oil. |
|
|
|
Post by Lucass2T on Jun 6, 2018 1:29:38 GMT -5
I think you could contact Paioli? They're the manufacturer for Malossi shocks. Anyway, bummer you had to go ahead this way. A well, at least a learning experience in different ways! Thanks for posting. 90GTVert maybe this post is something for in the tech section? |
|
|
|
Post by tsimi on Jun 6, 2018 3:22:03 GMT -5
Kinda shocking to see this. I know you got the shock cheap on a SALE but normally it would have been an expensive shopping. Having a product that leaks at a price range of $200+ ain't nice.
And the lacking support from Malossi is no surprise at all. In fact when was there ever a good support from any of the scooter brands makers?
|
|
|
|
Post by Lucass2T on Jun 6, 2018 5:34:31 GMT -5
Kinda shocking to see this. I know you got the shock cheap on a SALE but normally it would have been an expensive shopping. Having a product that leaks at a price range of $200+ ain't nice. And the lacking support from Malossi is no surprise at all. In fact when was there ever a good support from any of the scooter brands makers? Unless you run a respected private racing team, you as a consumer won't get far with the manufacturer as far as warranty and errors go. The reseller or wholesaler should help you with these problems. Malossi probably gets avalanched with these kinda requests and questions on the daily. |
|
|
|
Post by pitobread on Jun 6, 2018 10:46:21 GMT -5
I have people that have said they contacted them no issues. But they basically ghosted me for whatever reason.
Paioli has no contact info available whatsoever. I don't think they want to talk to you unless your ordering 1000 of something.
I'm fixing it either way. Just highly annoying.
|
|
|
|
Post by pitobread on Jun 7, 2018 0:39:29 GMT -5
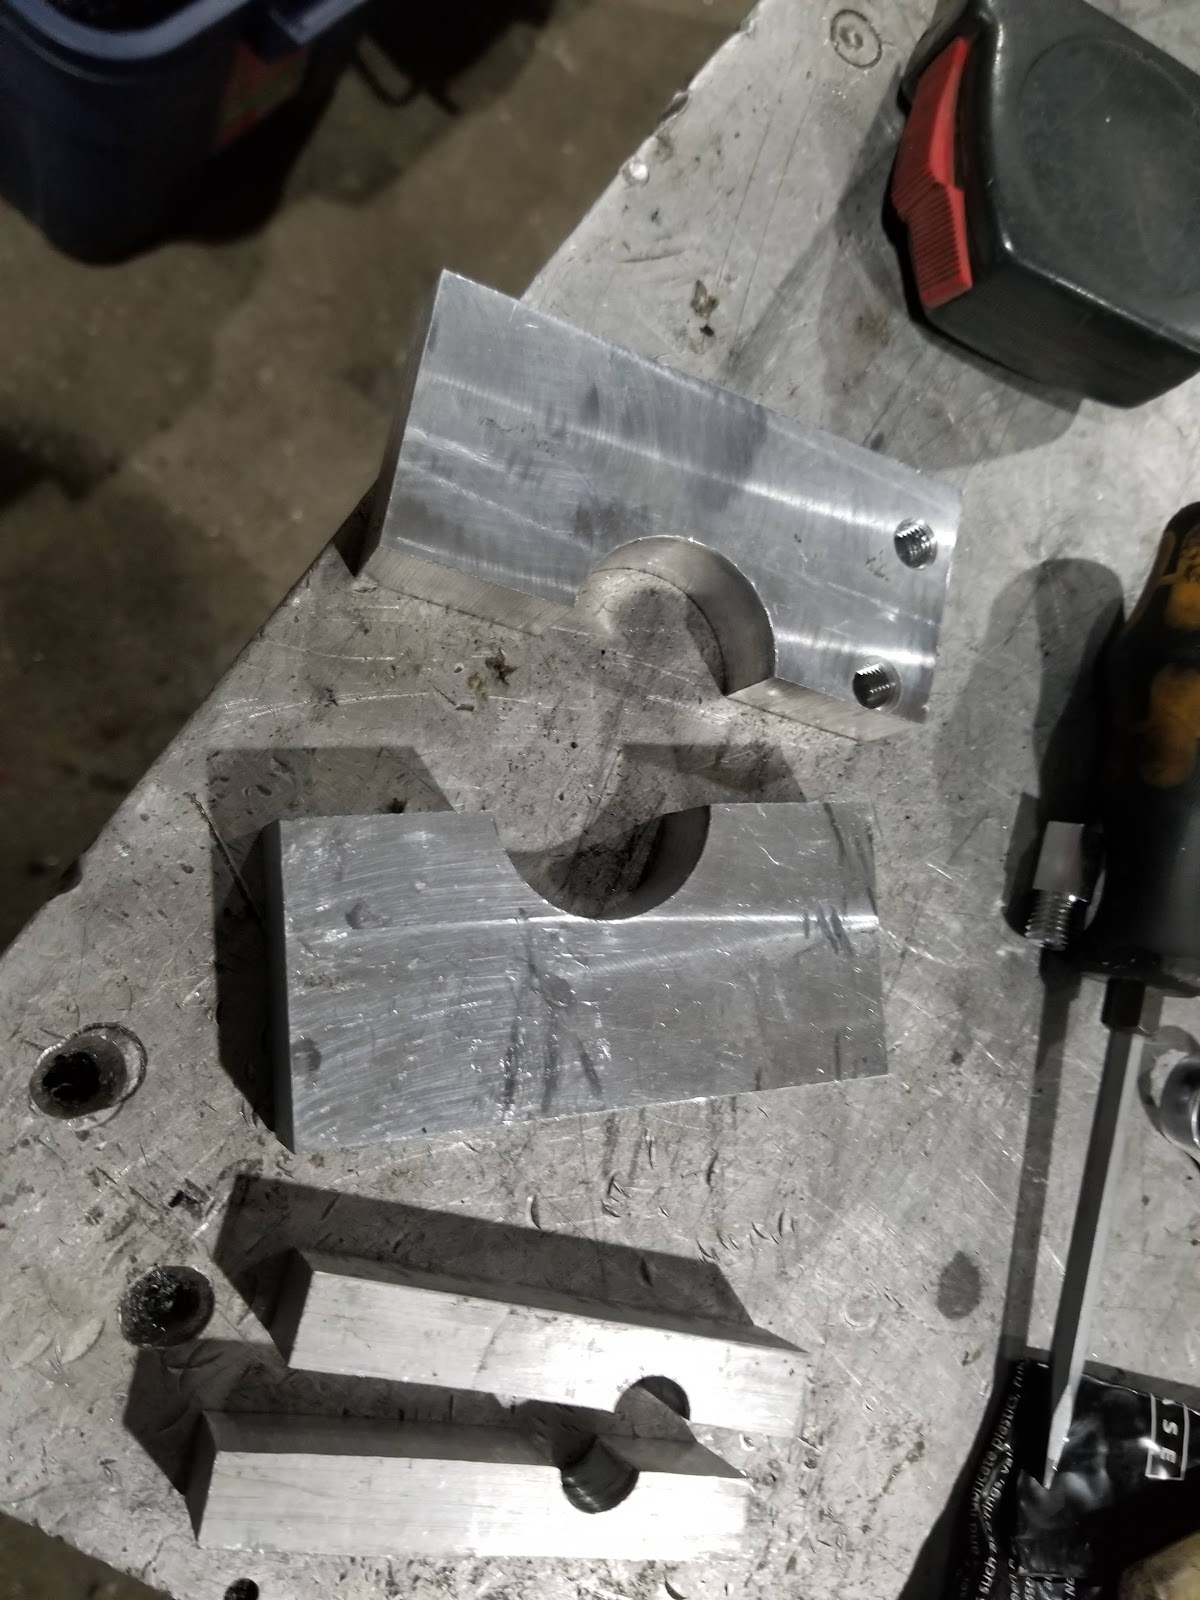 So these are the tools you need to make to take this apart. 1-9/16 hole cut in a plate then cut in half, then a 14mm and the same, you can then clamp the shock shaft and the shock body in the vice to take the end and the yoke off. 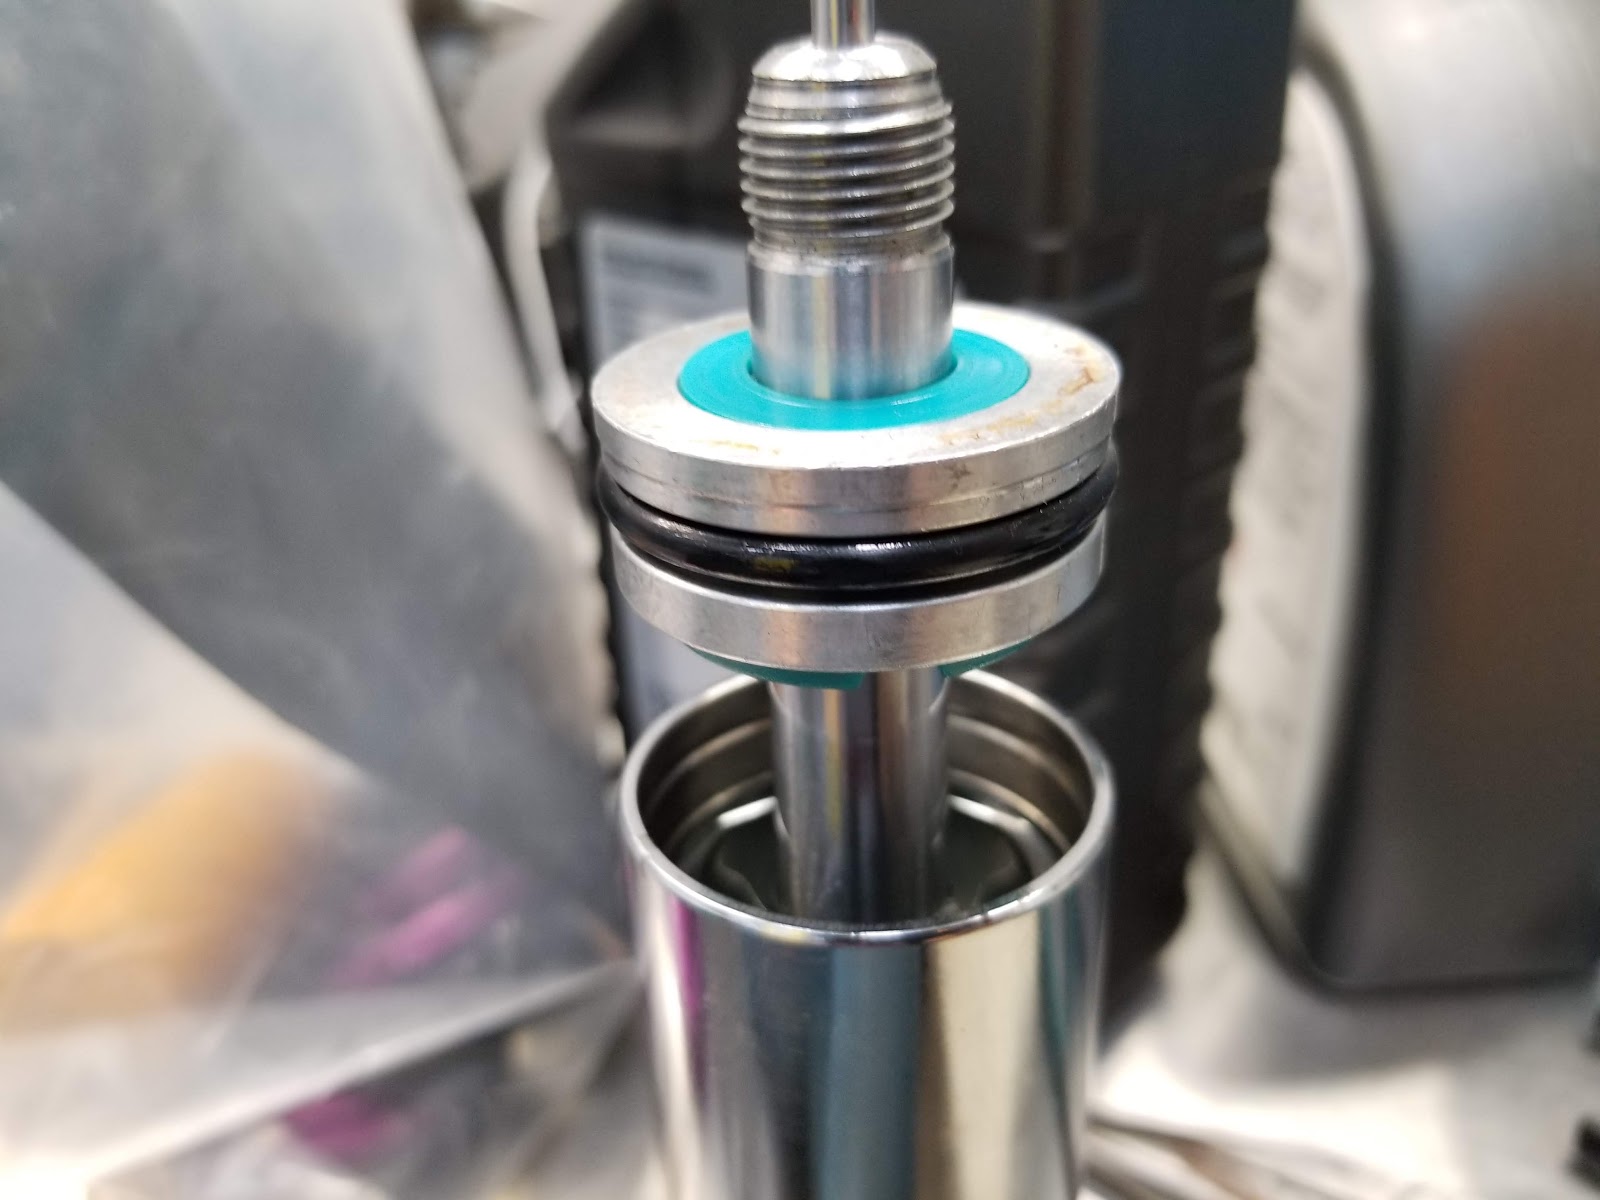 So set the piston depth, then fill the chamber and insert the piston and shaft.. you need to work the bubbles out. Lift the dampening rod up so its easier to pump and pump it till the bubbles stop, tap the sides then pump more.... then take a break and pump it again. Then fill it to the top again and insert the seal head into position 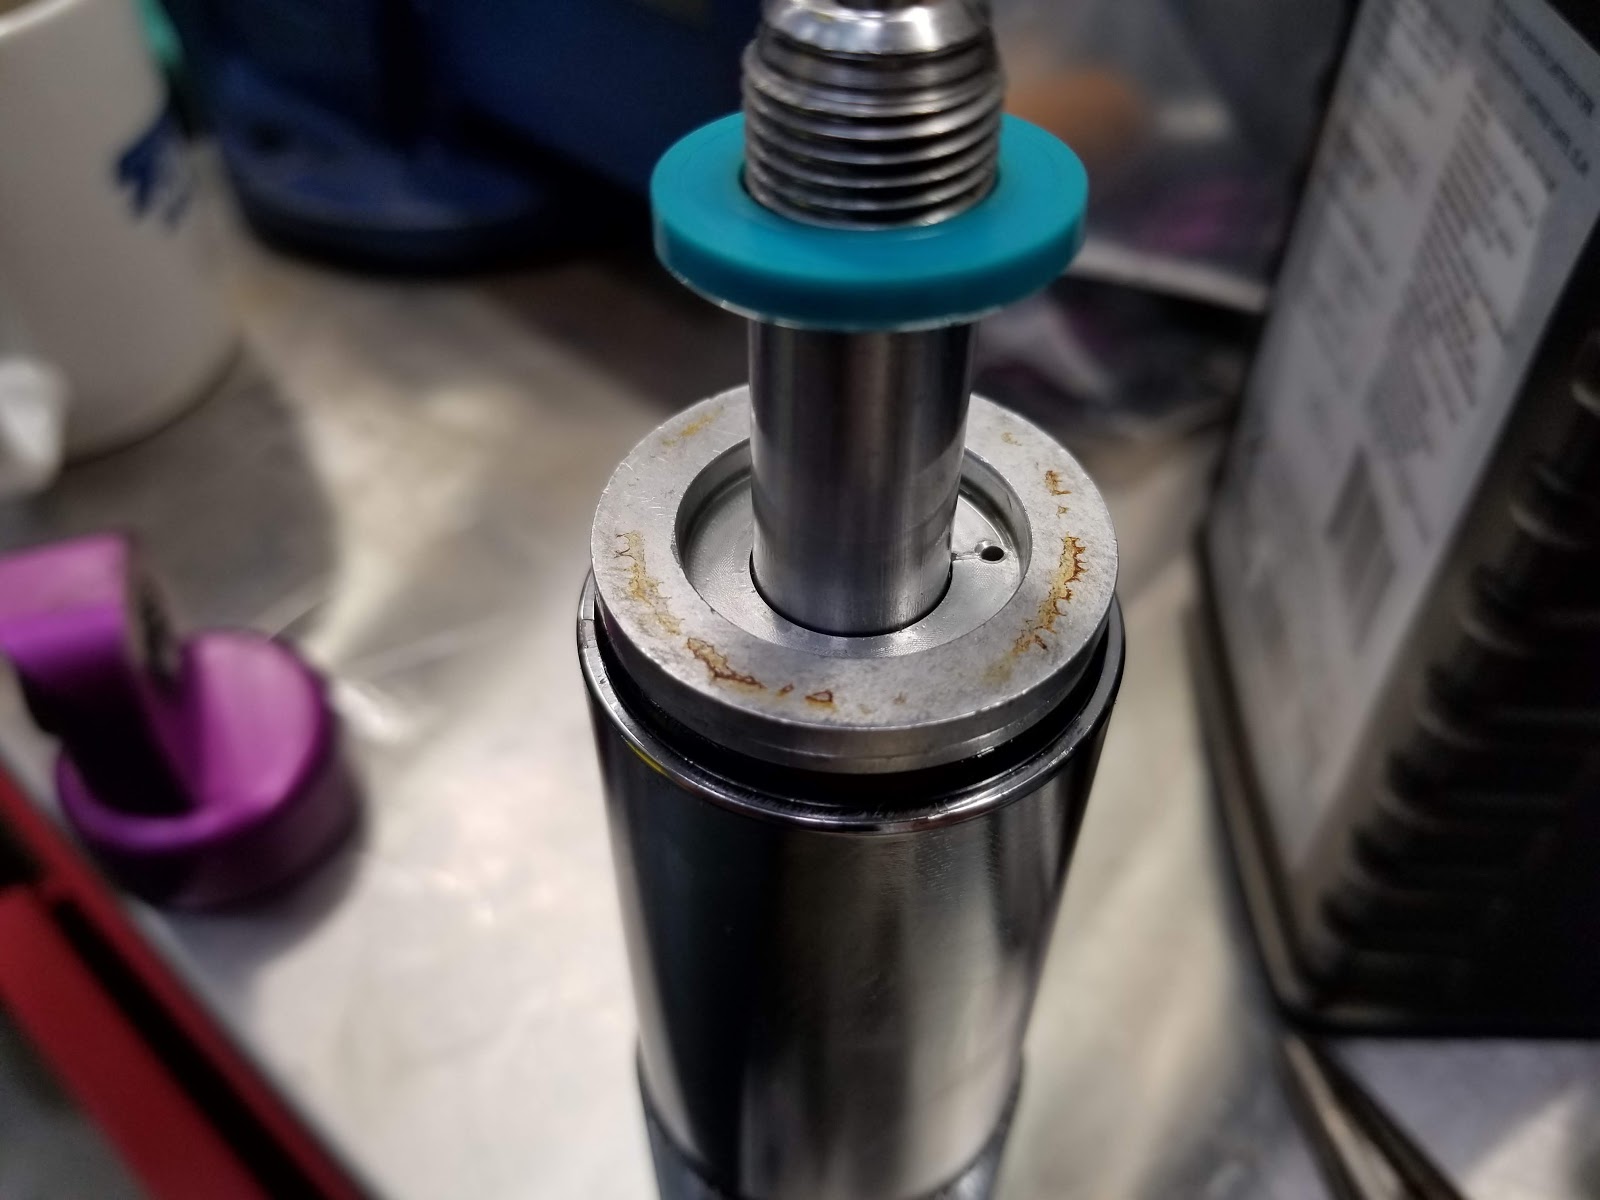 Then pump it again.. and again, tip it around, tap the sides and pump it. When i did this step and installed the clip it had some trapped air so i pulled the c clip and washer and re did it.. you can feel the trapped air when you change direction or get to the ends of the travel.. it will get momentarily easy.. if that is the case, you have to redo this step. Also you want to keep the little hole here covered with oil so you want to top it up and pump slowly, otherwise you can just pump more air back in. 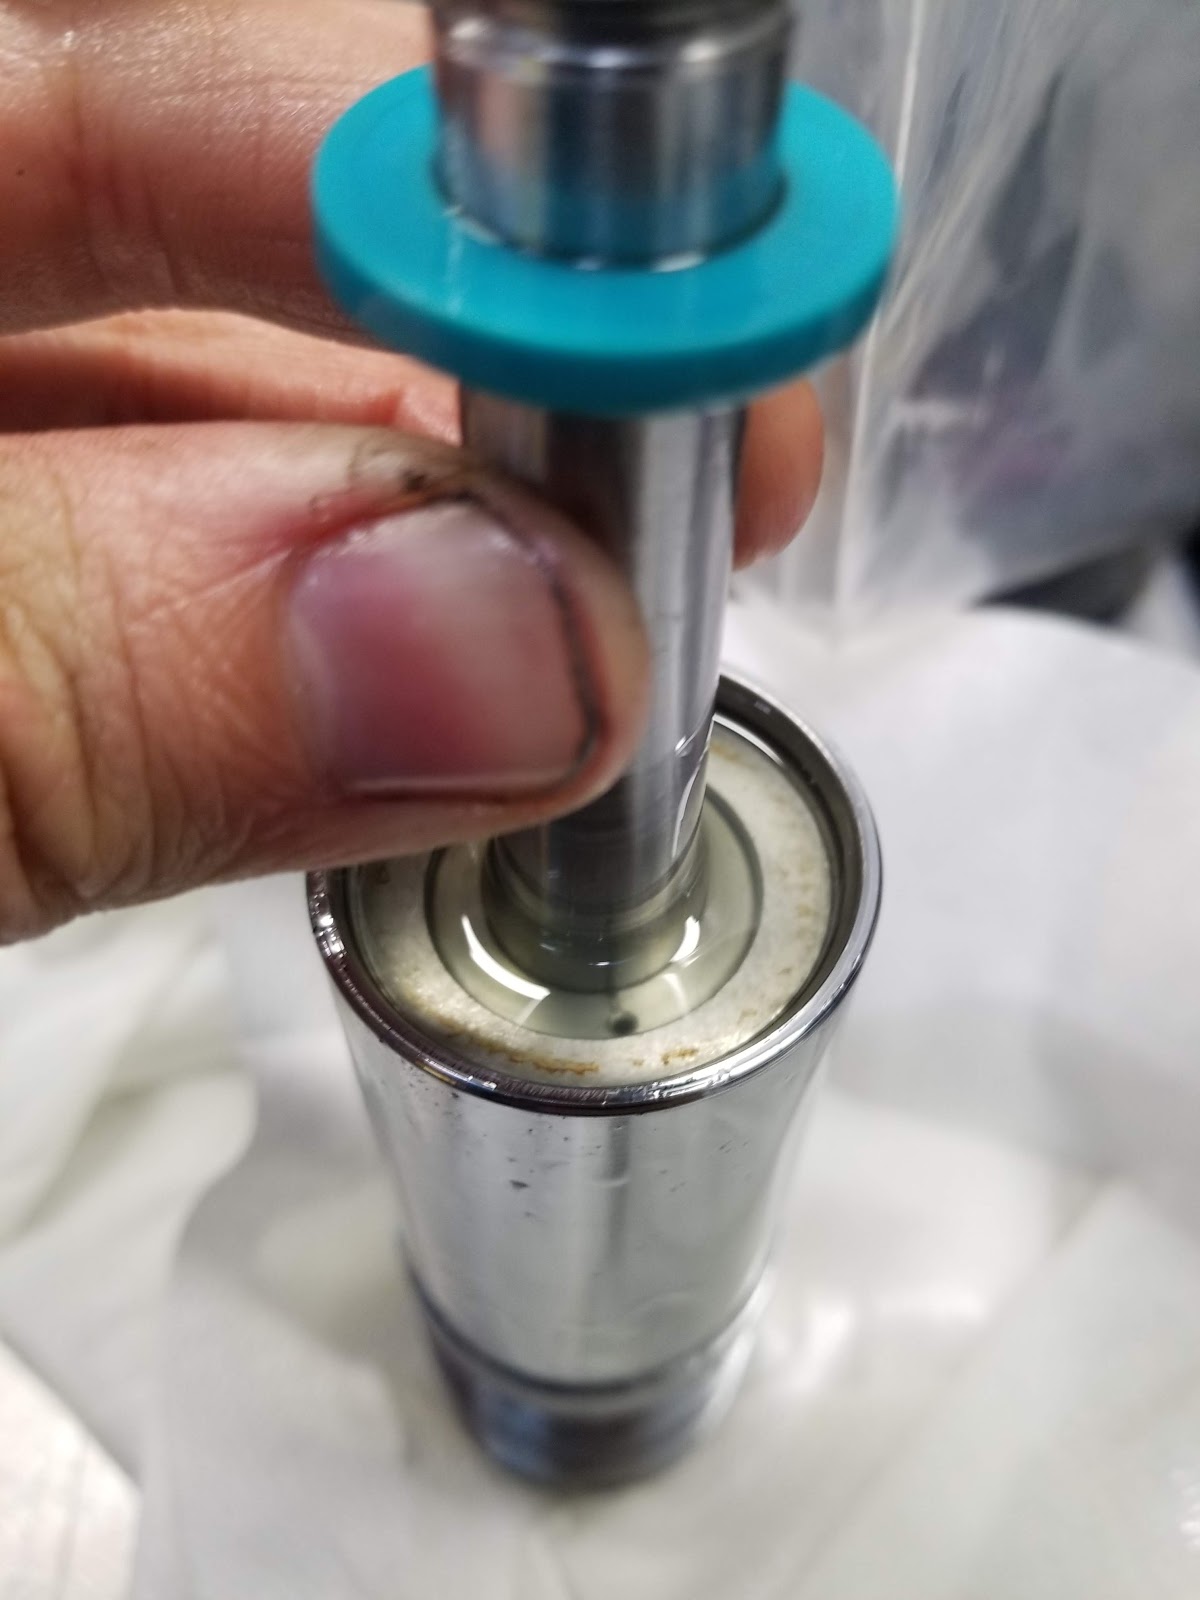 Then install your seal, clip and washer. make sure you have the tube full of oil when you push the seal in again so you don't trap air under it. i tipped mine around a bit. 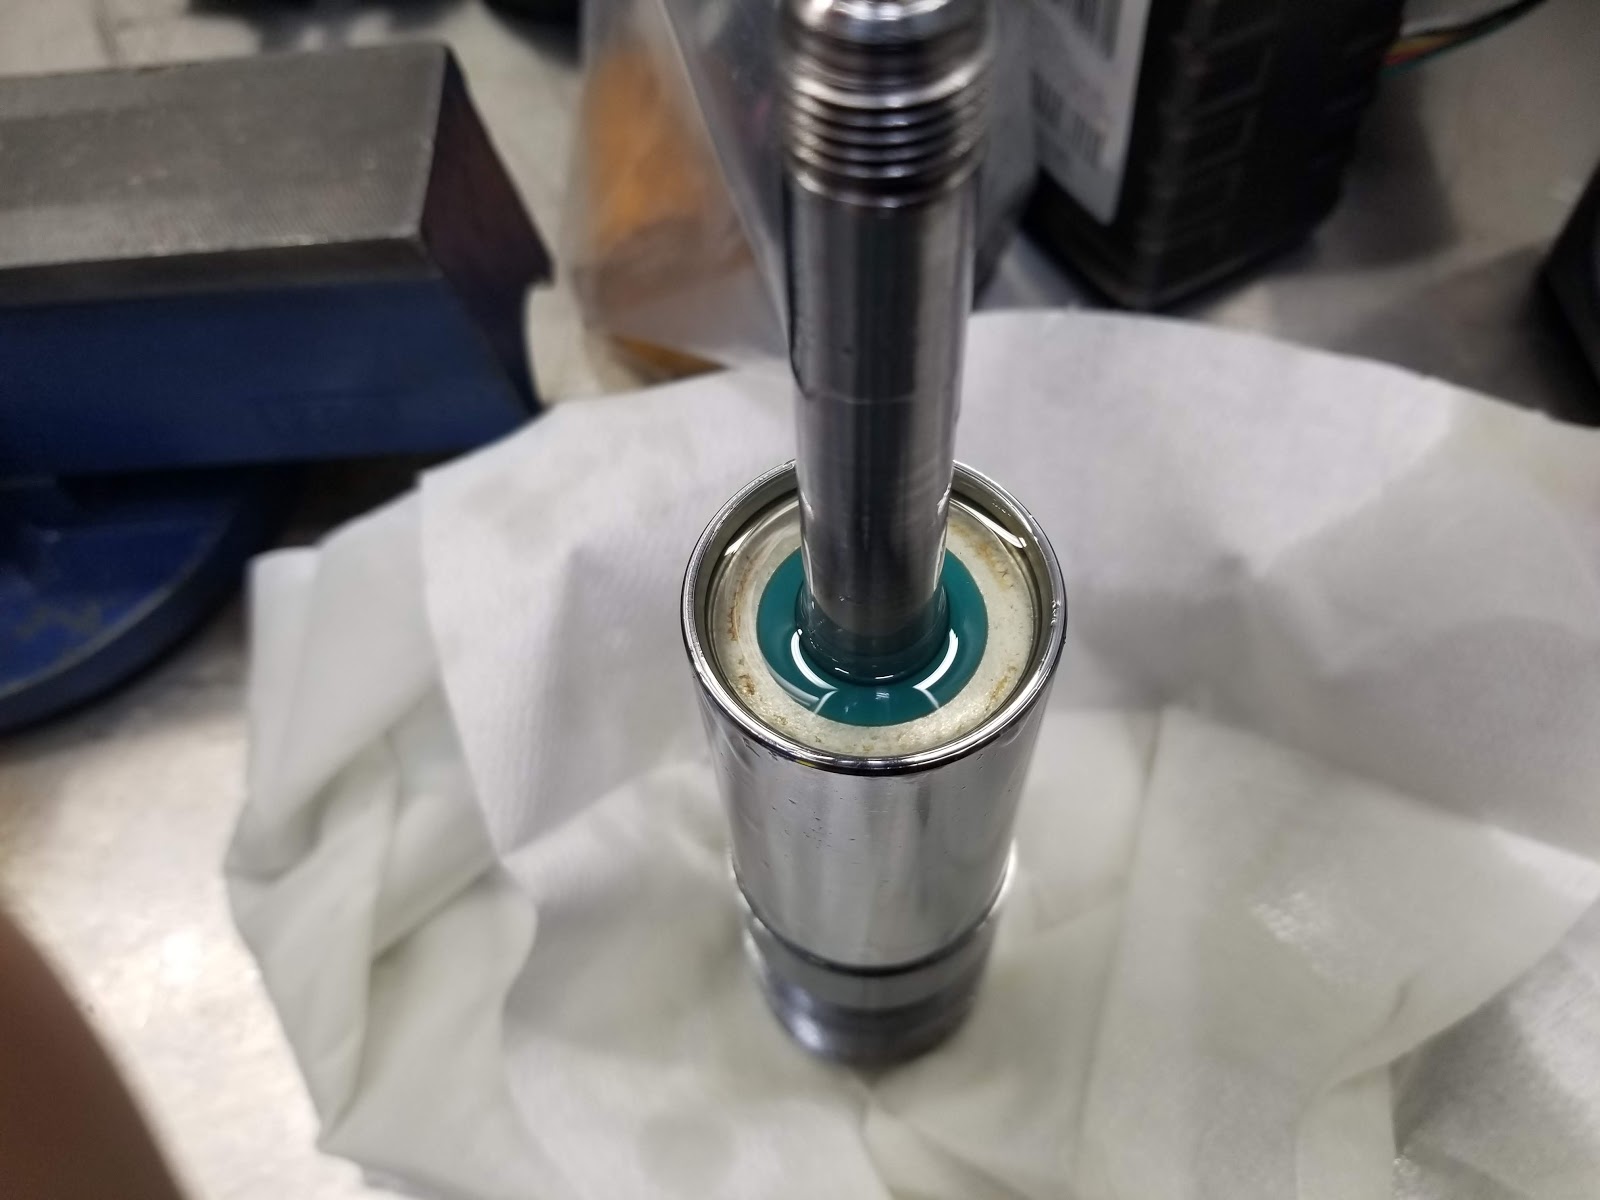 Then your done with that end.. next up nitrogen fill.  |
|
|
|
Post by pitobread on Jul 17, 2018 22:12:01 GMT -5
Probably old news to you guys but a Youtube update to the Dio, Probably a few things you guys haven't seen before. There will be new stuff soon.
|
|
|
|
Post by tsimi on Jul 17, 2018 23:13:15 GMT -5
So cool to have a garage like that with all tools available.
I also need to create a side cover for mine.
What's the spec on the BRAAPLIFE?
Yasuni C16?
|
|
|
|
Post by repherence2 on Jul 17, 2018 23:49:43 GMT -5
It's alive...ALIVE!
It's just not fair. Not fair to anyone that dares to test you on that Repsol scoot. Awesome job. Much respect. That's bad ass!
|
|
|
|
Post by pitobread on Jul 17, 2018 23:50:13 GMT -5
It was a rebuild I did for a friend
Some sort of Yasuni, may have been a C16 it was used.
Cast Malossi 70
21mm Naraku
Doppler gears
Doppler crank.
|
|
|
|
Post by pitobread on Jul 29, 2018 19:58:54 GMT -5
Remember rev up on deaccel after load
It's back.
Remember I thought I fixed it?
I didn't.
Wanna know what it is?
Its the same reason the bike won't start after a WOT pull, or falls on it's face after I give it the onion on the street.
Also same reason gas comes out of the the overflows.
|
|
|
|
Post by fly on Aug 3, 2018 7:36:05 GMT -5
Spell it out brother.
|
|
|
|
Post by tsimi on Aug 3, 2018 7:53:12 GMT -5
pitobreadJust had another look at your video (Build Updates Part 2) and in the description it says that you are running a MVT DD Iggy. In one of the older videos (Honda AF18 Dio Stage6 R/T95 Reveal + Ride) I see a MVT Premium with the black stator. Did you or are you gonna swap in a orange MVT DD? Also something I realized in your riding video is the bottom sounds similar or even same as I had in my first run. One guy in the comments mentioned to swap the coil but I think you might wanna have another play with the ignition timing. Mine sounds different now with the readjusted timing.
|
|
|
|
Post by pitobread on Aug 3, 2018 11:31:56 GMT -5
So I have a few issues
The thing runs great at WOT. Its kinda shitty everywhere else.
The bike is over filling the float bowl, this becomes evident if I hold a part throttle cruise then stop and turn off the bike. Its flooded and won't start and fuel pours out of the overflows.
I believe this is partly due to the lift pump, until I get a dellorto specific one for this carb I have swapped over to using the old oil bottle for gas and a gravity feed system. No overflows now.... yet. I may just make up a aluminum under seat tank and only use gravity feed.
Timing I have checked. I had it set to recommended 0.0 ( I forgot what it was and i can't find the instructions, I also set this up when I was on pain meds for my broken knee so those few months are a bit fuzzy) Problem is it is a fixed timing CDI, or has a very weak curve.
Cue todays project, putting on my Aliexpress programmable CDI boxes to try and get that low end advance working better to hopefully sort it out a bit.
Still trying to understand this carburetor too, you would think a spec Kart carb would have all sorts of useful tuning info, but its pretty sparse.
It seems like recently every time I try and make this thing better it somehow gets slightly worse.
|
|
|
|
Post by 190mech on Aug 3, 2018 13:01:45 GMT -5
What about a redneck fuel pressure regulator?A 't' hose fitting close to the carb with a mainjet threaded into the 't' end going to the tank return line,swap jets to change pressure...  |
|


