ingram
Scoot Enthusiast
  
Posts: 100
Location: Houston, TX
|
Post by ingram on Aug 6, 2020 22:53:23 GMT -5
Well I got my exhaust finally but unfortunately it's for the prebug vertical Zuma and not my horizontal... Scootertronics is shipping me the correct one and sending me a label to send this one back so it's gonna get resolved but now I have to keep waiting. 
I also got my variator holding tool and went to check my torque but it doesn't line up with 2 holes on the case. Is that how it is supposed to be or did I get one that is not aligned correctly?  |
|
|
|
Post by aeroxbud on Aug 7, 2020 5:11:37 GMT -5
It looks like that's a variator tool for an aerox.  scooterphotos048 scooterphotos048 But lots of people use them like that on the Chinese stuff. Why can't you put a vertical pipe on a horizontal motor? 🙈  Yamaha Neos with WK engine Yamaha Neos with WK engine |
|
|
|
Post by Zino on Aug 7, 2020 7:44:55 GMT -5
I used a socket and the longest bolt for holding the tool 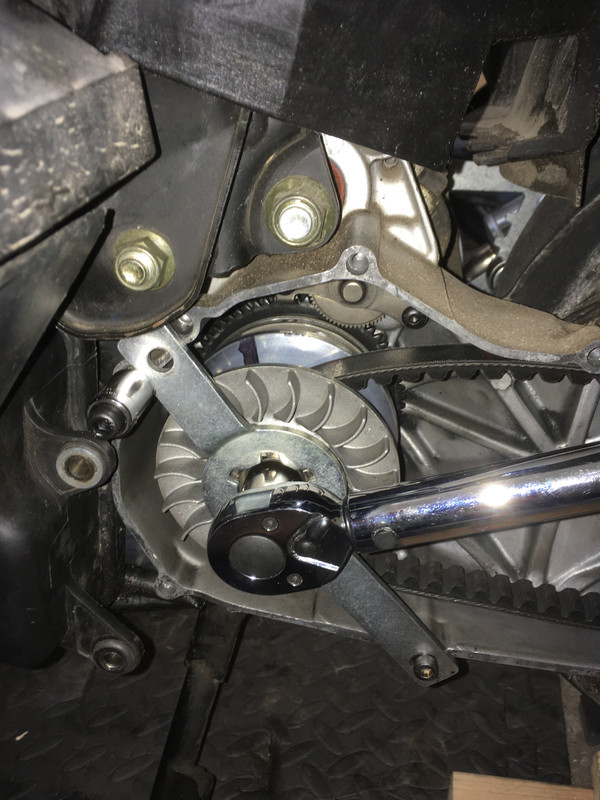 |
|
ingram
Scoot Enthusiast
  
Posts: 100
Location: Houston, TX
|
Post by ingram on Aug 7, 2020 8:19:04 GMT -5
Why can't you put a vertical pipe on a horizontal motor? 🙈  Haha yes I can only see myself going down the street and then get black exhaust all over my rear side due to where the exit is on this short pipe! I used a socket and the longest bolt for holding the tool  Thanks Zino that makes sense and I will do the same. |
|
|
|
Post by Zino on Aug 9, 2020 21:27:53 GMT -5
Looking at your part list .
And My Experience dialing in tonight
You might want to get another weight in the 5.5 gram range for your variator .
Amazon has them cheap .
And be prepared that you might need to get stiffer clutch springs for the pipe .
If it rolls slows for 20 30 feet and then takes off you know you need stiffer springs .
|
|
ingram
Scoot Enthusiast
  
Posts: 100
Location: Houston, TX
|
Post by ingram on Aug 10, 2020 9:44:20 GMT -5
Looking at your part list . And My Experience dialing in tonight You might want to get another weight in the 5.5 gram range for your variator . Amazon has them cheap . And be prepared that you might need to get stiffer clutch springs for the pipe . If it rolls slows for 20 30 feet and then takes off you know you need stiffer springs . Thanks I have actually purchased some 5.1gr Malossi weights since I put that parts list together so I have 5.1, 6, and 7gr weights I can use. Would it be ok to mix 3 5.1gr and 3 6gr in the variator to get me to that 5.5 target or is it best to just get some 5.5s and run all the same? |
|
|
|
Post by aeroxbud on Aug 10, 2020 10:46:44 GMT -5
That would be fine mixing those weights. I try not to mix weights that are more than 1g different.
|
|
ingram
Scoot Enthusiast
  
Posts: 100
Location: Houston, TX
|
Post by ingram on Aug 10, 2020 17:05:52 GMT -5
 Well I noticed the add on Scootertuning.ca this morning for the Yasuni R black edition which is currently in stock and discounted. I am going to have to ask for forgiveness from my neighbors in advance to installing this but I couldn't resist   . Threw in a couple more items to get the free expedited shipping and about an hour after submitting my order I got my tracking number! Super excited and I will be attempting to install my BBK tonight so will follow up how progress goes on that. With the Polini jet kit it should give me additional fine grained jets to use for tuning along with the Mikuni ones I already have. As for the Silent Pro I still have not received tracking for my replacement and I already sent the vertical one back so going to attempt to see if I can just get a refund at this point. |
|
|
|
Post by Zino on Aug 10, 2020 17:43:02 GMT -5
That is a outstanding deal on a Yasuni R
That Black color looks sharp .
The 5 gram weights or right around there will be a great weight .
6 grams was too heavy for me
If you have a Tach you want it to jump to around 8800-9300 rpms when you hit the throttle and go wide open .
It likes stiff clutch springs Medium or Hard .
If you Take off slow for 30 feet and then takes off fast you need stiffer springs to get you in the bottom end of the power band .
The Malossi White contra works well.
|
|
|
|
Post by aeroxbud on Aug 10, 2020 19:20:04 GMT -5
It's a great pipe. I like mine for a daily driver.
I don't think it's that loud. But I suppose I have had a lot louder pipes in the past.
I hear louder two stroke scooter pipes every day here.
|
|
ingram
Scoot Enthusiast
  
Posts: 100
Location: Houston, TX
|
Post by ingram on Aug 10, 2020 20:04:23 GMT -5
Ok slowly making progress on the BBK install. I got the carb off and disassembled but how do I change the needle clip setting to be one notch richer?
Trying to do it now while I have the bike apart so I don’t have to do it another time.
I also got the Vino pilot jet so should I go ahead and put that in now?
|
|
|
|
Post by Zino on Aug 10, 2020 21:43:09 GMT -5
Go ahead swap in the pilot jet it will richen you up through the throttle range . I am trying to find a post or video on the needle swap . To make it richer you need to lower the clip on the needle. When you take it apart take pictures from mutiple angles the slide only goes in one way there is a notch in the throat. Here is a picture of all the interior needle parts . I use a needle nose to take the clip on and off I use a pin from my wifes sewing kit to get the spring on and off and to push the pin of the needle slide . 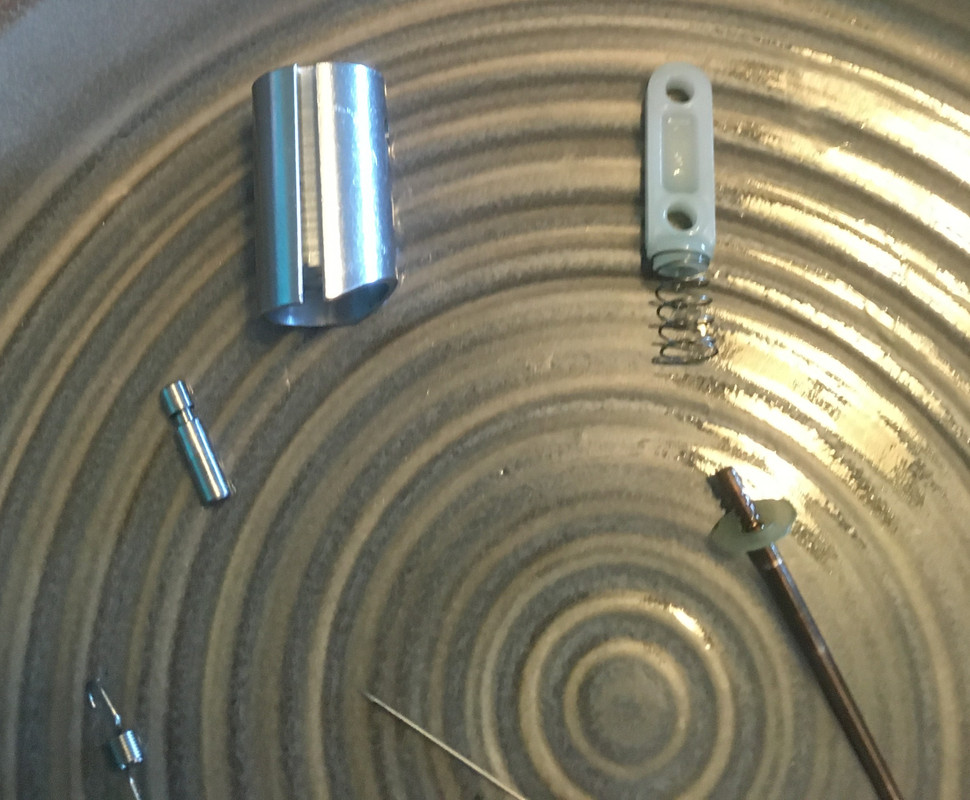 |
|
ingram
Scoot Enthusiast
  
Posts: 100
Location: Houston, TX
|
Post by ingram on Aug 10, 2020 23:12:44 GMT -5
Thank you I will try to do that tomorrow then. Got the BBK installed so now I just need to set the needle clip on the carb and put it back on for a test fire. How should I install the temp sensor? I have the 14mm ring style and I assume it goes on the head and the spark plug holds it in but the wire needs to route up through the spark plug boot? 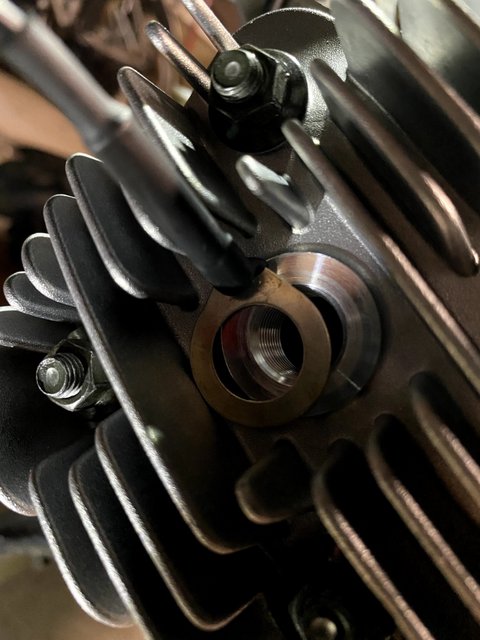 |
|
|
|
Post by Zino on Aug 11, 2020 6:12:48 GMT -5
For istalling temp gauge . You need to remove the crush ring on the spark plug . The sensor takes its place . In the picture below the screw driver is pointing to it The other picture is the sensor wire coming from under spark plug boot the easiest way to get the sensor on is to put it on just a couple threads and then screw it into the cylinder head . I did not need to cut the shroud for the sensor to fit . 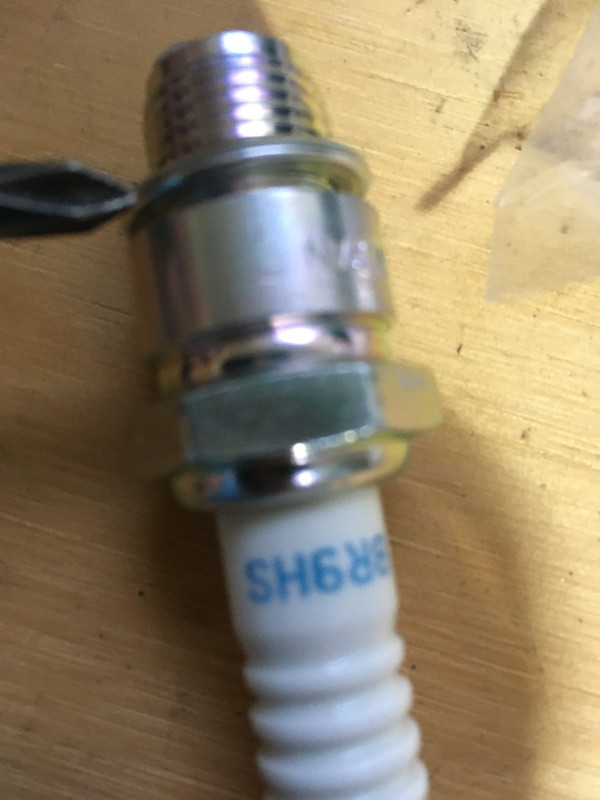 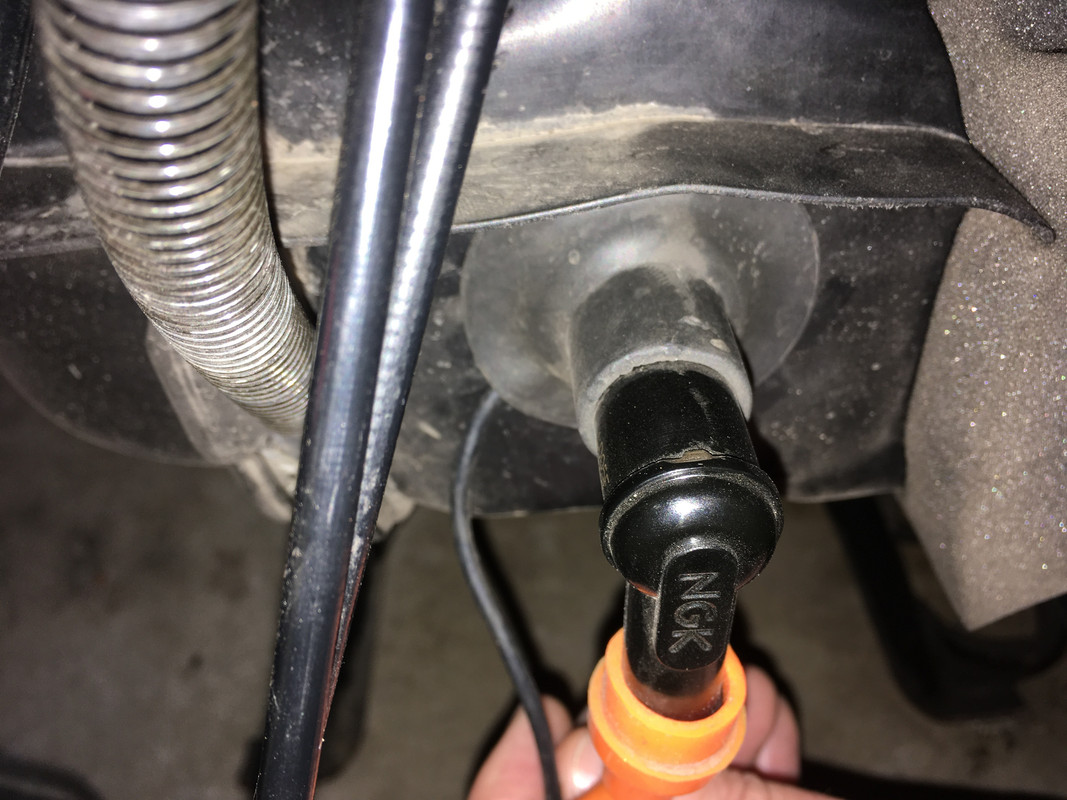 |
|
|
|
Post by Zino on Aug 11, 2020 6:16:06 GMT -5
For your carb pay attention to the dimple on the pin by my thumb for reassembly 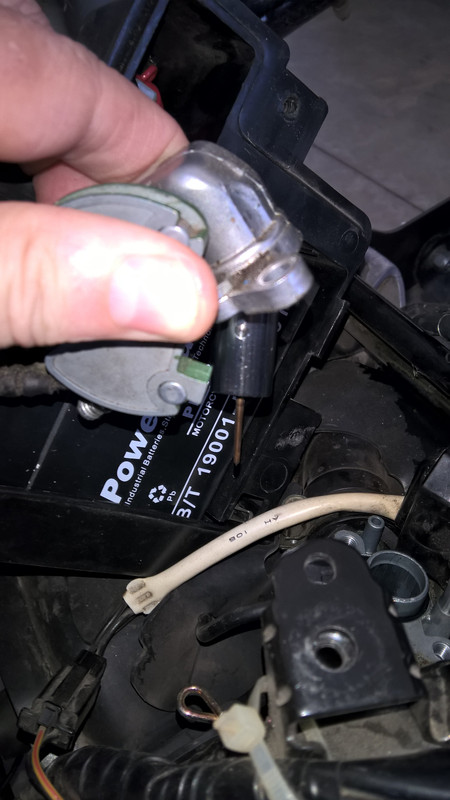 The spring fits in a groove on both ends 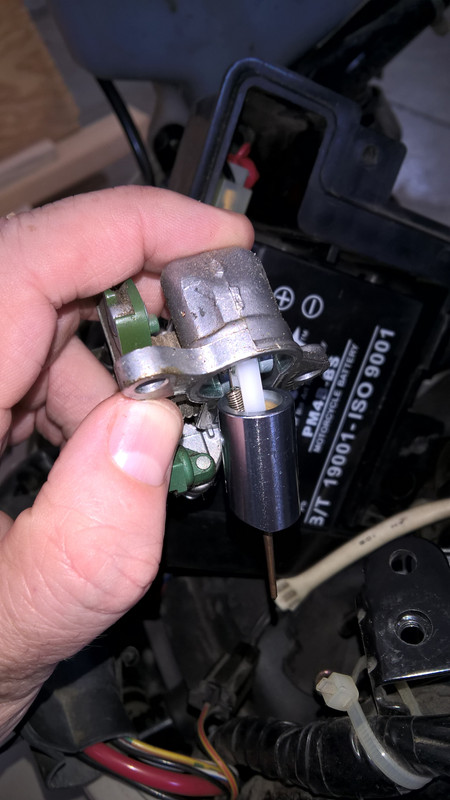 The back side showing the other side I used a pin from my wifes sewing kit to push out 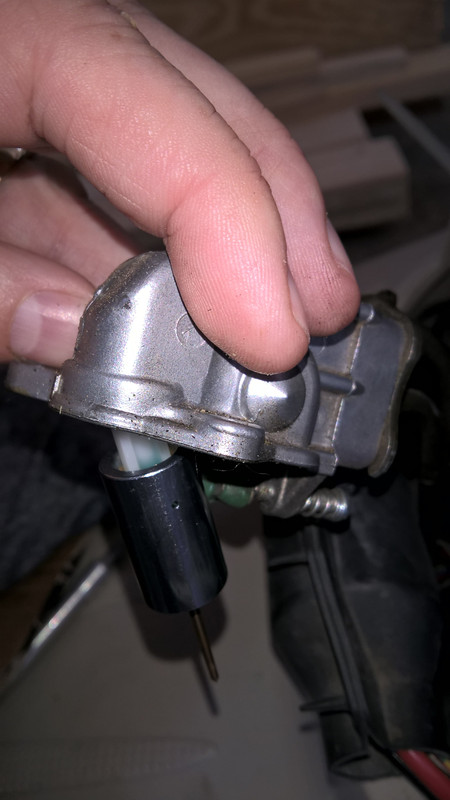 |
|