|
|
Post by 90GTVert on Feb 18, 2010 7:26:34 GMT -5
This is my first scooter, a 2004 Vento Triton R4 49cc 2 stroke. I purchased it new from a dealer. I don't have any pics of it 100% stock, but this is pretty close. By this point I had only replaced the Vento Triton decals on the rear fairings.  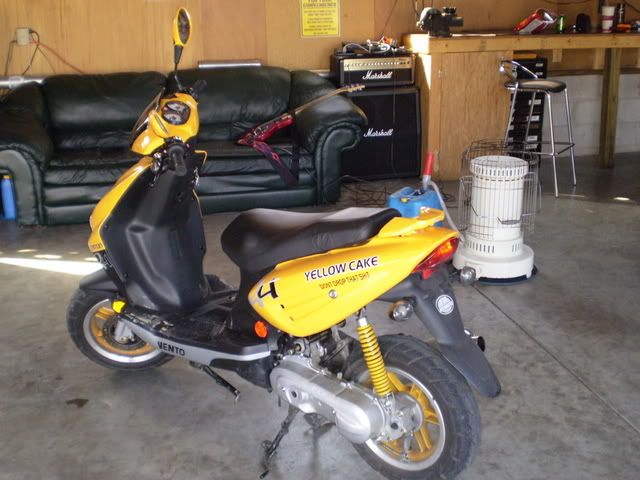 It wasn't long before I added an MRP 70cc cylinder kit, Wiseco wrist pin bearing, MRP clutch and clutch springs, MRP torque spring, and an MRP tuned pipe, and switched to pre-mix. I also eliminated the rear fender, reloacted the turn signals, painted the MRP pipe and CVT cover, and started making different silencers for the MRP pipe. 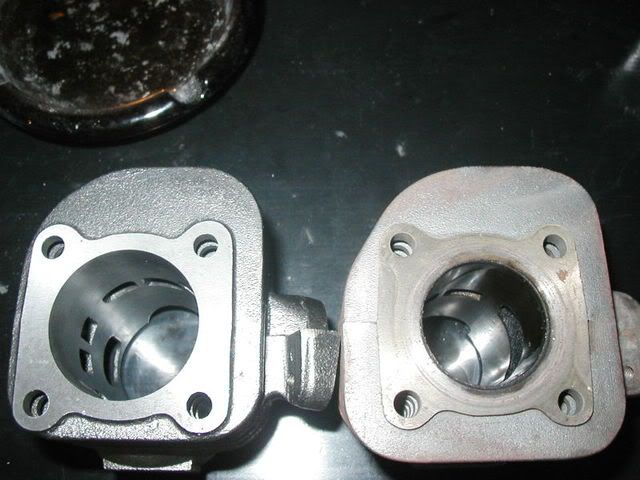 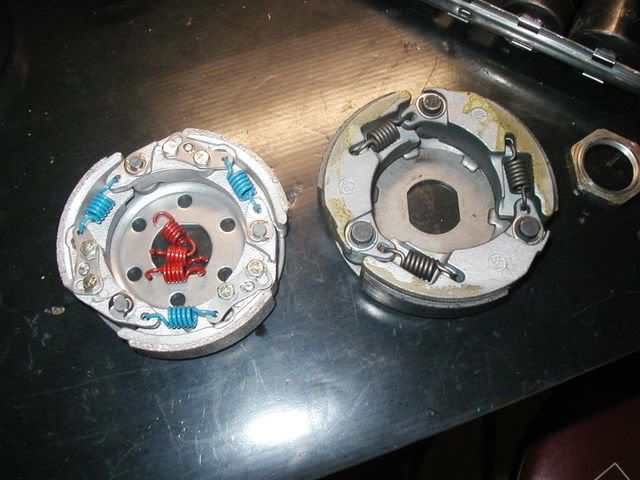 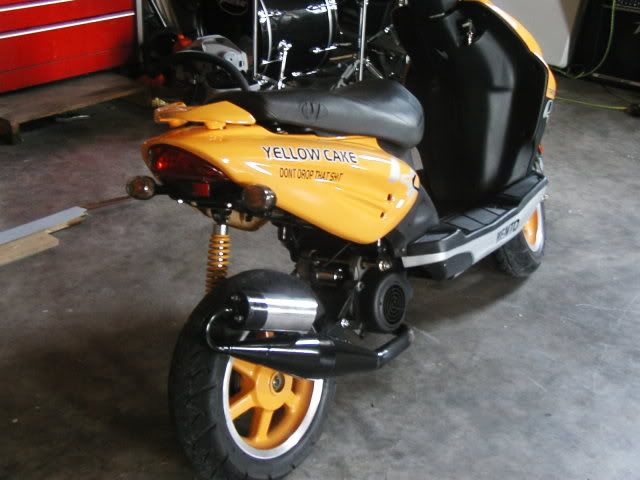 Here's a ride along video. The scoot is in this video quite a bit as well. I rode it this way for a few thousand miles before crashing it by taking a turn too fast on slick surface.  I bent the steering stem, broke some hand controls, and skinned up a lot of parts. 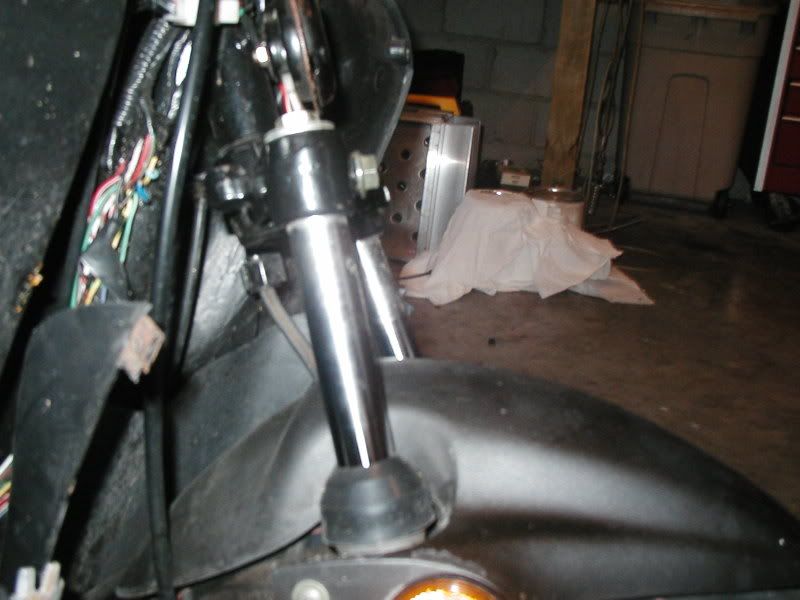  I repaired all of the body panels and painted them black. I also added a rear shock with a black spring to match, blacked out a lot of things, and installed Michelin Bopper tires amongst other things.  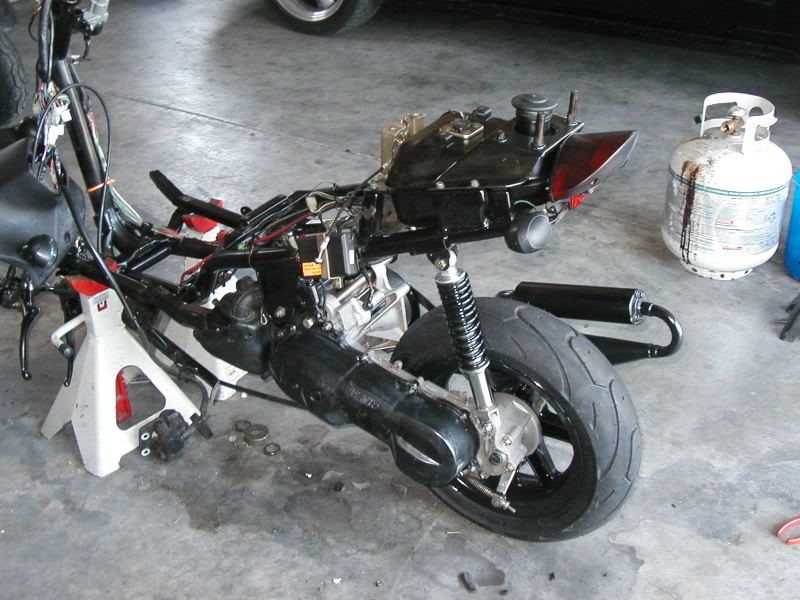 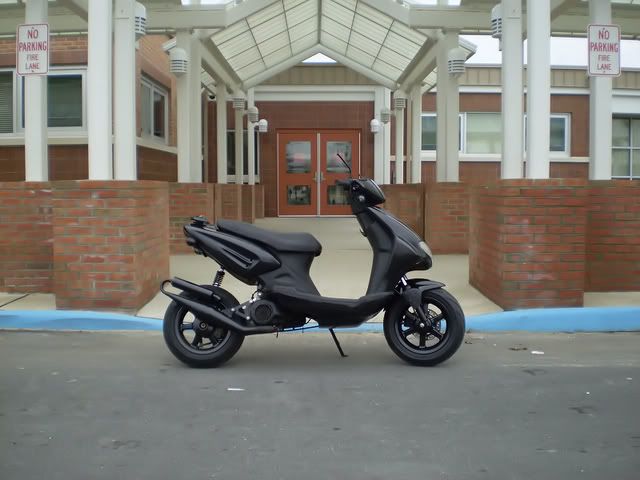  I rode for a bit like that doing a few mods along the way. I removed the "ABS" box from the front brakes, added an air horn, removed the stock alarm system, switched to a manual fuel petcock, and more.  While checking the cylinder out after having the scooter die on me a couple of times, I dropped it on a concrete floor.  I decided the engine should be a bit bigger and planned on building a stroker motor. I tore the engine down to the cases. This is when my other scooter came along. I still need to have the cases machined for clearance, pick up some more parts, finish a mild polishing of the cases, and assemble the engine. I'll get back to it once I do a couple more things to Triton #2.  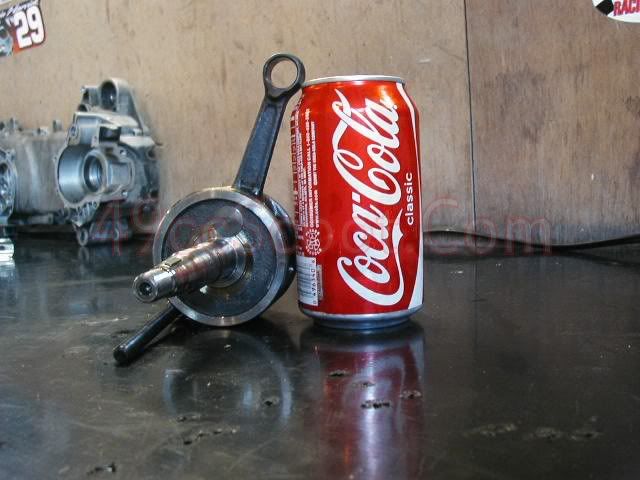   Throughout the process of the engine being down, I've done a few other mods. I lowered it front and rear and cut the kickstand down, made an air scoop, went crazy with a drill on the CVT cover, and more.     It's sitting back against the wall now, covered up and waiting for an engine.  |
|
|
|
Post by 90GTVert on Feb 23, 2010 9:34:53 GMT -5
I dug out the cases and cranks for T1 this morning.  I'd like to get the cases to my machinist soon, but I can't just drop them off and say "make 'em bigger." I had made the measurements I needed some time ago, but they seem to have been lost in a pile of other notes I have around the garage. I used a set of dummy bearings (stock bearings that I sanded to allow them to slide over the crank and into the cases without pressing or heating and cooling) to install the stock crank into each case half. I used feeler gauges to get an idea of the stock clearance between the crankcase and the crankshaft. I came up with 1.2 - 1.3mm.   After checking that way, I measured the crankshaft and the cases with calipers. I got about 74.25mm for the ID of the crankcases and 71.75mm for the OD of the crankshaft. That makes 2.50mm total or 1.25mm of clearance on each side. That coincides with what I came up with initially, which surprised me lol. I always assume I'm gonna screw something up. My stroker crankshaft measures 78.25mm OD. Add 2.50mm to that to get 1.25mm of clearance all around and I should need my cases to be bored to 80.75mm. I've searched a bit online and skimmed a couple of books and I've never seen any specs on just how much to enlarge cases when using different crankshafts. This method makes sense to me, but I could be way off. If it won't get over 30MPH, I'll assume I was way off.  I was looking at what polishing I have done and wondering if I was a little over-ambitious. It's gonna take a long time to do all the tight spots. On top of that, this isn't a showpiece for me. I enjoy a little showy stuff, but I ride my scoots. I'm considering either roughing the cases up and painting it black like everything else on T1, or doing many hours of polishing and then using a clear coat so I can avoid polishing constantly. If I had more money I'd just get everything powder coated with a chrome-like finish and save myself a lot of time. |
|
|
|
Post by 90GTVert on Feb 23, 2010 13:17:03 GMT -5
I'm gonna drop this stuff off this afternoon. I'm thinking maybe I should cut it back to 80-80.25mm. 80.75mm is gonna be so close to the bolt holes. 80mm would give me 0.875mm all around. 80.25mm would give me 1mm all around. 80.75mm (actually 80.74, I got tired of trying to get that .01mm dialed in)   80mm   |
|
|
|
Post by 2strokd on Feb 23, 2010 13:45:27 GMT -5
Ide say 80 even looks the safest to me.
|
|
|
|
Post by 90GTVert on Feb 23, 2010 13:53:03 GMT -5
I just got done marking 80mm on the cases. ;D I gotta get over there in case he packs up early. I know he said it's slow this time of the year.
|
|
|
|
Post by 2strokd on Feb 23, 2010 13:56:24 GMT -5
Go for it buddy  ! Im excited! Bout darn time T1 gets to rip again ;D ;D ;D |
|
|
|
Post by 90GTVert on Feb 23, 2010 15:01:24 GMT -5
It'll be waiting longer. I guess he didn't have any work today 'cause no one was home.
|
|
|
|
Post by 2strokd on Feb 23, 2010 15:10:30 GMT -5
Awwh man! Maybe tomm.  No number to call? Could you leave him a note? |
|
|
|
Post by 190mech on Feb 23, 2010 15:14:20 GMT -5
Great to see T1 back on the burner!I'd like to do the same to my
scoot one day,so this build is very interesting to me...
|
|
|
|
Post by 90GTVert on Feb 23, 2010 16:18:02 GMT -5
I've got his number, but I didn't call. I had some other stuff to take care of. I'm stuck here tomorrow for an ice maker warranty repair. Scheduled between 8AM-5PM.  |
|
|
|
Post by 90GTVert on Feb 23, 2010 20:40:09 GMT -5
Anyone know where to get a timing gasket set or at least cheap base gaskets? I've been looking for a bit and can't find a timing setup kit. I know I've seen them before. They're just a bunch of aluminum base gaskets to change cylinder position. I'm also looking for some spare base gaskets that don't cost $5 each if possible. If anyone knows, please share. EDIT : Found some. |
|
|
|
Post by 90GTVert on Feb 24, 2010 22:42:12 GMT -5
Decided to prep the Airsal T6 a little. I won't be 100% sure if I'm using it or the Polini Sport until a bit more comes together, but it never hurts to do some prep work. The Airsal's ports were chamfered pretty well stock, so I was happy to leave the nikasil coating alone. I did a little knife-edging on a few bridges... Exhaust port stock   Transfer ports   Boost port   |
|
|
|
Post by stepthrutuner on Feb 25, 2010 2:19:24 GMT -5
I admire a guy with the mettle to remove metal in search of those elusive fractional horsepuppies. Rock on with your rock man! Keep your nose to the grindstone. Put the whir to the burr. Grind it til you find it. Give credence to the two stroke gods. Inhale the fragrant smoke.
Amen
|
|
|
|
Post by 2strokd on Feb 25, 2010 6:09:58 GMT -5
Yea, what step said!
Looks good! I like the looks of that cylinder all together. Seems like a lot of "bang for your buck". Good job on the knife edging. The boost port is even bridged, wow.
Dont blame ya for not wanting to mess with the Nikasil. I didnt want to risk chipping mine either. Not yet, i need more practice... I think i will knife edge mine too, got any tips???
|
|
|
|
Post by 90GTVert on Feb 25, 2010 7:33:46 GMT -5
lol Nice mottos Reg. There's really not a lot too the knife edging. Especially with untreated aluminum. I used a Dremel with a flex shaft attachment and a tungsten carbide cutting bit, a small file from an ignition tune up kit, and a piece of a wooden dowel rod with emery paper wrapped around it (Reg gave me that tip some time ago).  This is the cutting bit that I used. I believe they make a finer bit than this one, but this worked fine for this job.  I started out with the Dremel. Use a fairly light touch, let the tool do the work. It doesn't take a lot of effort to remove aluminum. Just get the basic shape you want. I moved to the file to finish thinning out the edges. It's a little easier to get a smooth edge with files than the Dremel, especially on aluminum. I just used the dowel rod sander for very light smoothing once everything else was done. The boost port is so small that all I could use was the Dremel. I went slow trying to keep things as smooth as possible since it is so hard to sand and I couldn't get my file in there. I'm going to pick up a set of THESE. I think they will prove to be valuable tools for future endeavors, and the price is right. |
|


 I bent the steering stem, broke some hand controls, and skinned up a lot of parts.


 I bent the steering stem, broke some hand controls, and skinned up a lot of parts.


 ! Im excited! Bout darn time T1 gets to rip


