|
|
Post by oldgeek on Dec 25, 2012 19:07:27 GMT -5
I have a few advanced scooter projects I would like to do but not much experience at all, so I have decided to build up this 70cc from scratch like I originally planned to gain some skills I hope to use on the more advanced projects. I took the time today to clean and prep the cases I have for this project, and to test fit the cylinder. As you can see from the pictures I used a black marker to mark the areas I plan to trim on the cases so they will match up to the cylinder better.  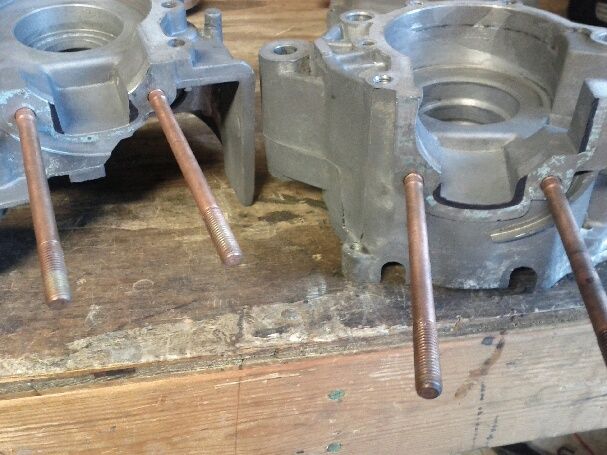 There is also an area in the next picture that looks like I would need to trim some from the cylinder in order to match them up a little better? I don't know for sure. 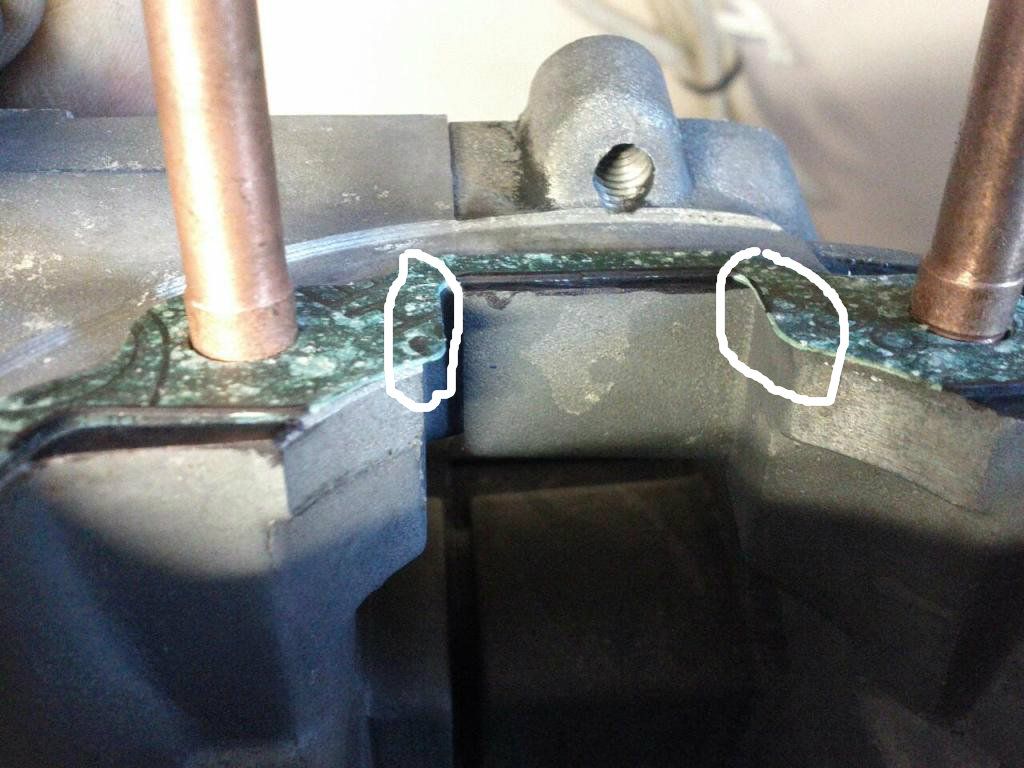 I picked up a dremel tool with a flex shaft at the pawn shop, and some decent (I think) carbide burrs, I am still waiting for for the 1/8 collets I ordered from ebay to come in before I can get started. While I have been reading here for many months, I still don't really know that much yet, so comments and guidance along the way is appreciated. Please have patience with me, as I am a bit thick headed, and I tend to move at a snail's pace. ;D |
|
|
|
Post by aeroxbud on Dec 25, 2012 20:41:18 GMT -5
|
|
|
|
Post by Corrosion on Dec 25, 2012 20:53:14 GMT -5
Do your self a favor and check the piston to wall clearance. The last 2, I have worked on were on the tight side. The Zuma spec is .015 to .003. I like them at .003 to .004 on the Vertex pistons that Stage 6 uses.
The Street Race is a nice Kit. I hope your works out well for you.
|
|
|
|
Post by oldgeek on Dec 25, 2012 21:08:44 GMT -5
Thanks, I have read that several times now it is a good read. Do your self a favor and check the piston to wall clearance. The last 2, I have worked on were on the tight side. The Zuma spec is .015 to .003. I like them at .003 to .004 on the Vertex pistons that Stage 6 uses. The Street Race is a nice Kit. I hope your works out well for you. How should I check that? mic the piston and the bore, or use feeler gauges. |
|
|
|
Post by Corrosion on Dec 26, 2012 17:27:59 GMT -5
|
|
|
|
Post by oldgeek on Dec 29, 2012 23:20:25 GMT -5
I finally got some grinding done. Since this is all new to me, I was just trying to get the feel of using a flex to do this kind of stuff. 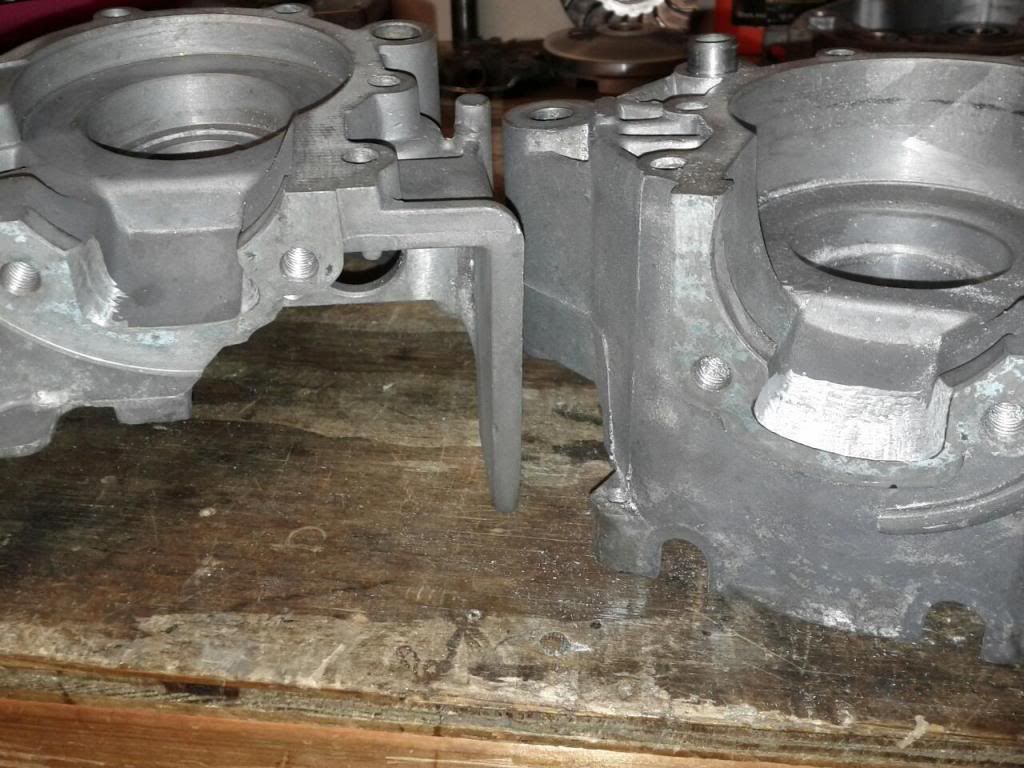 I am pretty sure what I have done so far will do nothing unless I go farther down towards the crank with it. Should I trim any of the cylinder that is circled at the intake? 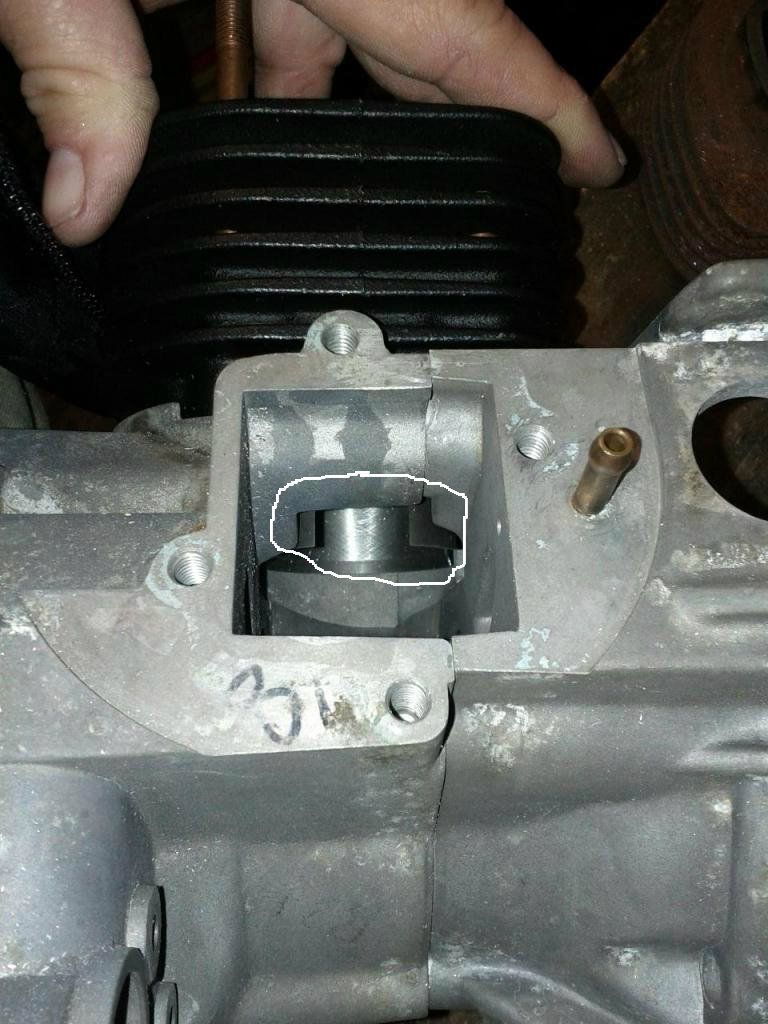 |
|
|
|
Post by 190mech on Dec 30, 2012 6:32:34 GMT -5
Its looking good!The cylinder barrel can be trimmed a bit wider in that area,round all sharp corners(think of the mixture as air flowing over an airplane wing),the boost port can be widened to match the case or you can build up the case with JB weld and match it to the port(no sharp corners!),While the cases are apart now is a good time to trench out the reed to transfer area also.Here is an extreme example,I think Brent has some better pics of milder trenching;  And another one;  |
|
|
|
Post by oldgeek on Dec 31, 2012 22:59:37 GMT -5
Its looking good!The cylinder barrel can be trimmed a bit wider in that area,round all sharp corners(think of the mixture as air flowing over an airplane wing),the boost port can be widened to match the case or you can build up the case with JB weld and match it to the port(no sharp corners!),While the cases are apart now is a good time to trench out the reed to transfer area also.Here is an extreme example,I think Brent has some better pics of milder trenching; Thanks for the guidance. Cutting on these cases is fun, but knowing what to cut is the issue I am having. Here is what I had a chance to get done this evening. I assume The transfers (I think that is what they are called) should end up looking like mirror images of each other? If so, I have a way to go with the one on the right. 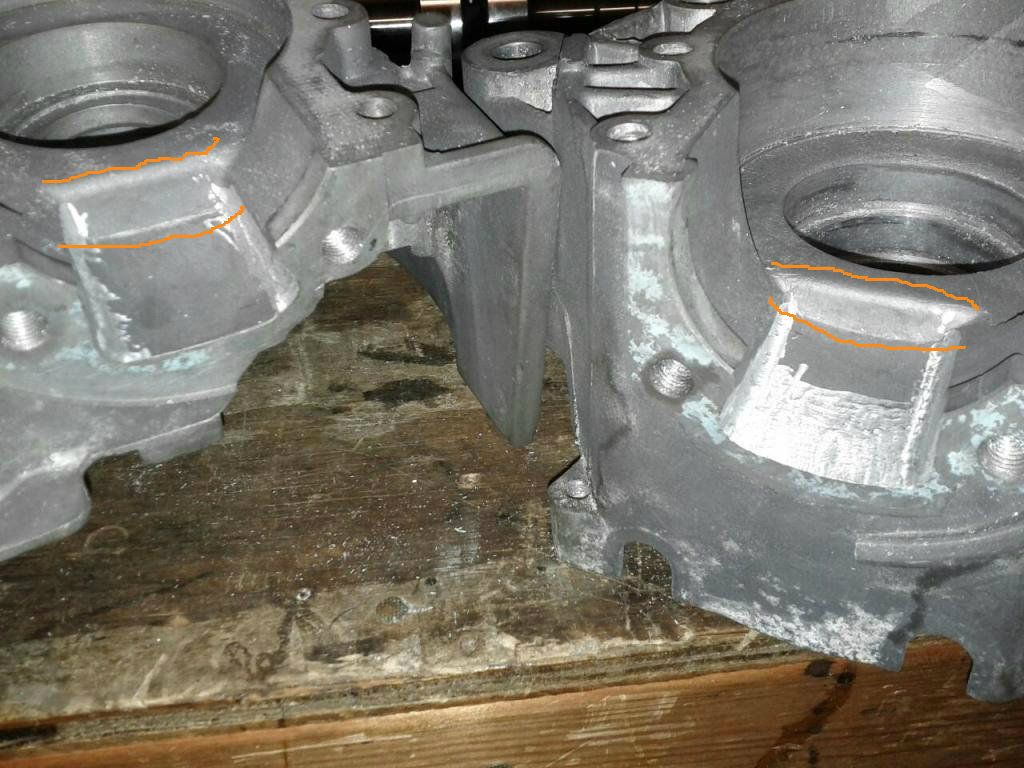 Here is a picture of the crank I picked up for this. 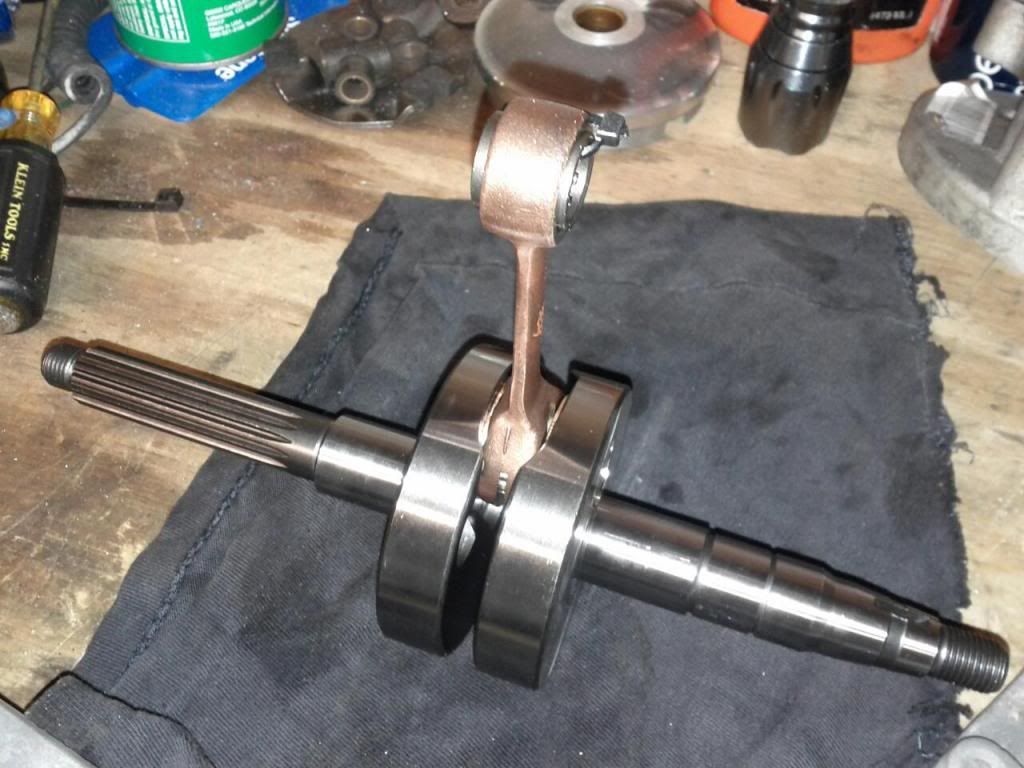 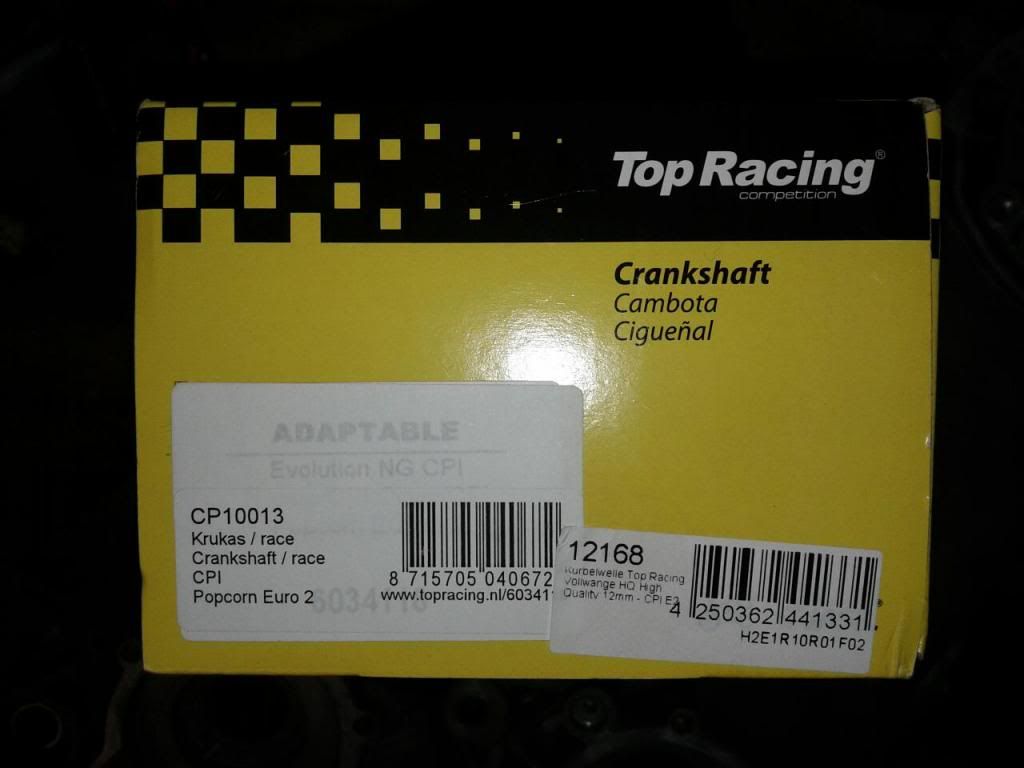 |
|
Aaron420e
Scoot Enthusiast
   2008 Keeway F-ACT Racing
Posts: 430
|
Post by Aaron420e on Jan 1, 2013 3:34:41 GMT -5
Looking good so far Geek...
That is a sweet looking crank too. Could you post a link for us. I hear TOP Racing is a good brand. Full circle?
How much also?
I need a new crank as soon as I get the cash. I'm still rolling with the stocker. Although I heard the 12mm wrist pin china cranks are supposed to be a little tougher than the older 10mm... :stumped:
Not sure though... Does anyone know for sure?
I try to keep the stock crank under 11,000 though. :devil:
It likes to rev high with the Stage6 Pro Rep pipe though.
|
|
|
|
Post by 190mech on Jan 1, 2013 6:18:12 GMT -5
Hey oldgeek, Are those Yamati cases?If so that new crank may be too small in diameter,check it against the old crank diameter.. Also a mirror finish is not needed for your port/case work,smooth is fine.  =John= |
|
|
|
Post by oldgeek on Jan 1, 2013 7:41:48 GMT -5
Looking good so far Geek... That is a sweet looking crank too. Could you post a link for us. I hear TOP Racing is a good brand. Full circle? How much also? I need a new crank as soon as I get the cash. I'm still rolling with the stocker. Although I heard the 12mm wrist pin china cranks are supposed to be a little tougher than the older 10mm...  Not sure though... Does anyone know for sure? I try to keep the stock crank under 11,000 though.  It likes to rev high with the Stage6 Pro Rep pipe though. Here ya go, the description is what sold me on this particular crank. www.racingplanetusa.com/crankshaft-racing-full-circle-high-quality-12mm-piston-p-2758-1.html?sessID=9a33a39d60a411c31ec67a4acf51ad24Hey oldgeek, Are those Yamati cases?If so that new crank may be too small in diameter,check it against the old crank diameter.. Also a mirror finish is not needed for your port/case work,smooth is fine.  =John= These are not the Yamati cases, They are a set I picked up locally that supposedly came from a late Benelli. It had a bad crank bearing when I got it. I will have to put the Yamati "yeller" scooter I picked up the other day in my storage for now, because I am out of room! What diameter do I need to check on the crank? The rod small end is 12mm to match the S6 kit I picked up. I will have to try to find the old one around here, but it may be at the scrap yard already. LoL |
|
|
|
Post by 190mech on Jan 1, 2013 7:53:17 GMT -5
Measure the clearance between the crank wheel outside diameter and the case inside diameter,cases should be around 2mm's (total)larger.
|
|
|
|
Post by waltinhawaii on Jan 1, 2013 15:09:52 GMT -5
Coming along nice, oldgeek. With reference to trimming the cylinder top hole wider... i think the answer differs with which tuner you ask. I know I struggled with that same question a couple times... trimming the hole wider left to right means there is less support for the piston skirt and it will mean the piston rocks back and forth on the wristpin more. but, you balance that with more airflow through the port hole, probably nearer the power peak. The professionally ported cylinders I've seen have been hit or miss, some have extensive shortening of the upper cylinder skirts where they come down on the transfer passages (but not the bottom ones), and I've also seen the upper skirts narrowed near the transfers (on the sides).
|
|
|
|
Post by oldgeek on Jan 1, 2013 21:15:05 GMT -5
Measure the clearance between the crank wheel outside diameter and the case inside diameter,cases should be around 2mm's (total)larger. Whew! checked that and I am ok. Believe it or not, the new is the same size as the old. Coming along nice, oldgeek. With reference to trimming the cylinder top hole wider... i think the answer differs with which tuner you ask. I know I struggled with that same question a couple times... trimming the hole wider left to right means there is less support for the piston skirt and it will mean the piston rocks back and forth on the wristpin more. but, you balance that with more airflow through the port hole, probably nearer the power peak. The professionally ported cylinders I've seen have been hit or miss, some have extensive shortening of the upper cylinder skirts where they come down on the transfer passages (but not the bottom ones), and I've also seen the upper skirts narrowed near the transfers (on the sides). Thanks waltinhawaii. I finally found one of Brent's write ups on case porting basics that I had been looking for...lots of good stuff here: 49ccscoot.proboards.com/index.cgi?board=yamajog&action=display&thread=1268 Check it out and notice that his transfers ended up looking the same or equal when he was finished with them. My case set started off with the transfer on the big side being MUCH smaller than the transfer on the small side. They are almost "equal" looking now. I had a full day at work today, but I managed to work on the cases when I got home for a hour or so. The big half is almost done (the transfer anyway) |
|
|
|
Post by oldgeek on Jan 3, 2013 20:43:53 GMT -5
More progress, mostly on the intake. There was a huge mismatch there also. 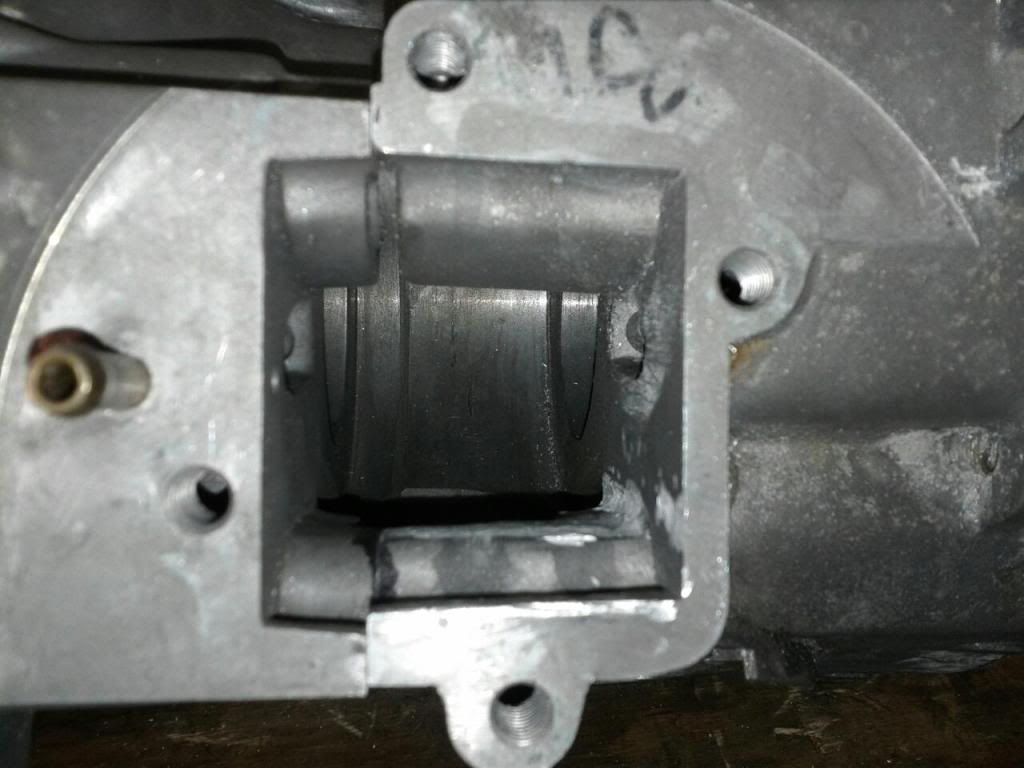 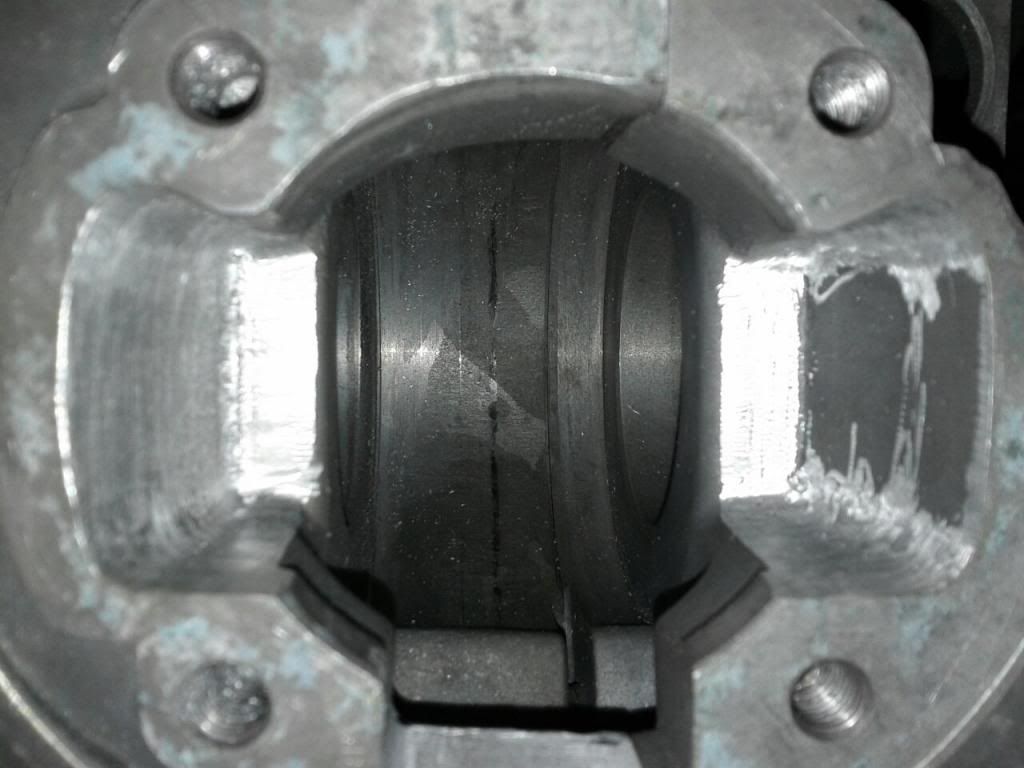 |
|