|
|
Post by oldgeek on Jan 9, 2013 21:39:20 GMT -5
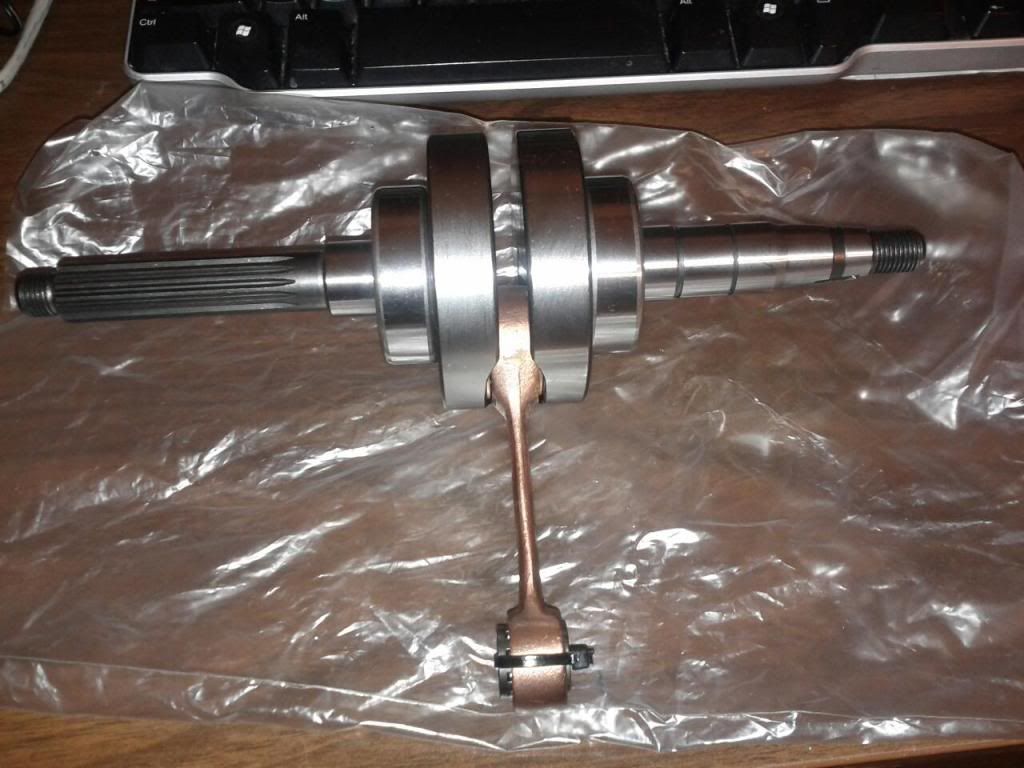
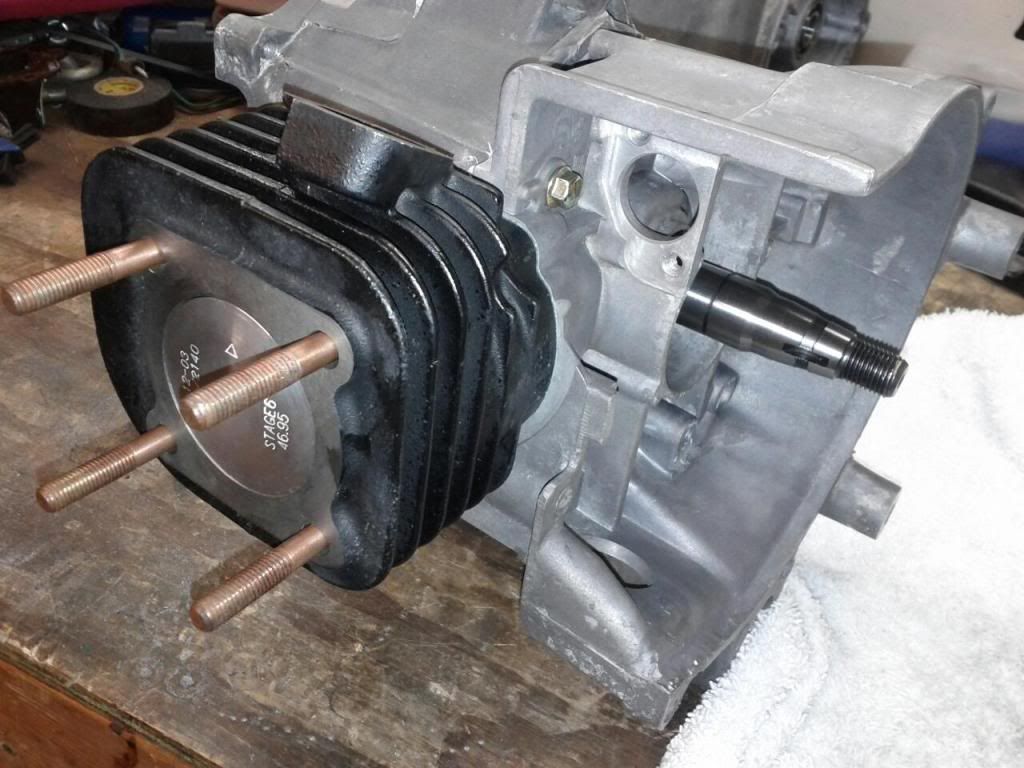
Had some time today so I pressure washed the cases, dried them off, and got them together. I used the stove to heat the crank bearings up to 225, and I used freeze spray to cool the crank where the bearings sit. They went on very easily.  Next I used a heat gun for about 6 minutes to heat the big side of the case where the bearing sits, Then I used freeze spray on the outer race of the crank bearing for about 30 seconds, and slipped the crank in the case half very easily. I let the large case cool, while I heated up the small case half for about 4 min. I stopped heating the small case, so I could apply 1184 sealant to the large half of the case. I heated up the small side of the case for an additional 2 min, froze the outer race of the crank bearing for about 30 seconds and they went together fairly easily. I did need to use the case bolts to pull it together completely. I put the piston, and the cylinder on to have a look, but I am not sure what I am looking for yet. LoL!  |
|
|
|
Post by 190mech on Jan 10, 2013 5:44:51 GMT -5
Does the crank turn freely?
The deck height looks good!
|
|
|
|
Post by oldgeek on Jan 10, 2013 5:52:41 GMT -5
Does the crank turn freely? The deck height looks good! There are no tight spots when it turns, but it feels just a bit stiff to turn. |
|
|
|
Post by 190mech on Jan 10, 2013 6:42:35 GMT -5
The bearings are likely loaded as you had to squeeze the cases together with the bolts.I HATE to get a hammer around a crankshaft during installation as they can easily get badly out of true with a hammers use,BUT if you place a hardwood block on the crank ends and give it a hammer rap,it should center the crank without damage..Good Luck!
|
|
|
|
Post by reveeen on Jan 10, 2013 6:52:39 GMT -5
so I pressure washed the cases
I get good results using the dishwasher. Works "a treat" on carburetors too............. just don't tell the wife.
|
|
|
|
Post by scoottrash1990 on Jan 10, 2013 7:29:34 GMT -5
my buddy used to use the dishwasher to clean car parts....lol....
the engine is looking good....it cool to follow a build from square one....nice work...
|
|
|
|
Post by oldgeek on Jan 10, 2013 12:40:41 GMT -5
so I pressure washed the casesI get good results using the dishwasher. Works "a treat" on carburetors too............. just don't tell the wife. HaHa! I am already in trouble for putting the crank bearings in the oven. my buddy used to use the dishwasher to clean car parts....lol.... the engine is looking good....it cool to follow a build from square one....nice work... Thanks, I hope it works ok, this is my first attempt at anything like this. |
|
|
|
Post by oldgeek on Jan 10, 2013 14:20:01 GMT -5
The bearings are likely loaded as you had to squeeze the cases together with the bolts.I HATE to get a hammer around a crankshaft during installation as they can easily get badly out of true with a hammers use,BUT if you place a hardwood block on the crank ends and give it a hammer rap,it should center the crank without damage..Good Luck! Whew. It turns out that it was very TIGHT compared to what it is now. My first wack on the stator side did nothing to free it up, so I gave it a wack on the variator side, and WoW what a difference. It spins very freely now, and hopefully I did not get the crank out of true. Thanks...again LoL Now I need to work on the cyl to clean up the edges, and then get out the degree wheel to look at port timings. I know that all this is not necessary, but I would like the experience for when it WILL matter on a build I am doing. Gotta learn how to use a degree wheel someday right? |
|
|
|
Post by Corrosion on Jan 10, 2013 16:51:14 GMT -5
Did you check the piston to wall clearence? I was curious what your was?
|
|
|
|
Post by oldgeek on Jan 10, 2013 17:04:04 GMT -5
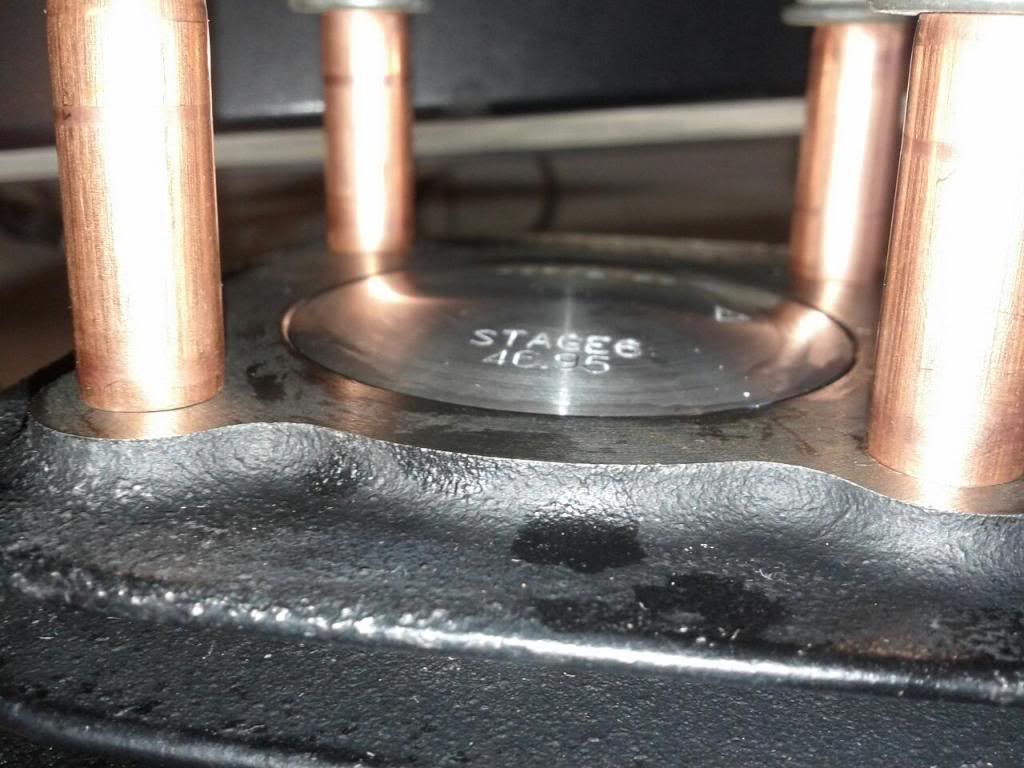
Here is a closer look at the deck height. I could not measure the squish because, I dont have the proper solder to use.  Here are the measurements I got from the degree wheel.  Exhaust: 180 Transfer: 130 Boost: 123 Can someone that speaks this strange language of durations and port timings tell me what these numbers mean? |
|
|
|
Post by oldgeek on Jan 10, 2013 17:08:24 GMT -5
Did you check the piston to wall clearence? I was curious what your was? No, I did not. I dont really have a way to do it. I wish I could. If it was tight, how would I deal with that? Possibly have the cylinder honed? |
|
|
|
Post by 190mech on Jan 10, 2013 19:31:38 GMT -5
Duration looks mild for the exhaust port,depends on the exhaust system that will be used if any mods are needed..
Transfer and boost timing are great.
If you plan on using a good expansion chamber,190 degrees would be a good number for a hot street build.For a muffler exhaust 184-186* is a good start.If you want to alter the port openings,the piston top can be profiled or the exhaust port can raised.
Brent has this well documented in several of his builds..
The piston to cylinder clearance can be checked with a proper size feeler gauge.A 4 pound pull on the gauge is said to be the magic number.Id check with the manufacturers specs to get the clearance sizes..
=John=
|
|
|
|
Post by Corrosion on Jan 10, 2013 19:48:07 GMT -5
That's what I did. I was not off by much, I figure was .001 tight. I had 2 street race kit's here. A third one also had the same problem but, but was not measured. It four cornered also. The 2, I had to measure were a tight .0015. I could not get the gauge in on the third one. It was a tight fitting piston. I decided it would be okay if I let it break in a little longer. Generally I pull the head & exhaust off and check things after 1 tank of fuel. Good thing I did, It was starting to four corner. I cleaned up the piston & ball honed the Cylinder. The.002 gauge slid in fine and the kit was a lot smoother, especially kicking it over. My cylinder temps dropped 50 degrees. I have not rechecked it and I probably won't till I try the billet head. I have 6 tanks of fuel through it now and it's running great. The temps are running a normal 185-250 now. I bought Starrett Xtra Long feeler gauges on Amazon. You can get away with the .002 & .003 ones. With the .002 one, you should feel just a slight drag. .003 one. The piston will not want to freely, go into the bore. PART# 667-1-1/2 FOR THE .0015* LIKE A PIECE OF FOIL PART# 667-2 FOR THE .002 PART# 667-3 FOR THE .003 I lay the cylinder head side down put the gauge in across the Exhaust port to the bottom. NO RINGS ON YOUR PISTON, CYLINDER & PISTON CLEAN & DRY You then feel the piston slide in the bore with the gauge in there. If the .002 goes smooth and the .003 is tight, your perfect. As you can see Stage 6, keeps there Specs Tight. www.amazon.com/Starrett-667-20-Thickness-Feeler-Length/dp/B007IVP9FK/ref=sr_1_1?ie=UTF8&qid=1357865812&sr=8-1&keywords=STARRETT+%23667-2 |
|
|
|
Post by oldgeek on Jan 10, 2013 20:33:28 GMT -5
Thanks for the info 190mech & Corrosion, it should keep me busy for a while.
I am kicking myself cause I could have picked up a decent set of long feeler gauges for just $15.00 a couple weeks ago. I will have to get some on the way ASAP.
|
|
|
|
Post by Corrosion on Jan 10, 2013 21:14:06 GMT -5
I just read the post I made. I forgot to mention that you are interested in the measurement at the skirt. The crown will be tighter & throw your measurements off. That why I leave the gauge at the bottom of the exhaust port. That way the piston crown wont hit it. I been building engines longer than I care to remember. I have seen this done many different ways, by many different mechanics. There is a touch and feel to it, Its hard to explain. I think after you try it, you will agree.
|
|